

Painting brick is a lasting decision worth planning carefully, because colour, preparation and the paint system will shape how a house looks and weathers for years. This guide to painted brick houses walks through layouts, colours, preparation, cost drivers and care, so you can test ideas with confidence and choose a finish that suits both the brick itself and the street around it.
1. Painted Brick at a Glance: What to Check First
Start with the building, not the colour chart. Walk the walls slowly and note the condition of the bricks and mortar, any previous coatings, damp patches, salts, cracks and areas sheltered from rain. Brick that is sound, dry and well pointed is the best candidate for paint. Brick that is spalling, saturated or crumbling needs repair and professional advice first, because paint will highlight defects rather than hide them, and a coating applied over moisture problems can fail early and look patchy within a season or two.
Next, think about why you are painting. Some owners want to unify mismatched additions, some want a lighter, calmer facade, and others simply prefer a painted finish to the colour of the existing brick. Your reason matters, because it affects how much of the house you paint, whether mortar joints stay visible through a thinner wash or disappear under a fuller coating, and how bold a colour you can live with. Painting is difficult and expensive to reverse, so treat it as a long-term commitment, test colours in large areas, and live with those tests through changing light before you buy paint for the whole house.
| Question | What to check | Why it matters |
|---|---|---|
| Is the brick suitable? | Sound, dry brick with firm mortar and no active damp | Paint cannot fix failing masonry, and moisture trapped behind a coating causes blistering and peeling |
| What finish do you want? | Full opaque paint, a thinner wash or limewash-style effects, and how visible you want the brick texture to remain | The finish changes both the look and how the wall handles moisture |
| Which colour family? | Large sample areas viewed in sun, shade and dull weather | Colours read lighter and cooler outdoors than they do on a small swatch indoors |
| What preparation is needed? | Cleaning, killing biological growth, repointing, crack repairs and priming bare or repaired areas | Most paint failures trace back to rushed preparation rather than the topcoat itself |
| What will it cost? | Wall area, access, scaffolding, number of coats, repairs and paint quality | Quotes are only comparable when each one covers the same preparation and coats |
| How will you maintain it? | Gentle washing, annual checks, prompt touch-ups and records of colours and products used | Small, early repairs stop local damage spreading across a whole elevation |
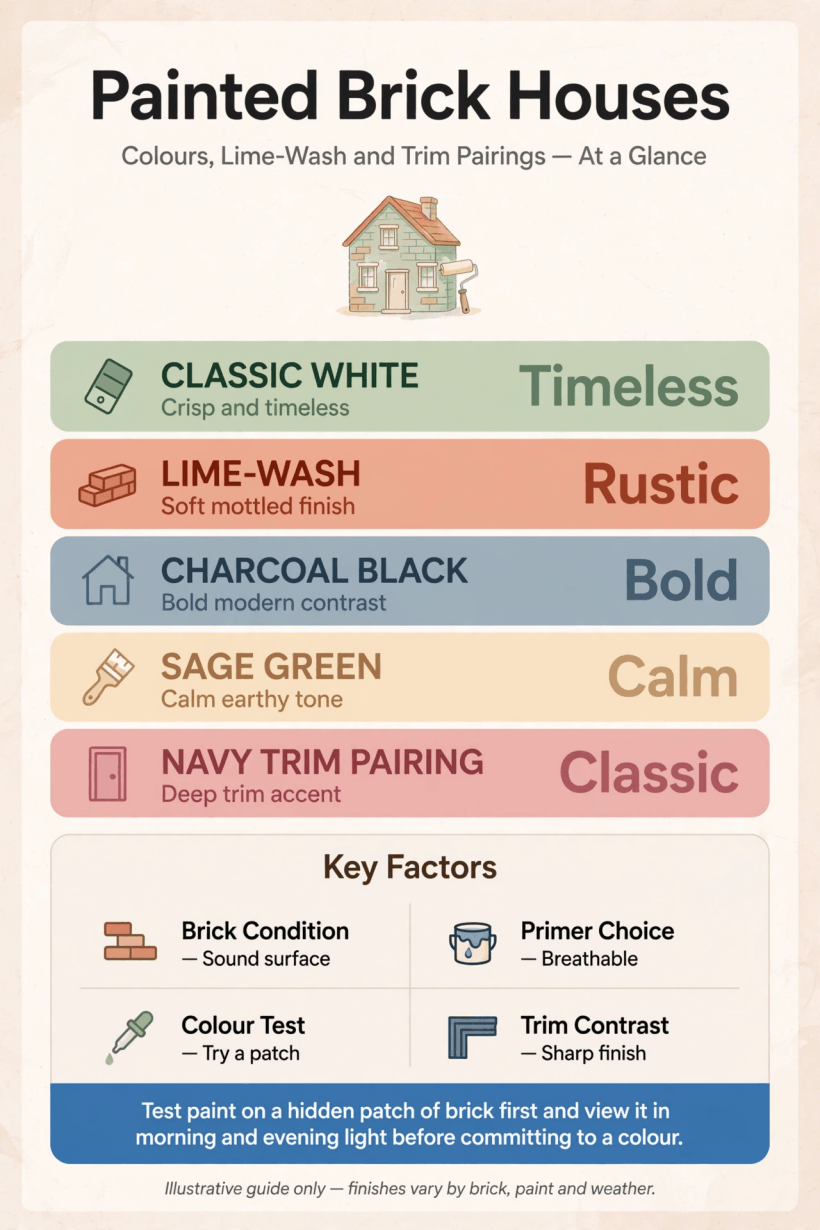
A quick at-a-glance summary of the checks, choices and care that shape a painted brick finish.
2. Choosing a Colour That Suits the Brick and the Street
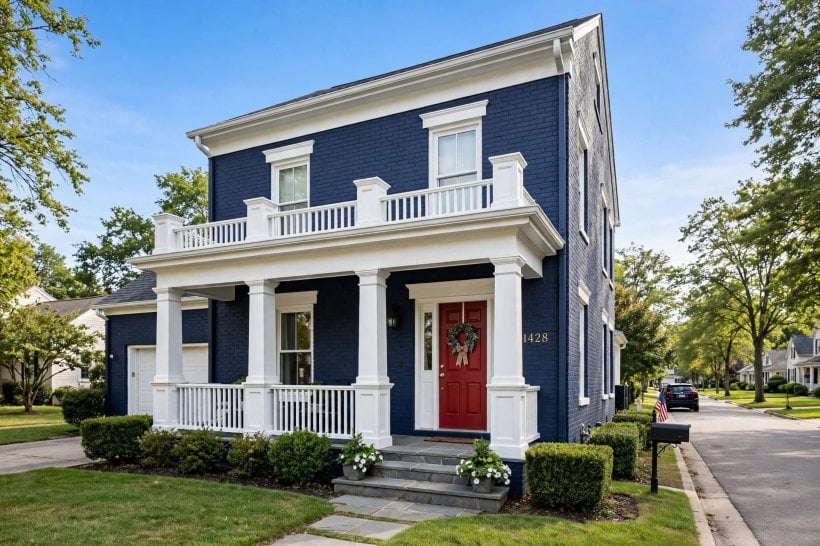
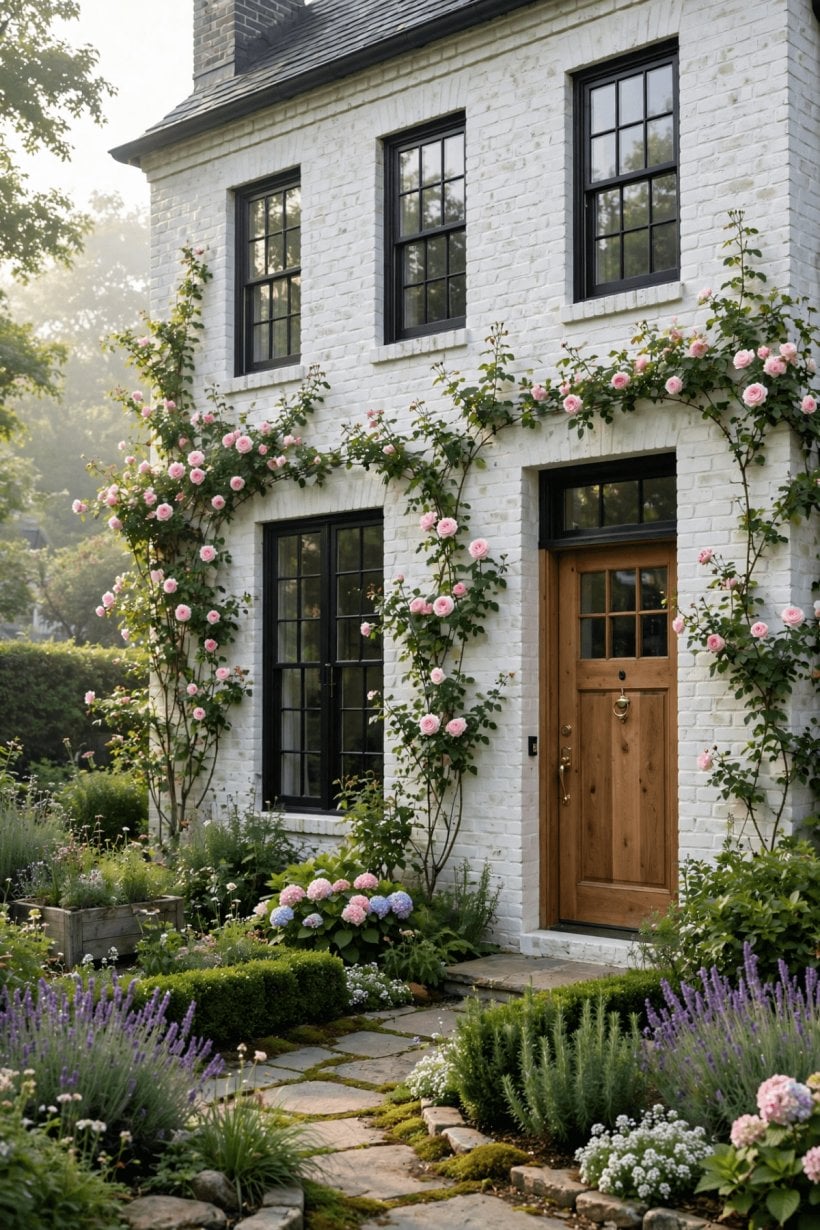
Colour is the decision everyone notices, so give it more time than any other. Whites and off-whites are the classic starting point: they brighten shaded fronts, make planting stand out and give brick texture a calm, chalky backdrop. Warm whites soften the look, while cooler whites feel crisper and more modern. Greys range from pale silver tones that read almost white to deep charcoals that make a strong, architectural statement. Green-grey and sage shades sit comfortably with gardens and trees, and blues, from dusty mid-tones to near-black navy, pair well with white trim and natural wood.
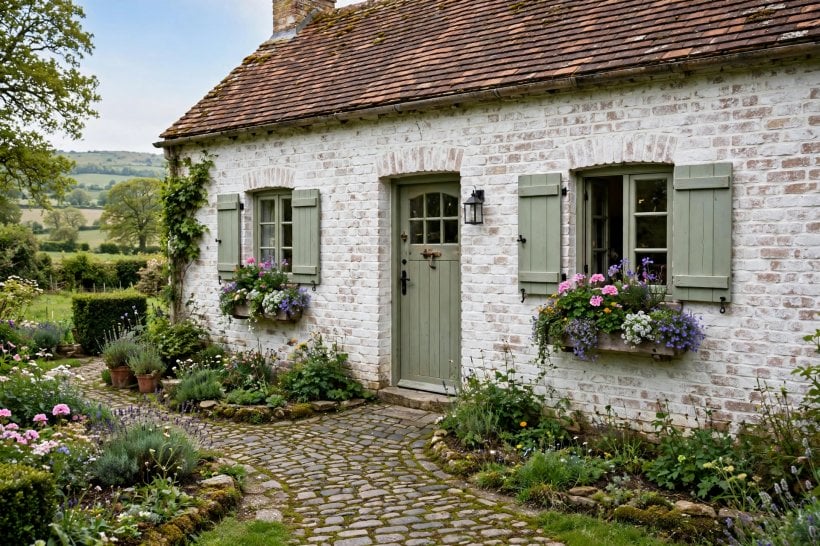
Always paint a generous test patch, ideally on more than one wall, and include a section of mortar so you can judge how the colour settles into the joints. Look at it in the morning, at midday, in the evening and on an overcast day, because exterior colour shifts dramatically with light. Remember that neighbouring houses, roof tiles, paving and large trees all borrow from and lend colour to your walls. If the wider home is part of your thinking, the same test-and-wait discipline used in colourful tiny house interior ideas applies outdoors too: live with the sample first, then commit with confidence.
3. Reading Light, Shade and Orientation Before You Commit
Orientation changes everything about how a painted facade behaves. A south-facing wall in strong sun will make colours look paler and warmer, and it will also work the coating harder, so a slightly deeper sample than you first imagine often lands where you want it. North-facing walls receive cooler, flatter light, which can push whites towards grey and make muted colours feel drab, so warmer undertones usually help there. Walls shaded by trees may stay damp longer and attract algae, which argues for careful preparation and a finish suited to shaded, slower-drying conditions.
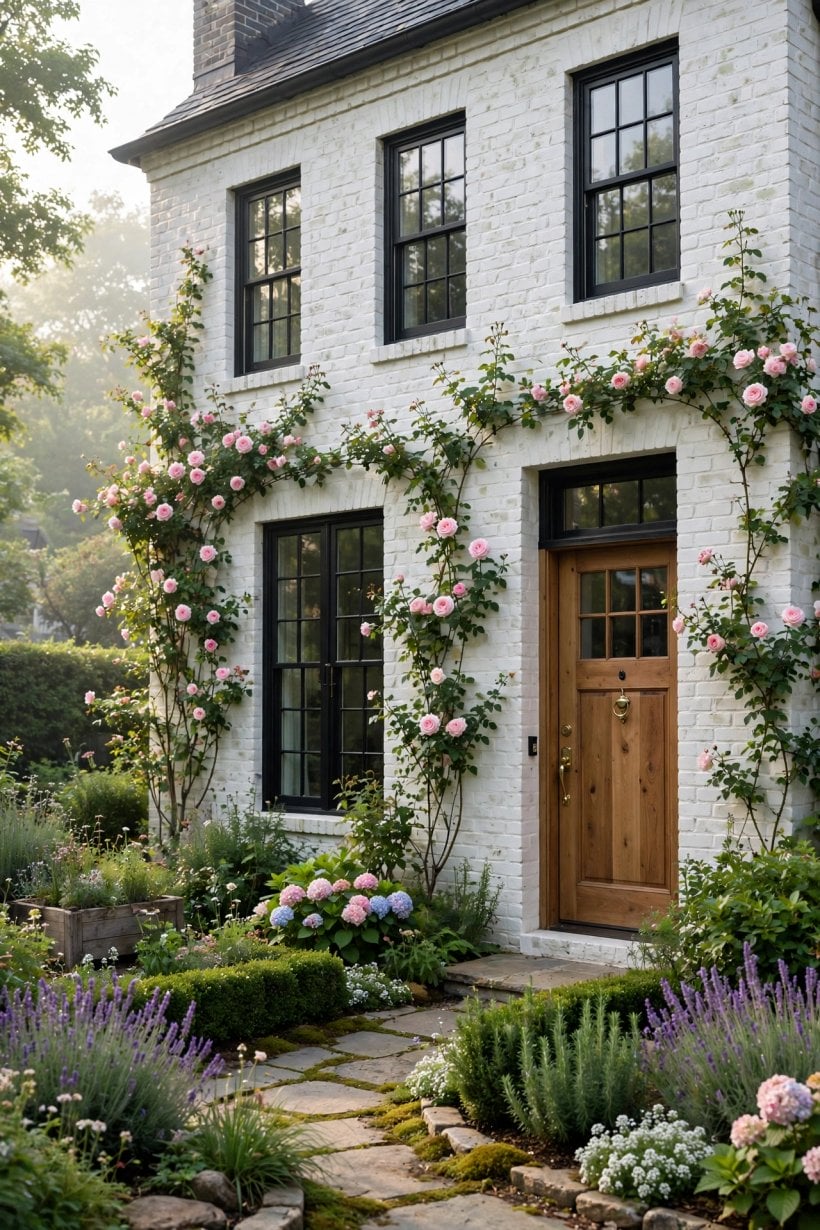
Light also decides how much texture you see. Raking light across a wall reveals every joint and bump, which can be charming on characterful brick and distracting on rough or patched brickwork. Think, too, about how the painted walls will sit with the garden in each season: pale walls glow against evergreen planting in winter, while darker walls recede and let planting take the lead in summer. Planning the planting alongside the paint, much as you would with tiny house landscaping ideas, helps the house and garden feel designed together rather than finished separately.
4. Preparing Brickwork: Cleaning, Repairs and Mortar
Preparation is unglamorous and absolutely decisive. Begin by washing the walls to remove dirt, loose material and biological growth, using methods gentle enough not to damage the brick face or drive water deep into the wall. Aggressive blasting can scar soft brick and open the surface, so a cautious approach, tested on a small area first, is safer. Allow the wall to dry thoroughly afterwards; painting over a damp wall is one of the most common causes of early failure, and drying can take far longer after wet weather than most schedules allow.
Repair before you coat. Rake out failed mortar and repoint with a compatible mix, fill or rebuild damaged sections, and deal with the source of any staining or damp, such as leaking gutters, cracked render details or soil piled against the wall. Salts on the surface need patient dry brushing and investigation rather than a quick seal, because they signal moisture moving through the wall. Only when the masonry is clean, sound and dry should primer touch it. The patience involved is similar to the groundwork behind how to build your own tiny house: the visible finish is only ever as good as the preparation nobody sees.
5. Paint Systems, Primers and Breathability
Brick and mortar move moisture, so the coating system you choose must suit masonry rather than timber or metal. Exterior masonry paints are formulated for mineral surfaces and alkaline substrates, and many are described as breathable or vapour-permeable, allowing moisture within the wall to escape instead of building up behind the film. Limewash and mineral paints work differently again, soaking into the surface and producing a softer, more varied finish that keeps brick texture prominent. Each system has strengths, so match the product to the wall’s condition, exposure and the look you want, and follow the manufacturer’s guidance on primers and coat numbers.
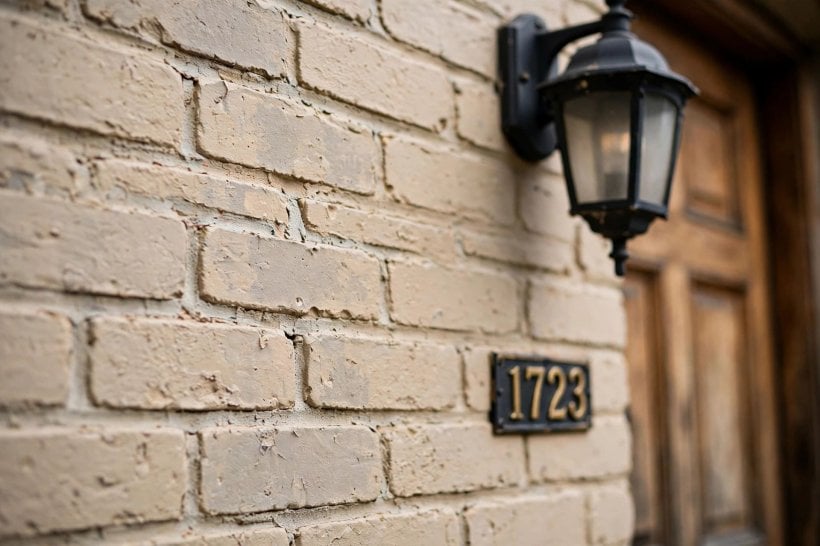
Primer matters most on bare brick, repaired areas and surfaces with uneven suction, where it helps the topcoats grip evenly and prevents patchiness. Skipping it to save time often costs more in extra coats and early touch-ups. Apply paint in suitable weather: dry, mild conditions, avoiding frost, rain, strong wind and hot sun on the wall you are coating. Work in manageable sections, keep a wet edge, and respect drying times between coats even when the surface feels dry to the touch. Two properly applied coats over sound preparation will almost always outperform three rushed coats over a dirty wall.
6. Layouts: Whole House, Partial Paint and Accents
You do not have to paint every wall to transform a house. Painting the whole exterior gives the most complete change and is the natural choice when additions in mismatched brick need unifying, or when the original brick colour fights with a new roof or extension. A whole-house scheme demands the most paint, access equipment and confidence in the colour, so test areas and a clear plan for trim and joinery colours are essential. Partial schemes, painting only the front, only an extension or only a later addition, cost less and let you live with the idea on a smaller scale first.
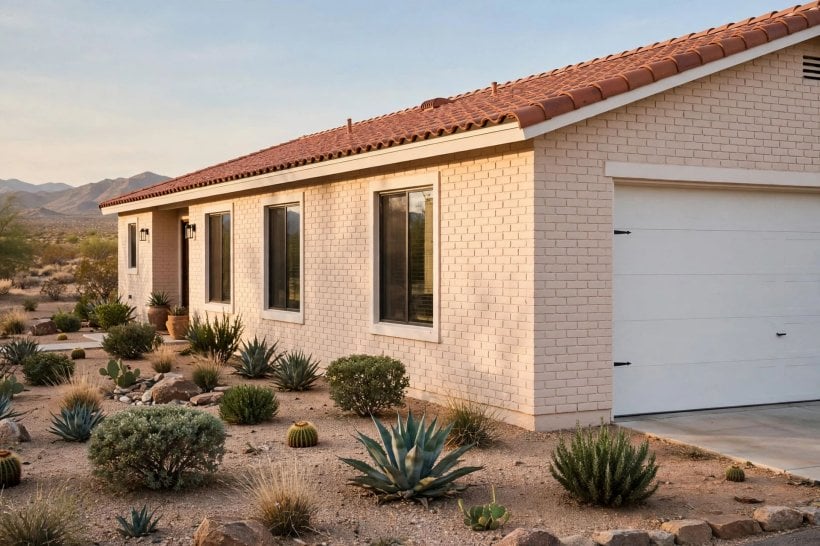
Accent approaches sit between the two: a painted gable, a painted porch surround, or painted brick below a rendered upper floor. These work well when the brick itself is attractive but the composition needs focus. Think about where the eye should land from the street, and let the painted area do that job. Inside the home, the same compositional thinking drives tiny house living room ideas, where one confident focal decision usually beats several competing ones, and the exterior benefits from exactly the same restraint.
7. Trim, Doors, Roofs and Details That Frame the Colour
Painted brick rarely stands alone, so plan the supporting colours as one palette. Fascias, soffits, window frames and sills can match the wall for a seamless, modern look, or contrast with it for a crisper, more traditional outline. Front doors carry the strongest accent: deep green, navy, black, oxblood and warm timber tones all sit happily against pale brick, while a pale door against dark brick feels fresh and deliberate. Sample door and trim colours next to the wall colour, never in isolation, because each changes how the other reads.
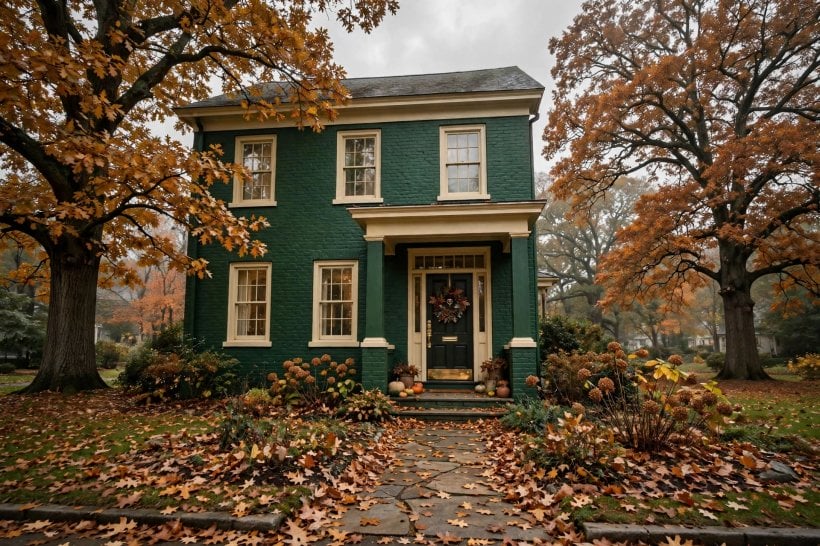
Roofs and hard landscaping complete the picture. A grey slate or tile roof cools a warm wall colour, terracotta warms a cool one, and neither will change, so treat the roof as a fixed member of the palette. Paths, drives and boundary walls matter too, especially where they meet the house. Repeat one or two exterior colours in planters, gates or garden furniture to tie the scheme together. Readers planning a full refresh may also enjoy tiny barn house interior ideas, where natural materials and a restrained palette create the same calm, joined-up feeling indoors.
8. Costs, Quantities and Planning the Work in Stages
There is no honest single figure for painting a brick house, because the total depends on measurable things: the wall area, the number of coats, the price and coverage of the paint system, the amount of repair and repointing, and how the walls will be reached. Scaffolding or access platforms can rival materials as a cost on taller or awkward houses, while a single-storey home with good access sits at the simpler end. Quotes should therefore itemise preparation, repairs, primer, coats, access and paint brand, so you can compare like with like instead of comparing one thorough job with one cosmetic one.
Measure each elevation, subtract large openings, and use the paint maker’s stated coverage as a starting estimate, remembering that rough or porous brick drinks more paint than smooth surfaces. Build in a contingency for repairs that only appear once cleaning starts, and consider staging the work: repairs and one elevation first, then the rest once you are certain about the colour. Keep a written record of products, colours and batch details, plus a labelled leftover tin, so future touch-ups match. Staging and record-keeping also help if you are coordinating with interior projects such as those in tiny house bedroom ideas, where sequencing trades and drying times matters just as much.
9. Maintenance, Touch-Ups and Long-Term Care
A painted exterior is not maintenance-free, but its care is straightforward when it is little and often. Walk the walls once or twice a year and look for flaking, cracking, green growth in shaded corners, staining below sills and gutters, and damage where ladders, bins or garden furniture rub. Wash gently with water and a soft brush to remove dirt and algae before they take hold, and fix overflowing gutters promptly, because concentrated water is the fastest way to ruin a coating in one strip.
Touch up small failures early: scrape back loose material, let the area dry, prime bare brick and feather in matching paint, accepting that a weathered wall may need a whole section repainted to blend invisibly. Keep plants trimmed off the walls so air can circulate and dry the surface after rain. Over the years, repainting a single tired elevation before it deteriorates is cheaper and easier than stripping a failed scheme. The same care-first mindset appears in bedroom interior design for tiny houses, where small, regular attention protects a finish far better than occasional major overhauls.
10. Common Mistakes and How to Avoid Them
Most painted brick disappointments share a short list of causes. The first is painting over damp, dirty or damaged masonry, which guarantees early peeling no matter how good the paint is. The second is choosing colour from a tiny swatch indoors and discovering, at house scale and in daylight, that it is far paler, colder or brighter than expected. The third is using a non-breathable coating on a wall that needs to shed moisture, then blaming the brick when blisters appear. Each mistake is avoidable with drying time, big test patches and a masonry-specific system.
Other pitfalls are quieter: forgetting that painted brick is hard to undo, neglecting listed-building or local rules that may cover exterior changes, painting in frost or fierce sun, and leaving trim colours to chance. Check whether any permissions or covenants apply before you start, keep neighbours informed about scaffolding, and photograph the brick before coating it, for your own records. If any wall shows structural cracking or persistent damp, solve that first with appropriate professional help. Finally, remember the rooms behind the walls: a refreshed exterior pairs naturally with considered updates like those in tiny house bathroom ideas, planned at a pace the house and budget can sustain.
Final Considerations
Painted brick rewards homeowners who slow down at the start. Confirm the masonry is sound and dry, repair and repoint properly, choose a coating system made for brick, and test colour at generous scale in real light on more than one wall. Decide honestly whether the whole house, one elevation or a single accent should be painted, then build the trim, door and roof colours into one palette before a brush is lifted. Gather itemised quotes that separate preparation, access, coats and materials, and keep records and leftover paint for the touch-ups that every exterior eventually needs.
Done this way, painting brick is not a gamble but a planned transformation: a cleaner outline, a colour that belongs to its street and garden, and a finish you know how to look after. Take photographs as you go, note what worked, and enjoy the moment the scaffolding comes down and the house reads as one composed whole again. With preparation respected and maintenance kept small and regular, the finish should earn its place for many seasons, and your future self, touch-up brush in hand, will be glad the groundwork was never rushed.


0 Comments