

Pea gravel and pavers are a forgiving pairing: the stones give you a soft, permeable surface, while the slabs add firm places to stand, sit and walk. This roundup walks through layouts, colours, realistic costs and the practical details that decide whether a pea gravel patio still looks crisp after several seasons of weather and use.
1. Pea Gravel and Pavers at a Glance
Before the ten ideas, here is the pairing in one view. Gravel does the covering and pavers do the carrying: slabs take the table legs, the chair feet and the daily foot traffic, while the small stones fill everything else at modest cost and drain freely after rain. Get three things right at the start — a firm compacted base, a containing edge and a sensible gravel depth — and the surface mostly looks after itself. Nearly every disappointment with this style of patio traces back to one of those three basics being rushed, so treat this summary as the checklist the rest of the article keeps returning to.
| Best for | Patios, garden paths, courtyards and low-key seating areas |
| Base | Compacted crushed stone over a levelled, weed-free bed |
| Gravel depth | A shallow layer that just covers the base without feeling deep underfoot |
| Paver options | Concrete slabs, natural stone flags, brick and stepping stones |
| Edging | Metal, stone, brick or timber edging to hold a crisp gravel line |
| Maintenance | Occasional raking, leaf removal and a small top-up every few years |
| Comfort | Firm underfoot on the pavers; softer and crunchier on gravel alone |
| Drainage | Free-draining, so puddles rarely linger after rain |
| Cost feel | Usually gentler on the budget than a fully paved terrace of the same size |
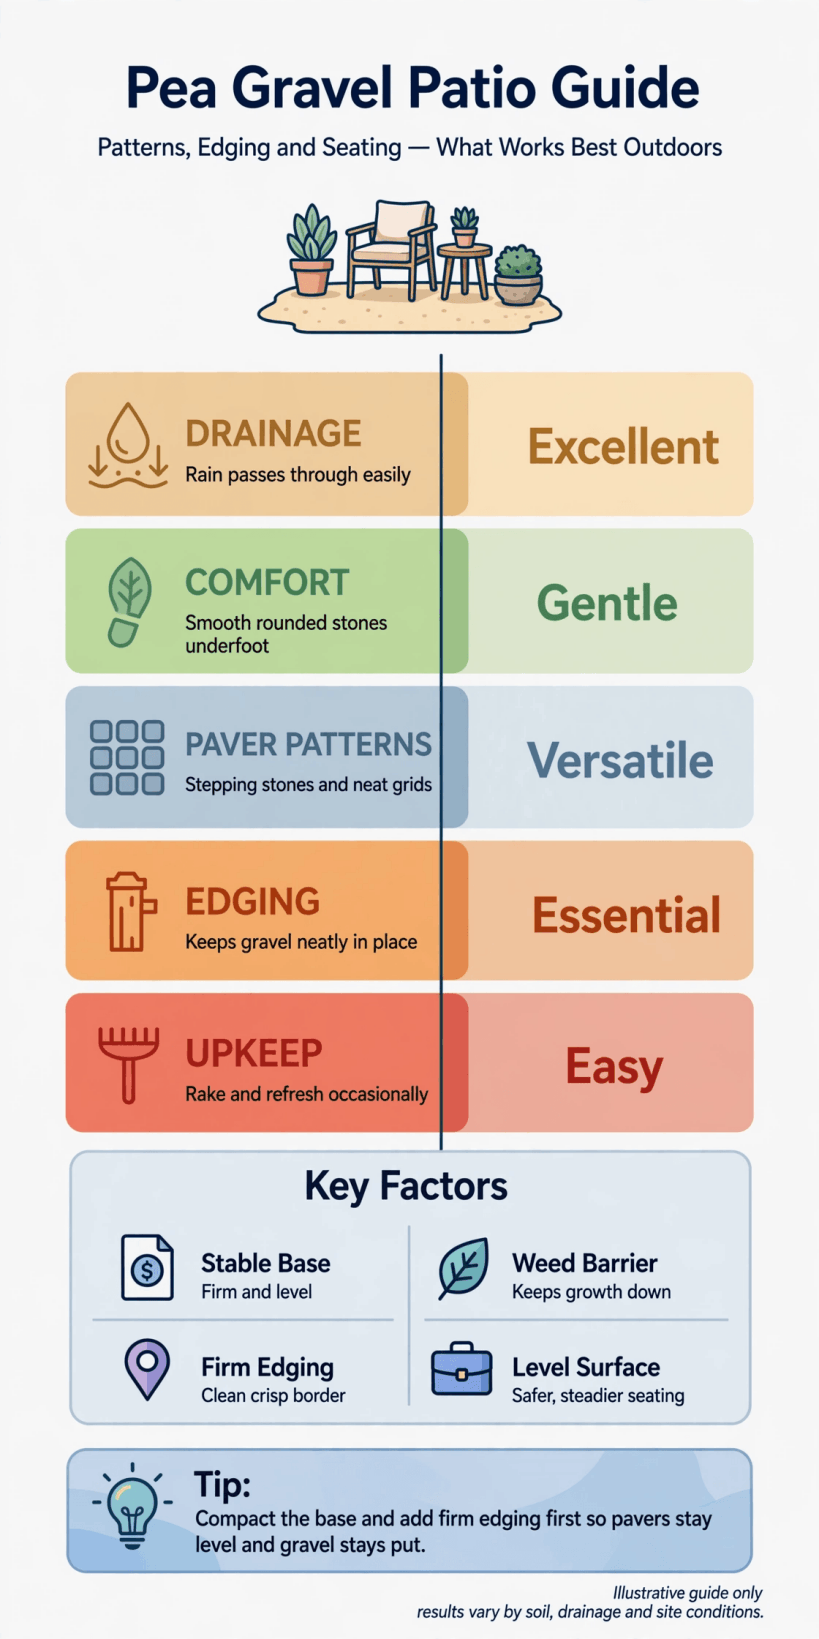
The build in one picture: a firm compacted base, a containing edge, a shallow layer of gravel and pavers wherever people stand, sit and step.
2. Start With the Shape: Rectangles, Curves and Courtyards
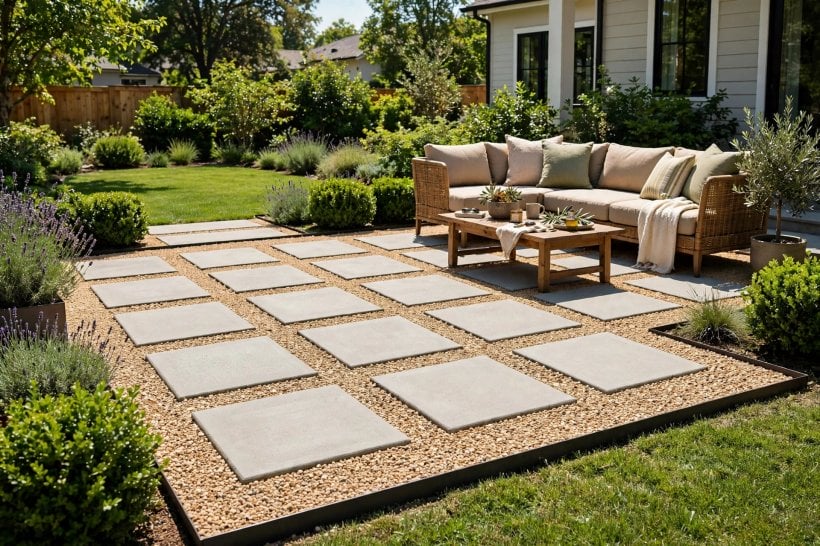
Shape comes before materials. A crisp rectangle is the easiest outline to edge and the kindest to beginners, because straight runs of edging are simple to lay level and gravel fills corners without fussy cutting. Curves look softer against planting and suit cottage-style gardens, but every curve asks more of your edging, which has to bend smoothly and stay put. Courtyard layouts, where the gravel field wraps around a corner of the house, make a small garden feel larger because the surface reads as one calm plane rather than a patch. Whatever outline you choose, sketch it at real size with a hose or a rope first and live with it for a day. Walk the routes you actually take — door to shed, kitchen to bins, gate to seating — and let those lines argue with the drawing. If you are planning the whole plot at the same time, our roundup of new home exterior design ideas shows how patios sit within a wider scheme. A shape that respects daily movement never needs rescuing later with awkward extra stepping stones.
3. Build a Base That Stays Level
The base is the unglamorous layer that decides everything. Strip turf and topsoil until you reach firm ground, level the bed with a gentle fall away from the house so rain drifts off the surface, and lay a weed-suppressing membrane if your soil is lively. Over that goes crushed stone — angular, compactable material rather than round gravel — firmed down in thin passes with a plate compactor or a hand tamper for small areas. This compacted layer is the real patio; the pea gravel on top is mostly a finish. Pavers bedded on this base sit still, gravel stays where it belongs, and the whole surface shrugs off frost and heavy rain far better than stones tipped straight onto soil. Skipping the base to save a weekend is the classic false economy: within a season the surface ripples, pavers rock and gravel migrates into the lawn. Anyone who has followed a full self-build, like the projects in our guide to how to build your own tiny house, will recognise the pattern — groundwork first, pretty layers second, in that order every time.
4. Choose Your Gravel Colour: Creams, Greys and Warm Earth Tones
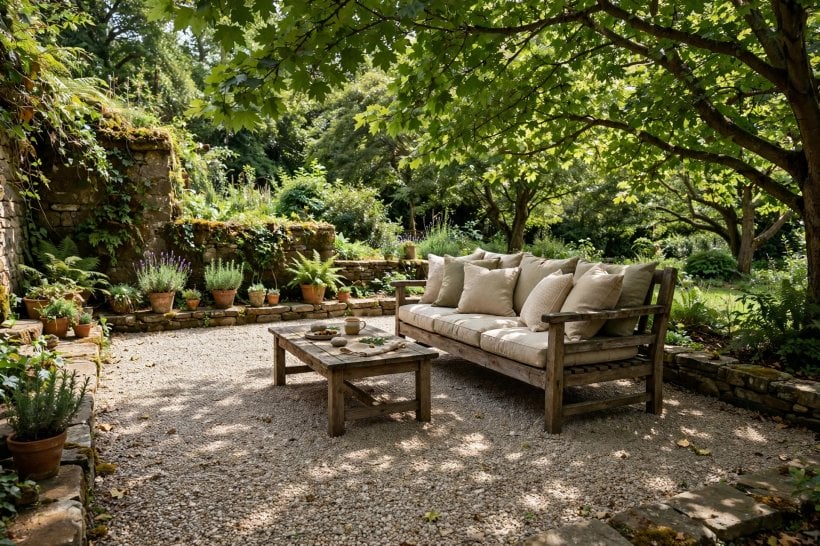
Pea gravel is a blend, not a single colour, and the blend sets the mood of the whole terrace. Cream and buff mixes feel warm and sunny and flatter terracotta, timber and brick. Grey blends read cooler and more architectural, pairing naturally with charcoal pavers, galvanised planters and modern furniture. Warm earth tones — honey, rust and soft brown — sit happily in country gardens where the patio should melt into its surroundings rather than announce itself. Always judge a blend dry and wet before committing, because rain darkens every stone and deepens the contrast with your pavers; a sample bag tipped into a tray and hosed down tells you more than any catalogue photo. Order the whole quantity in one go if you can, since natural blends drift slightly between batches and a visible tide line across the patio is hard to forgive. If the surface will meet a path or a second terrace later, buy a small reserve bag for repairs so future top-ups match the original tone.
5. Pick a Paver Style: Slabs, Stepping Stones and Brick
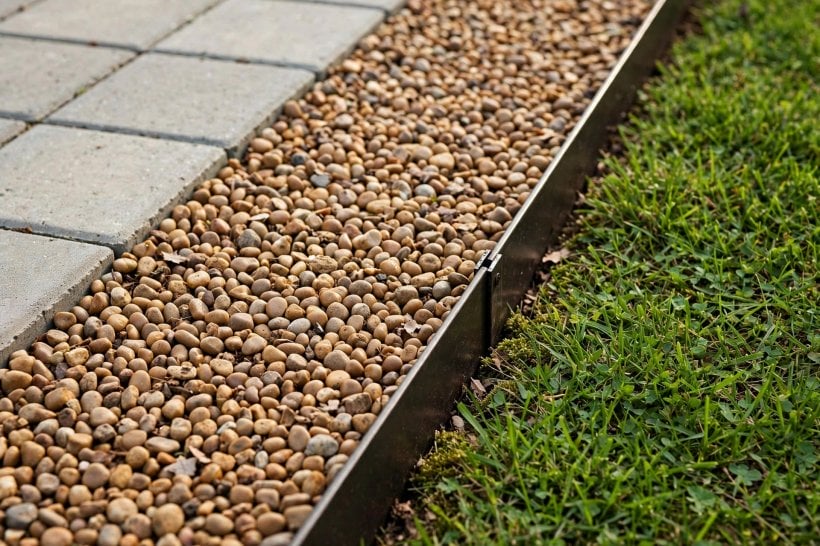
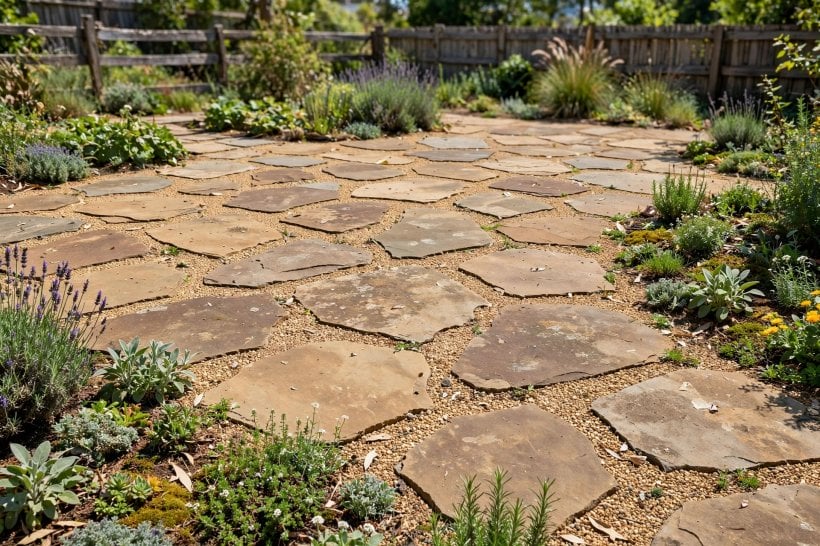
Pavers are the punctuation marks in the gravel, and their style steers the whole design. Large square or rectangular slabs in a loose grid give a calm, contemporary rhythm and provide generous flat spots for furniture. Stepping stones — round, oval or irregular flags — feel more relaxed and work beautifully where the patio doubles as a route through the garden. Brick pavers bring pattern and heritage character, especially laid in herringbone or basketweave inside a gravel field near older houses. Whichever style you pick, keep the top of each paver a touch above the settled gravel line so heels and chair legs land on stone, not stones. Spacing matters too: a comfortable stride sets the gap for stepping stones, while slab grids look best when the joints align in both directions. If you enjoy working out layouts on paper first, the approach in design my own tiny house — measure twice, draw once, then build — applies just as well outdoors as it does to floor plans indoors.
6. Lay Stepping-Stone Paths Through the Gravel
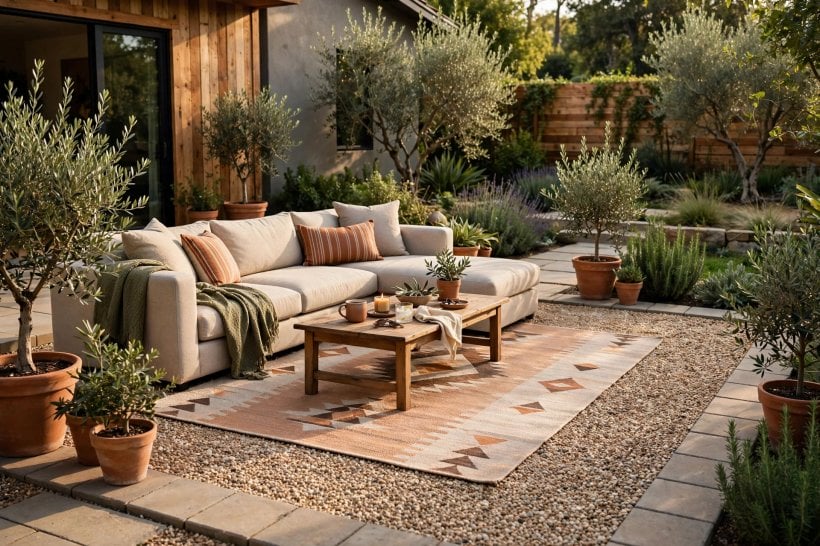
Even on a mostly open patio, people travel in lines, and a deliberate line of stepping stones keeps those journeys comfortable in slippers, in the wet and after dark. Set each stone on its own small bed of compacted material or a dab of mortar so it cannot rock, and check with a straightedge that neighbours sit at the same height — a single proud stone catches every toe that passes. Leave the stones slightly proud of the gravel so the route reads clearly and stays cleaner than the surrounding surface. Where the path turns, widen the landing stone; where it meets steps or a threshold, make the last stone the biggest of the run. A path also divides a large gravel field into friendlier zones without a single wall or fence: seating on one side, planting on the other, movement flowing between. In winter, when gravel can feel uncertain underfoot, that firm stone route to the shed or the back gate quietly becomes the most appreciated part of the whole design.
7. Edge Everything: The Border That Stops the Spill
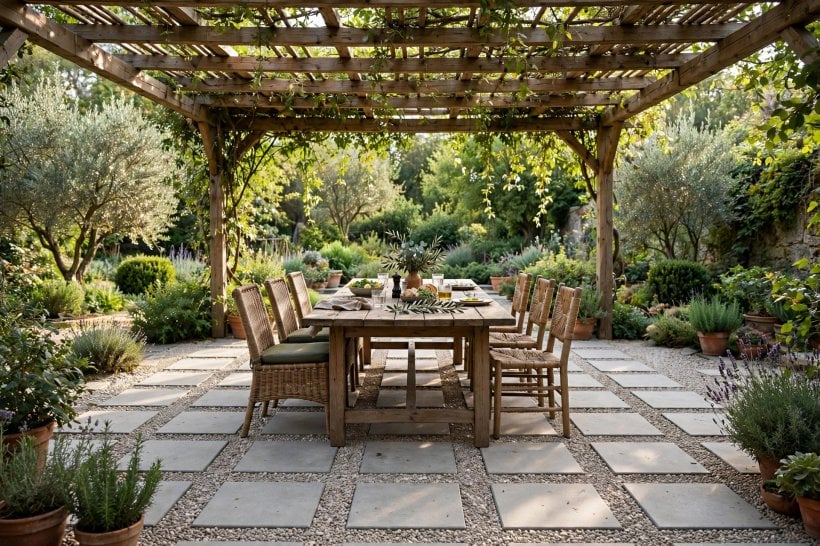
Gravel travels. Shoes, paws, mower wheels and heavy rain all nudge it outward, so a patio without a firm edge slowly dissolves into the lawn and the beds. Metal edging gives the sharpest, thinnest line and suits modern layouts; stone and brick setts make a chunkier border that doubles as a visual frame; timber sleepers or boards bring warmth to relaxed, rural schemes. Set the top of the edging a little above the finished gravel level — enough to catch wandering stones, not so much that it becomes a trip edge along paths. Corners deserve extra care, since they take the knocks from barrows and boots. Edging is also where a modest budget does the most visible good: plain gravel inside a crisp border looks deliberate, while premium gravel spilling past a tired edge looks unfinished. The same thinking runs through our notes on how to make a tiny house for cheap — spend on the details the eye reads first, and let simpler materials fill the rest.
8. Mix Gravel With Planting for a Softer Look
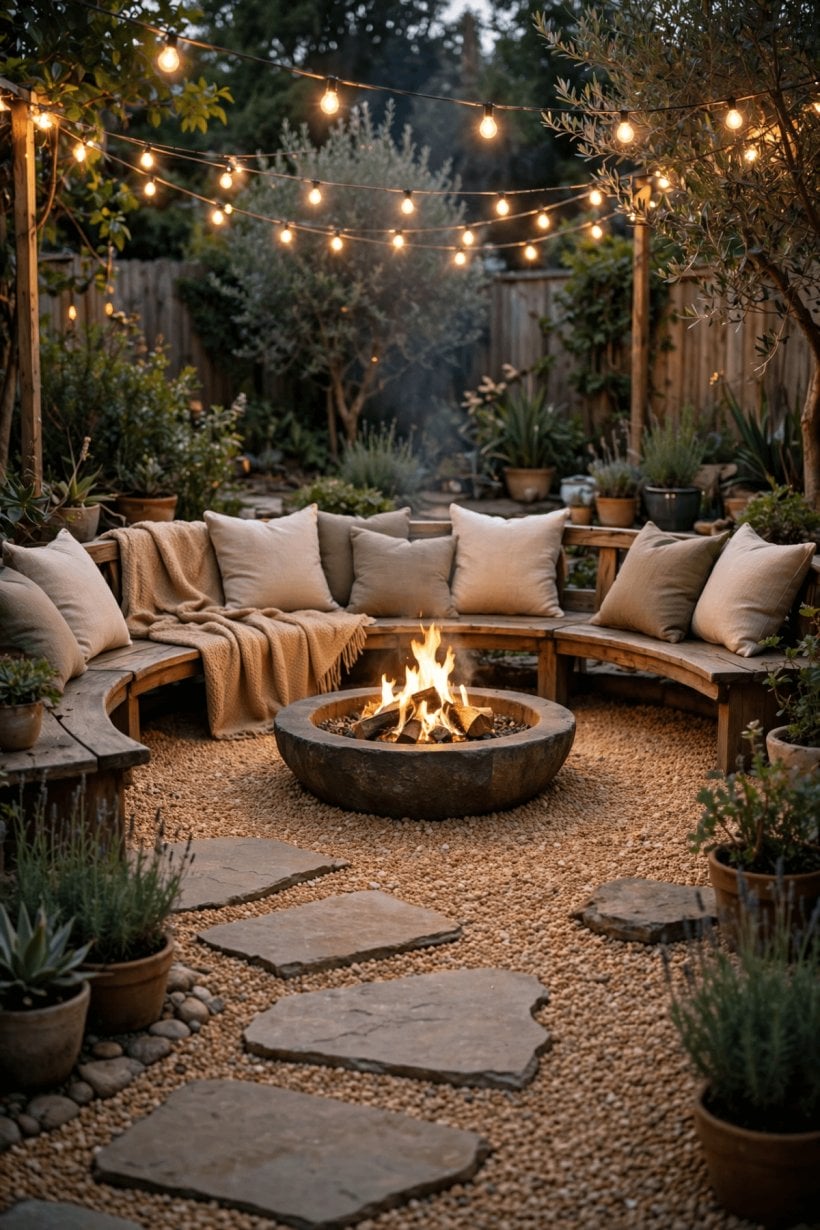
A gravel field is a natural home for planting pockets, because the stones act as a mulch that keeps roots cool and suppresses weeds around the crowns. Low mounds of lavender, rosemary and other sun-loving herbs love the drainage, while ornamental grasses add movement above the still surface. Pots work too, and they work best standing on pavers rather than gravel, where they sit level and leave no rust rings in the stones. Keep planting pockets outside the main walking lines and away from chair legs, so your pea gravel patio stays easy to rake and the plants stay untrampled. A little green changes the acoustics as well as the view: foliage softens the crunch underfoot and makes the space feel furnished even before any furniture arrives. Choose plants that drop little debris if the patio sits under trees, or accept a few extra minutes with the leaf blower in autumn as the price of dappled shade in summer. For more small-space planting and furnishing inspiration, browse our tiny house and small-space interior design ideas and steal the same layering tricks for outside.
9. Plan Seating, Fire Pits and Dining Zones
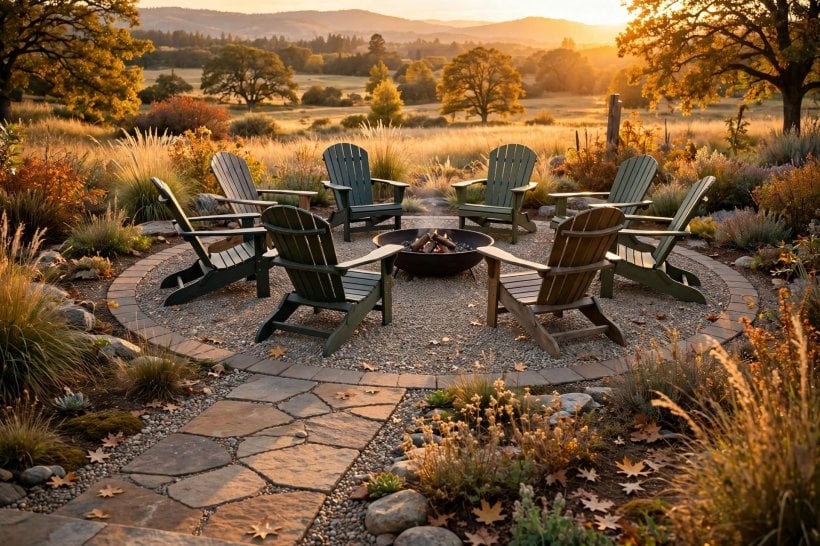
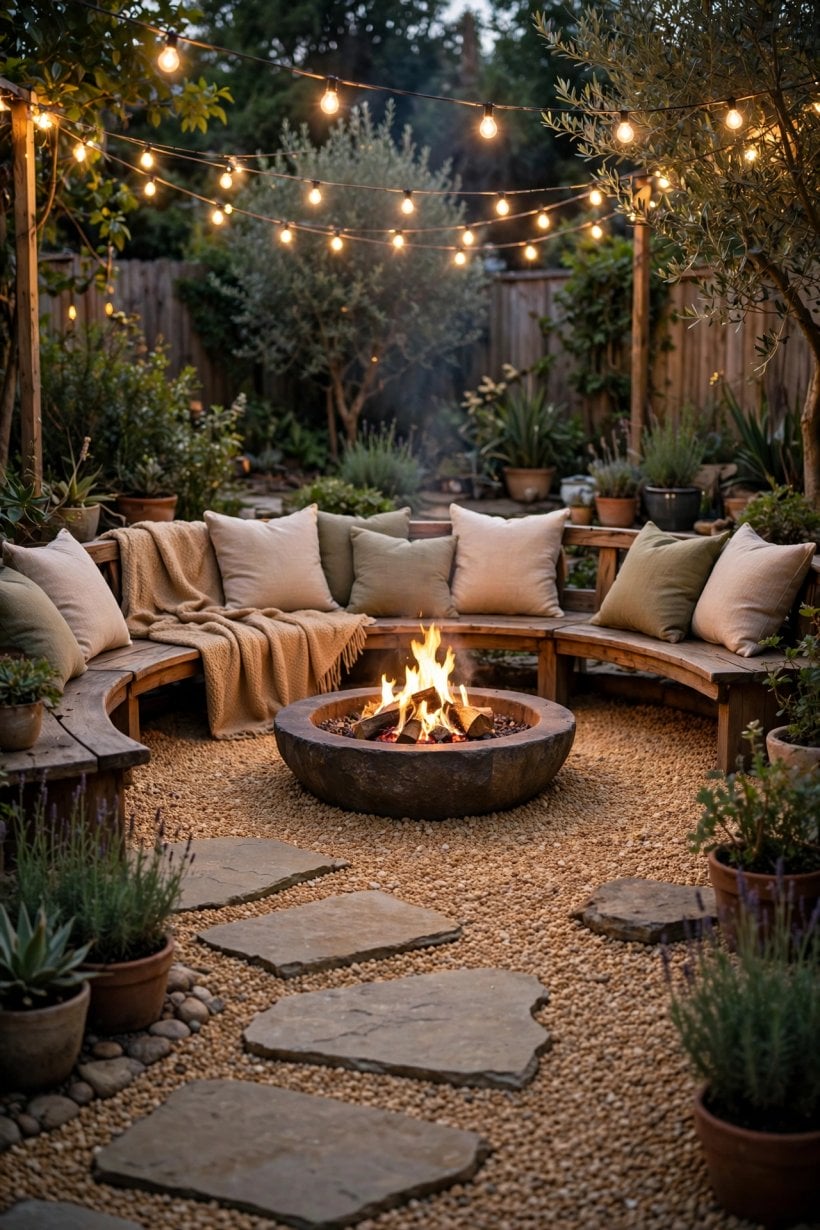
Furniture is where the paver plan earns its keep. Chairs and table legs belong on slabs, not on loose stone, so sketch your seating layout before the pavers go down and place a slab under every leg line. A dining set wants a generous paved pad at its centre with gravel softening the edges; loungers are happier spread across a wider slab grid where they can be shuffled without sinking. Fire pits suit this surface well, since gravel is forgiving of the odd spark, but give the pit its own paver hearth so it stands dead level and the heat has a buffer from any membrane below. Think about evening routes too — from door to fire pit to seating — and let stepping stones stitch those zones together. Shade decides where people actually linger, so watch the sun for a day before fixing anything permanent. When the layout flows, the patio starts to work like an outdoor room, much as the spaces in our home interior design ideas for tiny houses flow indoors: zones defined by surface and light rather than by walls.
10. Keep It Tidy: Raking, Topping Up and Weed Control
Maintenance is light but not zero, and a small routine keeps the surface looking freshly laid. Rake the gravel every few weeks to level footprints, fill hollows and lift the texture; a leaf blower on a gentle setting clears leaves and seeds before they compost into the stones and feed weeds. Pull the occasional wind-blown weed by hand while it is small — with a membrane and a compacted base beneath, there should never be many. Expect the level to settle in the first year and keep a bag or two of matching gravel aside for a thin top-up where traffic is heaviest, especially at thresholds and along the main path. Pavers may need an annual wash to shift algae in shaded corners, and edging benefits from a yearly check for lifted sections after frost. None of this is heavy work, and most owners fold it into ordinary garden tidying. The reward for the routine is a surface that drains after every storm, never turns to mud and still looks deliberate years after the weekend it was built.
Final Considerations
Pea gravel and pavers succeed because each material covers the other’s weakness: the stones drain, flex and forgive, while the slabs give structure, comfort and a firm footing exactly where life happens. If you remember only three rules, make them these — build a real base, edge the field firmly, and put a paver under everything that stands, sits or steps. Colour, pattern and planting can all evolve later; the bones cannot. Start with the shape your household actually walks, choose a gravel blend you have seen wet as well as dry, and let the design grow from there. For a finishing touch, look at how your indoor rooms meet the garden — the relaxed, layered feel in these modern living room interior design ideas translates outdoors beautifully. A patio built on those principles will earn its place in every season, from the first coffee of spring to the last fire-pit evening of autumn.

0 Comments