

A master bathroom renovation rewards careful thinking more than quick shopping. The rooms that work best usually share the same habits: honest measurements, sensible layouts and finishes chosen for daily life, not just for photographs.
This guide gathers those lessons into a calm checklist, so each decision can be checked before money is spent or walls are opened.
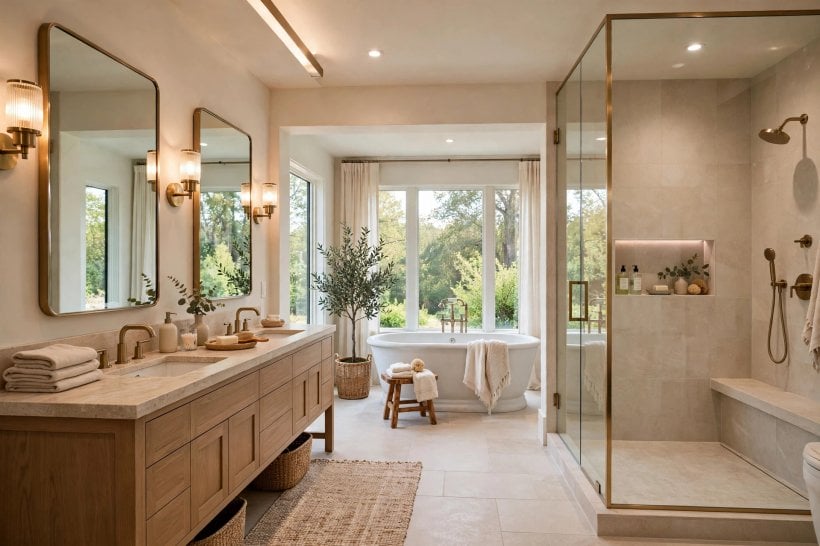
1. Start With How the Room Is Actually Used
Before choosing a single tile, write down how the room is used on an ordinary weekday. Who gets ready first, who follows, where towels land, and where bottles, hair tools and laundry tend to gather? A renovation that answers those small questions honestly will feel generous even if its footprint never changes, while a beautiful room that ignores them will frustrate its owners every single morning.
| Check | What to confirm | Why it matters |
|---|---|---|
| At a Glance: Users | One person or two, and at what times | Shapes basin, mirror and storage choices |
| At a Glance: Layout | What stays, what moves, what is removed | Moving plumbing usually costs more than keeping it |
| At a Glance: Light | Natural light, task light and evening light | Prevents gloomy corners and harsh shadows |
| At a Glance: Storage | Daily items versus occasional items | Keeps surfaces clear and cleaning simple |
| At a Glance: Budget shape | Must-haves, nice-to-haves and a contingency | Protects the project when surprises appear |
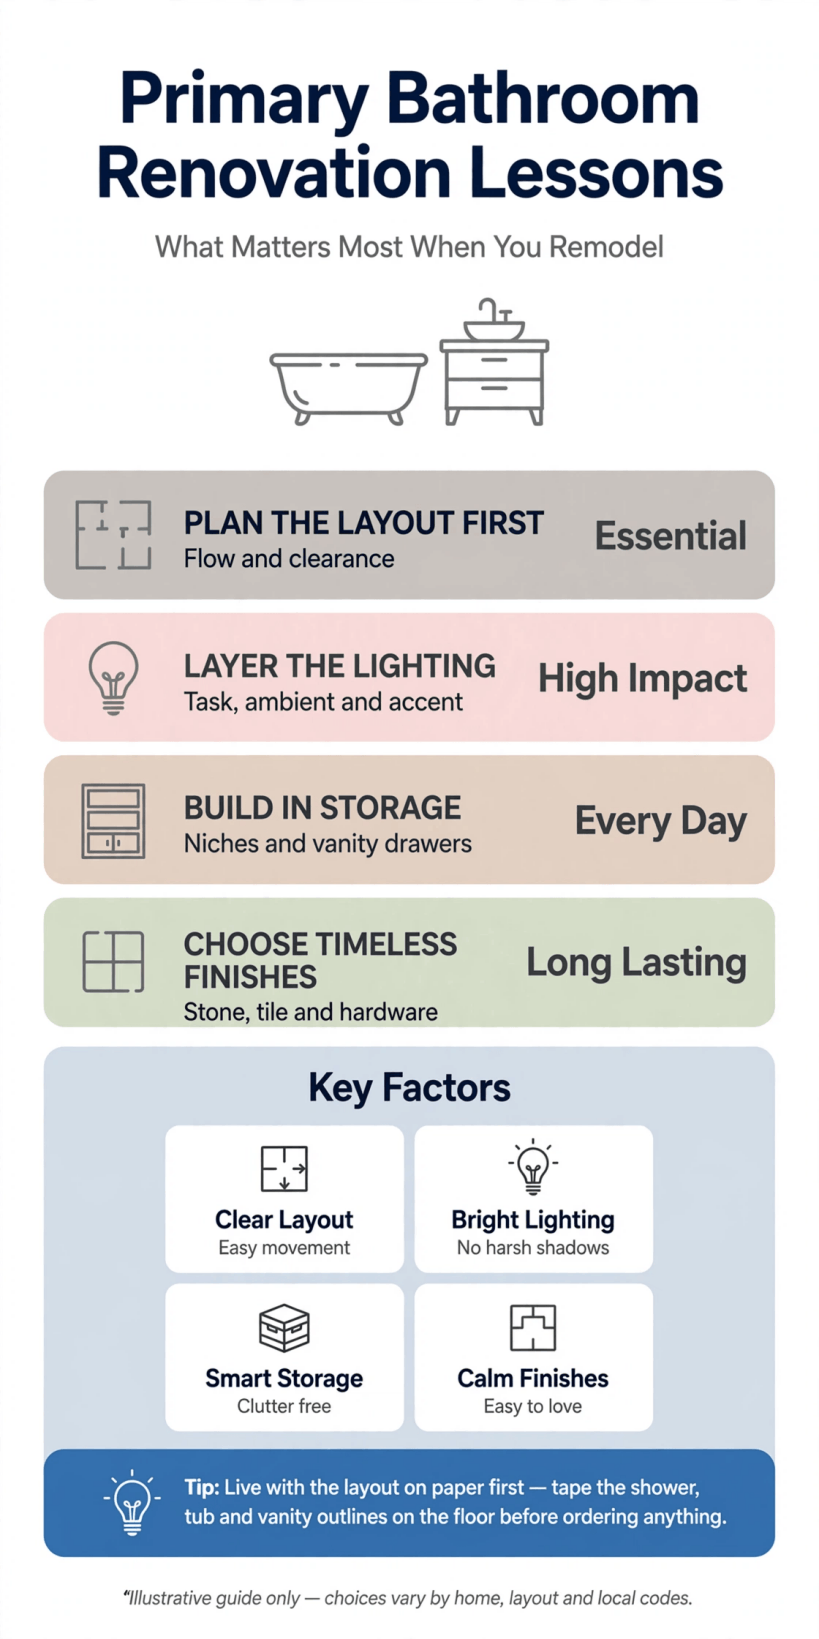
A simple at-a-glance summary keeps the whole renovation visible on one page, from first measurements to final checks.
Measure the room properly, including door swings, window positions and ceiling height, and note where the existing plumbing enters and leaves. Photograph every wall before anything is removed. Those records become invaluable when a fitting needs to sit exactly where a pipe already runs, or when a delivery needs to pass through a narrow hallway. For wider inspiration on small-room planning, see these bathroom interior design ideas for tiny houses, which show how much careful measuring matters in compact spaces.
Finally, decide what success looks like in plain language: a shower that is easy to clean, two people able to get ready without collisions, or storage that swallows daily clutter. When readers say they want to remodel my master bathroom, that plain sentence is usually the real brief hiding underneath the wish list, and every later choice should be tested against it.
2. Set the Layout Before the Finishes
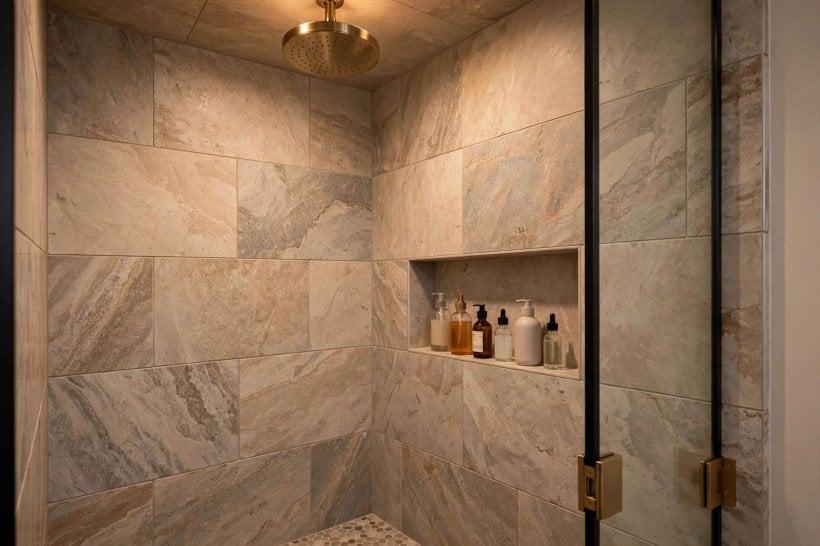
Layout decisions are the hardest to reverse, so they deserve the first and longest conversation. Keep the toilet, shower and basin in their existing positions if the current arrangement basically works, because moving soil pipes and water lines tends to be the most disruptive part of any bathroom project. Spend the saved effort instead on clearances: comfortable space in front of the basin, room to step out of the shower safely, and a door that opens without striking a fitting.
Walk the proposed layout in your imagination at different moments. Picture carrying a laundry basket through the room, cleaning around the toilet, and reaching for a towel with wet hands. If any of those ordinary movements feel awkward on paper, they will feel worse in tile and glass. Adjust the plan while adjustment is still free.
Consider separating functions where space allows. A water closet, a shower zone and a grooming zone that can be used semi-independently make shared mornings far calmer. Even a half-height wall, a frosted glass panel or a well-placed vanity can create that sense of separation without building full new rooms. The same zoning thinking appears in these ideas for home interior design in small spaces, where every zone has to earn its place.
Check the unglamorous details too: where the extractor fan vents, whether the floor structure can carry a heavy bath or large tiles, and how the room will be heated. A layout that answers those questions early rarely produces expensive surprises later.
3. Choose the Bath, Shower or Both Honestly
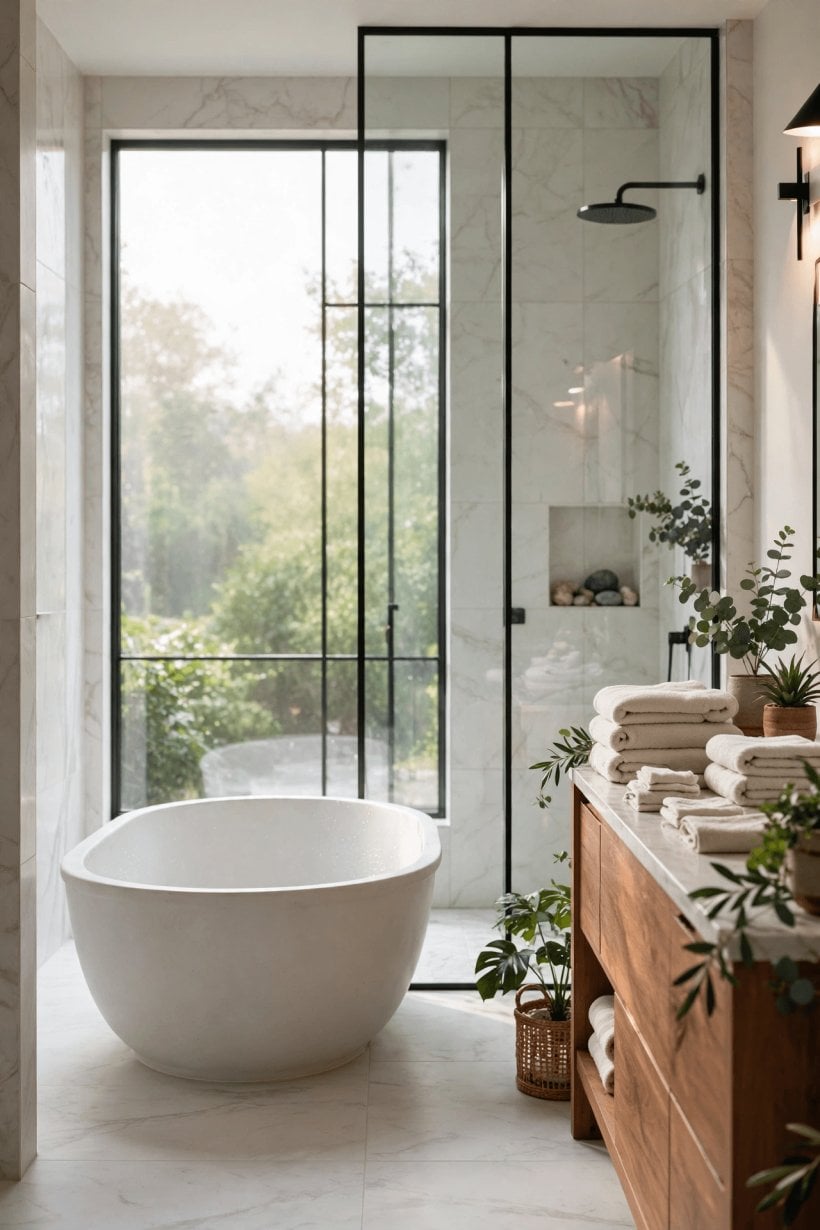
Few choices divide opinion like keeping a bath, fitting a generous shower, or trying to squeeze in both. The honest test is behaviour, not aspiration. If baths are a weekly ritual, protect a comfortable tub and give the shower a sensible enclosure over or beside it. If baths happen twice a year, a spacious, easy-access shower will probably bring far more daily pleasure.
For showers, think about entry and cleaning as much as appearance. A low or level entry is easier for everyone, a single large glass panel is simpler to wipe than multiple framed doors, and controls placed where they can be reached before stepping under the water make mornings pleasanter. Position niches at a height that suits the people actually using them, and make sure bottles fit before the tiling is finished.
For baths, check length and shoulder room rather than relying on showroom impressions, and think about how taps will be reached for cleaning and for bathing children or washing hair. Freestanding shapes look sculptural, but fitted baths often give better sealing, storage edges and splash control in everyday family use.
Whichever combination is chosen, leave comfortable drying space beside it. A renovation often fails in the two steps after the shower, not inside it. A hook, a warm towel and somewhere safe to stand matter as much as the headline fitting.
4. Plan the Vanity Around Real Storage
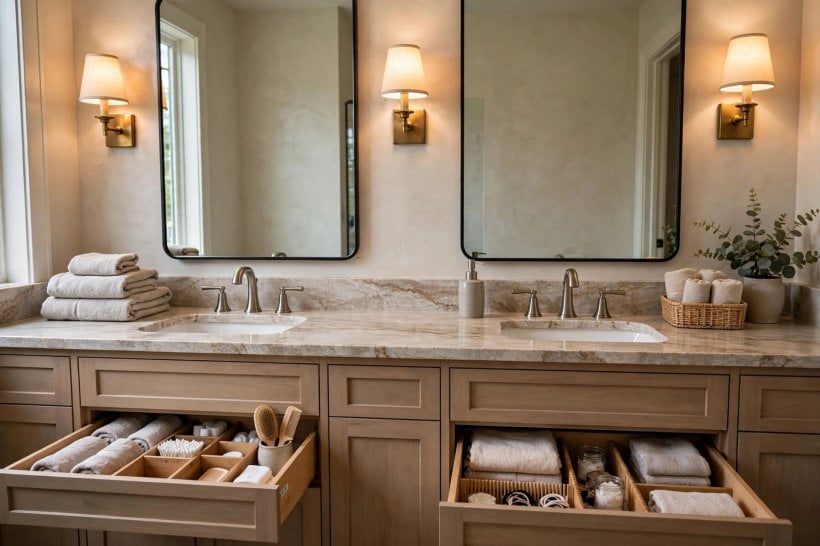
The vanity carries the daily workload of the room, so plan it from the inside out. List everything that needs a home: toothbrushes and chargers, medicines kept safely, cosmetics, hair tools, cleaning products and spare towels. Then assign each group a drawer, shelf or cabinet before choosing handles and finishes. Drawers usually serve daily items better than deep cupboards, because nothing gets lost at the back.
Decide between one wide basin and two smaller ones by watching the morning routine rather than copying a showroom. Two basins help only if there is also counter space and mirror space for two people; otherwise one generous basin with clear worktop either side can feel calmer and be easier to clean.
Mirrors deserve the same practical treatment. A mirror cabinet can quietly solve the storage problem for small bottles, while a large plain mirror maximises light and makes the room feel bigger. Check that cabinet doors can open without hitting lights or taps, and that any demisting or lighting features are genuinely wanted rather than simply bundled.
Worktop material should tolerate water, toothpaste and heat from styling tools without fuss. Keep the area around the basin as uncluttered as the storage plan allows, and the whole room will feel more restful. Similar inside-out storage thinking works beautifully in bedrooms too, as shown in these small bedroom interior design ideas.
5. Pick Tiles and Surfaces for Cleaning, Not Just Looks
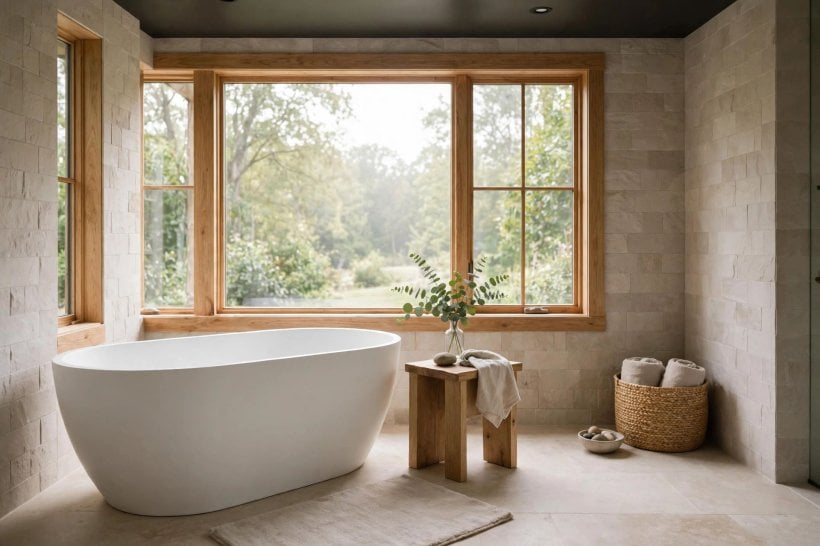
Every surface in a bathroom has to survive water, steam, soap and regular cleaning, so judge samples under those conditions rather than under showroom lights alone. Large tiles mean fewer grout lines to scrub, while smaller tiles can give better grip and easier slopes on a shower floor. Both approaches work; the right one depends on the room and on who will be cleaning it.
Always view tile, paint and metal finishes together in the actual room, in daylight and in the evening. Colours shift dramatically under warm bathroom lighting, and a sample that looked soft grey in a shop can turn blue or green at home. Lay large samples on the floor and prop them against the wall for at least a day before committing.
Think about grout as a design and maintenance choice in its own right. A grout colour close to the tile gives a calm, continuous effect and can be more forgiving of everyday marks, while strong contrast highlights pattern but also highlights every line that needs cleaning. In wet areas, correct waterproofing behind the tiles matters far more than the tile itself, so ask how corners, joints and penetrations will be sealed.
For floors, slip resistance when wet and soapy should come before shine, especially in a shower zone. A matte, textured finish in the wettest areas combined with smoother walls is a sensible, good-looking balance for most households.
6. Get Lighting Right in Layers
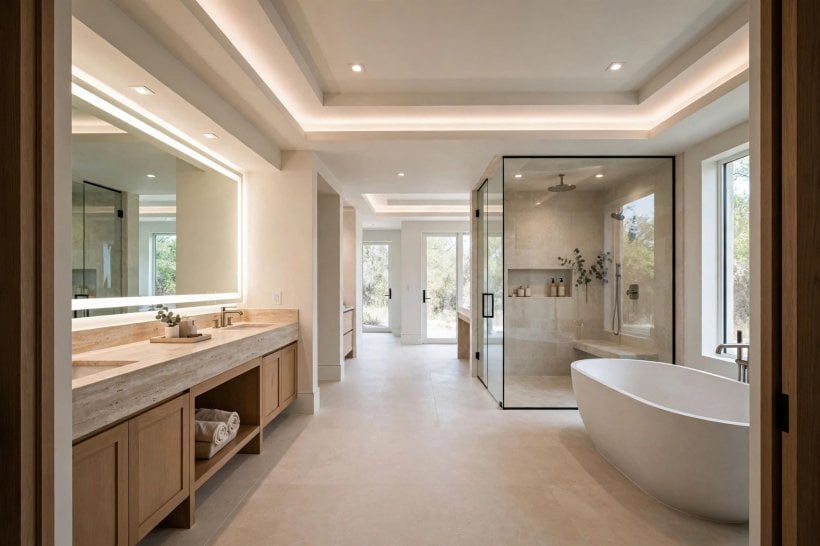
Bathroom lighting has three jobs: safe movement, accurate grooming, and a calm atmosphere for a late soak. A single ceiling light rarely does all three well, so plan in layers. Start with even general light, add task light at the mirror, then consider a softer low-level option for night-time visits that will not fully wake the household.
Mirror lighting should light faces, not just the room. Lights placed at both sides of a mirror, or a well-designed lit mirror, reduce the harsh shadows that a single overhead light casts under eyes and chin. That makes shaving, skincare and makeup far easier and more accurate. Check how the lighting looks for the shortest and tallest users of the room, not just the average.
Make the most of natural light without sacrificing privacy. Frosted or high windows, light shelves and pale reflective surfaces can carry daylight deep into the room. Keep window treatments simple and moisture-tolerant, and avoid heavy fabrics that will suffer in steam.
Put different layers on separate switches or dimmers where possible, so the room can shift from bright morning mode to a gentle evening one. That flexibility is one of the cheapest ways to make a renovated bathroom feel considered. For more layered-light thinking across the home, browse these modern interior design ideas.
7. Ventilation, Heating and the Hidden Checks
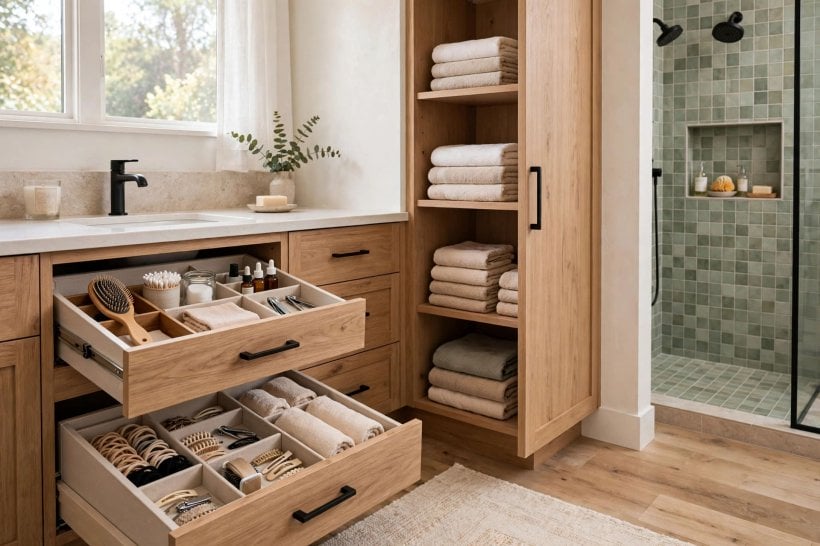
The most important parts of a bathroom renovation are often the ones nobody photographs. Ventilation that actually clears steam protects paint, grout, mirrors and even the structure of the room. Check that the extractor is sized for the room, vents to the outside rather than into a void, and runs for long enough after a shower to dry the air properly. A timer or humidity-sensitive control removes the need to remember it.
Heating deserves equal attention. A towel warmer that is too small, or placed where towels cannot hang properly, is a common disappointment. Underfloor heating can make tiles comfortable and help floors dry, but it needs to be planned before tiling and matched to the floor build-up. Whatever system is chosen, confirm where thermostats and controls will sit and that they can be reached easily.
While walls and floors are open, check the condition of pipes, valves and waste runs, and fit accessible isolation valves so future repairs do not mean draining the whole system. Photograph pipe routes before they are covered. Those photographs are a gift to anyone who later needs to drill, repair or renovate again.
Finally, confirm electrical work, water pressure and waste falls with qualified professionals and local requirements before finishes go on. Rules differ by place, so treat this article as a checklist of questions to ask, not as a substitute for local professional advice.
8. Spend in the Right Order
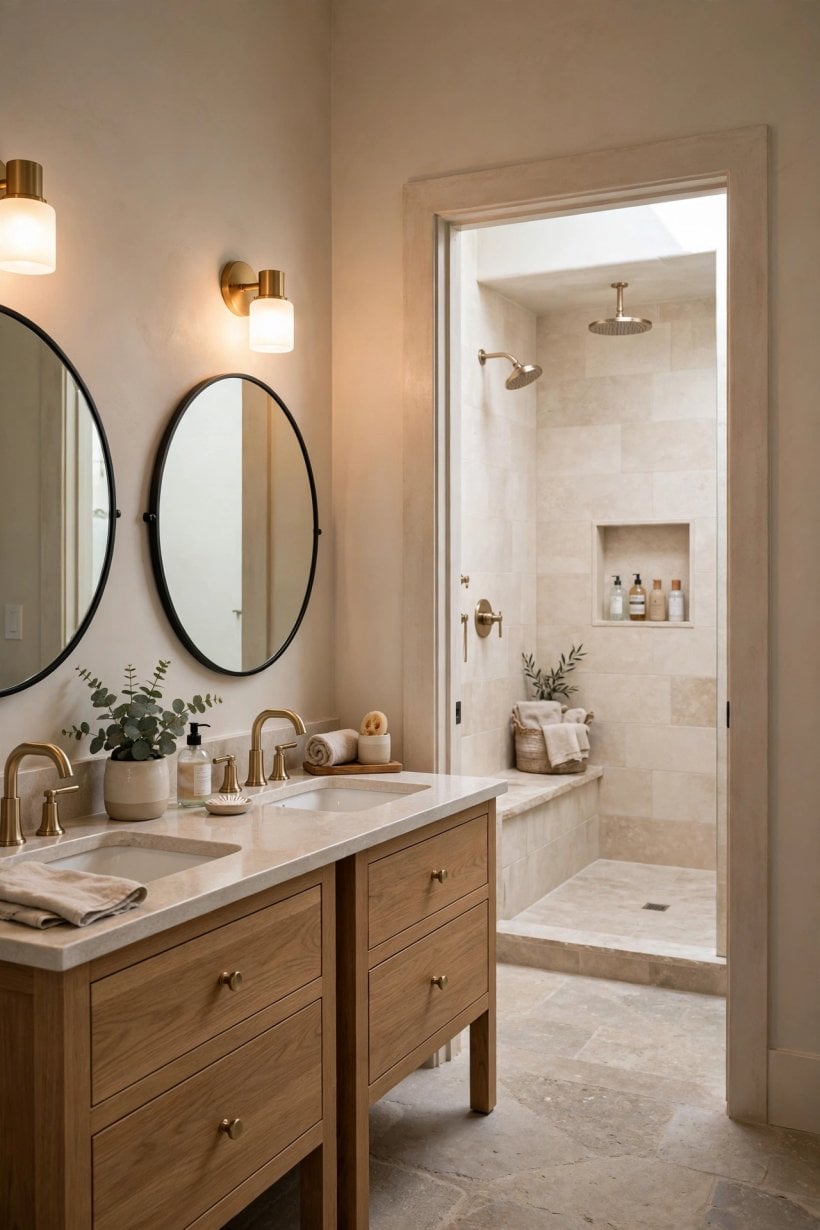
Without inventing prices, it is still possible to spend wisely by following a clear order. Protect the budget first for the things that are expensive to change later: sound plumbing, waterproofing, ventilation, heating and a layout that works. Those hidden foundations decide whether the room still feels good in five years, long after tap styles have changed.
Next come the hard-working fittings used several times a day: the shower valve, the toilet, the basin and the vanity storage. Reliable operation and easy-clean shapes matter more here than decorative extras. Save a contingency as well, because opening up an older bathroom can reveal tired pipes, soft flooring or old repairs that nobody could see beforehand. A project with a contingency stays calm; a project without one turns every surprise into a crisis.
Decorative layers are the safest place to be modest. Paint, mirrors, accessories, plants and textiles can all be upgraded later in an afternoon, while moving a soil pipe cannot. If funds tighten mid-project, simplify the visible extras before touching the hidden quality. That single rule prevents most long-term regrets.
Keep a simple record of choices, model names and finish colours as work proceeds. It makes ordering spares, matching paint and explaining the room to a future buyer far easier, and it costs nothing but a few minutes per decision.
9. Plan the Work Sequence and Disruption
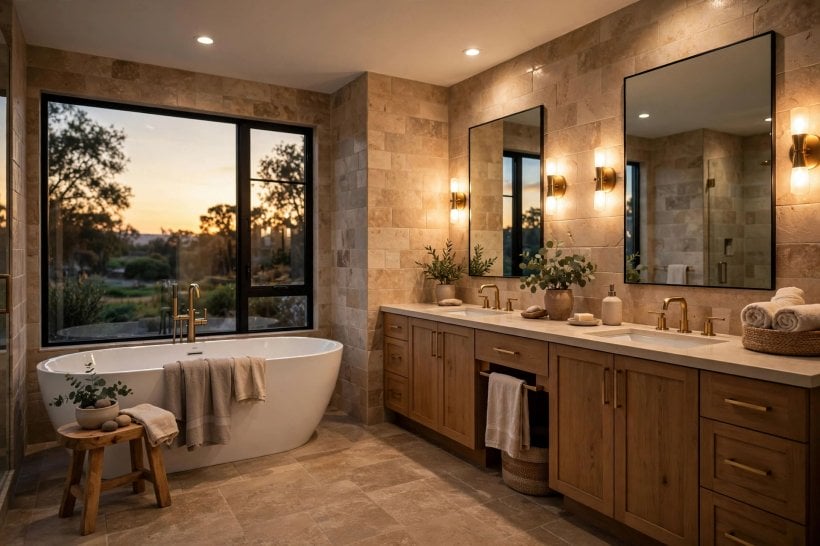
A renovation runs more smoothly when the household plans for disruption as carefully as for design. Agree the order of work in advance: strip-out, first-fix plumbing and electrics, repairs, waterproofing, tiling, second-fix fittings, then decoration and final checks. Each stage depends on the one before it, so a delivery delay for tiles or a vanity can hold up everything that follows.
Confirm lead times before strip-out begins, and avoid removing a working bathroom until the key replacements are actually available. If this is the only bathroom in the home, discuss temporary arrangements honestly: a basic temporary shower, a borrowed facility, or scheduling the messiest work while the household is away. Clear expectations prevent most friction between owners and installers.
Protect the rest of the home during the work. Agree dust control, floor protection for hallways, where materials and waste will be stored, and working hours. Move medicines, contacts and daily essentials to another room before the first morning of work, and keep a small kit of basics together so routines can continue.
At the end of each stage, walk the room with the installer and check against the plan while corrections are still easy. It is far simpler to adjust a niche height before tiling than after. This stage-by-stage checking habit mirrors good small-space projects everywhere, including these apartment interior design ideas.
10. Final Checks Before You Call It Finished
When the last fitting is in, resist the urge to declare the project done immediately. Run every tap and the shower, flush more than once, fill and empty the bath, and watch all visible joints and the ceiling below for any sign of water where it should not be. Check that hot and cold supplies are the right way round, that controls feel smooth, and that water drains promptly without gurgling or lingering puddles on the shower floor.
Inspect finishes in both daylight and evening light. Look along tiled walls for uneven lips, check silicone lines for gaps, open and close every drawer, door and cabinet, and confirm that mirrors and accessories are firmly fixed. Note anything that needs attention on one shared snagging list, with photographs, and agree when it will be resolved. A written list keeps the conversation friendly and precise.
Collect the paperwork before final payment is discussed: guarantees, care instructions for stone, wood or special finishes, paint colours, tile references and a note of where isolation valves and access panels are. Keep spare tiles from the same batch if any remain; they are far more useful in a cupboard than discontinued in a catalogue.
Then live in the room for a few weeks and review it honestly. Small adjustments, a moved hook, a brighter bulb, an extra basket, often complete the renovation. The goal was never a showroom; it was a room that quietly makes every morning easier. For a final dose of calm, whole-home inspiration, see these small living room interior design ideas.
Final Considerations
A successful master bathroom renovation is rarely about a single dramatic feature. It is the accumulation of checked details: a layout tested against real mornings, storage planned from the inside out, surfaces chosen for cleaning, light in layers, and hidden ventilation and plumbing given the respect they deserve. Work through the sections above in order, and most expensive mistakes are caught while they are still just pencil lines.
Keep the brief in one plain sentence, keep a contingency, photograph everything before it is covered, and check each stage before the next one hides it. Do that, and the finished room should serve calmly for years, whether it is a compact ensuite or a generous family bathroom, and whether the style is classic, modern or somewhere comfortably in between.


0 Comments