

A bathroom vanity anchors the whole room. It holds the basin, hides the plumbing, stores daily essentials and sets the style for everything around it.
This guide walks through how to make bathroom vanity decisions in a calm order, from measuring the wall to fitting the top, so the finished unit looks deliberate and works hard every day.
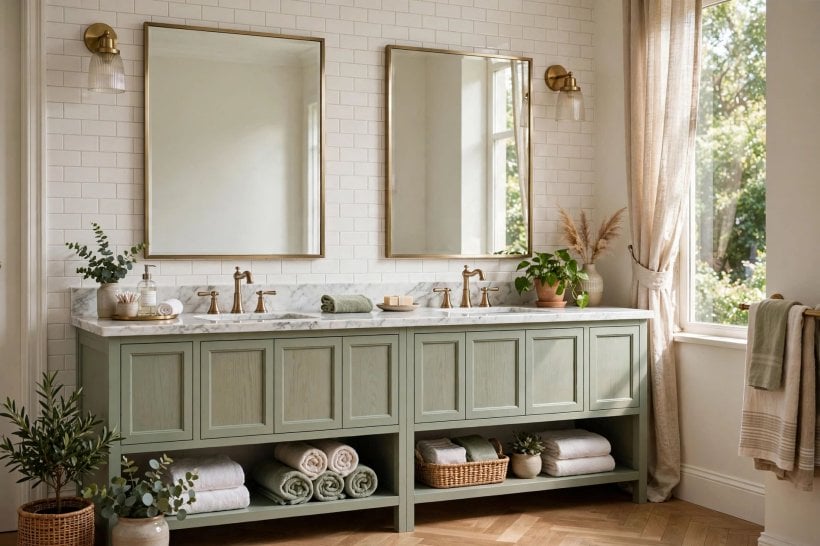
1. At a Glance: The Whole Project in Questions and Answers
| Question | Short answer |
|---|---|
| What size should I choose? | Measure the wall, leave clear floor space in front, and keep doors and drawers able to open fully without hitting the toilet or shower screen. |
| Wall-hung or floor-standing? | Wall-hung units feel lighter and suit small rooms. Floor-standing units hide more plumbing and often give deeper storage. |
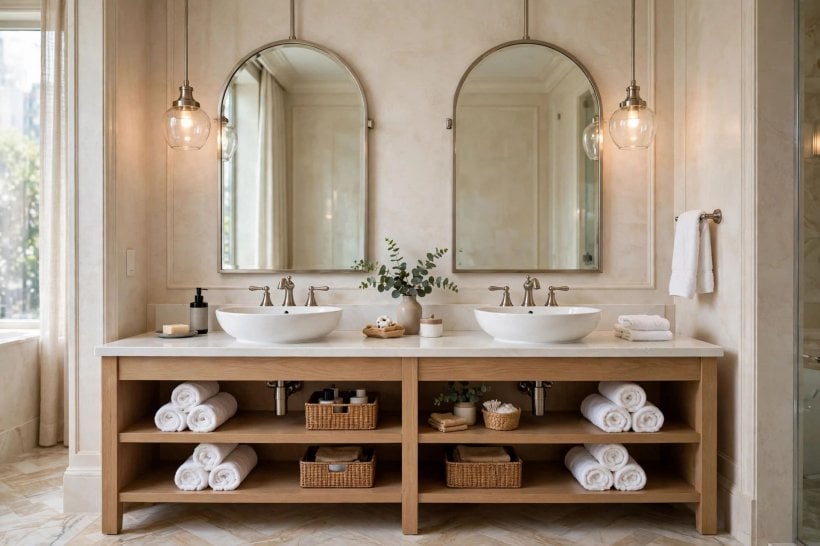
| Single or double basin? | Choose a double only when the width truly allows two comfortable washing positions with elbow room on both sides. |
| What material lasts best? | Moisture-resistant boards, sealed timber and quality stone or ceramic tops cope best with daily splashes when edges are sealed well. |
| Can I adapt these steps to a compact home? | Yes. The same order of measuring, choosing, preparing and fitting applies in tiny bathrooms, apartments and larger family rooms alike. |
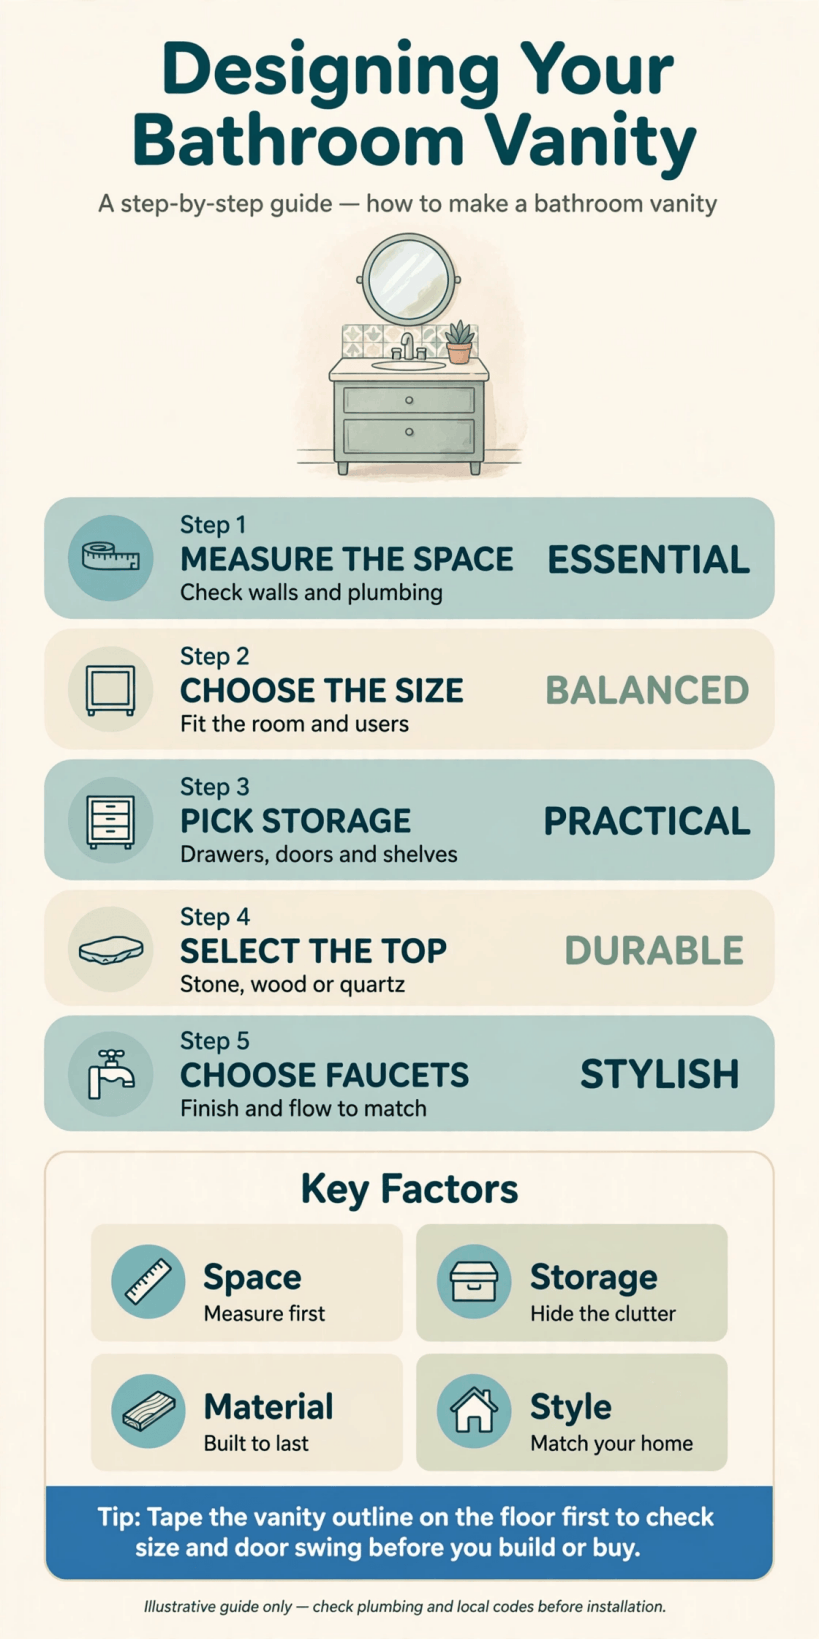
The vanity at a glance: measure first, choose the format, plan storage and plumbing together, then fit the top and finish the details.
Reading the table first helps you hold the whole sequence in mind. Each later section expands one row into practical checks you can use with a tape measure and a notebook. If you are also rethinking the whole room, our guide to bathroom interior design ideas for compact homes shows how the vanity relates to tiles, lighting and the shower zone.
2. Measure the Room and Mark the Non-Negotiables
Start with honest measurements. Record the full wall width, the depth from wall to door swing, and the height from floor to any window sill, mirror or sloping ceiling. Note where the waste pipe and water supplies leave the wall or floor, because moving them adds complexity. Photograph the pipes with the tape in frame so you can check details later without crawling behind the old unit again.
Next, mark the space the new unit may occupy with painter’s tape on the floor and wall. Stand where you will wash, mime brushing your teeth, and check that elbows, knees and the open door all stay comfortable. This is also the moment to decide how to make bathroom vanity storage match real habits: count the bottles, towels and cleaning products that must live inside, not the tidy minimum you wish for.
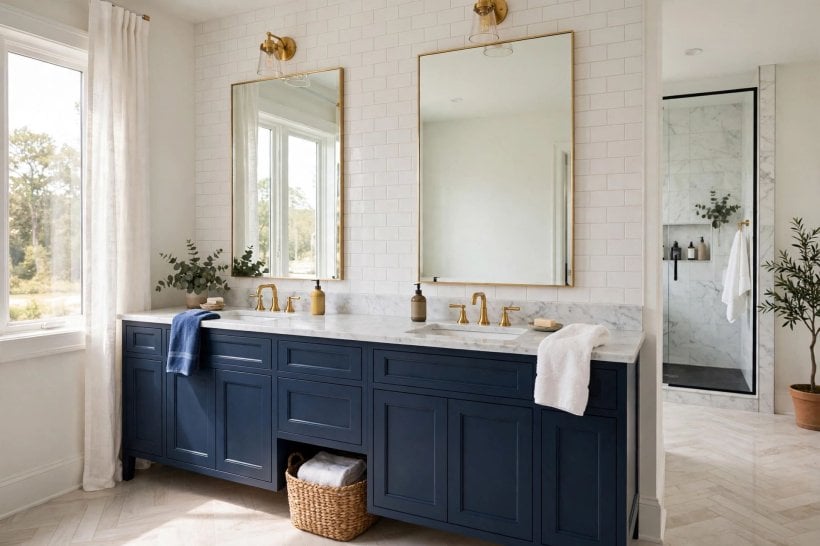
Keep a small margin around the unit. A vanity squeezed edge to edge looks cramped and leaves no room for silicone, skirting or slightly uneven walls. In very small rooms, compare your taped outline with the space-saving layouts in our complete guide to small-space interior design, which shows how a few centimetres of breathing room change how large a room feels.
3. Choose the Format: Wall-Hung, Floor-Standing or Corner
Wall-hung vanities float above the floor, which makes cleaning easier and gives an airy feel that suits contemporary rooms. They need a strong wall or a hidden support frame, so check stud positions or masonry before committing. Floor-standing vanities rest on legs or a plinth, carry weight through the floor, and forgive less-than-perfect walls. They often suit period homes and rentals where drilling into structure is limited.
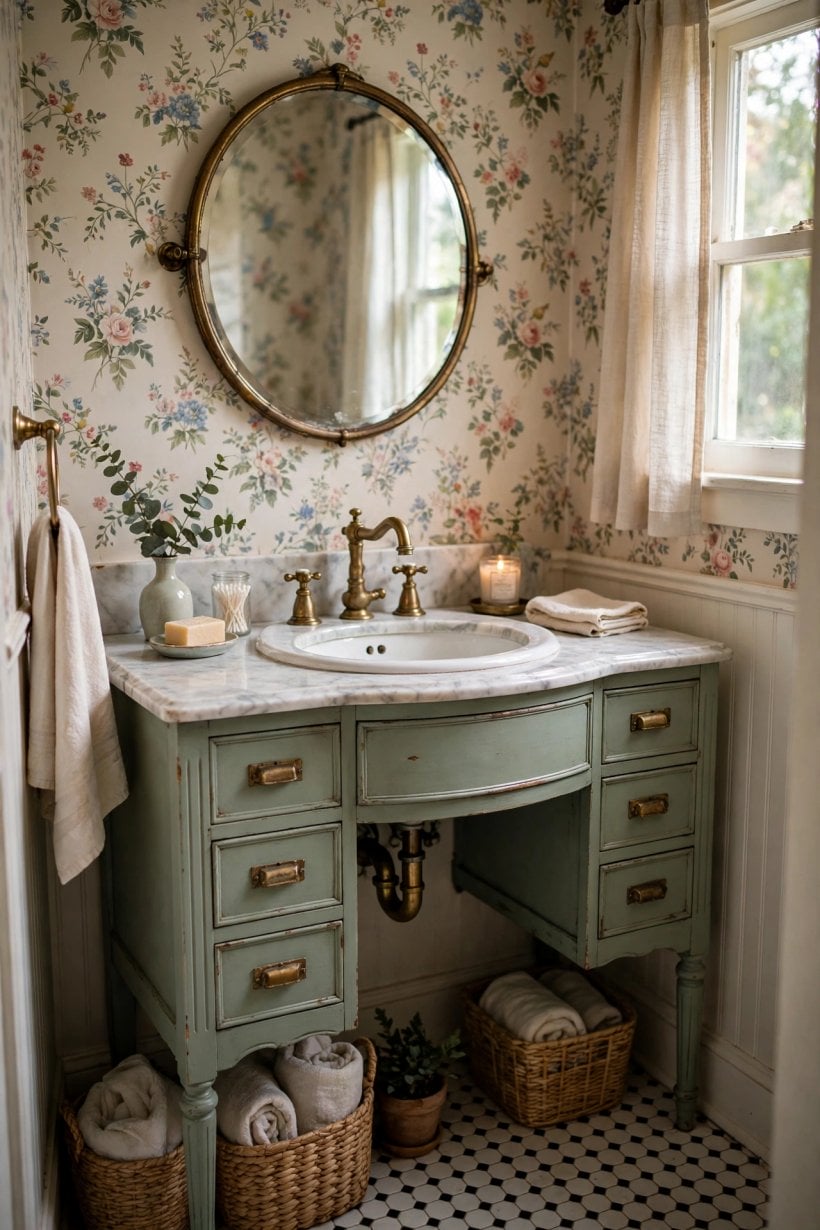
Corner vanities earn their keep in cloakrooms and ensuites where a standard rectangle would block the door. Freestanding furniture-style pieces, converted from chests or sideboards, bring character but need careful waterproofing on every surface. Whichever format you pick, imagine the room at its busiest morning moment and choose the shape that keeps movement easy.
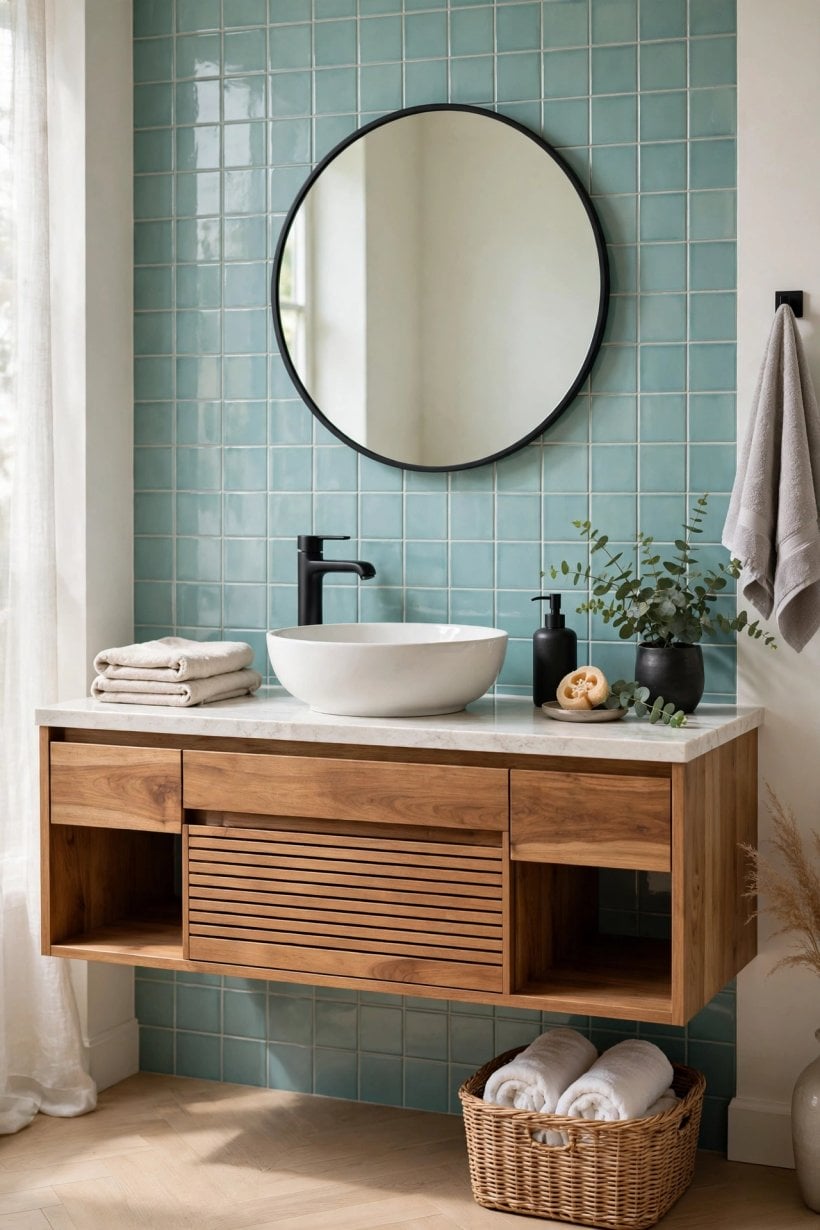
Style matters, but daily comfort matters more. A slightly plainer unit in the right format will delight you longer than a dramatic piece you sidestep every morning. For wider inspiration on mixing practical pieces with character, browse modern interior design ideas that work in small homes and note which proportions recur in rooms you like.
4. Plan Storage Around Real Routines
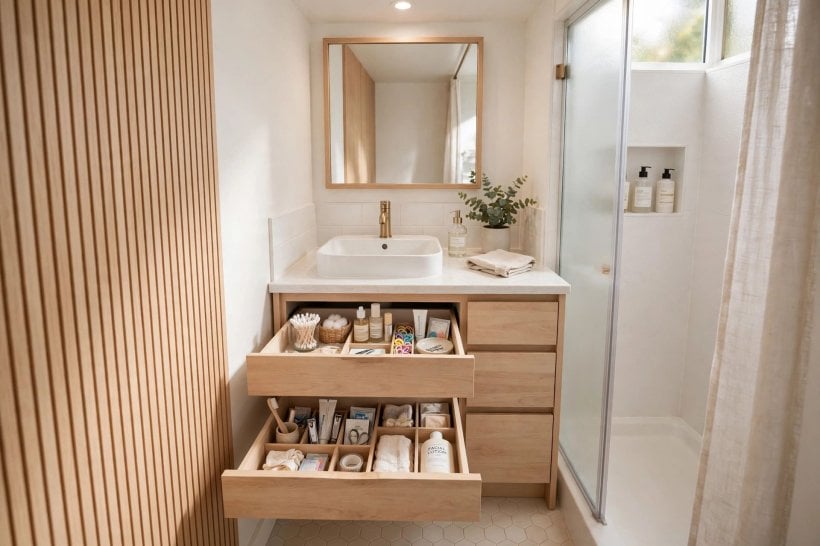
Drawers usually beat cupboards for everyday vanities. A shallow top drawer with a cut-out around the waste holds toothbrushes, make-up and hair tools where you can see them, while a deeper lower drawer swallows towels and spare bottles. Cupboards suit tall items and cleaning supplies, especially with an adjustable shelf. Open shelves look relaxed in guest bathrooms but collect dust and visual clutter in busy family rooms.
Divide the storage by person or by task rather than by object type. One side for morning routines, one for evening, a shared middle for first aid and spares. Add small trays or boxes inside drawers from the start; without them, even a generous drawer becomes a single tangled layer within a month.
Think about power as well. An in-drawer socket, installed by a qualified electrician where regulations allow, keeps chargers and styling tools out of sight. If that is not possible, plan a nearby socket position and a tidy cable route. Good storage planning is the quiet reason some bathrooms feel calm and others feel chaotic, whatever their size.
5. Pick Materials That Survive Splashes and Steam
Bathrooms cycle between dry, steamy and splashed several times a day, so materials must tolerate moisture without swelling or peeling. Moisture-resistant cabinet boards with sealed edges, solid timber finished on all faces, and metal frames with a quality coating all perform well when detailing is careful. The weak points are rarely the large surfaces; they are the cut edges, screw holes and the junction with the wall.
For the top, ceramic and stone resist stains and heat, while solid-surface materials allow an integrated basin with no seam to clean. Timber tops look warm but need a maintained finish and honest acceptance of water marks if care slips. Laminate tops have improved greatly and can be a sensible, budget-friendly choice when edges are factory finished rather than cut on site.
Whatever you choose, seal the wall junction, protect the underside of the top, and leave ventilation so damp air can escape. Readers planning a full small-home refit may also enjoy the step-by-step tiny house build guide, where the same moisture-first thinking protects kitchens, bathrooms and sleeping lofts.
6. Choose the Basin and Taps as One Decision
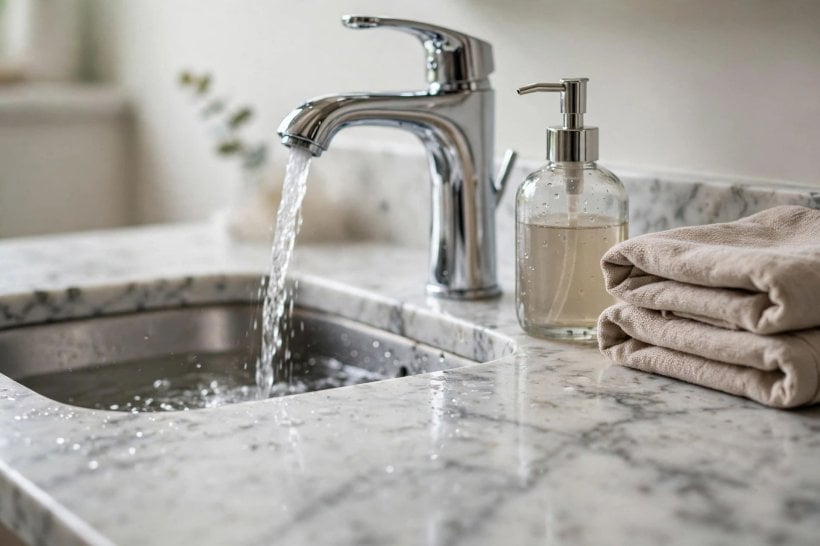
Basin and tap must be chosen together because spout height, reach and waste position all interact. A tall vessel basin pairs with a tall or wall-mounted tap; an inset basin works with most standard mixers. Check that the water stream will land near the centre of the bowl, not against the back edge where it splashes, and not so close to the front that sleeves get soaked.
Consider how the basin is cleaned. Smooth inset and integrated designs wipe down fastest. Vessels look sculptural but add a hidden ring where basin meets top that needs regular attention. Undermount basins give a clean top surface, provided the cut edge of the top is fully sealed. Pop-up wastes look neat; simple plugs never fail and suit low-maintenance homes.
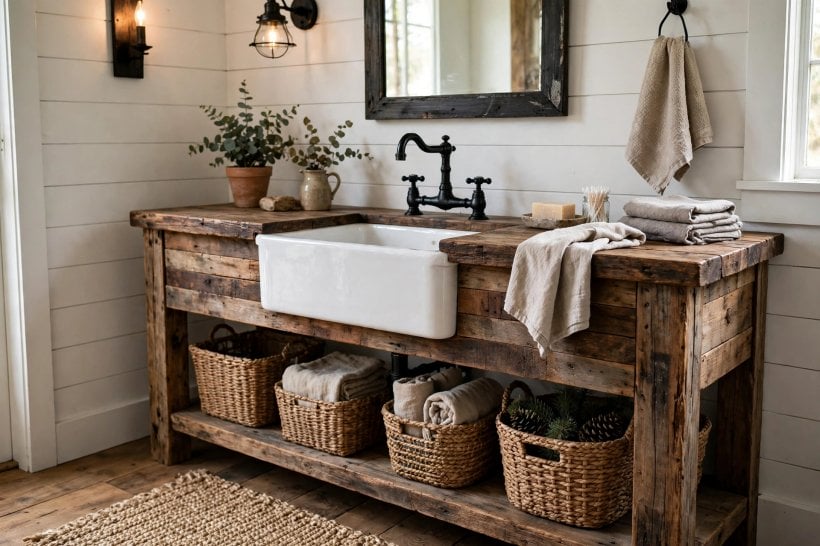
Finally, match finishes across taps, handles, mirror frame and lighting for a composed look, but do not feel forced into a single metal everywhere. One repeated finish plus one quiet accent usually looks intentional. The room schemes in living room interior design for compact homes demonstrate the same principle in a different room: restraint reads as design.
7. Prepare the Wall, Floor and Services
Remove the old unit carefully, cap the supplies, and inspect what is revealed. Soft plaster, old leaks and tired pipework are best dealt with now, while everything is open. Confirm the wall can carry a wall-hung unit or have a frame fitted inside a stud wall. Level the floor line and note any slope, because a plinth or legs will need adjustment to sit without rocking.
Set out the new waste and supply positions from the manufacturer’s dimensions, not from guesswork. Dry-fit the unit in place, mark fixing points, then remove it again for drilling. This slow preparation feels tedious, yet nearly every fitting problem later traces back to a skipped check at this stage. Protect the floor with boards, keep screws and brackets in labelled pots, and keep the basin and top boxed until the heavy work is done.
If your project sits inside a wider renovation, sequence the trades so tiling and plumbing first-fix happen before the vanity arrives. A unit fitted too early becomes a shelf for tools and a target for knocks. Patience here protects the finish you have paid for.
8. Build or Assemble the Carcass with Care
Whether you are building from boards or assembling a supplied unit, work on a flat surface and check for square at every stage. Two diagonals of equal length mean the box is true; unequal diagonals mean doors and drawers will never sit evenly. Glue and screw where the design allows both, wipe squeeze-out immediately, and pre-drill hardwood or dense board to prevent splitting near edges.
Cut the waste and supply openings generously enough for movement but neatly enough to stay hidden. Sand every cut edge and seal it, because this hidden timber is exactly where splashes and condensation reach first. Fit drawer runners before the unit goes to the wall; adjusting them on a bench is far easier than adjusting them kneeling on a bathroom floor.
Stand back and judge the carcass honestly before finishing. Small gaps at the wall can be scribed or covered with a trim; a twisted box cannot be disguised. Correct problems now, while a clamp and a fresh screw can still solve them in minutes.
9. Fit the Top, Basin and Plumbing Connections
Offer the top into position, check it sits level in both directions, and fix it as the design requires. Bed the basin on its seal, connect the waste with the trap arranged so the drawer cut-out clears it, and tighten connections firmly by hand plus a careful fraction with tools. Over-tightening cracks ceramic and distorts seals, so firm and tested beats forced.
Turn the water on slowly with a dry cloth and a torch ready. Run both taps, fill and empty the basin twice, and feel every joint. A slow weep found now is a washer adjusted in minutes; the same weep found next month is a swollen cabinet. Only when every joint stays dry should you seal the wall junction with sanitary silicone, smoothed in one confident pass.

Refit drawers and doors, adjust gaps until reveals are even, and soften every close. The transformation at this stage is satisfying, but resist loading the drawers until silicone has cured for the period stated on the tube. Your new unit will thank you for one patient evening.
10. Finish, Style and Maintain the Result
Finishing touches decide whether the vanity looks fitted or merely placed. Align the mirror to the basin centreline, position lighting so faces are lit from the front rather than shadowed from above, and keep the counter edit ruthless: soap, one tray, perhaps a small plant that tolerates humidity. Everything else lives in the drawers you planned so carefully.
Maintenance is light but regular. Wipe splashes from timber and cabinet fronts, keep the silicone line clean, and re-seal joints when they dull or lift. Check under the basin each season for slow drips, tighten handles before they loosen fully, and touch up paint or oil finishes while marks are small. Ten minutes a few times a year protects years of daily use.
For more small-room finishing ideas, compare your result with the schemes in small bedroom interior design ideas and bedroom interior design ideas for tiny houses. The same habits of editing, layering and breathing room apply in every compact space, and consistency between rooms makes a small home feel larger and calmer.
Final Considerations
A good vanity is not a single purchase but a chain of small, correct decisions: measured honestly, formatted for the room, stored around real routines, built from materials that forgive water, and fitted with tested, dry joints. Work through the chain in order and the result will look composed and behave beautifully. Start with the tape measure, trust the sequence, and enjoy a bathroom that finally works as well as it looks.




0 Comments