
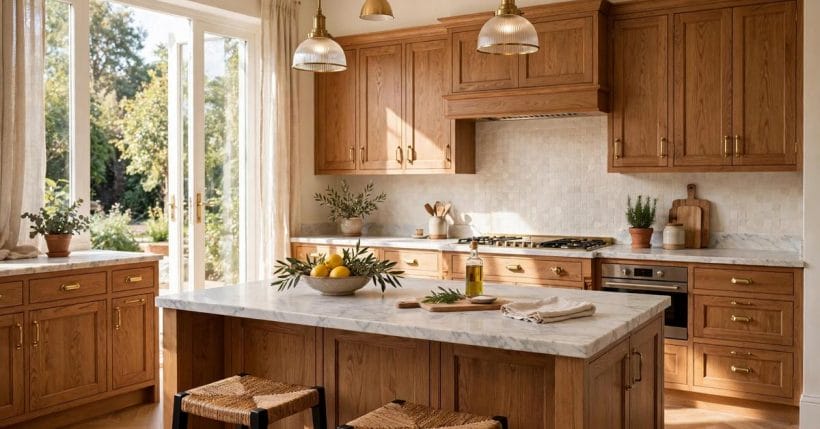
A kitchen can be sound in every way that is expensive to change — straight carcasses, working drawers, a layout that cooks well — and still look tired, because the parts you see are the parts that date: the doors, the drawer fronts, the panels. That is why a whole trade exists in replacement fronts made to fit flat-pack cabinet systems, and why choosing them well matters more than choosing them fast.
This guide works through the honest version of that project: what to check before ordering fronts for a flat-pack kitchen, how the systems’ standard sizes make third-party fronts possible, how to measure, what the materials really offer, and where the traps sit. It names no makers and repeats no forum verdicts — the checks below are the ones that decide whether any front, from any maker, fits your kitchen and lasts in it. The wider kitchen survey lives in the kitchen ideas pillar; this post is the cabinet-front chapter.
1. Replacement Cabinet Fronts at a Glance
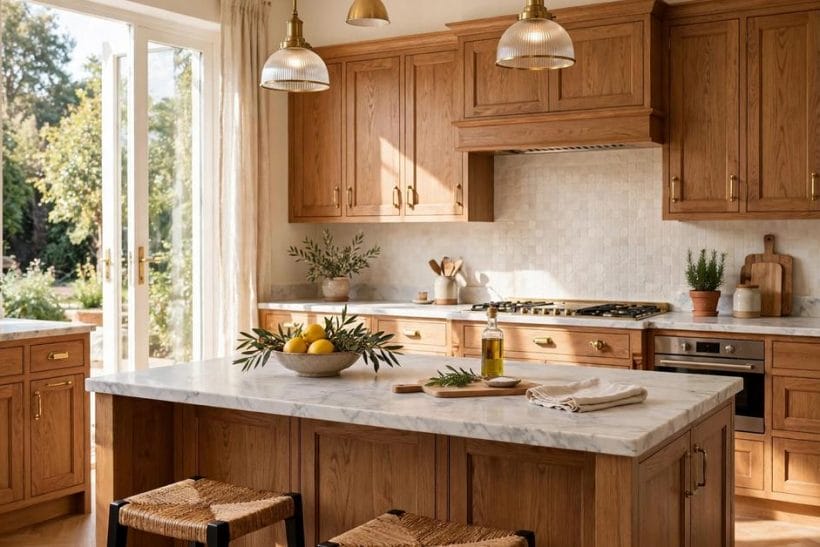
The central idea is simple: flat-pack kitchen systems are built from standard-sized cabinet boxes, and because the boxes are standard, independent makers can produce doors, drawer fronts and panels drilled and sized to fit them. You keep the carcasses, the hinges’ positions, the layout and the plumbing, and replace only the visible skin. The same logic powers a full refacing, which the cabinet door replacement before and after post shows in three transformed kitchens; this guide is the buying discipline underneath it — the checks that come before any transformation.
| Question | Short answer |
|---|---|
| Why do third-party fronts fit at all? | Flat-pack systems use standard carcass sizes and standard hinge positions, so a front made to the system’s dimensions fits its boxes whoever made it |
| What exactly gets replaced? | Doors, drawer fronts, and the visible extras — cover panels, end panels, plinths and filler strips; the boxes, shelves and internals stay |
| What decides success? | Correct identification of your system and its generation, careful measuring, and ordering the forgotten pieces — panels and fillers — not just the doors |
| What is the classic failure? | Fronts ordered for the wrong system generation, or doors that fit beautifully beside an exposed carcass side nobody ordered a cover panel for |
2. Why Fronts Only: The Logic of Keeping the Boxes
1. The carcass is the expensive part to disturb
Boxes hold the kitchen’s alignment, its worktop, its plumbing and its tiling in one interlocked arrangement. Disturbing them turns a facelift into a renovation; leaving them keeps the project in the realm of doors, panels and a weekend or two of fitting.
2. Fronts carry the style almost alone
Stand in a kitchen and nearly everything you can name as its style — shaker or slab, timber or painted, handle or handleless — lives on the fronts and the visible panels. Change those and the room reads as a new kitchen to everyone who walks in.
3. The honest limits of the idea
Fronts cannot fix a bad layout, sagging boxes, water-damaged carcasses or drawers that never ran true. The later sections return to this; the first check in any front project is whether the boxes underneath deserve a new skin at all.
There is a quieter benefit worth naming: a fronts project leaves the room around the kitchen untouched. The worktop stays fixed, the splashback stays tiled, the floor runs unbroken under cabinets that never move, and the sink never leaves its plumbing. Anyone who has lived through a full refit — weeks of dust, a kettle in the bathroom, decisions made under duress — understands what is being bought here beyond the doors themselves: a transformed kitchen with the disruption of a decorating job, and a room that stays a kitchen on every evening of the project.
3. Know Your System: Carcass Standards and Generations
4. Identify the system before anything else
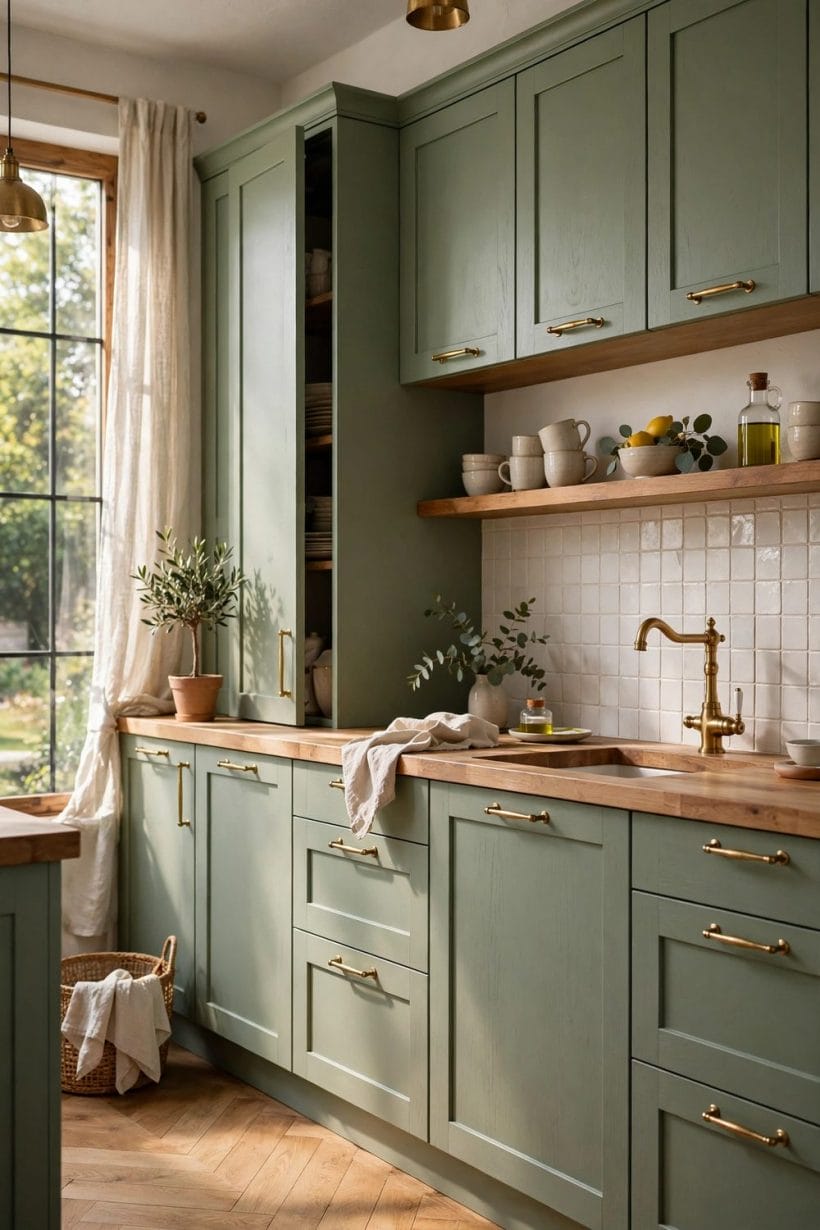
Fronts are made to a system’s dimensions, and systems differ. Find the maker’s marks inside a drawer box or on a hinge, keep any paperwork from the original kitchen, and confirm which range and era your cabinets come from before a single measurement is taken.
5. Generations change the sizes
Long-running systems are revised: cabinet heights, depths and door sizes shift between generations, and a front made for the newer range will not forgive an older kitchen. Treat “it looks the same” as no evidence at all — dimensions are the only identity that counts.
6. Hinge positions are part of the identity
Systems standardise where hinge cups and plates sit. A front drilled for your system arrives ready to hang; a front drilled for another may be unusable even if its outer size matches, because the hinges will land where the box cannot take them.
4. Measuring: Doors, Drawer Fronts and Panels
7. Measure the fronts you have, not the boxes alone
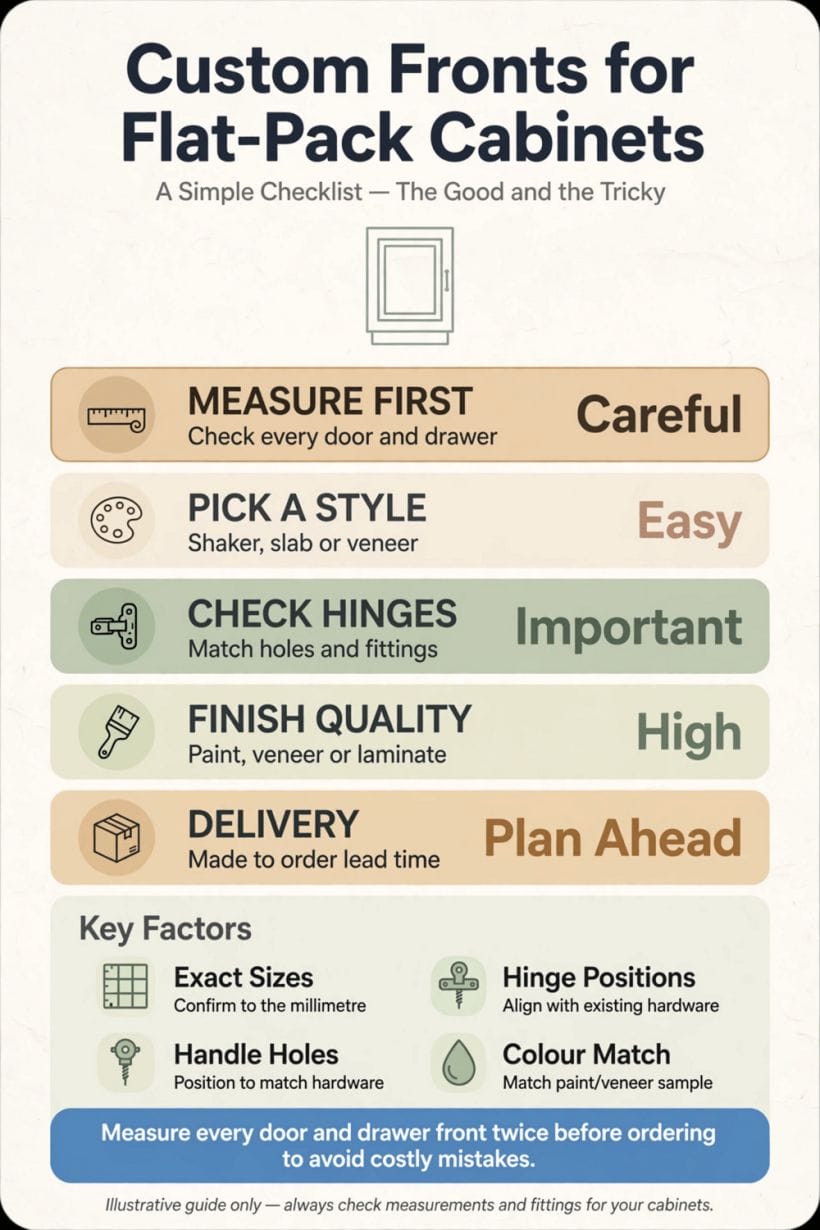
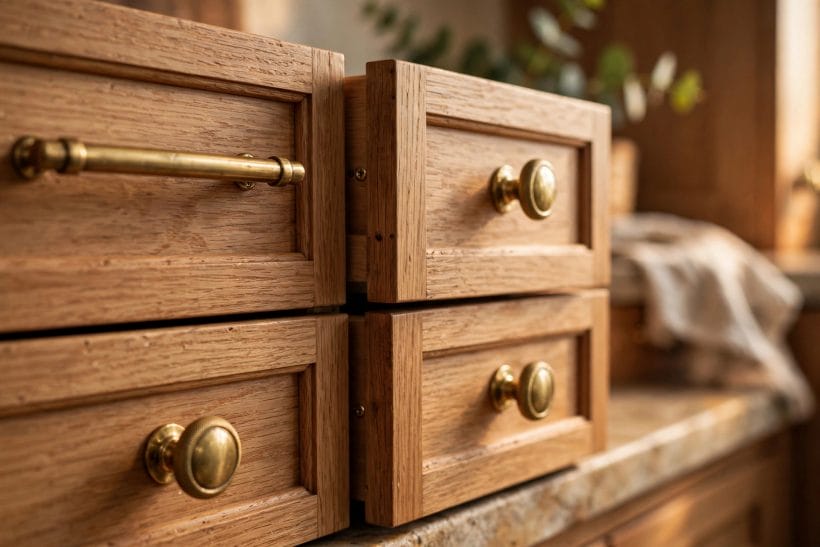
The surest template for a new door is the old one: width, height, and the position of every hinge boring from a fixed edge. Work door by door with a written schedule, because kitchens are full of near-identical sizes that are not identical.
8. Count everything, including the odd ones
Corner doors, filler-bridging fronts, the small door over the extractor, the panel on the dishwasher: walk the kitchen with your schedule and account for every visible piece. The front you forget is the one the whole room will point at.
9. Note handing and hinge side as you go
Record which side each door hinges from and which way each drawer bank runs. Makers drill to order; a transposed pair of doors is a classic self-inflicted delay that a careful schedule prevents entirely.
10. Allow for the gaps the system intends
Fronts are sized slightly under the box so doors clear each other and open without binding. Order to the maker’s sizing for your system rather than to your raw measurement, and say plainly if any run is non-standard.
Before the old fronts come off, photograph every run and label each removed door and panel with its position on the back, in pencil. A kitchen stripped of its fronts is a wall of identical white boxes, and memory is not a filing system: the photographs and labels are what turn reassembly — or the comparison of old against new — from an afternoon of trial and error into a methodical hour. Keep the old screws and hinge plates in labelled bags by the same positions, even if new hardware is planned; the old fittings are the physical record of where everything belongs.
5. Materials and Finishes: What Fronts Are Made From
11. Painted timber and painted board
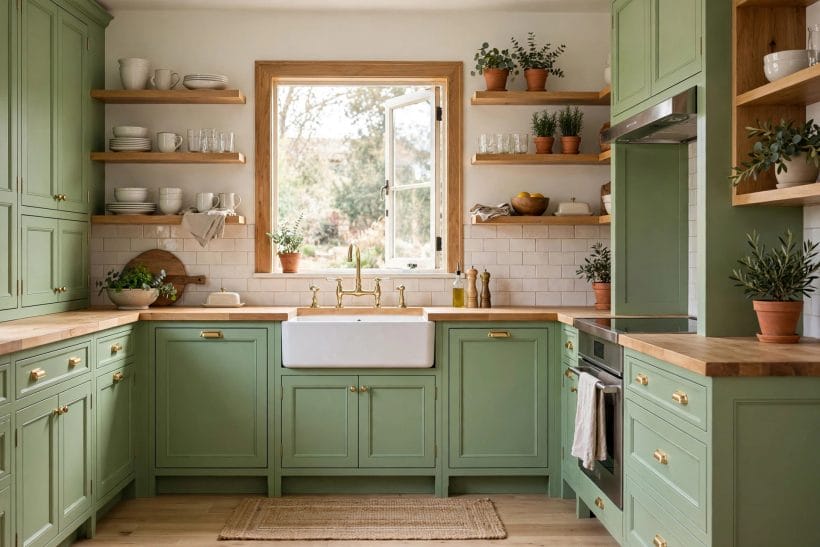
The classic upgrade: a smooth, colour-true finish that can be renewed years later with the same paint. Painted fronts show every knock honestly and touch up gracefully, which makes them the forgiving choice for busy kitchens.
12. Solid timber and veneer
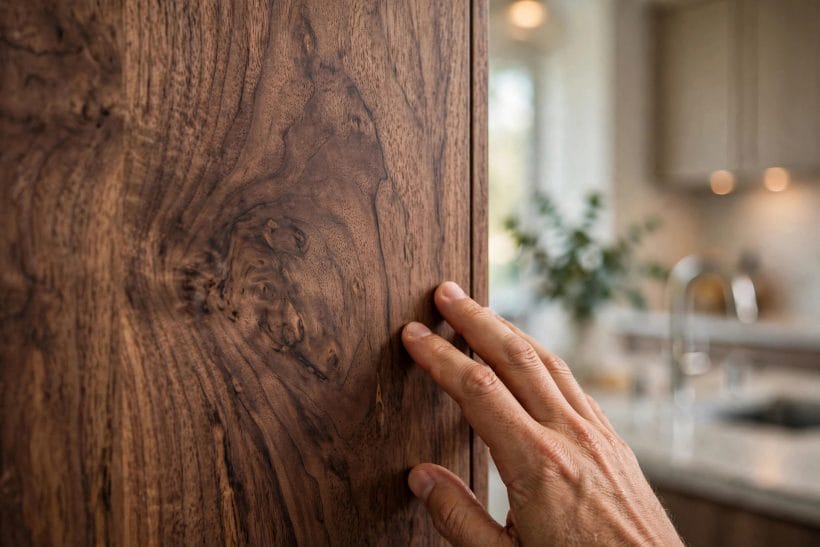
Real wood fronts bring grain no print can imitate, along with wood’s terms: slight movement with the seasons, and colour that deepens with light. Veneer on a stable core gives most of the look with more dimensional calm.
13. Laminate, foil and lacquer
Wrapped and lacquered fronts offer the widest colour and texture range and the easiest cleaning. Their honest check is the edge: ask how edges are finished and sealed, because edges are where wrapped finishes live or fail.
14. Edges and sheen: the two quiet decisions
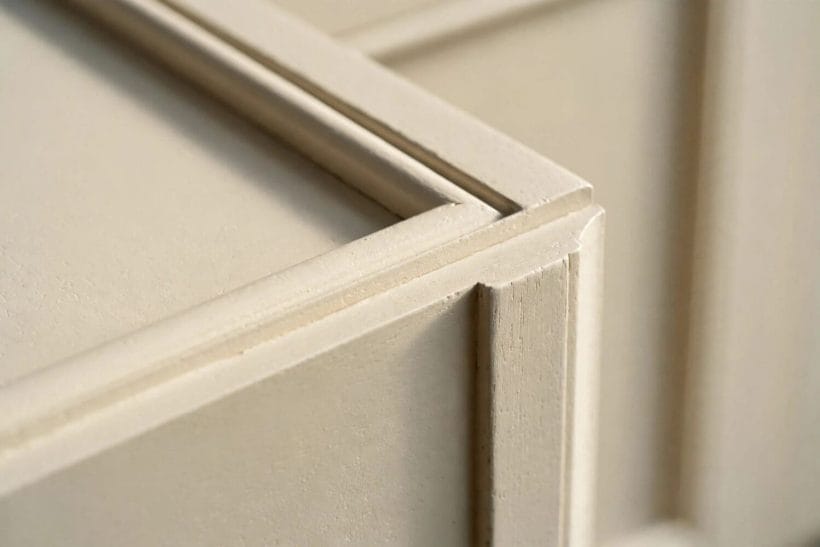
Two specifications hide inside every front and decide how it ages. The first is the edge treatment — square, softly rounded or profiled — which governs both the style read and how the front survives knocks; edges take the impacts in a kitchen, and a treatment that can be touched up beats a prettier one that cannot. The second is sheen: matte finishes hide fingerprints and sit calmly in bright rooms, satin gives a gentle glow and is easier to wipe, and gloss multiplies light in small kitchens at the price of showing every mark. Choose sheen by the room’s light and the household’s patience, not by the showroom photograph.
15. Judge by the sample, in your light
Every serious maker sells or lends samples. Live with them against your floor, your worktop and your window light for a few days — the same discipline the kitchen countertop survey recommends for surfaces, and for the same reason: kitchens are seen in one light only, yours.
6. Hinges, Drilling and the Hardware Question
16. Pre-drilled or blank: choose deliberately
Fronts drilled for your system hang straight from the box. Blank fronts suit unusual hardware plans but transfer all the measuring risk to you. For a first project on a standard system, pre-drilled is the calm choice.
17. Keep or renew the hinges
Sound hinges can serve a second set of fronts; tired ones make new doors feel old. Soft-close replacements in the system’s pattern are one of the cheapest genuine upgrades in the whole project — check the pattern matches your boxes.
18. Handles are a drilling decision
Handle position is style, but handle holes are permanent. Decide the handle plan — including whether the fronts arrive drilled for it — before ordering, and consider handleless rails or push-to-open where the system supports them, as the tiny kitchen ideas post often recommends for tight galleys.
7. The Forgotten Pieces: Cover Panels, Fillers and Plinths
19. Cover panels for every exposed side
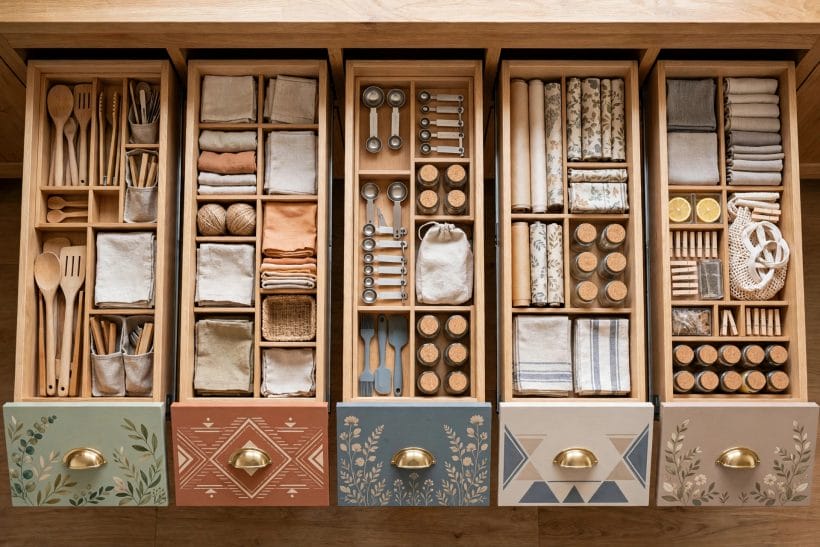
Wherever a carcass side shows — run ends, the side of a tall unit, an island’s back — it needs a cover panel in the front material. White box sides beside beautiful new doors are the signature of an unfinished front project.
20. Fillers and scribes at the walls
Walls are never straight, so systems leave gaps at run ends that filler strips close. Order filler material generously in the front finish; it is cut on site to scribe against the wall, and running short stops the job.
21. Plinths, pelmets and cornice in the same finish
The toe-kick below, the pelmet under wall units and any cornice above must all speak the front’s language. List them as line items in the order, not as afterthoughts, and the kitchen will read as designed rather than re-skinned.
8. Ordering: Samples, Lead Times and Checking the Delivery
22. Made-to-order means measure twice
Most quality fronts are made to your order, which means returns for wrong sizes are limited or impossible. The schedule from the measuring section is the contract: re-measure the three most unusual fronts before submitting it.
23. Ask about the finish’s future
Can the maker supply one more door in five years, in the same finish, if a dishwasher flood ruins one? Ranges are discontinued — the discontinued kitchen cabinets guide covers that world — so a maker’s continuity answer belongs in the buying decision.
24. Check every piece on arrival
Unwrap and inspect the full delivery before the old fronts come off: sizes against the schedule, drilling positions, finish consistency under one light. A wrong piece found now is a phone call; found mid-fit, it is a kitchen without doors.
One more ordering habit separates veterans from first-timers: order a spare. A single extra door in the most damage-prone position — beside the oven, under the sink — bought with the original batch costs little and guarantees a perfect finish match years later, when the range has moved on and its successor is a shade different. Store it flat, wrapped, out of sunlight. It is the cheapest insurance in the whole project, and the only line on the order nobody ever regrets adding.
9. Fitting: Doing It Yourself or Bringing in a Fitter
25. The work is adjustment more than assembly
Hanging fronts is mostly hinge adjustment: height, depth and side play on every door until the gaps run even. It rewards patience and a methodical order — one bank at a time, standing back often — more than it rewards tools.
26. Sequence matters
Fit panels and fillers first, hang doors second, align drawer fronts as a set third, and drill for handles last of all, when every front sits exactly where it will live. Reversing that order is how good fronts end up looking homemade.
The fitting toolkit is modest — drill, driver, spirit level, shims, a second pair of hands — and the skill is mostly patience with adjustment screws. Work in daylight if you can, because gap shadows tell the truth about alignment that evening light politely hides, and keep the kettle far from the work: a front half-hung while its owner makes tea has a way of being leaned on, knocked and judged unfairly. Doors are heavy, glass-fronted ones heavier; anything involving a glazed or oversized front is a two-person lift from the moment it leaves its packaging, and planning the lift is part of the fit.
27. When to bring in a fitter
Long runs, tall units, scribing against wonky walls and integrated appliance doors are where experienced fitters earn their fee in a single visit. The tile work around the result follows its own rules, as the subway tile corner guide shows — kitchens are chains of small expertises.
10. When Fronts Are Not Enough: Honest Limits
A front project assumes the kitchen underneath is worth keeping, and sometimes it is not. Boxes swollen by an old leak, a layout that forces a daily obstacle course, drawer runners worn beyond their pattern’s spares — these are carcass and layout problems, and no front, however beautiful, redeems them; the money belongs in the kitchen itself. There is also a middle case worth naming: fronts plus a new worktop and handles transform most tired kitchens, while fronts alone cannot cure a worktop that has failed at the sink. Judge the whole room with the same honesty this guide asks for its parts, and the project — whichever size it turns out to be — will be the right one.
Final Considerations
Replacement fronts for a flat-pack kitchen succeed on identification, measurement and completeness: know your system and its generation, measure from the fronts you have, order the panels and fillers everyone forgets, and judge materials by samples in your own light. No brand verdict is needed for any of that — the checks are the same whoever makes the fronts, and a kitchen that passes them gets its new face without surrendering its sound bones, its layout or its plumbing. Keep the old fronts until the new ones are hung and aligned; a kitchen is only ever one damaged delivery away from needing them, and storage is cheaper than regret.




0 Comments