

Shiplap brings warmth and order to a bathroom without shouting about it. Its clean horizontal lines stretch small rooms, hide tired walls and suit everything from a coastal washroom to a plain, practical family space. These 75 ideas are grouped by layout, colour and detail, so you can borrow one wall, one finish or a whole scheme.
1. At-a-Glance: Planning a Shiplap Bathroom That Lasts
| Decision | What usually works best |
|---|---|
| Where to use boards | One feature wall, a half-height wrap, a vanity splash zone protected from direct water, or a ceiling, rather than every surface in a steamy room. |
| Board direction | Horizontal to widen a narrow room, vertical to lift a low ceiling, and a single diagonal accent only where the room is large enough to carry it. |
| Material choice | Moisture-resistant boards in wet zones, sealed and painted timber elsewhere, with every cut edge treated before fitting. |
| Colour direction | Soft whites and warm greys for light, deep greens and blues for mood, and natural stained timber where the room needs warmth most. |
| Key rule for a shiplap bathroom | Ventilate well, seal gaps where water lands, and keep boards out of direct shower spray unless the product is made for that use. |
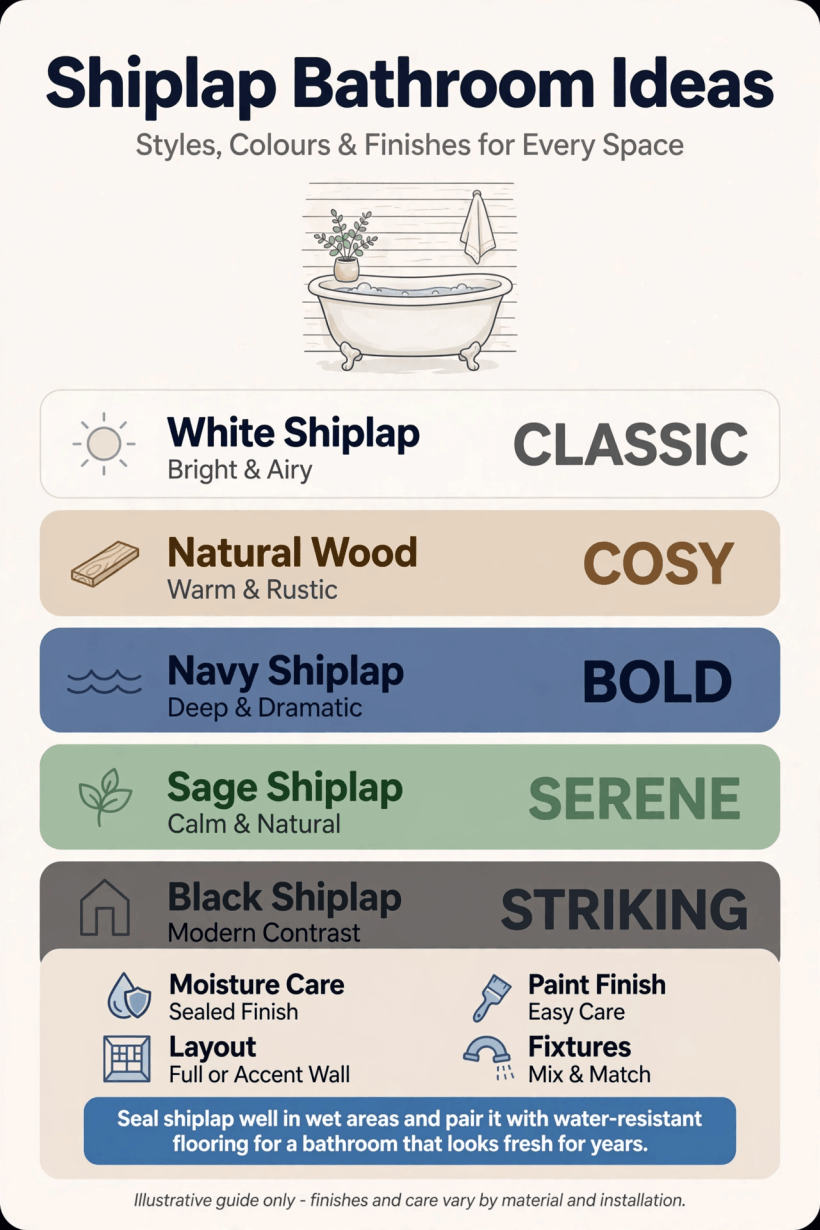
Layouts, colours and practical details at a glance, before the 75 ideas in full.
Bathrooms are hard on timber-style finishes, so the ideas that follow treat looks and upkeep together. A boarded wall behind a basin lives a very different life from one inside a shower enclosure, and choosing the right product for each zone is what keeps the room looking good after the first steamy winter. Plan extraction, splash protection and cleaning access as part of the design, not as apologies afterwards. For wider small-room planning, our tiny house bathroom ideas guide shows how wall finishes, storage and layout decisions support each other.
The 75 ideas are counted through the sections below: seven or eight in each, from full-room schemes to the smallest finishing touches. Mix them conservatively. One strong boarded treatment, one colour decision and two or three details will usually take a bathroom further than ten competing features squeezed into the same few square metres.
2. Full-Wall Layouts That Set the Tone (Ideas 1–8)
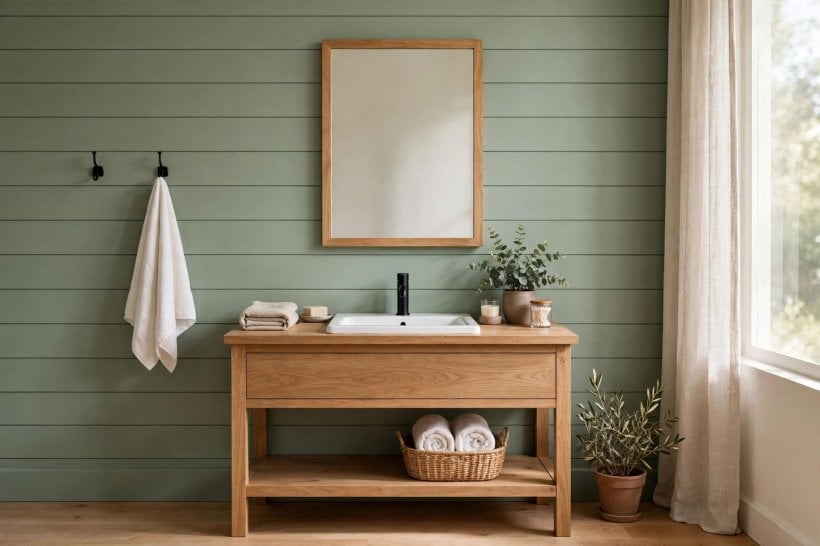
1. Run boards horizontally across the vanity wall only, so the room gains texture where the eye lands first and stays calm elsewhere. 2. Board all four walls in a small cloakroom, where the wrap-around effect feels deliberate and cosy rather than busy. 3. Take boards to the ceiling behind a freestanding bath for a tall, calm backdrop that needs no artwork. 4. Use a single boarded wall opposite the door, so the finish is the first thing seen and the wettest wall stays tiled. 5. Board the wall behind open shelving, letting towels and bottles supply the colour. 6. In a long, thin room, board the short end wall to pull it visually closer. 7. Pair a full boarded wall with plain painted walls in the same colour, so texture, not contrast, does the work. 8. Stop a full-height wall at a picture rail line in tall rooms, keeping the top section plain for air and light.
Full-wall treatments succeed on restraint everywhere else. Keep grout lines quiet, choose one metal finish for taps and handles, and let the shadow gaps between boards provide the pattern. If the room already has strong floor tiles, soften the board colour until the two surfaces stop competing, because a bathroom should feel settled at seven in the morning, not like a showroom argument.
3. Half-Height, Wainscot and Partial Treatments (Ideas 9–16)
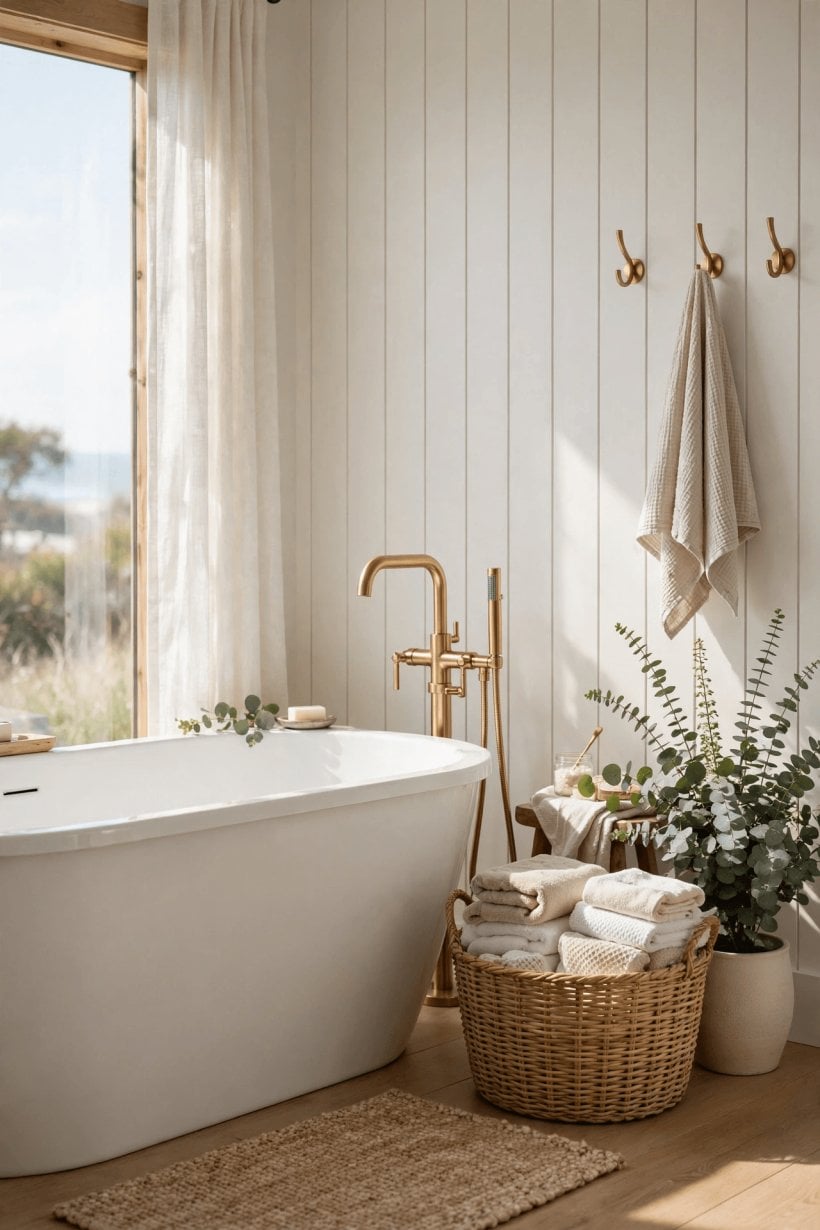
9. Fit half-height boards with a chunky cap rail that doubles as a narrow shelf for a plant or candle. 10. Wrap wainscot-height boards around a WC and basin for a traditional, hard-wearing lower wall. 11. Board only the splash zone behind the basin, framed with trim like a panel. 12. Use boards below a bold painted or papered upper wall, keeping pattern safely above splash height. 13. Run a low boarded band behind a bath, capped at tap height, to protect the wall that gets knocked most. 14. Board inside a shallow recess or alcove to turn dead space into a towel niche. 15. Create a boarded panel behind a mirror, sized exactly to the vanity below it. 16. Stop boards at door height on one wall only, aligning the top edge with the architrave for a built-in look.
Partial treatments are the budget-friendly heart of this style. They concentrate material where hands, water and chair legs actually meet the wall, they are quicker to fit, and they leave the upper room free for colour changes that cost a tin of paint rather than a renovation. In compact homes this flexibility matters, and it is the same reason the schemes in our tiny house living room ideas favour one strong surface treatment per room instead of many.
4. Colour Ideas: Whites, Greys and Soft Neutrals (Ideas 17–24)
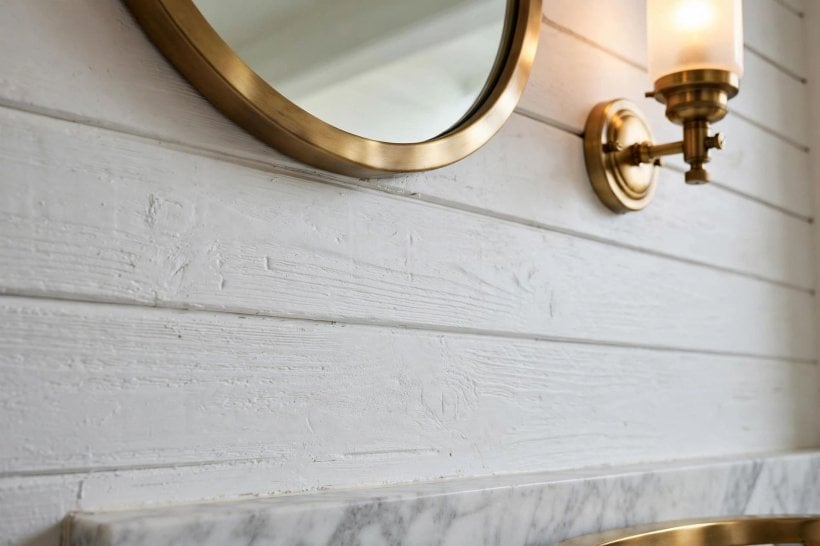
17. Classic warm white boards with white sanitaryware for a seamless, light-filled room. 18. Pale greige boards that warm up chrome fittings and grey stone floors. 19. Soft grey boards with a white ceiling to keep a north-facing room gentle rather than cold. 20. Cream boards beside brushed brass for a mellow, traditional feel. 21. Two-tone boards: light above the cap rail, a shade deeper below it. 22. Stone-coloured boards with natural wood shelves to stop the room feeling flat. 23. White boards with dark grout-look shadow gaps emphasised by a deeper undercoat. 24. A barely-there blush tint on boards in a room that gets warm evening light.
Light colours are forgiving, but they are not automatic. Test the exact paint on an offcut and live with it beside your tiles and towels for a few days, checking it in morning and evening light. Whites with warm undertones flatter skin and timber; blue-leaning whites can make a small bathroom feel chilly and expose every mark. Whatever you choose, keep one spare labelled tin for touch-ups, because boarded walls earn small scuffs and a matched repair is a five-minute job.
5. Colour Ideas: Deep, Moody and Coastal Palettes (Ideas 25–32)
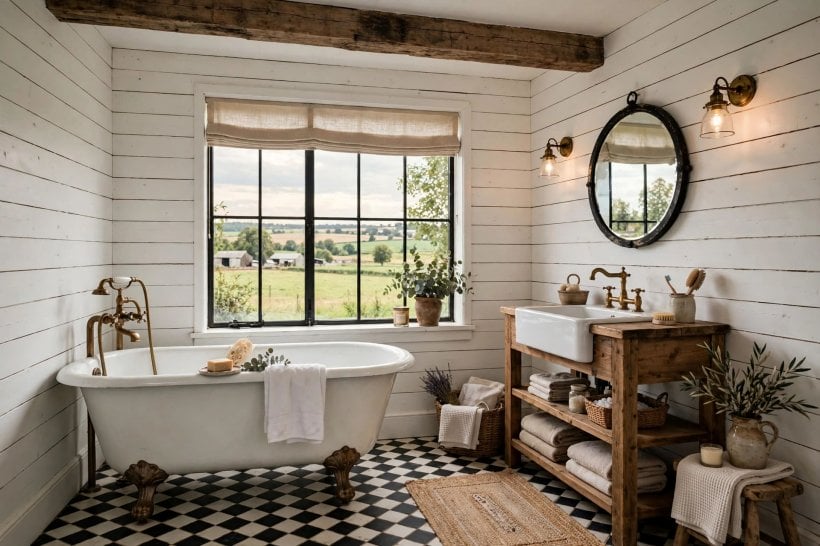
25. Deep forest green boards behind a white bath for contrast that still feels natural. 26. Inky blue boards with pale oak and white ceramics, a coastal scheme with backbone. 27. Charcoal boards in a well-lit room, lifted by a large mirror and warm lighting. 28. Navy half-height boards with crisp white above the rail. 29. Weathered, whitewashed boards for a relaxed seaside feel without themed accessories. 30. Sage boards with unlacquered brass that will deepen in tone alongside them. 31. A single dark boarded wall in an otherwise white room, used like a headboard behind the bath. 32. Stained mid-tone timber boards where the room needs warmth more than brightness.
Dark boards reward good lighting and punish poor lighting, so plan both a bright task light at the mirror and something softer for evening baths. Keep towels and the bath itself light if you want the boards to read as a backdrop, or go tone-on-tone with deep towels and a dark floor for a cocooning room that feels intentional. Our colourful tiny house interior guide explores the same balance in other rooms: strong colour works best when one surface leads and everything else supports it.
6. Board Direction and Pattern Variations (Ideas 33–40)
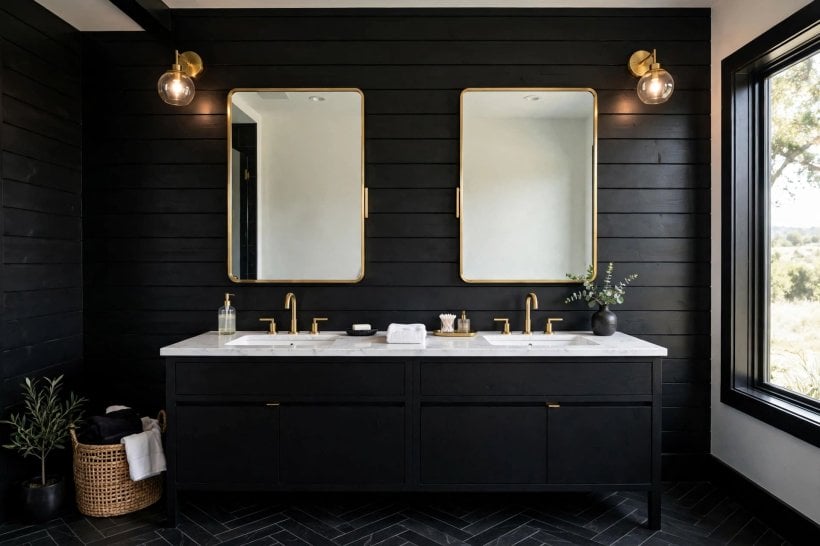
33. Vertical boards to make a low ceiling feel higher and a narrow vanity wall feel tailored. 34. Horizontal boards run continuously through a doorway wall to widen the room. 35. A chevron panel made from short board lengths inside a framed section behind the bath. 36. Diagonal boards on a ceiling slope in an attic bathroom, following the architecture. 37. Wide boards in a large room for a calmer, more modern rhythm. 38. Narrow boards in a small room, where their finer scale suits compact fittings. 39. Boards laid as a border around a plain tiled shower area, softening the transition. 40. Alternating board widths on one wall for subtle pattern without extra colour.
Direction changes how a room feels before a single fitting is chosen, so decide it from the doorway, where the room is first read. Keep direction consistent across adjoining walls unless you are deliberately turning a corner into a feature, and align gaps with mirror edges, window frames or the vanity where you can. Small misalignments are surprisingly visible against straight sanitaryware, and they are almost free to avoid at the planning stage.
7. Pairing Shiplap With Tile, Stone and Floors (Ideas 41–48)
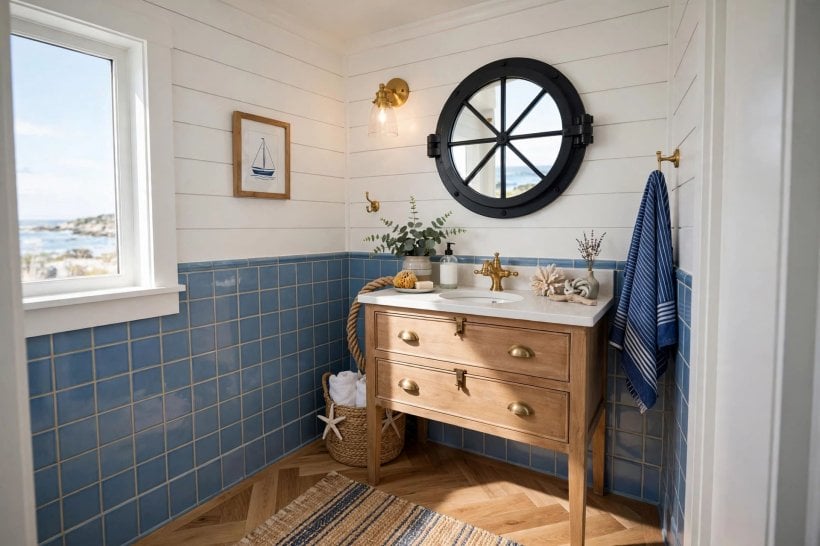
41. Boards above large-format plain tiles, with the tile taking all direct water. 42. A tiled shower enclosure beside a boarded vanity wall, each material doing its best job. 43. Stone-look floor tiles with warm white boards to balance their coolness. 44. Patterned floor tiles kept as the only pattern, with boards painted to match their lightest tone. 45. Boards meeting a marble-effect splashback behind the basin, trimmed with a neat bead. 46. Wood-effect floor planks run in the opposite direction to wall boards for definition. 47. Black fittings and a dark floor anchoring pale boards so the room does not float away. 48. A fully tiled wet area visually softened by boarded ceiling panels outside the spray zone.
The junction between boards and wet materials is where craftsmanship shows. Finish tile edges with trim rather than raw cuts, seal the board-to-tile line with a flexible sanitary sealant, and leave the boards a fraction above horizontal surfaces so they are not sitting in pooled water. Readers reworking a whole small bathroom, not just its walls, will find layout-first thinking in our bedroom interior design for tiny houses guide surprisingly transferable: measure the fittings, then dress the walls.
8. Vanities, Mirrors and Storage Details (Ideas 49–56)
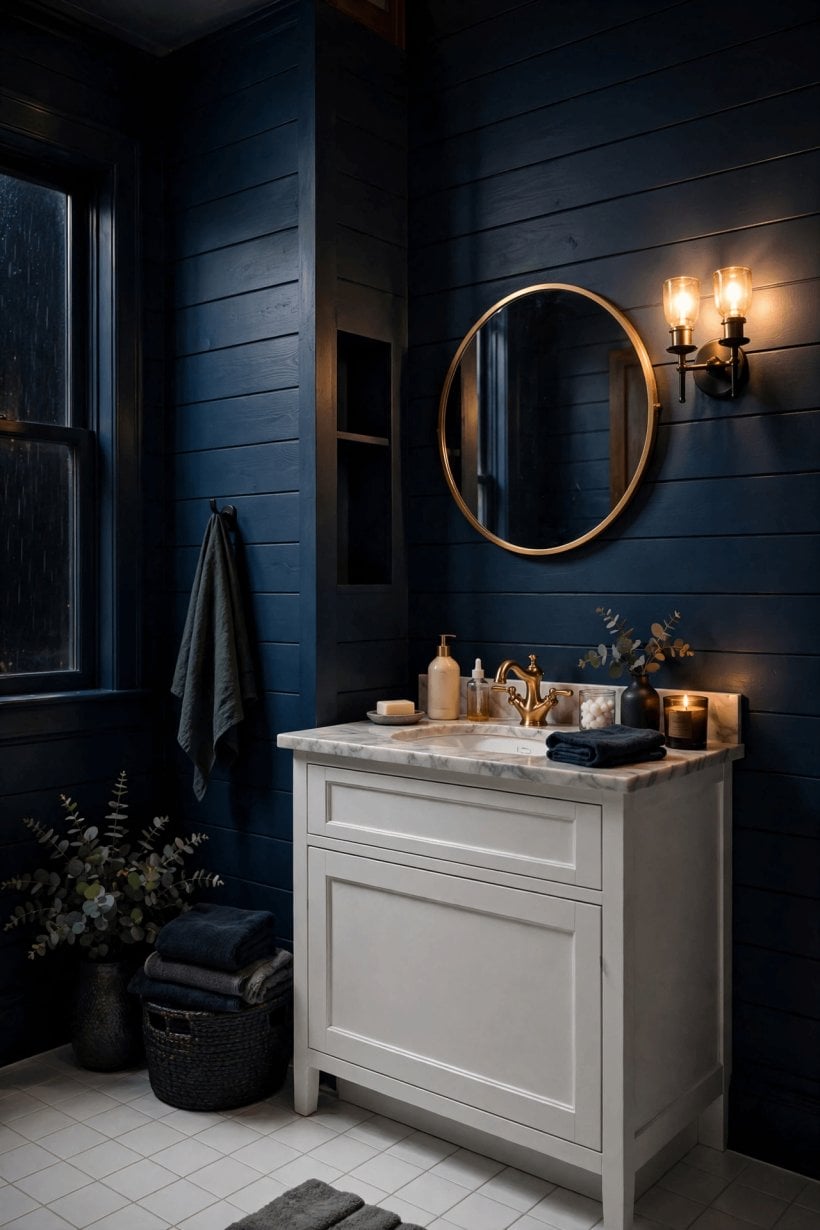
49. A wall-hung vanity floated over boarded walls so the lines run unbroken beneath it. 50. A round mirror breaking up the horizontal rhythm in a deliberate, softening contrast. 51. Open shelves fitted between board gaps, stained to match the floor. 52. A mirrored cabinet set into a boarded wall, its frame painted the same colour. 53. Hooks on a boarded wall at bath height, replacing a towel rail where space is tight. 54. A boarded bath panel matched to the walls for a built-in, unified look. 55. baskets on open boarded shelving to hide small clutter in plain sight. 56. A narrow boarded ledge behind the basin for daily items, keeping the basin rim clear.
Storage is what makes a styled bathroom survivable on a weekday morning. Boards give you a forgiving surface for hooks, shelves and rails, but fix into studs or solid backing for anything heavy, and seal every screw hole in splash zones. Keep the items on show few and useful; in a boarded room, a rail of matching towels and one plant will always look better than a crowd of bottles competing with the wall texture.
9. Lighting, Fittings and Finishing Touches (Ideas 57–64)
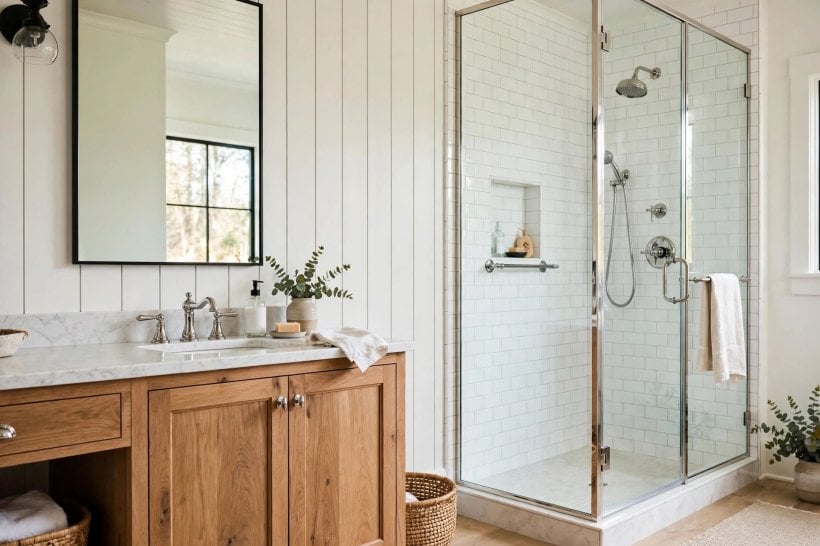
57. Wall lights mounted on boards either side of a mirror for even, flattering light. 58. Matte black taps and handles against white boards for clear definition. 59. Brushed brass fittings warming sage, navy or cream boards. 60. A boarded ceiling with a central light fitting for a cabin-like finish in a small room. 61. Plants that tolerate humidity trailing from a high shelf against the boards. 62. Rolled white towels on open shelving as the room’s soft texture. 63. A framed print hung on boards, its colours borrowed from the towels or floor. 64. Matching board-painted cupboard doors so storage disappears into the wall.
Lighting deserves a test before the final coat of paint. Raking light across boards exaggerates every gap and brush mark, which can be beautiful or brutal depending on the finish you achieved, so check the walls with the actual fittings at night. Warm light generally flatters painted timber and skin; very cool light suits only the crispest white schemes. Finish with one scent, one plant and clear surfaces, and let the boards supply the character.
10. Practical Details: Moisture, Fitting and Upkeep (Ideas 65–75)
65. Choose moisture-resistant board products anywhere steam gathers daily. 66. Prime and paint every edge, including hidden cut ends, before fitting. 67. Seal the bath, basin and floor junctions with flexible sanitary sealant. 68. Fit an extractor that actually clears the mirror, and run it after baths and showers. 69. Keep boards out of direct shower spray unless the product is rated for it. 70. Leave an access gap or removable panel where pipes and valves hide behind boards. 71. Use bathroom-rated paint with a wipeable finish, and keep a labelled spare tin. 72. Number spare boards from the same batch in dry storage for future repairs. 73. Wipe splashes rather than letting water sit in the shadow gaps. 74. Re-seal tired joints at the first sign of lifting, before moisture gets behind the boards. 75. Photograph pipe and cable runs before boarding over them, and keep the photos with the house paperwork.
One last piece of advice before you order anything: photograph your bathroom from the doorway at the time of day you use it most, and look at the photograph rather than the room. Photographs flatten flattery and show you exactly where the eye goes first, which wall gets the light, and where clutter gathers. That is the wall to board, the corner to leave plain, and the spot where a shelf will be used rather than admired. If the photograph already looks calm, keep your scheme simple. If it looks bare, the boards will do more work than any accessory you could buy, so choose their colour with confidence and let everything else in the room stay quiet, useful and easy to clean.
None of these habits is glamorous, and together they are the whole secret. A boarded bathroom fails from the edges inwards: an unsealed cut, a tired bead of sealant, an extractor that is never switched on. Build the defences in while the walls are open, because retrofitting them means removing the finish you just admired. The same practical-first approach runs through our tiny barn house interior guide and our guide to building your own tiny house, where small spaces reward people who plan services before surfaces.
Final Considerations
Start with the room you actually have: its light, its steam, its busiest hour of the day. Choose one board treatment, one colour family and a handful of details from the 75 ideas, and let the practical rules in the last section shape how they are fitted. A shiplap bathroom built that way will look settled rather than themed, and it will stay that way with ordinary care.
Take samples home, test paint on offcuts, and photograph the walls in daylight and lamplight before you commit. Small bathrooms are finished quickly and lived with for years, so an afternoon of testing is the cheapest upgrade in the whole project. When the boards are up, keep the styling quiet and the extractor on, and enjoy a room that feels warmer every time you walk in.

0 Comments