

An old porcelain sink can outlast the room around it, but chips, rust marks and a dull, chalky surface make it look tired long before it stops working. This guide walks through a careful refinish in plain order, with the checks that tell you whether the basin is worth saving and the points where stopping and getting help is the smarter choice.
1. At-a-Glance: What Refinishing Involves and When It Makes Sense
| Question | Short answer |
|---|---|
| Can I restore porcelain sink surfaces at home? | Often yes, when the cast iron or steel body is sound, the damage is limited to chips, stains and surface wear, and you can ventilate the room and leave the sink unused while the coating cures. |
| What should I check first? | Look for deep cracks, widespread rust, a flexing or leaking base, and damage around the drain and tap holes, because a new coating will not fix structural problems underneath it. |
| What does the work involve? | Deep cleaning, stain and rust treatment, careful sanding, filling chips, masking, priming where the kit requires it, then thin coats of a refinishing product made for porcelain, followed by a full cure before use. |
| When is replacement better? | When the body is cracked, the bowl is badly distorted, plumbing connections are failing, or the sink no longer suits how the room is used every day. |
| How long must it stay dry? | Follow the product label exactly; most coatings need a dust-free cure first and then a longer period before water, cleaners or heavy objects touch the surface. |
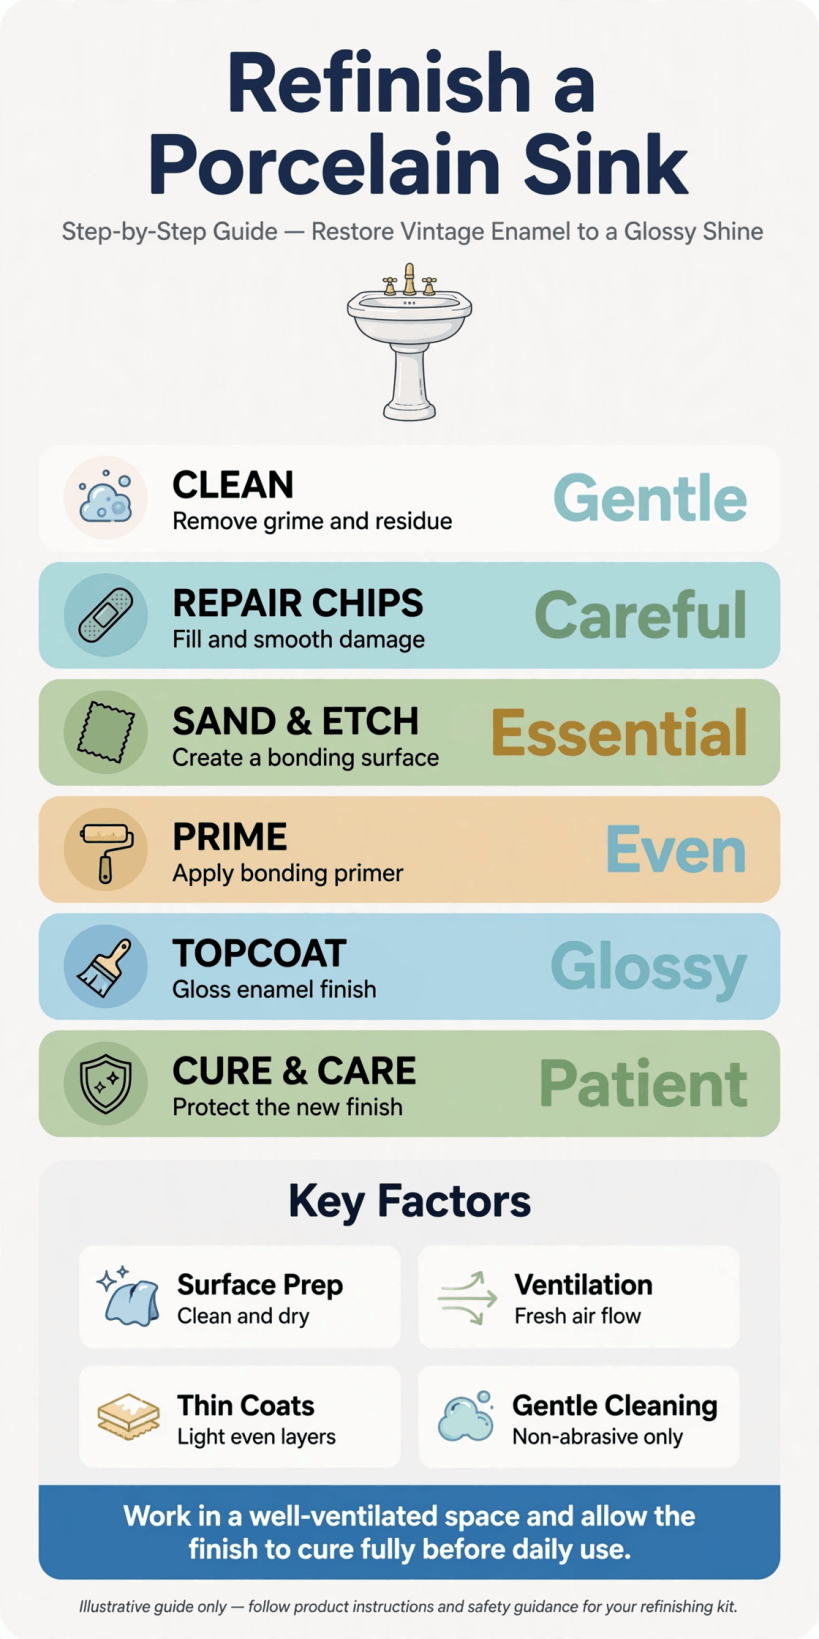
A step-by-step overview of the checks, preparation and coating stages covered in this guide.
Start by being honest about condition. Porcelain is a glass-like layer fused to a metal body, so what you see is only part of the story. Shine a torch across the bowl at a low angle and you will spot fine crazing, pinholes and worn patches that disappear under flat light. Run a dry hand over the surface, too, because fingertips find lifting edges and rough rust spots that eyes miss. Note every problem on paper before you buy anything, and photograph the drain, overflow and tap deck, since those edges are where coatings most often fail. If the sink is going into a compact bathroom, the planning in our tiny house bathroom ideas guide can help you decide whether this basin, once refinished, still earns its place in the layout.
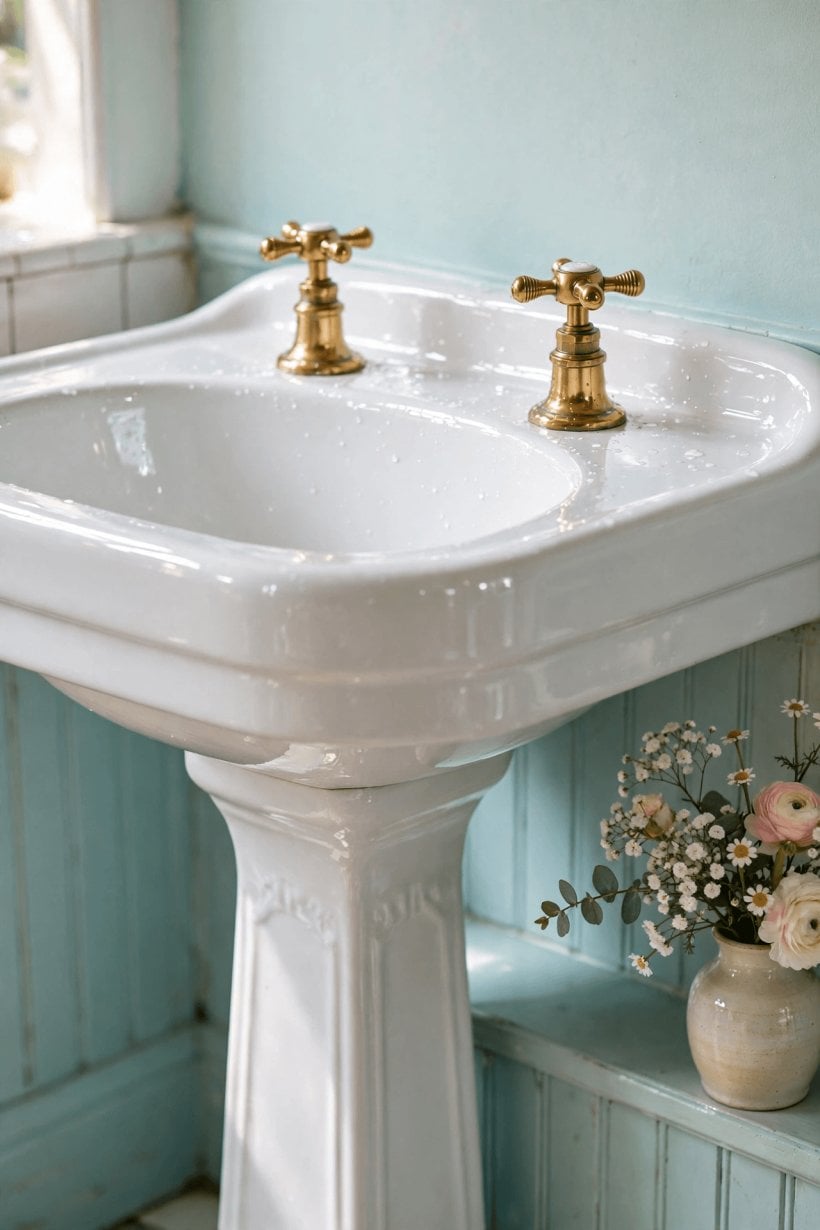
Decide, too, what success looks like. A careful home refinish can make an old sink clean, smooth and presentable again, and it preserves the weight and character that made you keep it. It will not turn a damaged basin into a brand-new factory-fired one, and the coating will need gentler care than the original surface. Setting that expectation early keeps you from chasing perfection with extra coats, which usually makes the finish softer and more likely to peel.
2. Gather Tools, Materials and Safety Gear Before You Start
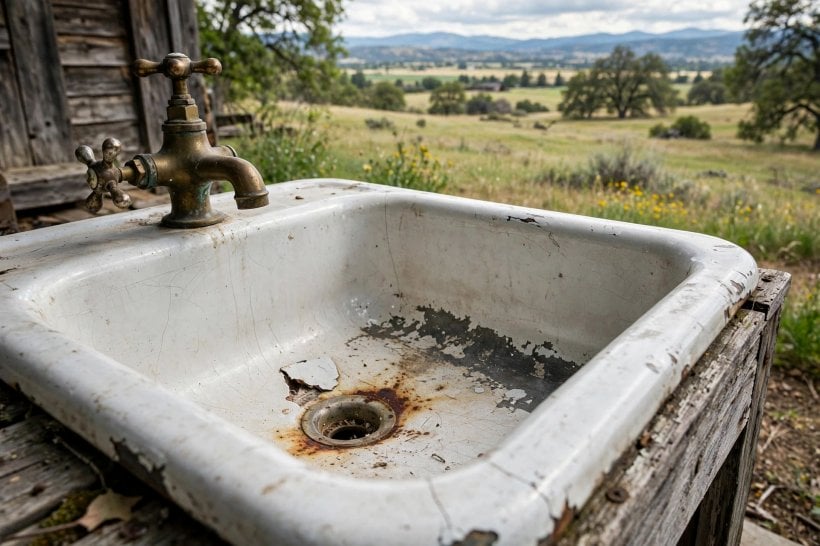
Refinishing goes badly when you have to stop halfway to hunt for supplies, so lay everything out first. You will typically need a degreasing cleaner, non-scratch pads, a pumice stone for mineral marks, rust treatment made for bathroom surfaces, wet-and-dry abrasive in a few grades, a filler suitable for chips in enamelled metal, masking tape and sheeting, lint-free cloths, and the refinishing kit itself, with its primer and topcoat if they are separate. Read the kit instructions on the day you buy it, not the day you coat, because some products need specific thinners, rollers or spray equipment that are not in the box.
Safety deserves the same planning. Many coatings and solvents carry strong fumes, so open windows, run an extractor if you have one, and keep children and pets out of the room. Wear gloves that resist the chemicals you are using, eye protection while sanding and spraying, and a respirator rated for the product on the label. Protect the floor, cabinet and walls with sheeting, because drips of coating are far harder to remove than dust sheets are to lay. Never mix cleaners, especially anything containing bleach with anything acidic, and decant small amounts into a labelled container instead of balancing open tins on the sink edge.
Finally, plan the downtime. You will need another place to wash, brush teeth and fill a kettle while the sink is out of action, and a dust-free corner where brushes, rollers and the masked basin can sit undisturbed. In a small home that takes a little coordination, so warn everyone in the house, tape a note to the tap, and remove the plug and loose items from around the basin before the first cleaner comes out.
3. Deep Clean and Degrease So the Coating Can Bond
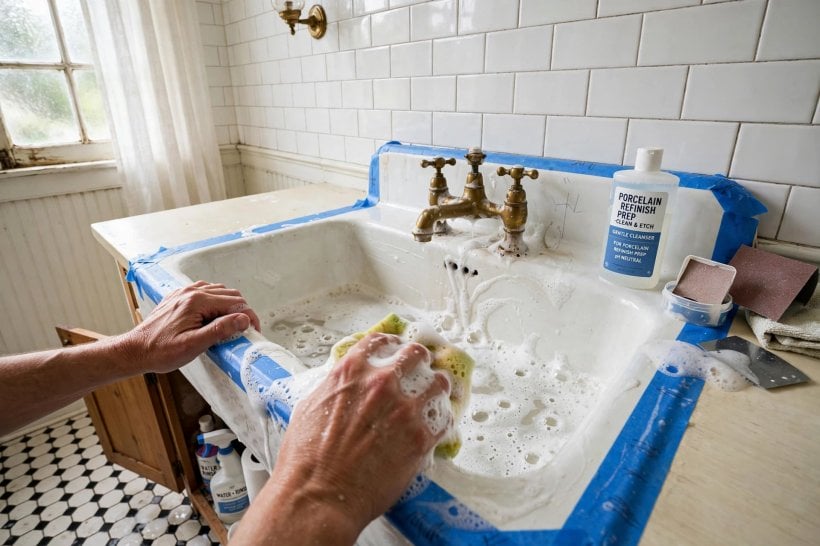
Every failed refinish I have seen traced back to what was left on the surface, not what was put on it. Soap film, body oils, silicone from old sealant, wax polishes and limescale all stop a coating from gripping, and they are often invisible once the sink looks superficially clean. Start with hot water and a degreasing cleaner, working in small sections with a non-scratch pad, and rinse far more than feels necessary. Pay special attention to the ring around the drain, the underside of the tap deck and the overflow slot, where grease collects in a thin, stubborn film.
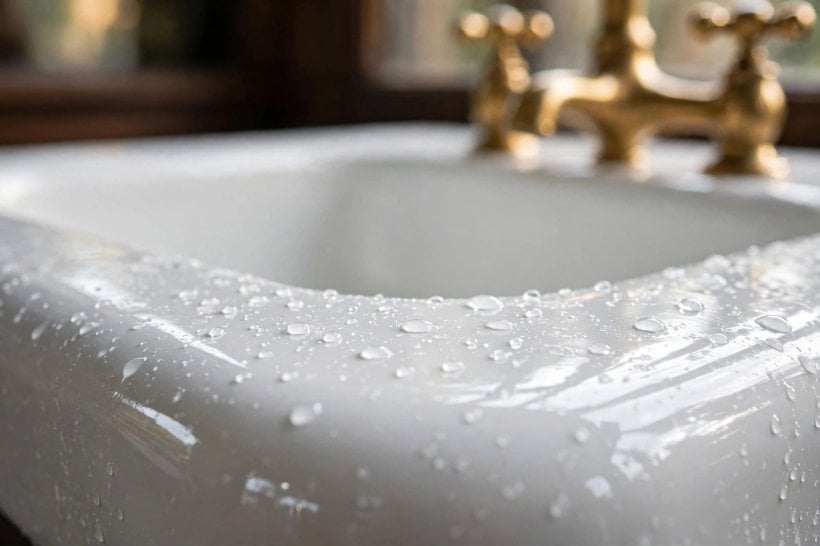
When the water stops beading and starts sheeting evenly across the porcelain, you are getting close. Dry the sink fully, then wipe it with the surface preparation liquid if your kit supplies one, using a fresh cloth and turning it often so you are lifting residue away rather than spreading it around. If you find old silicone sealant at the edges, remove it completely with a plastic scraper and the remover the manufacturer recommends, because new coatings will not stick to silicone and the failure usually starts exactly there, at the rim, where water sits longest.
Resist the urge to rush this stage because it is unglamorous. Cleaning costs little, takes an hour or so, and decides whether the hours that follow are worth anything. A basin that is truly clean, dry and dull in the worn areas gives filler and primer something to hold; a basin that merely looks clean will shed its new skin in sheets the first time hot water and a heavy pan meet it.
4. Treat Stains, Rust and Mineral Marks Honestly
With the grease gone, the real marks show themselves. Tea and coffee staining in the bowl usually responds to patient work with a paste made for enamel and a soft pad, while green and blue traces near taps often come from water sitting on metal fittings and may fade once the source drip is fixed. Rust is different: orange spots that keep returning usually mean the porcelain has chipped through and the metal underneath is corroding, so scrubbing alone will never finish the job. Those spots need the loose material removed, the metal treated, and the area filled and sealed, or the stain will bloom back through your new coating.
Mineral deposits need a gentle hand. A pumice stone kept wet can level crusty limescale on sound porcelain, but dry pumice, scouring powders and metal scrapers will scratch the surface and leave dull tracks that show through a refinish. Work slowly, keep everything wet, test in an inconspicuous corner first, and stop when the deposit is level rather than chasing the last shadow of a stain that the coating will cover anyway. If you are also rethinking the room around the sink, the colour and finish ideas in our colourful tiny house interior guide show how a white or cream basin can sit happily inside a bolder scheme.
Fix drips before you coat. A tap that weeps onto fresh refinishing work will stain and soften it, and a slow waste leak will keep the underside damp while you are trying to keep everything dry. Replace tired washers, reseat the plug, and check the trap for weeping joints now, while the sink is empty and access is easy, rather than discovering the problem with masking tape everywhere and a wet topcoat.
5. Sand, Fill Chips and Level the Surface
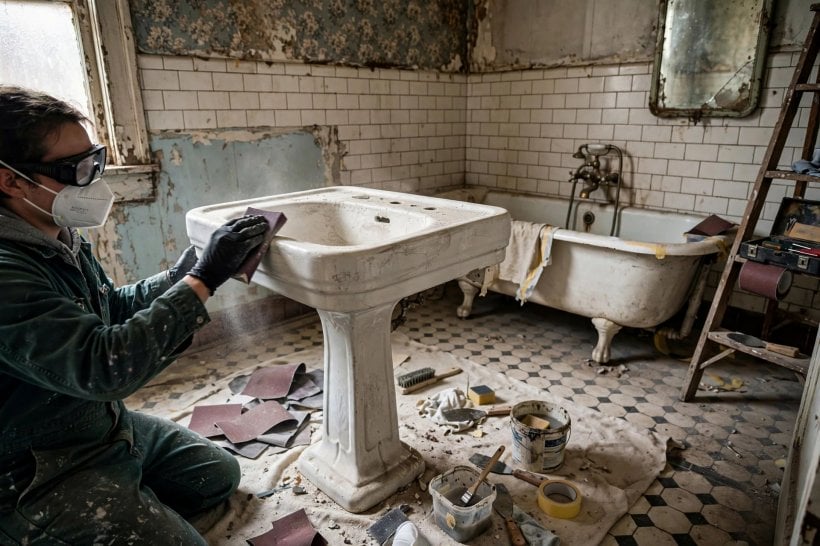
Preparation now turns physical. Sanding is not about stripping the sink; it is about dulling the shine so primer can grip, and feathering the edges of chips so they do not print through the finish as sharp steps. Work wet where the kit allows it, keep the abrasive flat, and move in small, even strokes rather than scrubbing one spot. Glossy patches left unsanded are future peeling patches, so check your work by rinsing, drying and looking across the surface in low light until the sheen is even and muted everywhere the coating will go.
Fill each chip in thin layers. Press the filler well into the damage so no air is trapped, leave it very slightly proud, and let it harden fully before sanding it flush with a block so you do not dish the surrounding porcelain. Deep damage filled in one thick plug shrinks, cracks and telegraphs through the topcoat, while two or three thin layers stay put. Around the drain and tap holes, take extra care: build the edges back to a clean line, because a ragged hole edge will catch water, lift the coating and look untidy every single day.
When the filling and sanding are done, vacuum the dust, wipe with a tack cloth or the cloth your kit specifies, and then keep hands off the surface. Skin oil from one steadying palm print is enough to cause a fisheye in the coating. From this point, handle the sink by its underside or edges, keep the room closed to pets, and do not run a steamy shower in the same space, because condensation settling on a prepared surface undoes careful degreasing in minutes.
6. Mask the Room and Protect Everything You Are Not Coating
Masking feels slow and saves more time than any other step. Cover taps, handles and the waste fitting with tape and small bags, run tape in a crisp line where the sink meets the wall or counter, and sheet the cabinet, floor and nearby walls. If you are spraying, extend that protection much further than you think necessary, because fine overspray drifts, settles on everything, and is miserable to remove from grout and painted wood. If you are brushing or rolling, you still need the same edge lines, since a clean tape line is what makes a home refinish look deliberate rather than apologetic.
Think about the order you will move in before the coating is open. Decide where you will start, where the wet edge will travel, which hand holds the light, and where you will set the tin, brush and cloth so nothing has to be carried across the wet surface. Lay a path of sheeting to the door, keep a spare pair of gloves within reach, and agree that nobody opens the door wide once you start, because a swinging door moves dust and knocks elbows at exactly the wrong moment.
Small rooms punish poor preparation, and the sink often sits within reach of everything else you own. Readers planning a whole compact room rather than one fixture may find our tiny house living room ideas and tiny house bedroom ideas useful for the same reason this step matters: in a small space, protecting and sequencing the work is half the job, because there is nowhere for mess, dust or overspray to go that is not somewhere you live.
7. Prime and Apply Thin, Even Coats

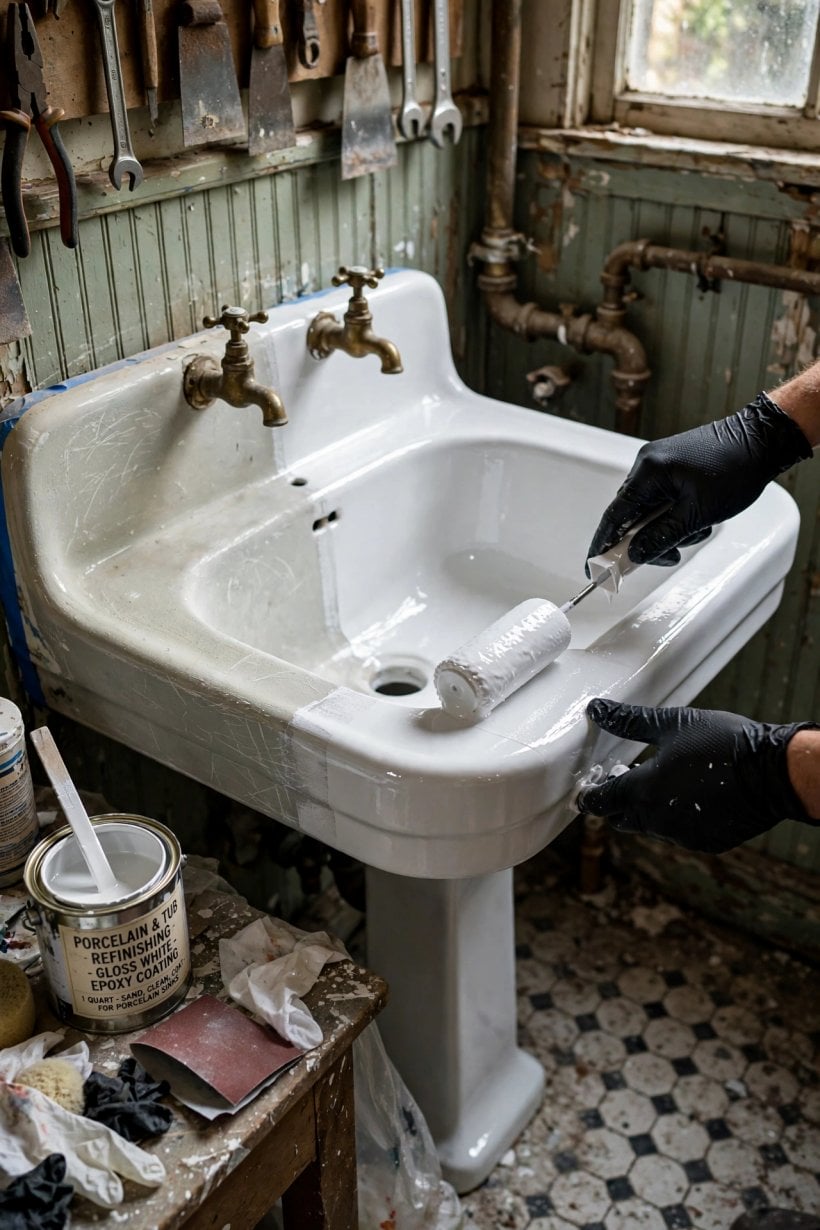
Coating day is about restraint. Stir or mix the product exactly as the label directs, strain it if the instructions say to, and apply the primer or bonding coat in a thin, even film, even if the old marks still show through it. That first coat is there to grip, not to hide. Keep a wet edge, work steadily from one end of the sink to the other, and resist going back over areas that have started to set, because dragging half-dry coating creates texture that no later coat will hide. Runs should be caught immediately and gently, or left and levelled between coats if the product instructions prefer that.
Build colour and cover in the number of thin coats the kit specifies, allowing the full stated time between them. Thick coats look faster and behave worse: they skin over, trap solvent, cure soft, and chip at the edges. Thin coats cure harder, keep the drain and overflow edges crisp, and leave the sink looking like porcelain rather than like a basin dipped in plastic. Watch your light as you work, because a lamp placed low and to one side reveals holidays, dust nibs and thin patches while there is still time to correct them within the same coat.
Temperature and humidity matter more than enthusiasm. Most coatings have a stated range in which they will cure properly, and a cold room or a steamy one can leave a finish tacky, bloomed or weak. If the day is wrong, wait for a better one; the sink has been old for decades and will survive another week. That patience is the difference between a refinish that lasts and one that becomes a cautionary tale told while peeling it off.
8. Let It Cure Fully, Then Refit Carefully
The most dangerous moment for a new finish is when it looks finished. A surface can feel dry, shine beautifully and still be soft underneath, so follow the cure times on the label rather than your fingertips. Keep water, cleaners, toothbrush holders and heavy bottles off the sink for the full period stated, keep the room ventilated but not dusty, and stop anyone from testing the finish with a fingernail at the edge, which is where a premature chip almost always starts. If dust has settled in the final coat, leave it alone until the coating is hard; most specks become far less visible once the surface is cured and washed gently.
Remove masking tape at the moment the instructions recommend, often while the final coat is still slightly soft, pulling it slowly away from the coated edge so the line stays clean. Refit taps, waste and sealant only when the surface can take the pressure of fittings being tightened, and use fresh washers and a neat bead of sanitary sealant where the sink meets the wall. Tighten evenly and wipe squeezed-out sealant once, cleanly, rather than smearing it across your new edge with repeated wiping.
Run the first water cautiously. Check for leaks under the sink with a dry hand and a torch, watch how the bowl drains, and look at the coating in daylight before you declare the job done. Note the date and the product you used in a notebook or on a label inside the cabinet door, because future you, facing a small chip in three years, will be glad to know exactly what is on the sink. Planning a bigger renovation around it? Our guide to building your own tiny house covers sequencing trades and finishes in the same careful order.
9. Care for the Refinished Surface So It Lasts

A refinished sink asks for kinder treatment than the fired surface it replaces, and in return it should stay smart for a long time. Clean it with a soft cloth or sponge and a mild, non-abrasive cleaner, rinse away residue, and avoid scouring powders, stiff brushes and strong bleach left to sit in the bowl. Hair dyes, nail-polish remover and concentrated chemicals can stain or soften coatings, so use a tray or mat when those are around, and wipe spills straight away rather than letting them pool on the finish overnight.
Everyday habits matter as much as products. Do not drop heavy pans or tools into the bowl, because impact chips start at exactly the points a coating is thinnest. Use a washing-up bowl or a silicone mat if the sink doubles for kitchen work, keep a soft cloth under a soap dish or razor stand, and fix dripping taps promptly so mineral-laden water is not constantly drying on one spot. In a hard-water area, a quick wipe after use prevents the crust building up that tempts people back to abrasive cleaning, which is the habit that shortens a refinished surface fastest.
Inspect the sink a few times a year, in good light, the same way you assessed it at the start. Catching a tiny edge lift or a small chip early means a small, local repair with the touch-up product many kits offer, while ignoring it lets water creep underneath and turns a five-minute fix into a full strip and recoat. That rhythm of small checks suits small homes generally; it is the same thinking behind the layout maintenance in our tiny barn house interior guide and the planted edges in our tiny house landscaping ideas.
10. When To Stop: Damage That Calls for Repair or Replacement
Not every old sink should be refinished, and recognising that early is part of doing this properly. A cracked body, a bowl that flexes, corrosion that has eaten through around the waste, or damage so widespread that you would be filling more than you are coating all point away from a DIY refinish. So does a sink whose plumbing is obsolete in ways that make fittings unreliable, because a beautiful surface over a leaking, unstable base will fail and may damage the cabinet and floor beneath it while doing so.
There is a middle path worth knowing about. A professional refinisher can sometimes repair and recoat damage that is beyond a home kit, and a good plumber or restorer can advise whether the metal body is sound enough to justify that cost. Ask what preparation they do, what product they use, what cure time they require and what happens if the coating fails at an edge, and be wary of anyone who promises a factory finish in an afternoon with no downtime. Honest answers at this stage protect a sink that may be an original feature of the house and worth more kept than replaced.
And if replacement is right, let it be right. Photograph and measure the old sink carefully, keep serviceable taps and fittings that suit the new basin, and choose a replacement that fits the room and the plumbing rather than forcing the room to fit a bargain. Readers weighing a characterful old fitting against a new one may enjoy the period-friendly rooms in our bedroom interior design for tiny houses guide, where keeping one good original piece often sets the tone for everything else.
Final Considerations
Refinishing a century-old porcelain sink is slow in the right places: honest assessment, relentless cleaning, careful filling, thin coats and a cure you do not shortcut. None of those stages is difficult on its own, and together they are what separate a finish that earns its keep from one that peels by spring. Take photographs as you go, keep the product details, and give the work the dry, dust-free time it asks for.
If, after your checks, you decide to restore porcelain sink character rather than replace the basin, you will have kept a heavy, well-made fitting in service and avoided the waste and disruption of ripping it out. Work methodically, stop if the damage tells you to, and enjoy the quiet satisfaction of a sink that looks cared for again, because it finally is.




0 Comments