

Where timber meets tile is a small line with big consequences. Get it right and the floor flows; get it wrong and you feel every step, stub toes and watch edges chip.
This guide walks through a careful wood to tile transition, from measuring the height difference to choosing thresholds, planning a flush finish and checking the details that make the join last.
1. The Whole Join at a Glance: Questions and Answers
Start by naming what you are joining. Wood here can mean solid boards, engineered boards or a wood-look plank, and each behaves a little differently, especially for movement. Tile is rigid, set in adhesive over a prepared base, and it does not flex with the seasons. The transition has to respect both materials at once: it must cover or finish the edges neatly, allow the wood side the movement room its maker specifies, and avoid creating a lip that feet, chair legs and vacuum cleaners will find every day. Everything in this section is a prompt for your own measurements, because no table can know your floor build-up, so treat the answers as checks to confirm on site and with the instructions supplied with your actual flooring.
| Question | What to check |
|---|---|
| Are the two finished floors level? | Measure the height difference at several points along the join before choosing any strip or flush detail. |
| Which side can move? | The wood side. Confirm the expansion allowance its maker asks for and never pin it rigidly to the tile. |
| Do you want a strip or a flush finish? | A strip is forgiving and replaceable; a flush finish looks seamless but demands accurate build-up heights. |
| Where should the join sit? | Ideally under the centre of a closed door, or on a natural visual boundary between rooms. |
| What decides the method? | Height difference, room use, moisture, door clearance and the flooring makers’ own instructions. |
| When should you ask a professional? | When heights are far apart, the subfloor is unsound, or plumbing, heating or electrical items are involved. |
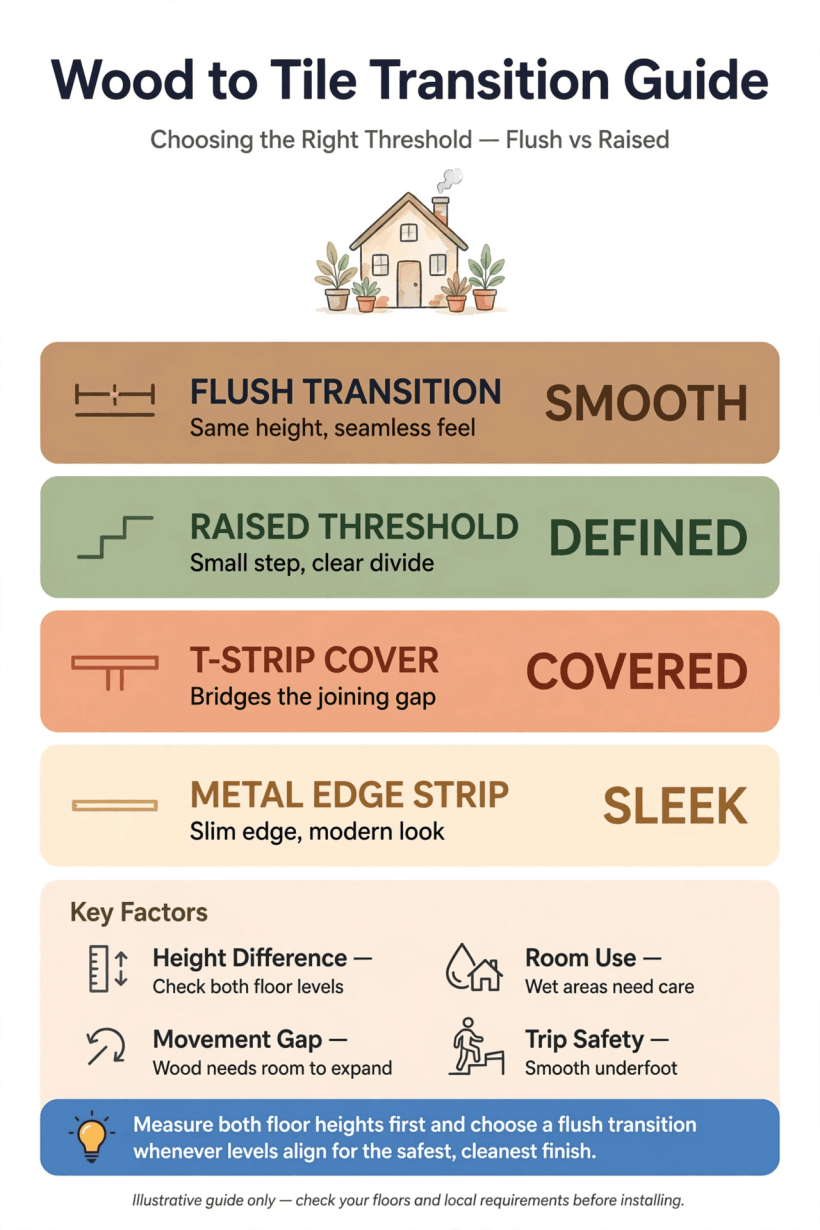
The join at a glance: measure first, respect movement, then choose between a threshold strip and a flush finish.
Keep one habit throughout the job: dry-lay everything before fixing anything. Loose boards, a sample tile, the strip you are considering and a straightedge tell you more in five minutes than an hour of guessing. Photograph each test arrangement so you can compare options honestly, and keep the flooring makers’ leaflets with your notes. If you are planning the rooms on either side at the same time, these home interior design ideas for tiny houses are a useful reminder that floor joins read best when the rooms share a palette or a repeated detail.
2. Measure the Height Difference Before Anything Else
Every good join starts with a number: how far apart, vertically, are the two finished surfaces? Lay a reliable straightedge across the boundary so it rests on the higher floor, then measure the gap above the lower floor at several points. Joins are rarely uniform, especially in older homes where subfloors wander, so record the largest and smallest readings rather than a single hopeful one. Note, too, whether the difference is a clean step or a slope, because a slope suggests the build-up beneath one side is drifting and a rigid strip may rock or sit unevenly.
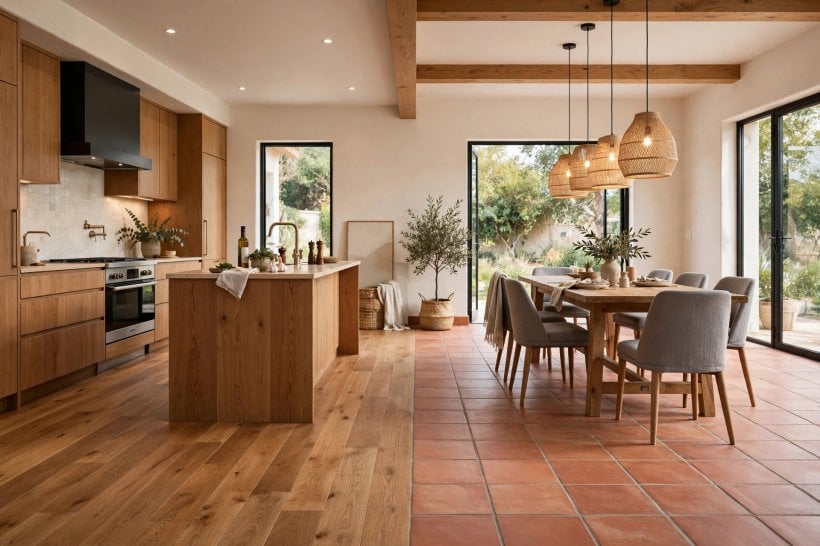
Measure the build-up, not just the surface. A tile’s finished height includes its backing board, adhesive bed and the tile itself, while the wood side may include an underlay. If one floor is not yet laid, stack a sample of each layer on a flat surface and measure the pile; that sample stack is far more trustworthy than adding up printed thicknesses, which vary with adhesive application. Doors deserve a measurement as well: check the clearance under any door that crosses the join, on both its swing and closed positions, so a new strip or a raised tile bed does not leave the door scraping or needing an awkward trim.
Finally, feel the join with your feet. Walk it in socks, then in the shoes you wear at home, from both directions. A difference your eyes call tiny can feel like a cliff edge to a heel, and a strip that looks discreet can still catch a toe if it sits proud at one end. Mark the spots that feel wrong with tape before you choose a solution, because those marks often show the join needs levelling work first, not a cleverer profile. In kitchen projects especially, the same measuring discipline runs through this tiny house kitchen design guide, where floor, cabinet and worktop levels all have to agree.
3. Threshold Strips: The Forgiving, Replaceable Option
A threshold strip is a narrow profile that sits over the join, covering both cut edges and bridging any small difference in height. It is the most forgiving solution because it tolerates slight unevenness, protects the vulnerable edge of the tile, and can usually be replaced later without disturbing either floor. Profiles range from flat bars to gently ramped shapes and T-shaped sections that sit in a small gap; which one suits you depends on your measured height difference and on how the strip is designed to fix, so compare your readings with the strip maker’s stated range rather than assuming one size fits every floor.
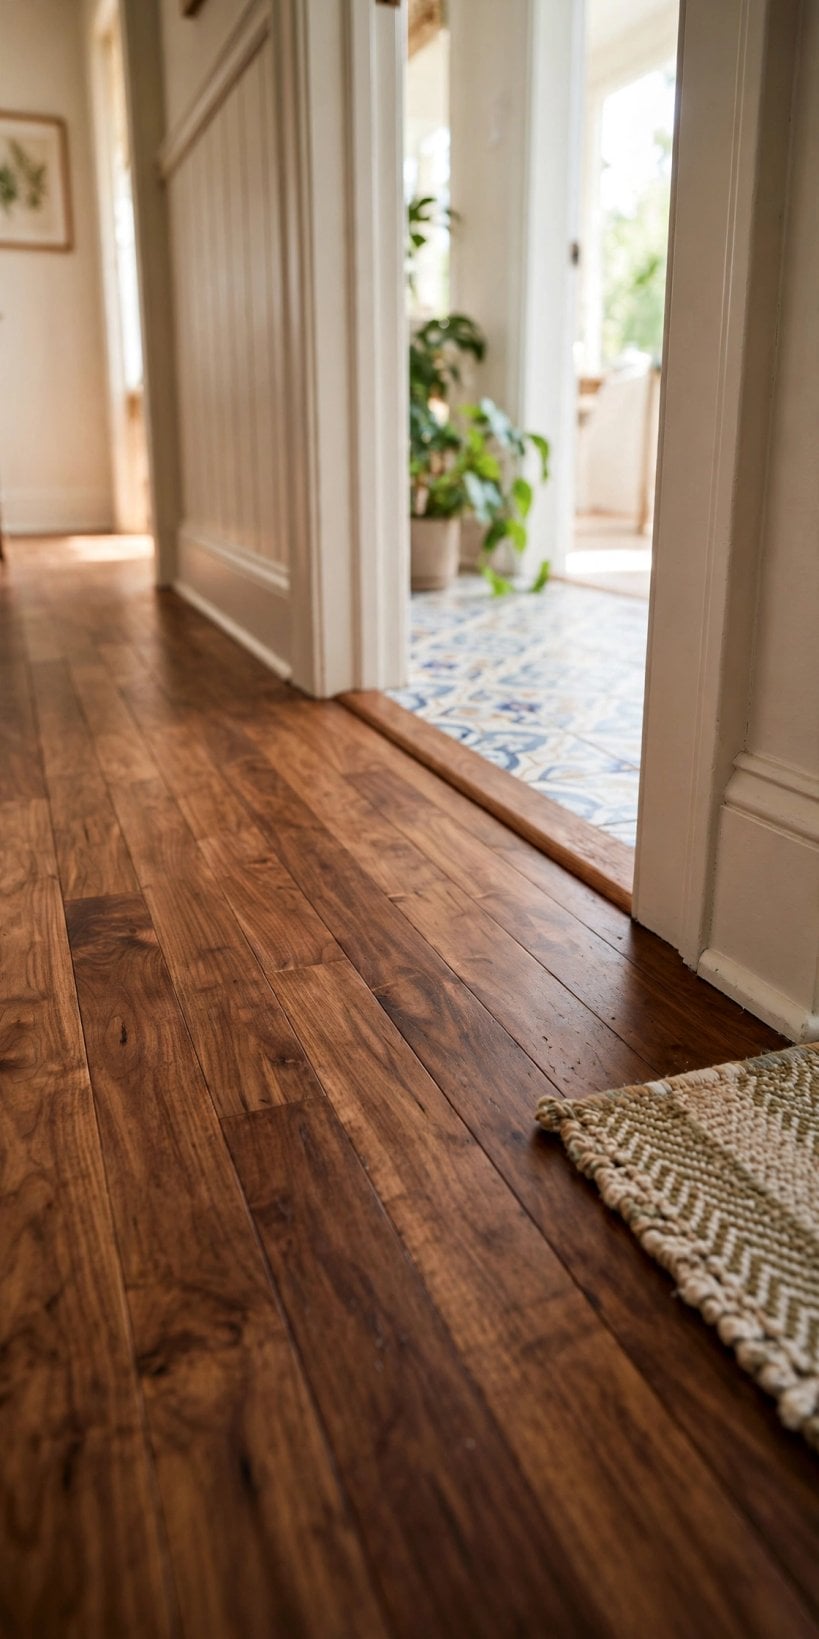
Material and finish are style decisions as much as practical ones. A metal strip in a finish close to your door furniture reads as deliberate hardware, a timber strip stained to match the wood side disappears into the boards, and a plain strip painted with the skirting can look surprisingly architectural. Whatever you choose, dry-fit a length first and view it in daylight and evening light, because shiny profiles announce themselves differently at night. Consider the traffic, too: strips in a main doorway meet pram wheels, pet claws and gritty soles, so a finish that can be wiped and, if needed, renewed, will age more gracefully than a delicate one.
Fixing method matters for the wood side. Many strips are designed so the wood can still move subtly beneath one edge, while a strip screwed rigidly through both floors can fight that movement. Read the fixing instructions before drilling anything, keep screws and adhesive where the maker intends them, and never glue a floating wood floor down at its edge to make a strip sit still. If your wood floor’s own instructions forbid a particular fixing at thresholds, that instruction wins, and a different profile is the answer. When in doubt, ask the flooring supplier to confirm in writing which profiles they accept over their product.
4. Flush Finishes: Seamless Looks, Demanding Arithmetic
A flush finish, where wood and tile meet at the same level with only a narrow joint between them, is the look most people picture from magazines. It feels modern, cleans easily and never catches a heel. It is also the least forgiving option, because the seamless result has to be built from the subfloor up: the tile side’s backing and adhesive, or the wood side’s underlay and board, must be chosen so the two finished surfaces arrive at exactly the same height along the whole join. That arithmetic is easiest when both floors are being laid in the same project and hardest when one floor already exists.
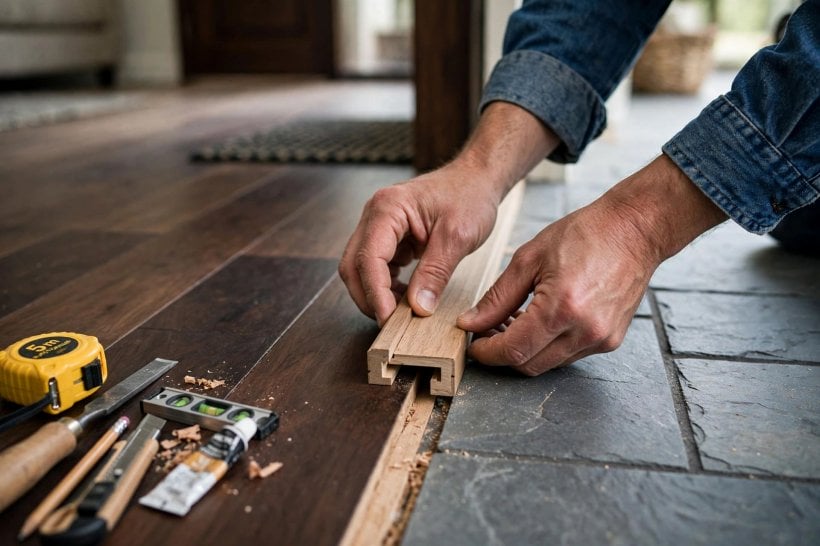
Plan the flush line early and protect it. Decide the exact line of the join, ideally a straight one that follows a board edge or a tile grout line, and set out both floors from that line rather than arriving at it from opposite walls and hoping. A grout line or board joint that lands half a tile off the boundary looks like a mistake forever. As work proceeds, keep checking levels with the straightedge at every stage, after backing boards, after the first tiles, after the first boards, because a small correction early is invisible and the same correction late is a rebuild.
The joint itself still needs thought. Flush does not mean tight: the wood side still requires its movement allowance, which in a flush detail is usually expressed as the narrow filled joint along the boundary. Use a flexible filler in a colour that sits quietly between the two floors, follow its maker’s guidance on joint width and depth, and accept that this soft line is a maintenance item you may refresh in years to come. Done well, visitors will not notice the joint at all, which is exactly the point. Anyone weighing a bigger floor project will find the same plan-from-the-line thinking in our guide on how to build your own tiny house, where levels are decided long before finishes arrive.
5. Subfloor Preparation: The Work Nobody Sees
Transitions fail from underneath. A bouncy, cracked or damp base will telegraph through either floor and concentrate its stress exactly at the join, where two materials with different stiffnesses meet. Before thinking about profiles, check that the subfloor on both sides is sound, dry and as flat as your flooring makers require. Press and walk the area along the boundary, listen for movement or crunching, and look for old adhesive ridges, proud screw heads or crumbling patches that would stop a backing board or underlay sitting truly flat.
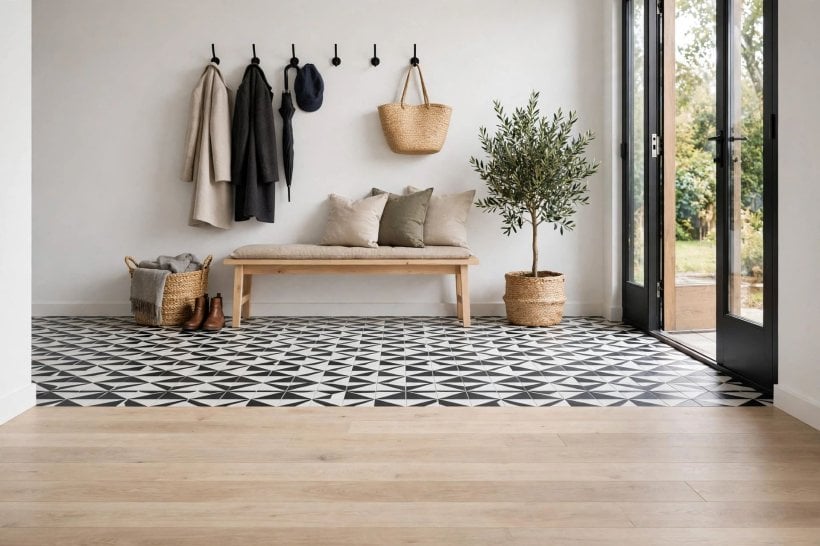
Different sides often need different preparation, and that is normal. The tile side typically wants a stable, well-fixed backing surface suited to adhesive, while the wood side may want a smooth underlay that lets boards float or a clean surface for bonding, all according to the respective makers’ instructions. Where the two preparations meet, keep the boundary crisp: overlapping layers that creep across the line change heights by a fraction and rock strips. If the subfloor levels differ significantly between rooms, a levelling product or an additional board layer on the low side may be the honest fix, applied to the maker’s guidance and allowed to cure fully before floors go down.
Moisture deserves its own check, particularly at ground level and beside bathrooms or kitchens. A floor that feels dry can still carry enough moisture to trouble adhesives and timber, so follow the flooring makers’ advice on testing and on any membrane or primer they specify. If you find active damp, staining or a musty smell along the boundary, pause and find the source rather than covering it; transitions are notorious for being blamed for problems that were really leaks or condensation all along. Check with the city or county if any local rules apply to work in wet areas of your home, and bring in a professional for anything involving plumbing or drainage.
6. Let the Wood Move: Expansion and Seasonal Gaps
Wood-based floors change size slightly with temperature and humidity. It is not a flaw; it is the material breathing with the house, and every well-made join quietly allows for it. The allowance is usually a small gap at the edges of the wood floor, hidden by skirting, thresholds or the soft joint of a flush detail. Trouble begins when that gap is missing, bridged by rigid filler or adhesive, or pinched by a strip fixed through the wood, because the floor then pushes against whatever is immovable, very often the tile edge, and something has to give: boards lift, joints open elsewhere, or the tile edge chips.

So treat movement as a design requirement, not an afterthought. Confirm the allowance your specific wood floor’s maker asks for, since it varies by product and by the size of the area, and plan where that allowance will hide along the tiled boundary before either floor is laid. At a strip, the allowance usually sits beneath the strip’s wood-side edge; at a flush join, it is the soft filled line itself. Keep the gap clean as you work, because a gap filled with tile adhesive, grout droppings or offcuts is no longer a gap, however neat it looks on the day.
Seasonal behaviour also explains small mysteries later. A join that looks perfect in summer may show a hairline more of its soft filler in winter heating season, and vice versa, as the wood side responds to indoor humidity. That gentle seasonal show and hide is normal for many installations and is why flexible fillers, rather than rigid grout, belong in the boundary line. If a gap grows dramatically, bows upward or appears suddenly after a leak or a heating change, that is different: stop, dry things out and ask a flooring professional to look, rather than simply filling a bigger hole. This patience with materials is the same habit behind good tiny house decorating ideas, where natural materials are given room to behave like themselves.
7. Position: Doorways, Sightlines and Where the Line Falls
Where the join sits in plan matters as much as how it is built. The classic position is in a doorway, centred under the closed door, so that from either room you mostly see your own floor and the change happens in the shadow of the door leaf. That position also gives a natural stop for both trades: each floor finishes at the threshold line, and a strip there looks like door furniture rather than a repair. If your layout is open plan, choose the line with equal care, aligning it with a kitchen island edge, a change of tile direction, a board joint or the end of a run of cabinets, so the boundary reads as a design decision.

Think about the tile pattern’s meeting with the line. A tile layout that arrives at the boundary with a sliver cut looks accidental, so set out tiles from the join backwards into the room when the join is the most visible edge. The same is true for boards: a wood floor whose board ends or herringbone points resolve cleanly at the boundary looks crafted. Where a pattern genuinely cannot resolve, a threshold strip earns its place by covering the compromise, which is one reason strips remain the professional’s friend in renovations with fixed existing floors.
Do not forget the verticals. Skirting boards, architraves and door stops all meet the floor at the join, and a small notch, scribe or colour decision there sells the whole detail. Check whether a door needs its underside eased once final floor heights are known, and do any trimming with the door removed and supported, following the door maker’s guidance if it is a fire or security door, in which case check local rules before altering it at all. A line that is right in plan, in pattern and in the door swing will never draw attention to itself, which is the highest compliment a transition can earn. For room-by-room planning that keeps sightlines calm, browse this kitchen: tiny house & small-space design ideas collection alongside your floor notes.
8. Wet Areas, Kitchens and Busy Boundaries
The hardest-working joins in the house are where a tiled kitchen, utility or bathroom meets the wood floor of a hall or living space. These boundaries meet water, grit, dropped pans and daily traffic, and they deserve the most conservative detailing. Start with the assumption that water will occasionally cross the line, whatever you intend, and choose details that tolerate it: a tile edge that is fully supported, a wood edge that is sealed as its maker advises, and a joint filler suited to damp service. Keep mops, pet bowls and plant watering in mind, because the everyday splashes, not the dramatic floods, are what test a join over years.
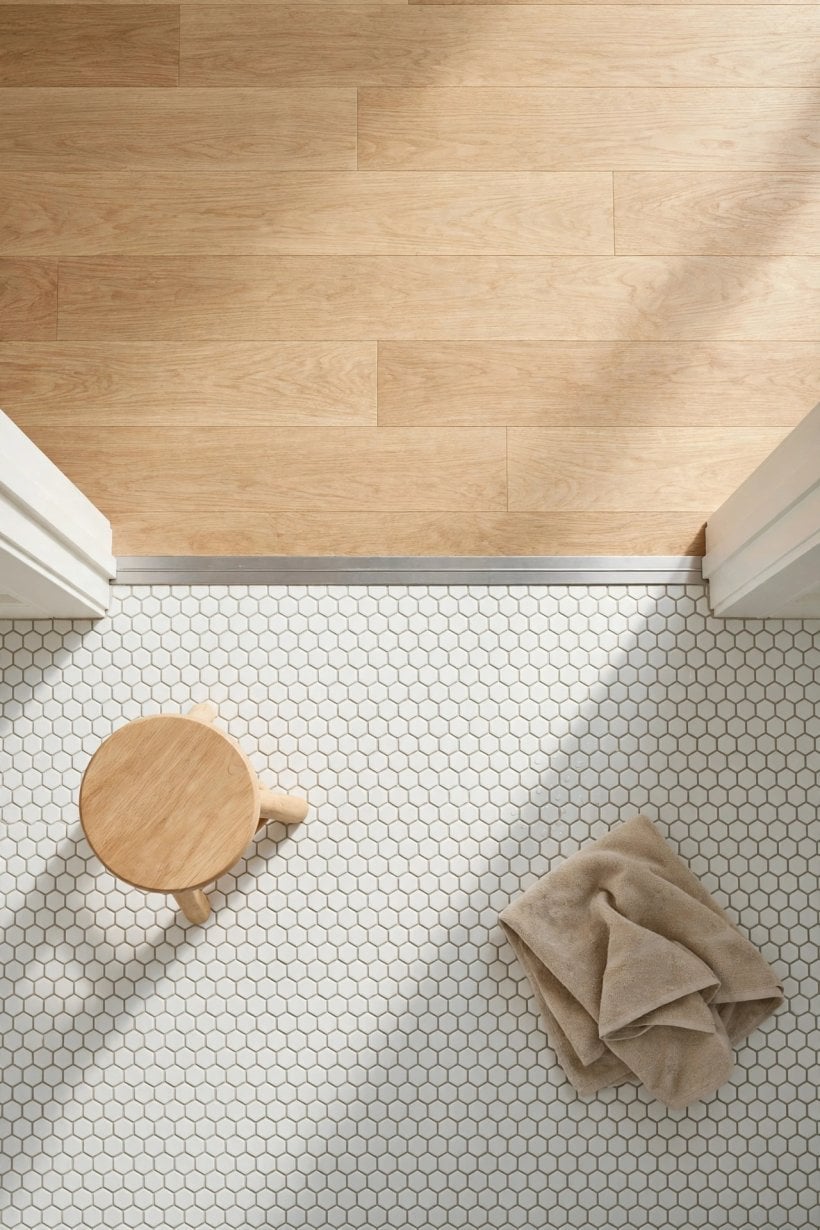
In bathrooms and other wet rooms, local rules and good practice may require particular attention to waterproofing at thresholds, and this is an area to check with the city or county and, where needed, a qualified tradesperson rather than improvising. A strip in a wet doorway can also act as a small dam that keeps splashes on the tiled side, which is sometimes a reason to choose a modest profile over a perfectly flush line in that one doorway. Ventilation matters too: a bathroom that dries quickly is kinder to the neighbouring wood than one that stays steamy, so check that extraction actually works before blaming a floor for moisture behaviour.
Kitchens add heat and heavy loads to the story. Cookers and fridges concentrate weight near boundaries, and tiles can crack if their bed is voided where a strip or an appliance foot lands, so make sure the tile edge at the join is solidly supported. Leave access in mind as well: if appliances or underfloor services near the boundary may need attention later, a removable strip is kinder than a permanently bonded detail. The goal is a boundary that can be maintained in small visits, a wiped seal, a replaced strip, a dried splash, rather than one that demands demolition when life happens. These practical checks sit comfortably beside the planning in interior design & home decorating ideas for tiny houses, where hard-working small spaces are planned around real routines.
9. Edges, Grout Lines and the Last Five Millimetres
Up close, a transition is judged in its last few millimetres: the cut edge of the tile, the end grain or factory edge of the wood, the straightness of the line between them. Tile edges should be cut cleanly and, where they stay visible in a flush detail, chosen or finished so the glaze or body of the tile looks intentional rather than raw. If a tile has a soft or crumbly edge, that is another argument for a strip that covers it. Wood edges likewise look best when they are a true board edge or a clean cut that has been sealed as the maker advises, not a splintered rip hidden under filler.
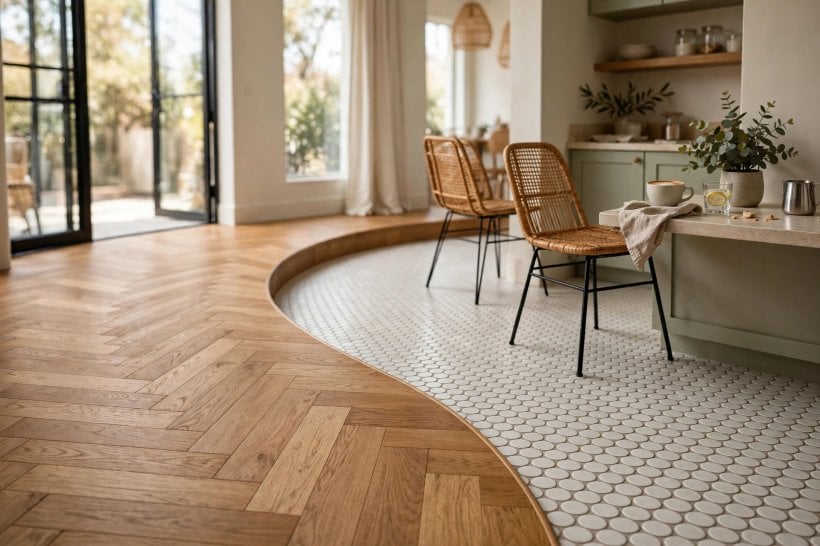
Grout belongs between tiles, and flexible filler belongs in the boundary joint; mixing those roles is a common cause of cracked lines. If a grout joint in the tile field happens to run along the boundary, it can look wonderfully continuous, but it should still be treated as a movement joint at the change of material, filled with the flexible material the situation calls for, in a colour matched to the grout so the eye reads it as part of the pattern. Keep filler slightly recessed rather than domed, wipe it before it skins, and mask the wood edge if you are not confident of a steady hand, because smeared filler on timber is tedious to remove later.
Colour is the final quiet decision. A boundary line in a tone midway between floor colours disappears; a deliberate contrast line can look like a designed border, especially in metal. Sample your filler or strip colour in place, in the room’s real light, beside both floors, before committing along the whole join. And stand back at the end and look from the doorway of each room in turn, because a join is experienced in passing, at glancing angles, more than it is ever inspected on hands and knees, however satisfying that final close look is for the person who built it.
10. A Calm Checklist for Problems and Fixes
Most transition problems announce themselves early and small: a click or hollow sound underfoot, a filler line that has split, a strip that rocks, a tile edge that has chipped, a gap that has grown. Work through them in order of cause, not appearance. A rocking strip usually means an uneven base or a failed fixing, so lift, clean and re-bed or replace it rather than adding more adhesive on top. A split filler line usually means movement exceeded what a rigid or shallow fill could handle, so rake it out fully, check the clean gap beneath, and refill with a suitable flexible product to its maker’s stated depth and width.
A chipped tile edge at the boundary points to an unsupported edge, impact, or a wood side pushing where it should have room to move. Small chips can sometimes be touched in with a repair approach the tile supplier suggests, but repeated chipping means the detail itself is wrong and a covering strip, honestly chosen, will protect the edge better than repeated patching. Hollow sounds under tiles near the join suggest voids in the adhesive bed; that is a tiler’s conversation, because the fix is about support, not cosmetics. A wood side that has lifted or peaked at the boundary suggests its movement gap has been bridged or lost, so check under strips and along the line for hardened filler, grout or debris before assuming the floor itself has failed.
Prevention is mostly housekeeping. Keep grit off the join, because grit plus foot traffic is a grinding paste for edges and finishes. Lift, do not drag, heavy items across the boundary. Wipe spills that cross the line rather than leaving them to sit in it, and add the boundary to your seasonal home checks: look at the filler, feel for rocking, listen for new clicks. Keep a note of the products used at the join, strip, filler colour, floor references, in a house file, so a refresh in five years starts from knowledge rather than detective work. If a problem involves damp, electrics, plumbing or structure at any point, stop and bring in the appropriate qualified help; floors are patient, but water and wiring are not.
Final Considerations
A successful wood to tile transition is really three agreements kept at once: the heights agree, so feet feel no cliff; the movement agrees, so the wood side can breathe against a rigid neighbour; and the eye agrees, so the line falls where a line makes sense. Measure first, dry-lay often, and let the makers’ instructions for your actual floors overrule any general advice, including this guide, where they differ.
Choose the detail that fits your situation honestly: a forgiving strip in a renovation, a flush line in a from-scratch build, extra care where water lives. Check any local rules that apply to wet areas or altered doors, keep the products you used on record, and your boundary will do its quiet work for years, noticed only when you remember to admire it.




0 Comments