

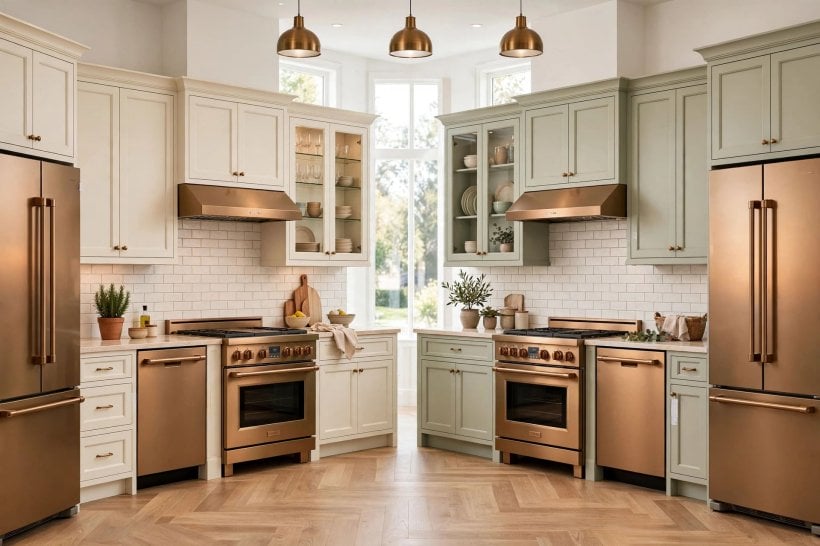
A warm metallic finish can change a whole kitchen, which is exactly why it deserves careful checks before any money changes hands. This guide walks through what to verify if you are considering whirlpool sunset bronze appliances: how the colour behaves in real light, whether the pieces you want are offered in the finish, sizing, care, availability and after-sales questions — so the set you fall for in photos is the set that works in your home.
1. At a Glance: Quick Questions, Straight Answers
Guides in this series start with the questions buyers ask most. None of them has a universal answer — each depends on the specific models, your kitchen and the retailer in front of you — so treat this table as a checklist of things to confirm rather than facts to assume about any particular appliance.
| Question | What to check |
|---|---|
| Is the finish the same across the whole set? | Ask whether every category you need — cooking, refrigeration, dishwashing, laundry — is offered in the finish, and view pieces side by side. |
| Will it suit my kitchen’s light? | Check a sample or display piece in warm and cool light; bronze tones shift noticeably between the two. |
| Is it hard to keep clean? | Ask how the finish handles fingerprints and which cleaners the care guide allows or rules out. |
| Will it fit my space? | Measure the alcove, door swings and delivery route, and compare them with the dimensions on the model’s own specification sheet. |
| Can I add matching pieces later? | Ask how long the finish is expected to remain in the range, and whether handles or panels can be ordered separately. |
| What aftercare is included? | Confirm warranty terms, local service coverage and how finish-matching replacement parts are handled. |
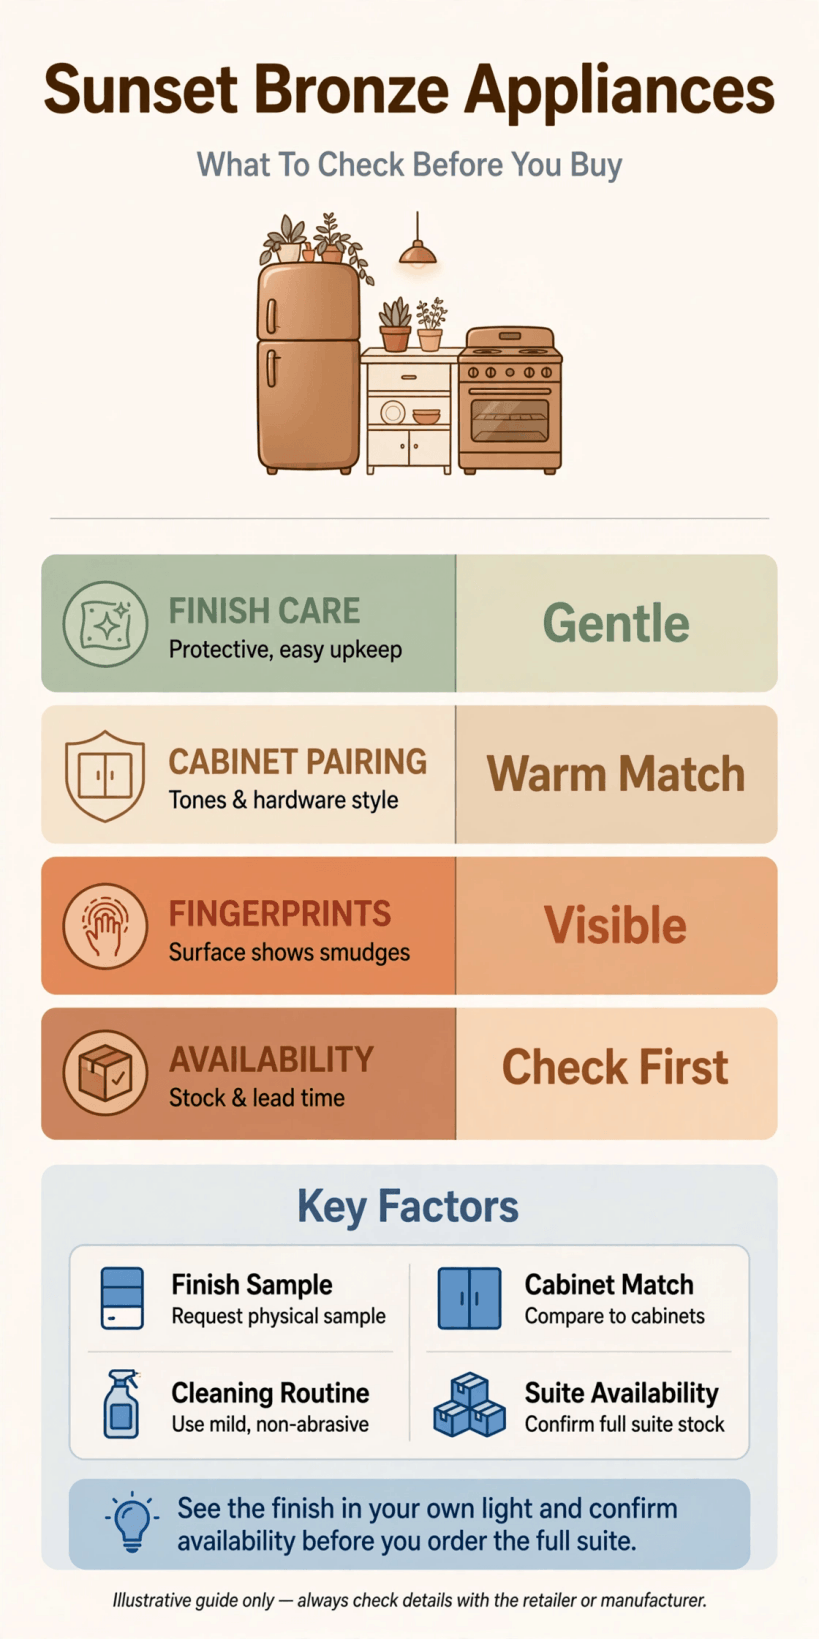
The pre-buy checks at a glance — colour, matching, sizing, care, availability and aftercare, in the order most buyers need them.
2. Decide Which Appliances Actually Need the Finish
Start with the room, not the catalogue. In an open-plan space the kitchen shares sightlines with seating and dining areas, so the finish will be seen all day, from several angles — the same consideration that shapes open layouts in tiny house living room ideas. List every appliance the room needs, then mark which ones genuinely benefit from the statement finish and which could stay neutral without the room feeling unfinished.
Most kitchens read as coordinated when the visible, eye-level pieces match and the hidden or low pieces blend quietly. A dishwasher behind a panel, a washer in a utility corner or a second freezer in the garage rarely needs the premium finish. Deciding this hierarchy first protects the budget for the pieces that carry the look: usually the range or hob, the fridge and any appliance that sits at eye level.
- List every appliance the kitchen needs before choosing any finish.
- Mark which pieces sit at eye level and dominate the room’s view.
- Let one or two statement pieces carry the finish if the budget is tight.
- Keep hidden and utility appliances in a simpler, cheaper finish.
- Check whether a mixed approach still reads as one calm scheme.
- Note future purchases — a microwave or hood you may add next year.
- Decide before shopping, so sales pressure cannot redraw the plan.
- Photograph the current kitchen to judge what visitors actually see.
3. See the Colour in Your Own Light First
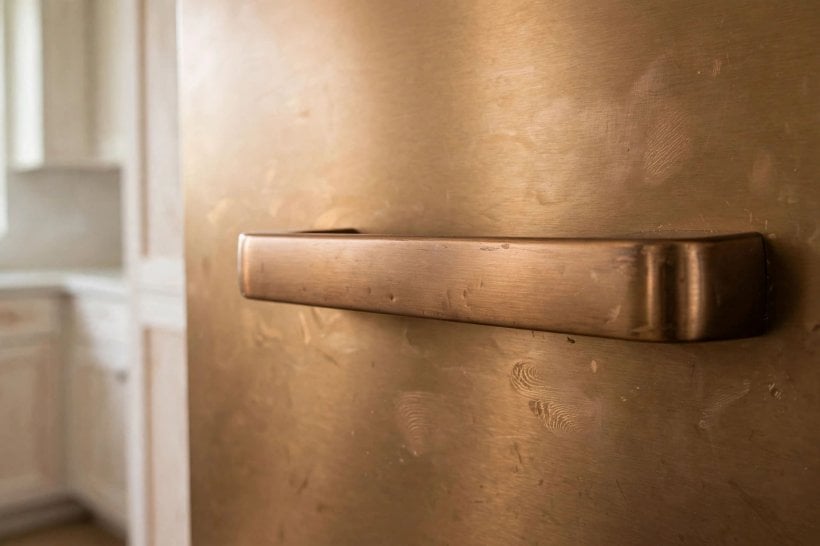
Bronze is a chameleon. Under warm evening light it can read deep and coppery; under cool daylight or bright white LEDs it may look flatter and browner. Showroom lighting is designed to flatter finishes, so never judge the colour from a display alone. Ask for a sample, a door panel or at least permission to view a display piece near a window and under the store’s warm spotlights in turn.
Bring your other materials into the decision. Cabinet colour, worktop, flooring, wall paint and hardware all sit within arm’s reach of the appliances, and bronze argues with some neighbours — very yellow woods and pink-toned stones are worth testing carefully. The deliberate-placement principle behind colorful tiny house interior ideas applies here: one warm accent sings against a calm background and disappears into a busy one.
- View the finish in daylight and in warm artificial light before deciding.
- Ask for a sample or swatch to take home if the retailer offers one.
- Hold samples against cabinets, worktop, floor and wall colours.
- Check the finish at morning, noon and evening in your own kitchen.
- Compare with existing hardware — taps, handles, light fittings.
- Be cautious with yellow-toned woods and pink-toned stone neighbours.
- Judge from standing distance, not only close up; rooms are read whole.
- If two finishes are in contention, live with both samples for a week.
4. Check the Set Matches Across Categories
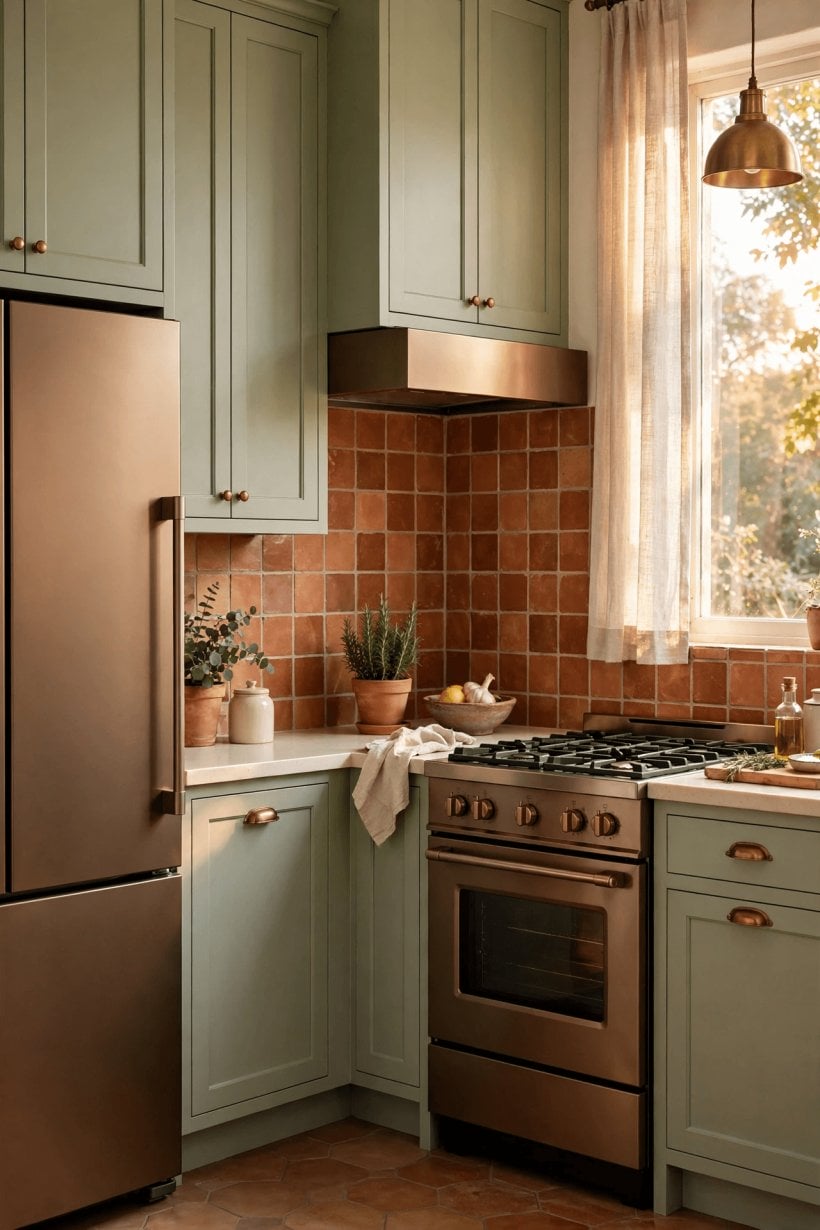
A finish name is not a guarantee of a perfect match. Different appliance categories can be made in different factories, with different coatings and textures, so two pieces carrying the same finish name may sit slightly differently against each other — one glossier, one a shade warmer. Wherever possible, view the actual combination you plan to buy standing together, in a row, exactly as they will stand at home.
Also confirm the finish is genuinely offered on every model you have shortlisted, in the size you need. Ranges change, and a finish available on one capacity or configuration may not extend to another. Kitchens in converted spaces — the kind explored in tiny barn house interiors — often need specific sizes, so check size-by-finish availability before falling for a display set in dimensions that will never fit your run of cabinets.
- View your shortlisted pieces side by side, not in separate aisles.
- Compare sheen as well as colour; gloss differences show in rows.
- Confirm the finish exists on the exact sizes you need.
- Ask whether every category you want is covered by the finish.
- Check handles and trims — they may be a different metal tone.
- Note batch or range differences if buying pieces months apart.
- Photograph the set together in store light and daylight if allowed.
- If buying online, confirm the returns route for colour mismatch.
5. Handles, Touch Panels and Mixed Materials
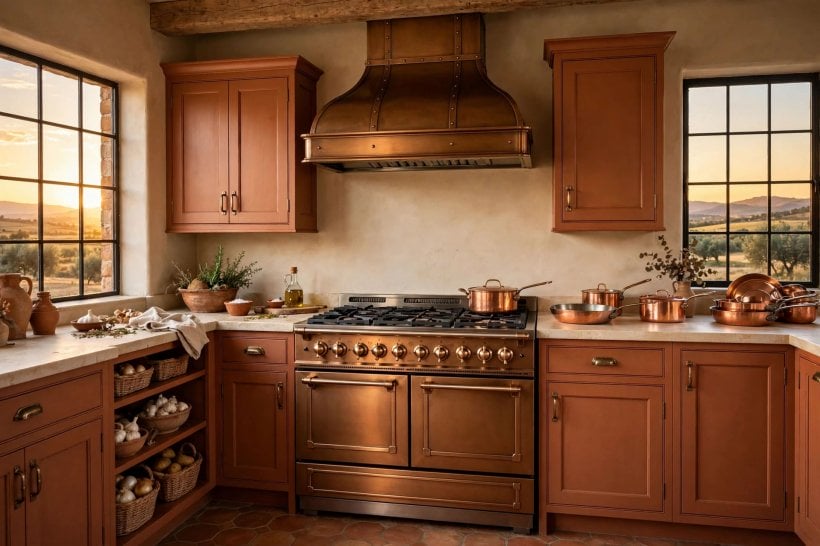
Look closer than the door fronts. Handles, knobs, rails, badges and touch panels decide whether a set feels unified or assembled. On some appliances the handle may be a contrasting metal or a different finish from the door, which can look intentional and sharp — or accidental. Run your hand over the display pieces: check whether edges, corners and control surfaces feel finished to the same standard as the fronts.
Touch panels deserve their own check. Displays and glass control areas show fingerprints differently from brushed or coated metal, and symbols must stay legible in the glare of a bright kitchen. Try the controls with slightly damp or floury hands if the store allows — real cooking hands, not showroom hands — and check that the panel responds the way you expect and wipes clean without drama.
- Compare handle finish and shape across every piece in the set.
- Check badges, rails and trims for tone differences against doors.
- Operate knobs and handles with a full grip, as you would at home.
- Test touch panels for legibility in bright, angled light.
- See how fingerprints show on glass areas versus metal areas.
- Confirm replacement handles can be ordered if one is damaged.
- Look at side panels — they show on freestanding end-of-run pieces.
- Ask which parts are coated, which are solid, and how each ages.
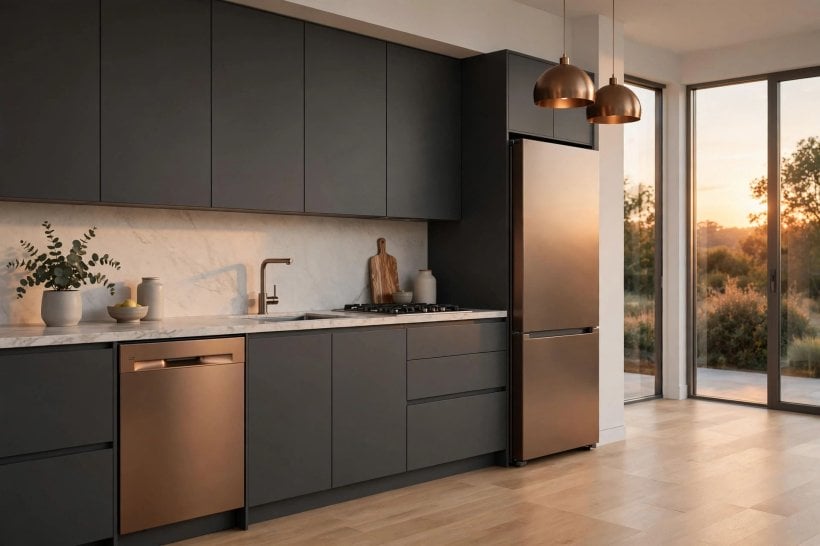
6. Measure, Clearances and Installation Checks
No finish survives a bad fit. Measure the alcove width, height and depth; measure door swings against opposing units and island edges; and measure the delivery route — front door, hall turns, stair corners — because the most beautiful range is worthless if it cannot enter the house. Compare every figure with the dimensions and clearance requirements printed on the specific model’s own documentation, never with a similar model’s.
Services need checking too: the position of power, water and waste relative to where each appliance will stand, and the ventilation the cooking appliance requires. Compact builds make these checks non-negotiable — anyone who has read about how to build your own tiny house knows services are planned to the centimetre in small spaces, and a replacement appliance must respect the original plan or the plan must be properly adjusted by a qualified installer.
- Measure width, height and depth of each alcove, twice, in two places.
- Check door and drawer swings against islands and opposite units.
- Walk the delivery route and measure its tightest turn and doorway.
- Compare figures only with the chosen model’s own documentation.
- Confirm power, water and waste positions suit the new layout.
- Ask what ventilation the cooking appliance requires in your setup.
- Check floor levelling; tall appliances exaggerate uneven floors.
- Agree who removes the old appliances, and where they will go.
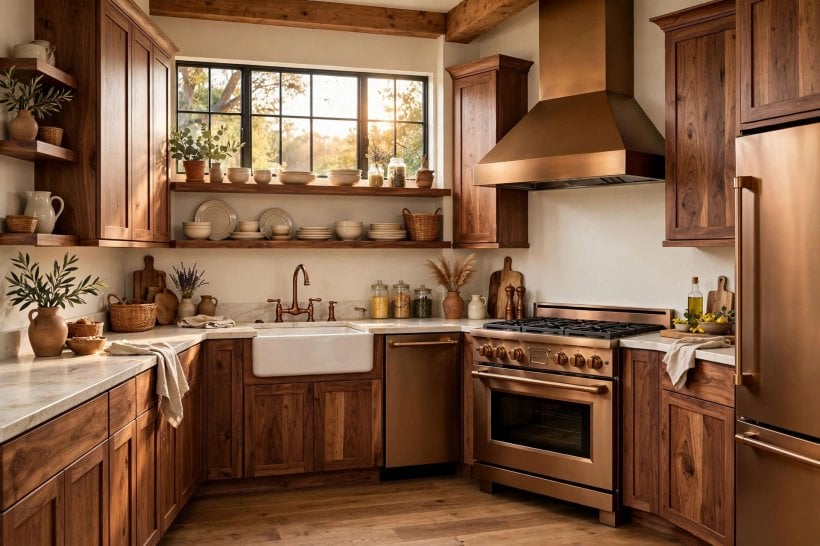
7. Cleaning and Care Questions To Ask
Every statement finish has a care personality, and you need to know it before the first fingerprint lands. Ask which cleaners the manufacturer allows on the finish, which it warns against, and whether the surface is a coating over another material — because coatings and solid metals age differently where they are knocked, scrubbed or exposed to heat and steam around a hob.
Be honest about your household. Homes with young children, keen cooks and dogs produce fingerprints, splashes and bumps at a rate a showroom never sees. The same realistic thinking that keeps small wet rooms working — see the maintenance mindset in tiny house bathroom ideas — applies here: choose the finish whose upkeep fits your actual routine, not the routine you wish you had, and confirm you can buy the recommended care products easily.
- Ask which cleaners are approved for the finish, and which are banned.
- Check how the finish handles fingerprints at the end of a busy day.
- Find out whether the surface is a coating, and over what base.
- Ask how scratches and chips can be touched up, if at all.
- Confirm care around heat and steam zones near cooking appliances.
- Test the recommended wipe-down on the display piece if permitted.
- Note whether special cloths or products are needed, and their cost.
- Decide honestly whether your household will keep up the routine.
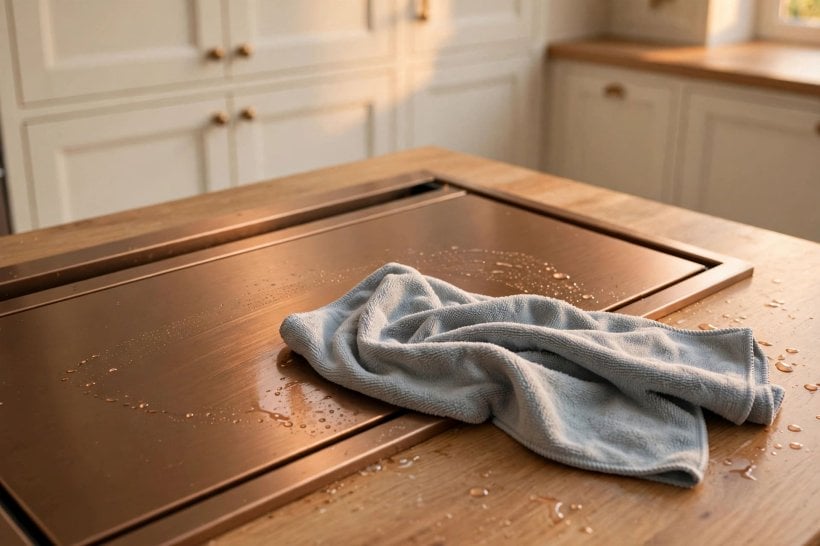
8. Availability, Lead Times and Completing the Set Later
Finishes are fashion, and fashion rotates. A colourway that is everywhere this season may be quietly withdrawn later, which matters if you plan to buy the kitchen in stages. Ask how long the finish has been in the range, whether the retailer expects it to continue, and what happens if you need one more matching piece — or a replacement door — in three years’ time.
Lead times deserve the same scepticism as showroom promises. Ask for the realistic delivery window for the finish specifically, since statement finishes are sometimes made in smaller runs than white or stainless. Small-space renovators, including readers planning around bedroom interior design for tiny houses, learn to sequence trades around confirmed delivery dates rather than hopeful ones; kitchen fitters, flooring and decorating all depend on knowing when the appliances will truly arrive.
- Ask how long the finish has been offered and if it is continuing.
- Confirm the delivery window for this finish, not finishes in general.
- Ask whether doors, handles and panels can be ordered separately later.
- Plan staged purchases so the statement pieces arrive first.
- Check stock at more than one retailer if your timeline is fixed.
- Get delivery and installation dates confirmed in writing.
- Ask what happens if one piece of a set order is delayed.
- Keep model and finish codes from every invoice in one folder.
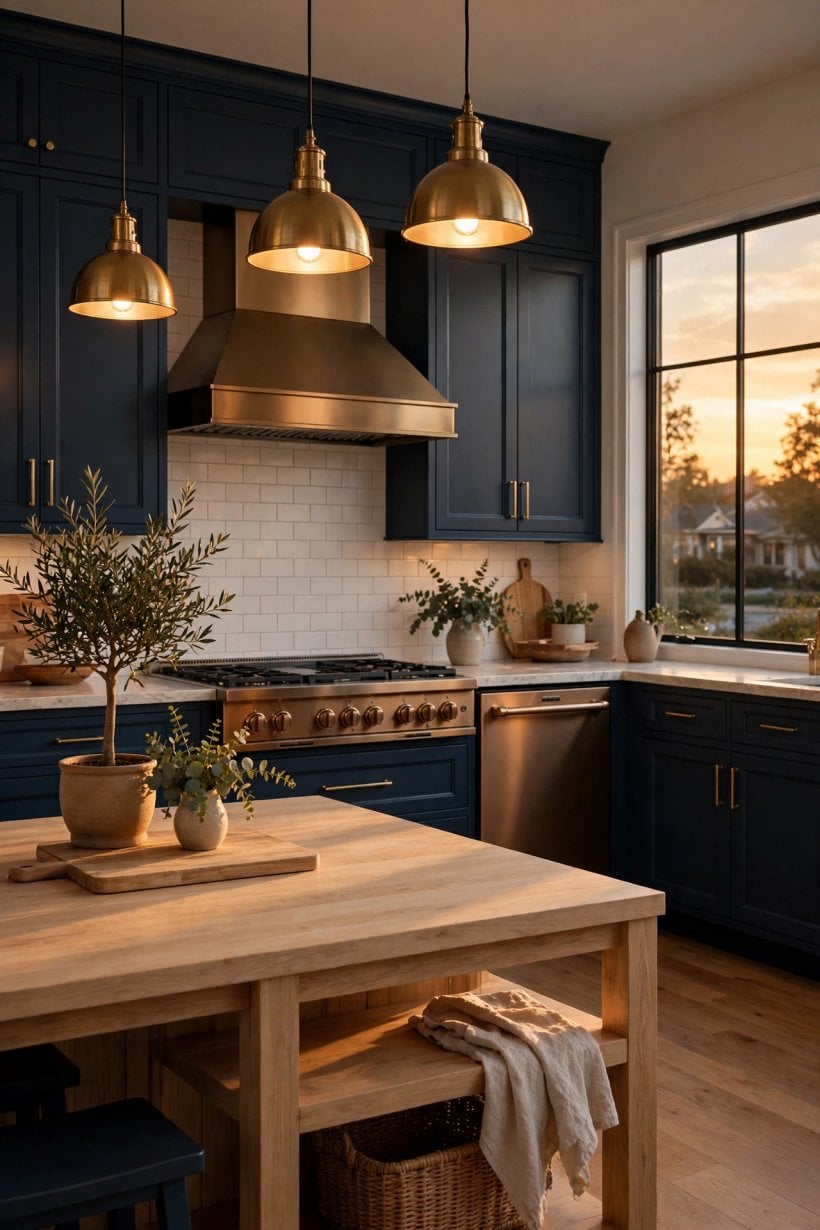
9. Warranty, Service and Parts Questions
Aftercare is where a considered purchase protects itself. Confirm what the warranty covers on the finish itself — peeling, discolouration, coating failure — as distinct from mechanical faults, and how a claim would be assessed. Ask who performs repairs in your area, whether engineers are the manufacturer’s own or contracted, and what typical response arrangements the retailer describes; get specifics from them rather than assuming national coverage looks the same everywhere.
Parts matter for a finish-led purchase because matching is the point. Ask how long spare doors, handles and trim in the finish are expected to remain orderable, and whether a damaged door would be replaced like-for-like or with the nearest current equivalent. Record the answers alongside your model numbers. None of this is pessimism — it is the difference between a set that stays a set and one that slowly becomes a patchwork.
- Confirm what the warranty covers on the finish itself.
- Ask who carries out repairs locally and how service is arranged.
- Check how long finish-matching spare parts remain orderable.
- Ask what happens if a replacement door no longer matches exactly.
- Register the appliances promptly and keep proof of purchase safe.
- Photograph each appliance on delivery day, before first use.
- Note serial and model numbers in the same folder as invoices.
- Ask the retailer — in writing — anything promised verbally in store.
10. Pulling It Together: A Pre-Buy Checklist
Everything in this guide compresses into one page of checks to complete before paying. Work through it with the specific models in front of you, tick items only when they are genuinely confirmed — by your own eyes, your own tape measure or the retailer’s written answer — and treat any unticked box as a question still owed an answer. A finish this distinctive deserves that small ceremony of care.
If several boxes stay unticked, slow down rather than abandoning the idea. Most unresolved checks are about information, not flaws: a sample to view at home, a size to confirm, a parts answer from the manufacturer. Buyers who pause at this stage almost never regret the delay; buyers who skip it sometimes live with the evidence for a decade, at eye level, three meals a day.
- Statement pieces chosen; hidden pieces deliberately left neutral.
- Finish viewed in daylight and warm light, against your materials.
- Set seen standing together; sheen and tone confirmed as matching.
- Finish confirmed available on every model and size you need.
- Handles, panels and touch areas inspected and operated by hand.
- Alcoves, swings, services and delivery route measured and checked.
- Care routine confirmed as realistic for your household.
- Lead time for this finish confirmed in writing.
- Warranty cover for the finish and local service arrangements clear.
- Future matching parts and add-on pieces asked about and noted.
- Invoices, model codes and finish codes filed together.
Final Considerations
Sunset bronze is a finish bought with the heart, so let the head do the checking. Colour in real light, matching across categories, honest measurements, a care routine you will actually keep, and straight answers on availability and parts — confirm those five things and a whirlpool sunset bronze appliances set can anchor a kitchen beautifully for years. Skip them, and even the loveliest finish becomes a daily reminder. Check first, then enjoy the glow.



0 Comments