

A half wall is the hardest-working compromise in a modern bathroom. It keeps a walk-in shower open and light, holds back most of the spray, gives you somewhere to mount controls and store bottles, and avoids the cost and cleaning of a full glass enclosure. These ideas cover layouts, colours, costs and the practical details that decide whether the design works every single day.
1. Walk-In Shower Half Wall Ideas at a Glance
Start with the job the wall has to do. A half wall, sometimes called a pony wall, can carry the shower controls, hide plumbing, support a bench, screen the room from the splash zone, or simply define the shower area in an open wet-room layout. In a tile shower with half wall, the wall’s height, length and finish set the tone for everything else, so decide those three things before you fall in love with a tile.
| Decision | Popular Directions | What To Think About |
|---|---|---|
| Wall position | Entry side, plumbing wall, dividing wall between shower and bath | Spray direction, plumbing access and how you walk into the shower |
| Wall height | Waist height, chest height, near-full height with open top | Privacy, light, splash control and whether a glass panel sits above |
| Wall cap | Matching tile, solid slab, stone or metal trim | Water shedding, comfort if you lean on it, and edge durability |
| Shower entry | Fully open, single fixed glass panel, doorless with a return wall | Heat retention, draughts and how much water escapes the zone |
| Storage | Niche in the half wall, recessed shelf, bench with storage below | Keeping bottles off the floor and within easy reach |
| Floor | Continuous tile, curbless entry, linear drain | Falls to the drain, accessibility and waterproofing quality |
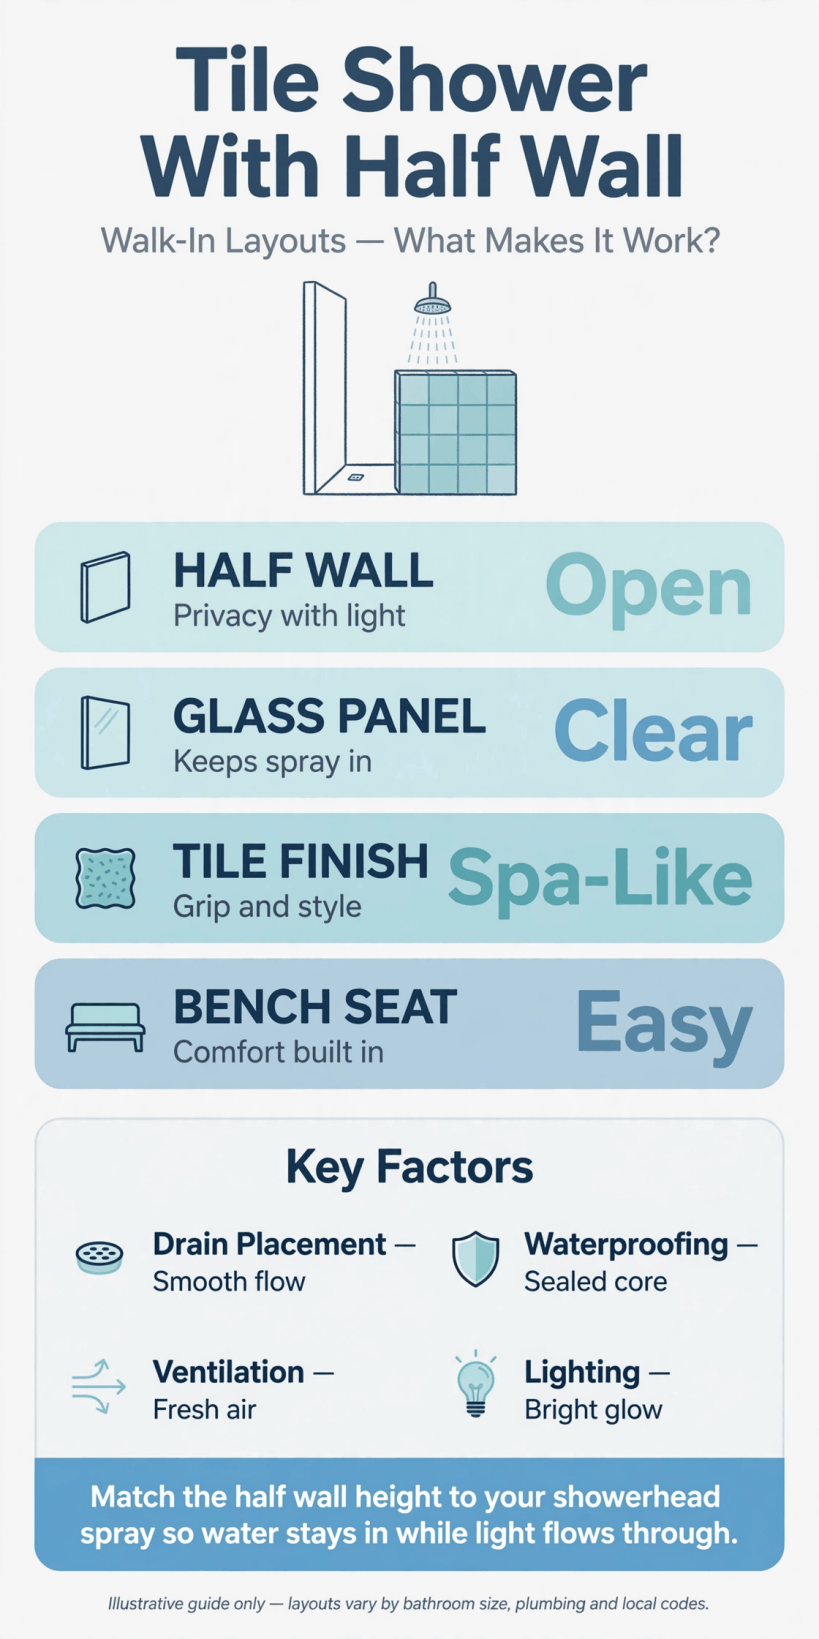
A visual summary of the key decisions in this post, from wall position and height to storage, drainage and finishes.
2. Layouts That Make the Half Wall Earn Its Place
The classic arrangement puts the half wall along the entry side of the shower, open at one end so you walk in past it. Mount the controls on or near that wall, close to the entry, and you can start the water and let it warm up without standing under it — a small luxury you will appreciate daily. The shower head then sits on the end wall or the opposite full wall, aimed away from the opening so spray stays inside the zone.
A second strong layout uses the half wall as a divider between the shower and a freestanding bath in a shared wet area. The wall gives the bath a sense of its own place, carries a shelf for both sides, and keeps shower spray off the bather. In longer rooms, a half wall at the far end of the shower can hold a built-in bench, turning dead space into the most comfortable seat in the room.
Measure the walk-through honestly. The gap you leave is both your entry and your splash escape route, and a layout that looks generous on paper can feel tight with a towel rail or a door swing in the way. This is the same honest measuring that makes tiny house bathroom ideas work in very small rooms, where every centimetre is planned rather than hoped for.
3. Choosing the Height and Length of the Wall
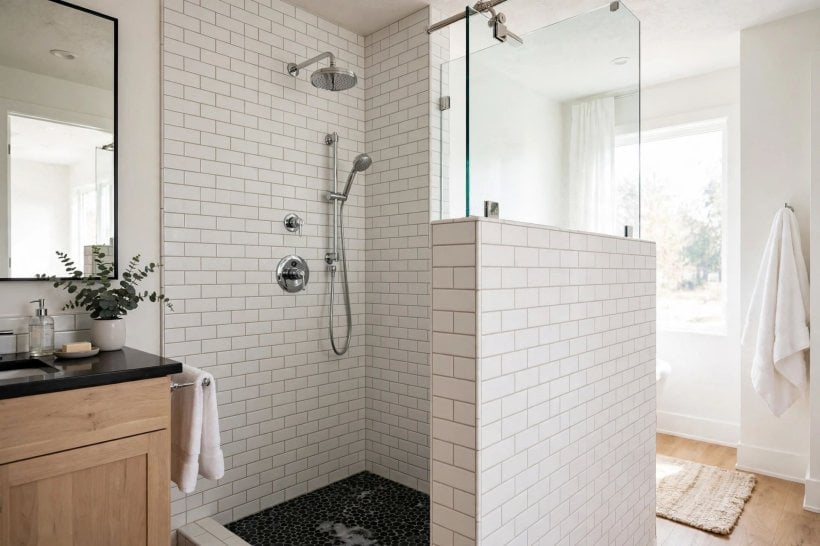
Height is a balance of three things: privacy, splash control and light. A waist-height wall screens the lower body, keeps the room feeling open and gives you a handy ledge, but it holds back less spray and offers less privacy. A chest-height wall is the popular middle ground, containing most spray while still passing light and air over the top. Near-full-height walls with an open gap above suit showers that also need to feel more enclosed and warm.
Length matters just as much. A half wall that runs too short lets water escape around its end and puddle where you least want it; one that runs long can make the entry feel like a corridor. Think about where the shower head points and how its spray pattern spreads, then let the wall extend a sensible distance beyond the direct splash zone. If you are adding a fixed glass panel above the wall later, a sturdier, more level wall top will make that job far easier.
Build the top of the wall to shed water. A slight fall back towards the shower, a solid cap rather than grout lines alone, and neatly sealed edges all stop water sitting where it can soak in. Details like these are unglamorous and completely decisive, the bathroom equivalent of the careful planning behind how to build your own tiny house projects, where the hidden work decides how long the visible work lasts.
4. Tile Choices, Colours and Grout
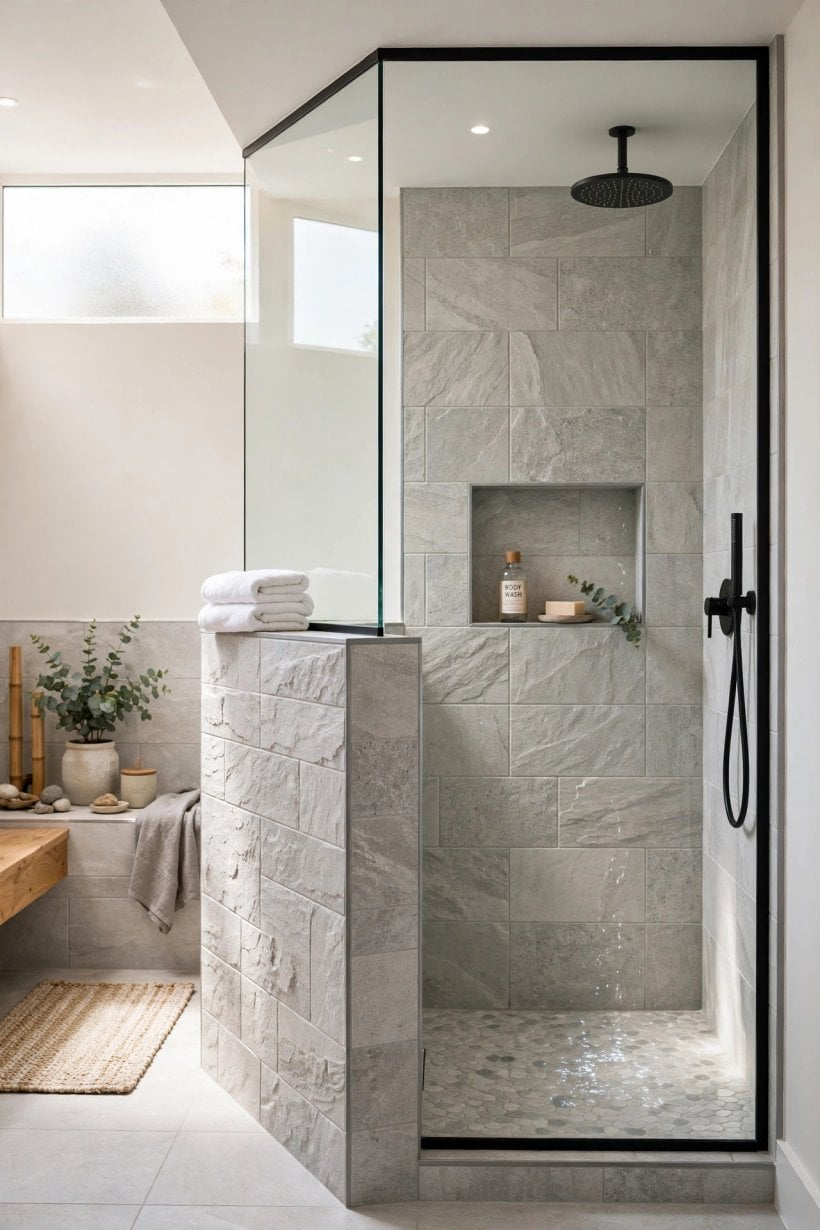
Tile is where this design gets its personality. Running the same tile up the half wall and the shower walls makes the space feel calm and unified; contrasting the half wall in a different tile turns it into a deliberate feature, almost a piece of furniture. Large-format tiles give a sleek, low-grout finish that suits modern rooms, while smaller formats such as mosaics and stacked subway tiles add texture and can follow curved or short walls more gracefully.
Colour shapes how big and how warm the room feels. Pale tiles with a soft sheen bounce light deep into the shower and suit smaller bathrooms, while deeper greens, inky blues and warm stone tones create a cocooning, spa-like feel in a larger room. If you love a bold colour but worry about commitment, put it on the half wall only: it is a smaller area to re-tile later, and the rest of the room can stay quietly neutral.
Grout is not an afterthought. A grout colour close to the tile gives a seamless look and shows soap marks less on pale tiles; a contrasting grout outlines every tile and adds pattern but will show its age sooner in a wet zone. Choose grout and sealants meant for showers, keep spare tiles from the same batch for future repairs, and remember that the inside face of the half wall takes the most water, so it deserves your best waterproofing, not your leftover materials.
5. The Wall Cap and Edge Details
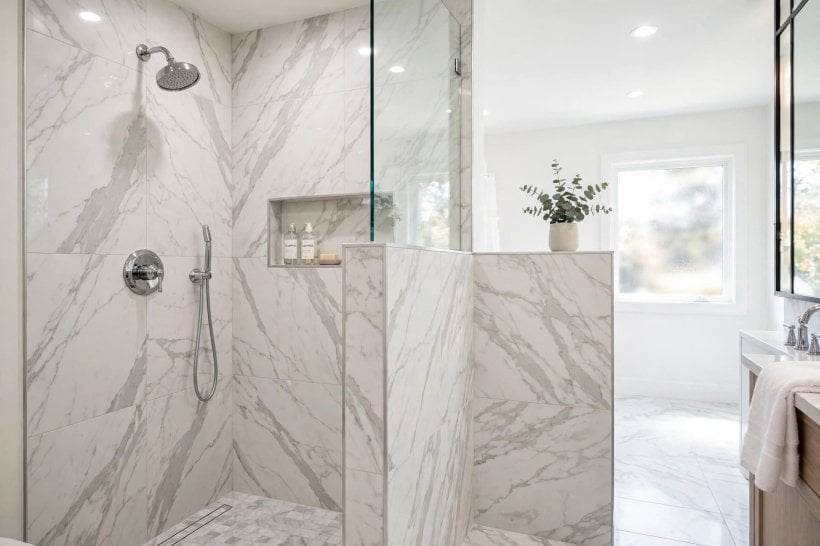
The top of a half wall is touched, leaned on, and rained on daily, so how you finish it matters more than almost any other detail. A solid cap in stone, quartz-style material, treated timber-look tile or a single row of bullnose tiles gives a smooth, water-shedding surface with no grout line along the very top where water would sit. Slightly overhanging the cap by a small margin on each side creates a drip edge and a finished, deliberate look.
Metal tile trims give crisp modern edges and protect tile corners from chips, and they come in finishes that can match your shower fittings for a coordinated feel. Mitred tile edges are the premium option, beautiful but demanding: they need a skilled tiler and tiles that cut cleanly, so agree the edge detail before tiling starts, not when the wall is half built. On the end of the wall, a rounded or trimmed corner is kinder to bump into than a sharp tiled arris, especially in a family bathroom.
Think about what will live on the cap. If it will hold bottles, a wider, level cap earns its space; if it is purely a divider, a slimmer profile keeps the room feeling light. Either way, photograph the wall before tiling if pipes or fixings run through it, so future you knows exactly what sits behind the surface — the same record-keeping habit praised in tiny barn house interior renovations, where the best projects document every hidden layer.
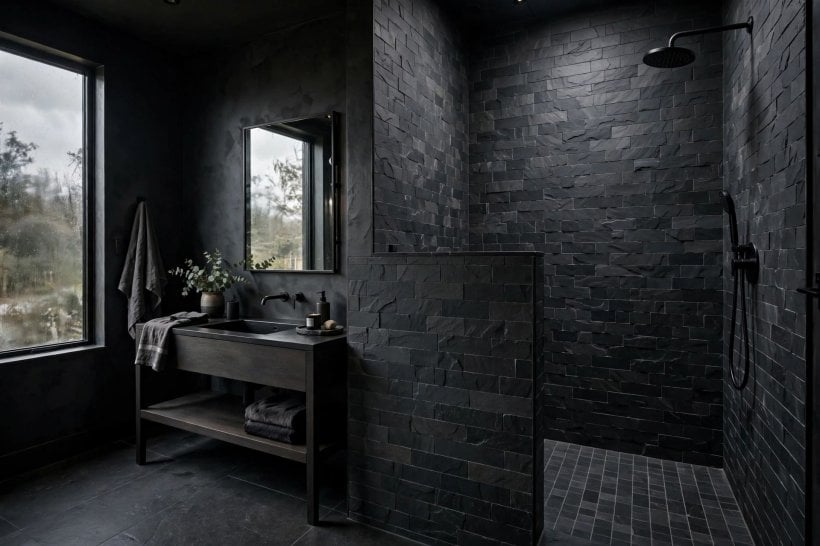
6. Benches, Niches and Storage in the Wall
A half wall is storage waiting to happen. A recessed niche built into its shower face keeps shampoo and soap at hand height, off the floor and out of the spray’s direct line, and a long low niche can hold everything a household uses without visual clutter. Line the niche with the same tile for calm, or a contrasting mosaic to make it a small moment of pattern. Include a slight fall on the niche shelf so water runs out rather than pooling behind bottles.
A bench changes how a shower feels. Built against or into the half wall, it offers a seat for shaving legs, a perch for older family members, a spot to sit and enjoy the steam, and a dry-ish shelf for towels and clothes on its room side if the design allows. A floating bench keeps the floor clear and cleaning simple; a solid, tiled bench can hide storage or simply feel reassuringly permanent. Either way, the bench top should shed water back into the shower area, not onto the bathroom floor.
On the room side, the half wall can work too: hooks for towels, a recessed shelf for folded linen, or simply a clean surface for a plant and a candle. Designing both faces of one wall is efficient thinking, the same principle that makes tiny house living room ideas so satisfying, where every element quietly does two jobs.
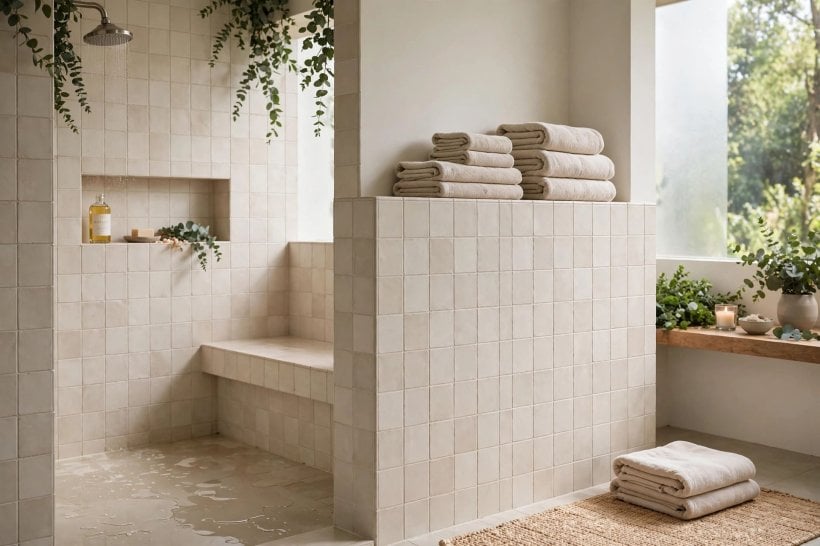
7. Glass Above the Wall and When To Skip It
Many half-wall showers add a fixed glass panel on top of the wall, and it is easy to see why. The glass holds in warmth and steam, stops the finest spray drifting across the room, and keeps the open look that made you choose a half wall in the first place. The wall gives the glass a solid base, so the panel can be shorter and more stable than a full-height screen, and its top edge sits at a comfortable height for cleaning.
Skipping the glass has its own rewards: nothing to squeegee, no seals or channels to scrub, a truly open feel, and a lower bill. The trade-offs are a cooler shower, more mist in the room and more demand on your extractor fan. If you are undecided, have the wall built level and strong enough to accept a panel later, then live with the open version through a winter before you commit either way.
Either choice affects the rest of the room. With glass, towel hooks can live closer to the shower; without it, keep textiles and timber finishes a safer distance from the splash zone. Mirrors, lighting and ventilation all behave differently in a steamier room, which is why whole-room thinking, like that in colorful tiny house interior schemes where one brave feature is balanced by everything around it, produces bathrooms that feel designed rather than assembled.
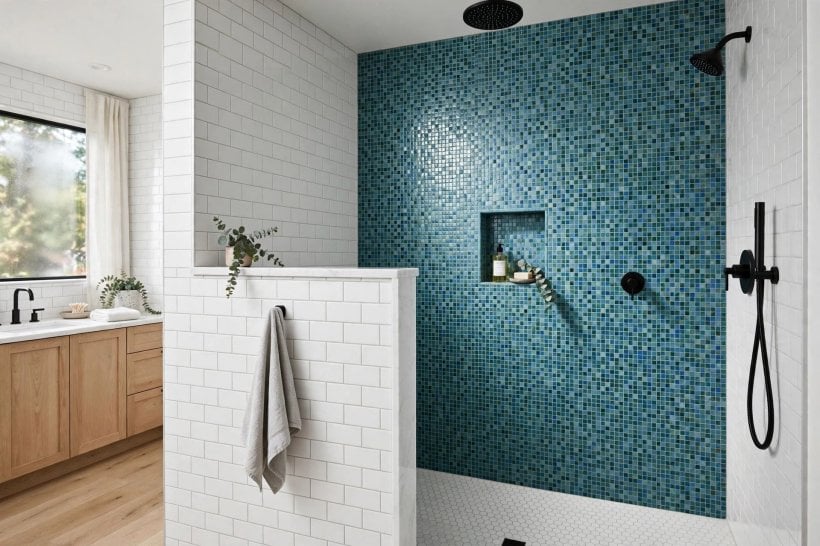
8. Waterproofing, Drainage and Floors
Everything beautiful in a walk-in shower depends on the layers you cannot see. The whole shower zone, including the half wall and especially its top and end, needs proper waterproofing suited to the system your installer uses, with corners and junctions treated as the highest-risk points, because that is exactly what they are. A half wall is a junction machine: it meets the floor, two walls’ worth of faces and its own cap, and each meeting point must be sealed and detailed with care.
Drainage sets the floor design. A curbless, level-entry shower is the most elegant and accessible option, but it demands accurate falls across the floor so water travels to the drain instead of exploring the room. Linear drains suit large-format tiles and can sit neatly along the half wall or the back wall; a central drain needs falls from several directions, which smaller tiles handle more easily. Agree the tile, drain and falls as one conversation, not three separate ones.
Underfloor heating is a natural partner here, drying the floor quickly and making a doorless shower feel luxurious rather than chilly, but it must be planned with the waterproofing and floor build-up, never added as an afterthought. These hidden systems repay the same respect as the structure in bedroom interior design for tiny houses, where comfort comes from layers working quietly together beneath a calm surface.
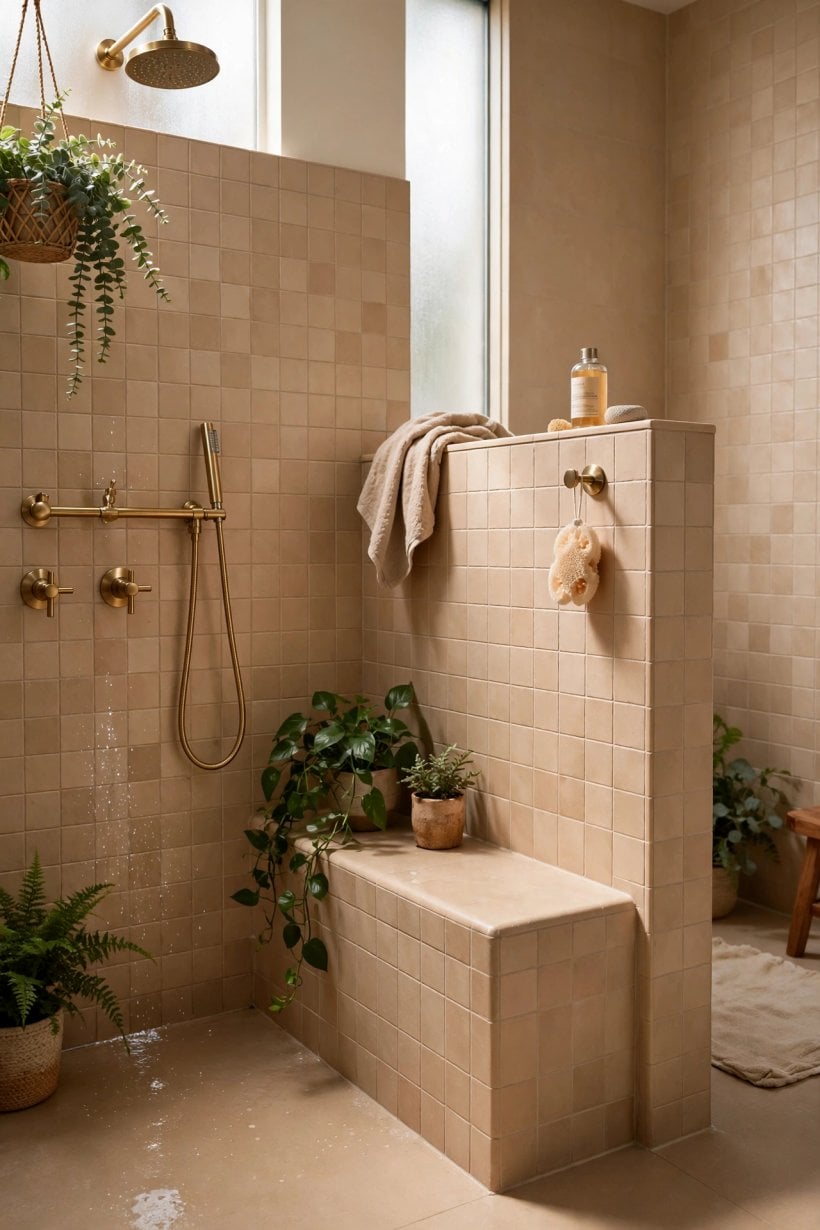
9. Costs and Where the Money Goes
Think of the budget in layers, because a half-wall shower is rarely one product bought once. There is the wall itself, whether framed and boarded or built from block; the waterproofing system; the tiles and trims for three faces of wall plus its cap; plumbing moves if controls relocate onto the wall; the drain and floor work, especially if you are going curbless; and the labour of a good tiler and plumber, which is where the finish quality is really bought. A glass panel above the wall, a bench and niches each add their own line to the list.
Costs rise with tile format extremes, intricate patterns, mitred edges, and moving plumbing across the room. They ease when the shower stays in its existing footprint, the tiles are a standard format laid simply, and the half wall uses the plumbing wall that is already there. Get itemised quotes that separate preparation, waterproofing, tiling and fittings, and ask what each quote assumes about the floor beneath, because opening a floor is where surprise costs like to hide.
Spend first on the invisible and the touched: waterproofing, drainage falls, the wall cap, and controls you will turn every day. Save, if you must, on the visible-but-easy: a simpler tile laid beautifully beats an expensive tile laid hurriedly, and accessories can always be upgraded later. A clear-eyed budget, planned like the compact schemes in tiny house bedroom ideas, keeps the project a pleasure instead of a creeping worry.

10. Practical Details for Everyday Use
Daily life is the true design brief. Place the controls where you can reach them without stepping fully under the head, put the niche where the person showering actually stands, and check that the half wall does not block the swing of a nearby door or the opening of a vanity drawer. If anyone in the household has limited mobility, the half wall can be a quiet help: a firm, well-placed cap at a comfortable height is a steadying handhold on the way in, though it should never substitute for proper grab rails where those are needed.
Cleaning is simpler than a fully enclosed shower but not effortless. The cap and the wall’s end are the splash-and-soap hotspots; smooth caps wipe clean faster than heavily textured tile. Keep a squeegee habit for any glass, ventilate well to protect grout and sealant, and reseal joints when they show wear rather than after they fail. Choose fittings in finishes that forgive water spots in your water type, and the room will look cared for with far less effort.
Finally, live with the plan on paper for a few days. Tape the wall’s footprint on the floor, walk the entry route with a towel in hand, and act out the morning rush. Ten minutes of pretending will find the awkward step, the too-narrow gap and the niche in the wrong place far more cheaply than a tiler will. Then build it once, build it properly, and enjoy a shower that feels open, calm and entirely yours.
Final Considerations
A half wall succeeds when it is planned as structure, storage and style at the same time. Get the layout, height and hidden waterproofing right first, choose tiles and a cap you will enjoy touching every day, and let the costs follow honest, itemised decisions rather than hopeful guesses. Do that, and a tile shower with half wall stops being a compromise between open and enclosed, and becomes simply the best seat in the bathroom: bright, calm, easy to use and easy to love, morning after morning.



0 Comments