

A white ceiling can feel like a lid. A whitewashed wood ceiling feels like sky with a grain in it — the boards still show, the knots still read, but the whole room lifts as if someone opened a window in the roof.
These 40 ideas cover the finishes, layouts and rooms a whitewash ceiling suits, plus the technique checks that keep it looking like timber in a veil — not wood in hiding.
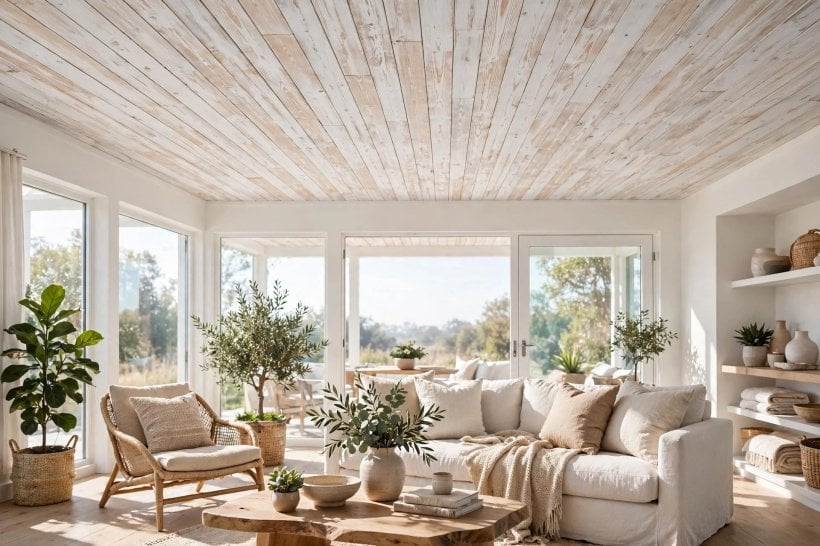
1. Whitewashed Wood Ceilings at a Glance
A whitewash ceiling is a finish, not a material: a thinned white coating — limewash, diluted paint or a proprietary wood wash — applied over boards, beams or planks so the grain shows through. The central entity is that balance between coverage and grain, and every idea below adjusts it.
| What is whitewash? | A diluted white finish that sits in the grain rather than over it, softening the wood’s colour while keeping its texture and knots visible. |
| Best woods for it? | Pine and other pale, open-grained boards take it most evenly; strong orange or red-toned woods fight the white and need testing first. |
| What does it do to a room? | Lifts and lightens like a white ceiling, but keeps warmth and pattern — the standard move in Scandinavian and coastal interiors. |
| Skill level? | A forgiving DIY finish — thin coats, wiped back, no perfect edges — though a whole ceiling is a neck-and-shoulders workout best staged carefully. |
| Maintenance? | Gentle: dust and the occasional damp wipe. Recoating is easy because the finish is thin, matte and blends at overlaps. |
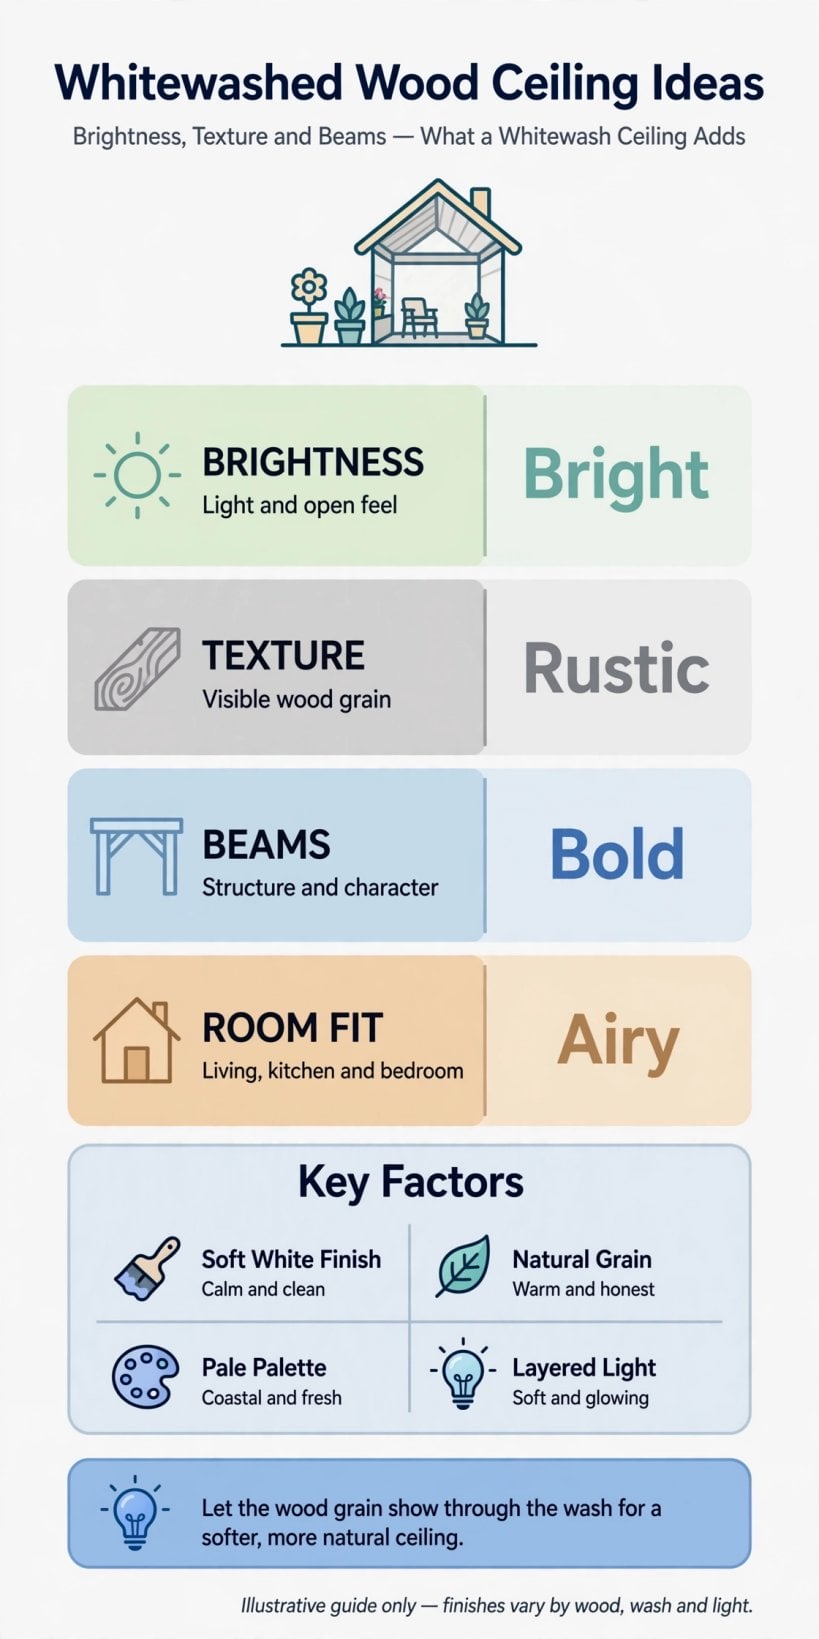
At a glance: thin the finish, keep the grain, test on offcuts first — whitewash is a veil over the wood, not a coat of paint.
2. The Finishes: Limewash, Diluted Paint and Wood Wash
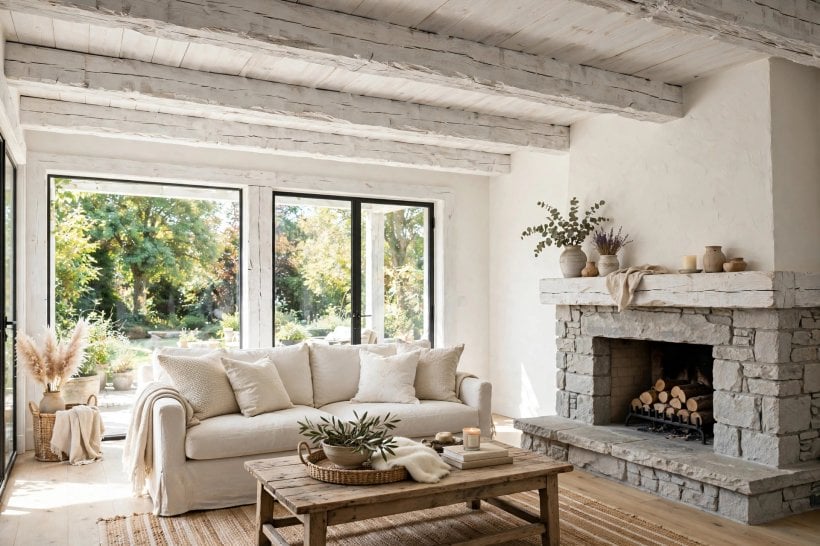
Three families of finish achieve the look, and choosing between them is the post’s first real decision. Traditional limewash is a mineral finish — slaked lime in water, sometimes with salt or casein in old recipes — that soaks in, dries chalky-matte and suits raw, untreated timber; it has a soft, slightly uneven character that no paint quite copies. Diluted emulsion or wood paint is the modern shortcut: water it down, brush it on, wipe it back with a cloth to control the coverage, and the grain ghosts through as much or as little as you choose. Proprietary wood washes and white hardwax oils sit between the two — designed products with predictable colour, worth their price on a whole ceiling where consistency matters.
Whatever the family, two rules govern: test on offcuts of the actual boards first, because the same mix reads different on every timber; and work in thin passes, because whitewash is far easier to add than to remove. The restrained, texture-first approach mirrors the interiors in modern tiny house interior design, where pale finishes are layered to keep small spaces calm rather than blank.
1. Traditional Limewash on Raw Pine
The authentic, breathable finish with a soft mineral bloom. Best on new or stripped boards; it will not take over existing varnish.
2. Diluted Paint, Wiped Back
The most controllable route: brush on thinned white paint, wipe with a damp cloth within minutes, and stop at the coverage you like.
3. White Wood Wash for Even Colour
Made-for-purpose washes give the most uniform result across mixed boards — the safe choice for a large, highly visible ceiling.
4. Grey-Wash for a Cooler, Weathered Tone
A drop of grey in the mix reads as driftwood and suits north-facing rooms and modern-rustic schemes.
5. Two-Coat Deep Whitewash
Two thin passes approach painted white while keeping a breath of grain — for rooms that need maximum light bounce.
3. Board Layouts: Planks, Panels and Directions
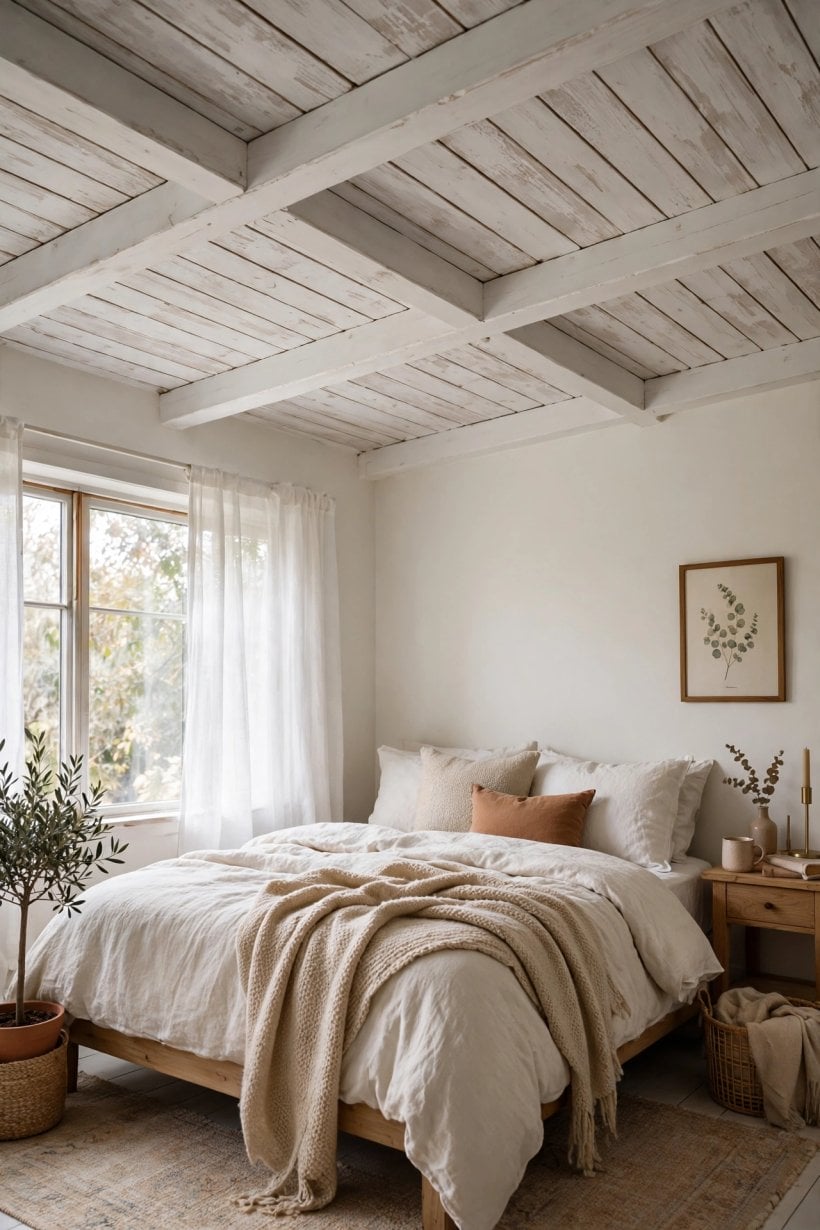
The finish may be the headline, but the board layout is the architecture. Direction alone can lengthen a room or calm it, and because whitewash unifies colour, the layout’s geometry becomes the ceiling’s main event.
6. Long Planks Run Lengthwise
Boards running the room’s long axis pull the eye through and make narrow rooms — hallways, galley kitchens, tiny-house lofts — feel longer.
7. Planks Across for Width
Running boards across a long thin room breaks the tunnel effect and widens the feel; a classic trick in corridors and narrow cottages.
8. Tongue-and-Groove Boards for a Seamless Field
Tight joints and a shadow gap at each board give the classic cottage ceiling: orderly, warm, and forgiving of less-than-perfect joists.
9. Wide Boards for Calm, Modern Rooms
Fewer, wider planks with a pale wash read Scandinavian and quiet — the layout to choose when the furniture is the colour story.
10. Shiplap With Its Shadow Lines
The small regular gap of shiplap adds rhythm that survives the white finish — texture you read from across the room.
11. Herringbone or Chevron in a Small Zone
Patterned boards over just the dining table or entry make a ceiling “rug” — high effort, best kept to one contained area.
12. Reclaimed Boards, Whitewashed
Old timber under a thin wash keeps its saw marks and nail history while losing its heaviness — sand loose fibres, wash thin, and let the past show.
4. Beams, Coffers and Vaults
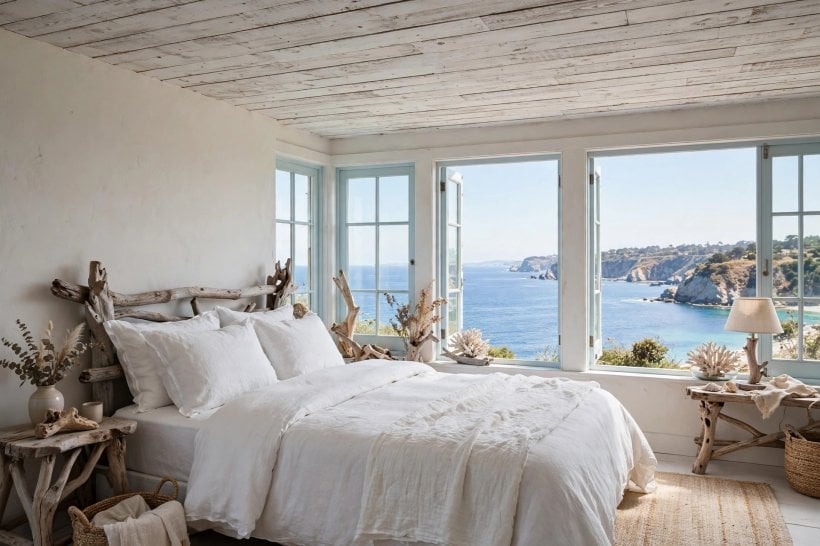
Structure is where whitewash earns its sophistication: it can soften heavy timber without the crime of painting it solid, and it can tie mismatched old and new wood into one ceiling. The effect on a room’s proportions is the same one exploited throughout these tiny living room ideas — pale overhead surfaces make modest rooms feel taller.
13. Whitewashed Beams Over a White Ceiling
Beams washed to a paler tone than the ceiling field — or the reverse — keep the architecture visible at a whisper instead of a shout.
14. Dark Beams Kept, Boards Washed
The high-contrast classic: leave beams natural or stained deep, wash only the boards between. In old houses this respects the timbers everyone loves.
15. Vaulted and Cathedral Ceilings
A wash is the vault’s best friend — it keeps the drama of the slope while bouncing light down into the room instead of absorbing it into dark wood.
16. Coffered Ceilings, Softened
Washing the whole coffer grid unifies repairs and mixed timbers and turns a formal ceiling fresh and coastal.
17. Faux Beams in the Same Wash
Lightweight boxed beams, washed to match the boards, add rhythm to a flat ceiling — install them straight and the illusion holds.
18. Exposed Rafters and Purlins
In roof-conversion rooms, wash rafters and boards as one field so the structure reads as texture rather than clutter.
5. Room by Room
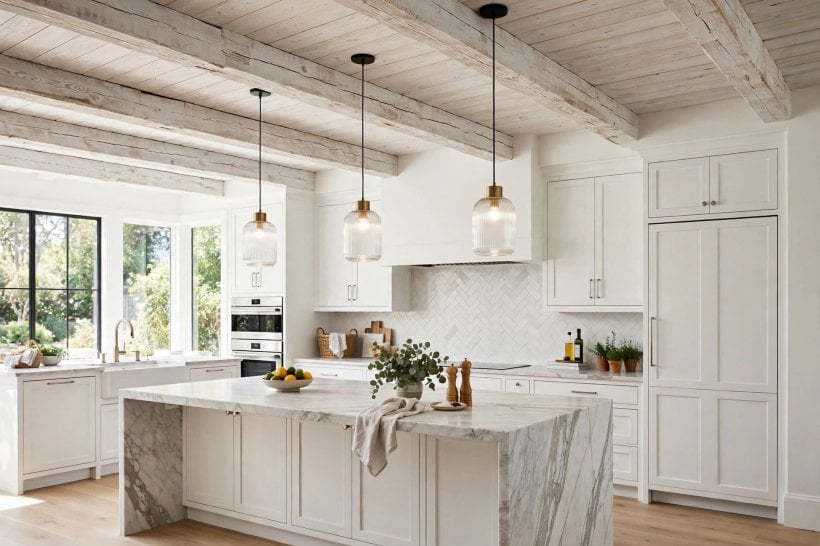
Every room asks something different of the finish — light in the kitchen, calm in the bedroom, caution anywhere steam lives.
19. Kitchen: Bright and Cleanable Overhead
Choose a sealable wash or paint-based finish in kitchens; cooking vapour is unkind to raw mineral finishes. Pale ceilings lift light onto worktops, a principle shared with the small kitchens in tiny house interior designs.
20. Living Room: The Calm Canopy
A mid-strength wash — grain clearly present — warms a living room’s white walls and keeps the ceiling part of the conversation.
21. Bedroom: The Softest Wash
Bedrooms take the deepest coverage best: near-white with a grain ghost is the restful end of the scale, especially over a bed under eaves.
22. Bathroom: Only With Ventilation and Sealing
Steam is the enemy. In bathrooms use a sealed paint-wash system, keep timber clear of the shower zone, and ventilate properly — or admire the look from the landing instead.
23. Hallways and Entries: Borrowed Light
A washed ceiling in a windowless hall bounces what light there is from end to end and makes the whole house feel connected.
24. Lofts and Tiny Houses: One Field Everywhere
In a loft or tiny home, wash the sloping ceiling and the wall boards behind the bed as one surface — the room becomes a pale wooden shell, bigger-feeling than any paint scheme.
6. Colour Tones and Pairings
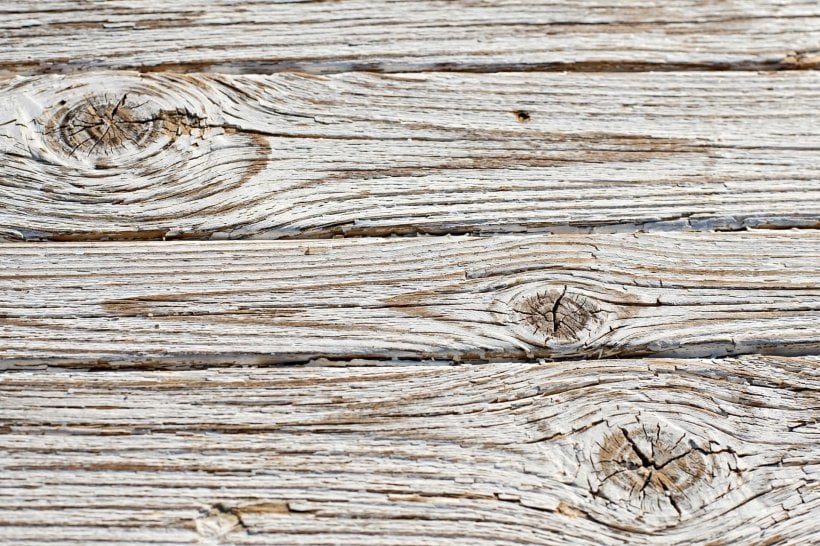
Whitewash is not one colour; it is a family from warm ivory to cool grey-white, and its partnerships decide whether the room feels coastal, Scandinavian, farmhouse or modern.
25. Warm White Over Golden Pine
Pine’s honey tones glow through a thin warm wash — the cosiest version, made for cottages and cabins.
26. Cool White for a Coastal Feel
A blue-leaning white with bleached boards reads as beach house; pair with linen, rope textures and weathered blues below.
27. Pair With White Walls for the Full Scandinavian Shell
Washed ceiling, white walls, pale floor: texture does all the decorating and colour arrives in textiles that can change with the seasons — the layered approach in tiny house interior design ideas.
28. Pair With Colour Below
Deep green, navy or clay walls under a pale washed ceiling is the dramatic formula — the ceiling becomes the room’s sky.
29. Natural Wood Accents Kept as the Bridge
One unwaxed natural element — a beam, a door, a table — ties the washed ceiling to the furniture and stops the room floating away.
30. Black Fittings for Definition
Black pendants, fan or rail lights give the pale field its punctuation; without a dark note somewhere, all-white can go vague.
7. Lighting a Whitewashed Ceiling
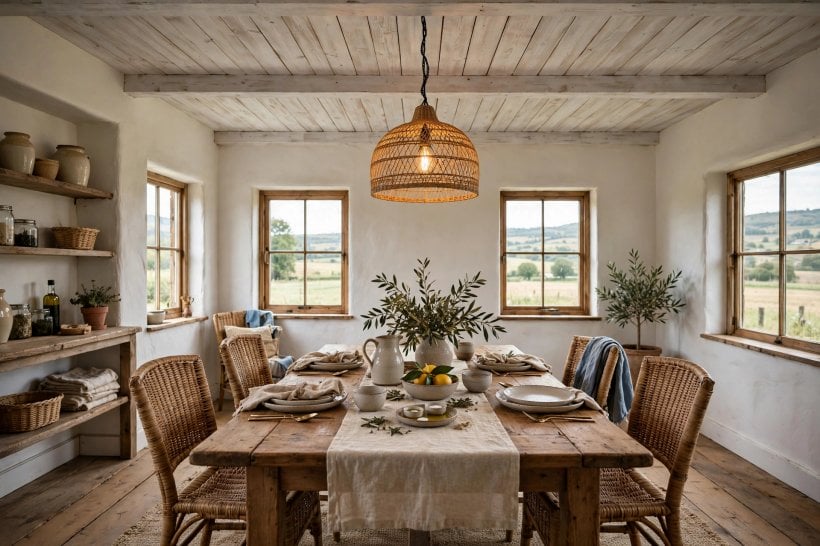
A washed ceiling returns light generously, so fittings can be fewer and softer — but placement matters more, because every fitting silhouettes against the boards. Pendants hang into the room’s sightlines and should be chosen as objects, not appliances. Track and recessed lights sit flatter and suit low ceilings; if you recess into a boarded ceiling, plan the cut-outs before the boards go up, not after the wash is on.
Colour temperature is the quiet decision: warm light flatters the wood’s surviving warmth, while cool light pushes the wash toward grey and can make pine look dingy rather than pale. Test your bulbs against a washed offcut at night before committing the whole room — the same test-first discipline used for paint colours on walls in small space interior design ideas.
8. The DIY Process, Step by Step
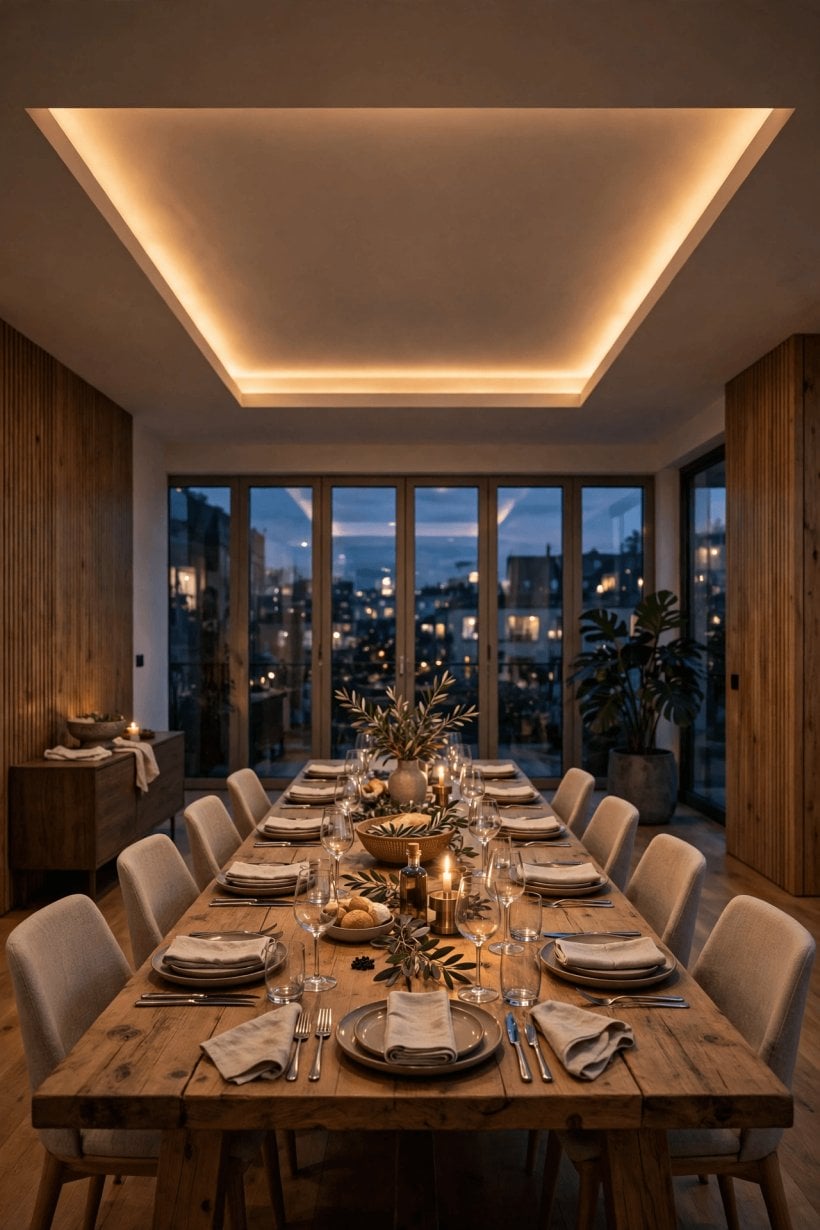
Work in this order: prepare, test, then commit one section at a time. Strip or sand any existing varnish or sealed finish — washes and limewash will not bond evenly over them — and clean dust thoroughly, because every speck prints through a thin finish. Mask the walls; overhead work drips.
Mix less than you think and keep the ratio written down. Apply along the grain with a wide brush, working a few boards at a time, and wipe back with a damp cloth to set the coverage — consistency comes from rhythm, not measurement. Let the first pass dry fully before judging it: whitewash dries noticeably lighter than it looks wet, and many good ceilings were ruined by a second coat added in panic. Seal kitchens and bathrooms with an appropriate clear matte protector if your product system calls for it. Keep the leftover mix and note its ratio on the tin; future touch-ups blend invisibly when the recipe survives.
9. Mistakes and Fixes
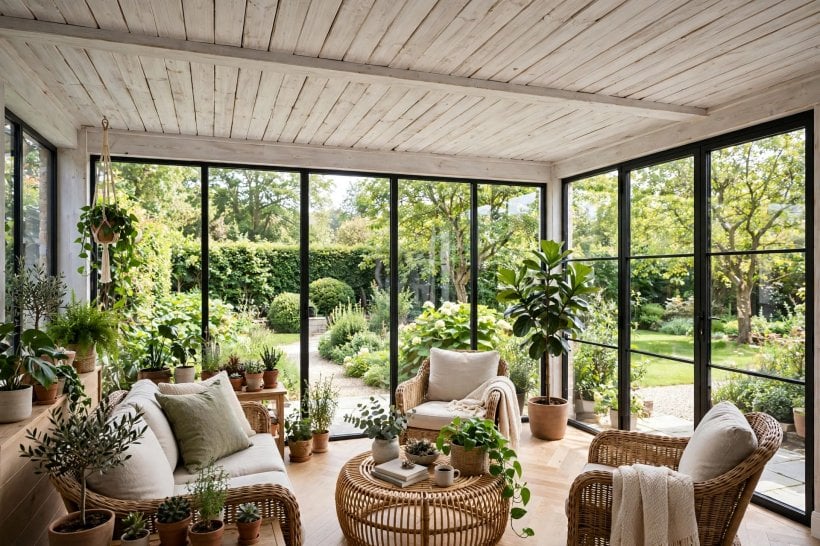
The classic error is coating too thick: paint-strength coverage turns boards into white planks with wood-ish smudges, losing the entire point — if you overshoot, a careful damp wipe while fresh, or a light sand once dry, brings the grain back. Patchiness usually means the wood varied, not the hand: mixed old and new boards take wash differently, which is why a test board from each batch matters, and why an extra thinned pass over the pale boards only can even the field.
Two more traps deserve names. Orange breakthrough: pine and some hardwoods carry warm tones that intensify under white, reading peach in daylight — grey-leaning washes counter it. And the dripping edge: wash pools at board ends and joints, drying as white tears; brushing out ends as you go prevents it. Both are cheap to avoid at the test stage and tedious to fix across a finished ceiling, which is the whole argument for offcuts.
10. Costs, Longevity and When to Hire
Costs are driven qualitatively by ceiling area and access, the product family chosen, and how much preparation the existing surface needs — stripping a varnished ceiling costs more in hours than the wash itself. The finish materials are among the cheapest in decorating; the budget is really scaffolding or tower hire, preparation time, and your own shoulders. Set against a full re-board or a plaster ceiling, whitewash is the frugal route to a transformed room, in the same spirit as the staged savings in the tiny house cost breakdown.
31. DIY the Wash, Hire the Access
The finish is beginner-friendly; working overhead at height is not. Hiring safe access or a decorator for a double-height vault is money well placed.
32. Expect a Long, Repairable Life
A washed ceiling does not peel like paint film, and scuffs touch in invisibly with the saved mix — one of the lowest-maintenance decorative finishes in the house.
33. Rewash Rather Than Strip to Refresh
When the tone tires in a decade, a further thinned pass shifts it paler or cooler without stripping — plan the refresh, don’t fear it.
34. Keep Boards’ Offcuts and the Recipe
Labelled offcuts and the mix ratio are your colour-matching insurance for every future repair, light fitting or extension.
35. Hire a Pro for Limewash on Old Lime Plaster Ceilings
Historic ceilings with original fabric deserve a conservator’s eye before any finish — the one case where DIY enthusiasm should pause.
36. Photograph the Ceiling Before Furniture Returns
Record the finished field in daylight for your notes; it is the truest colour reference you will ever have for it.
37. Ventilate While You Work
Even gentle finishes deserve airflow overhead; open windows and take breaks — necks and lungs both benefit.
38. Do the Smallest Room First
A hall or box room is the rehearsal: technique, ratio and drying behaviour learned there protect the big living-room ceiling.
39. Check Fixings Before You Finish
Light fittings, smoke alarms and cracks are all easier to sort before the wash; walk the ceiling with a torch first.
40. Finish With Matt, Always
Any sheen on a washed ceiling looks like plastic over wood. Matte is not a preference here; it is the definition of the look.
Final Considerations
A whitewash ceiling succeeds on restraint: thin coats, tested colour, grain always visible. Choose the finish family for the room — limewash for authenticity on raw boards, wiped-back diluted paint for control, a made wood wash for consistency — and let the boards keep their story under the veil.
Take the rehearsal room seriously, write the recipe down, and the ceiling will give the house its lightest, warmest surface for decades — refreshed in an afternoon whenever you fancy it paler.

0 Comments