
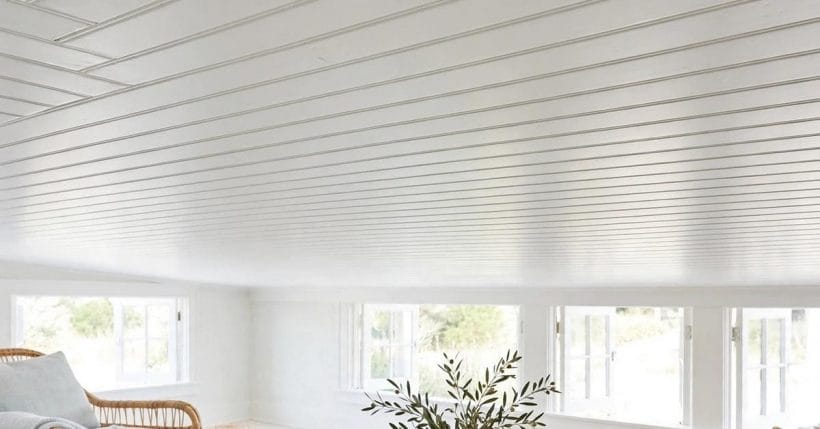
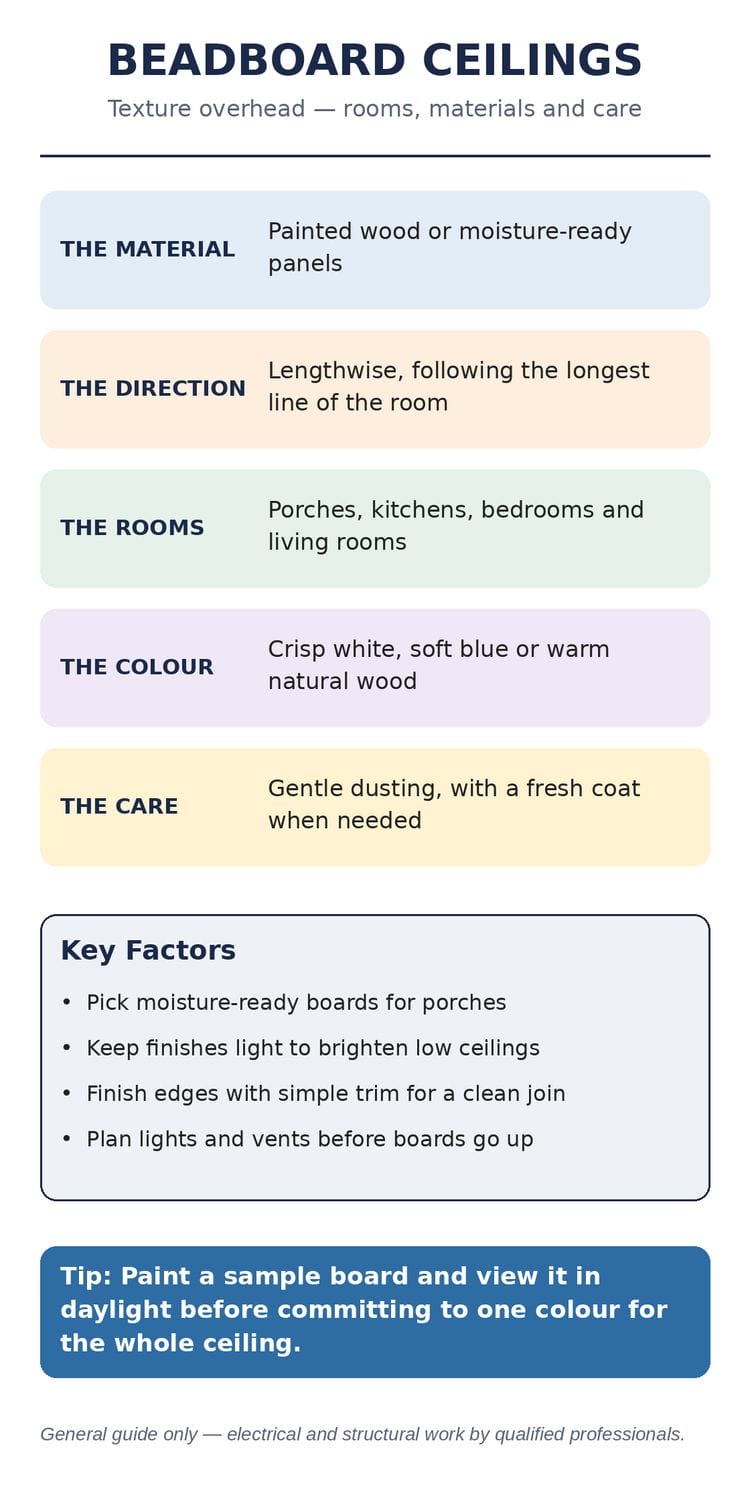
A beadboard ceiling turns a flat overhead plane into something worth looking at. The narrow planks and their shadow lines add rhythm, warmth, and a handcrafted feel to rooms that might otherwise feel plain. It works in porches, kitchens, bedrooms, and bathrooms alike, but this guide is about the ceiling application: how beadboard overhead changes a room, and how to choose it well.
Beadboard started as a practical wall and ceiling covering, and it keeps that practical character. It hides uneven surfaces, adds a layer of texture, and suits both traditional and relaxed modern rooms. This guide covers materials, profiles, rooms, light, and care.
1. What Beadboard Is
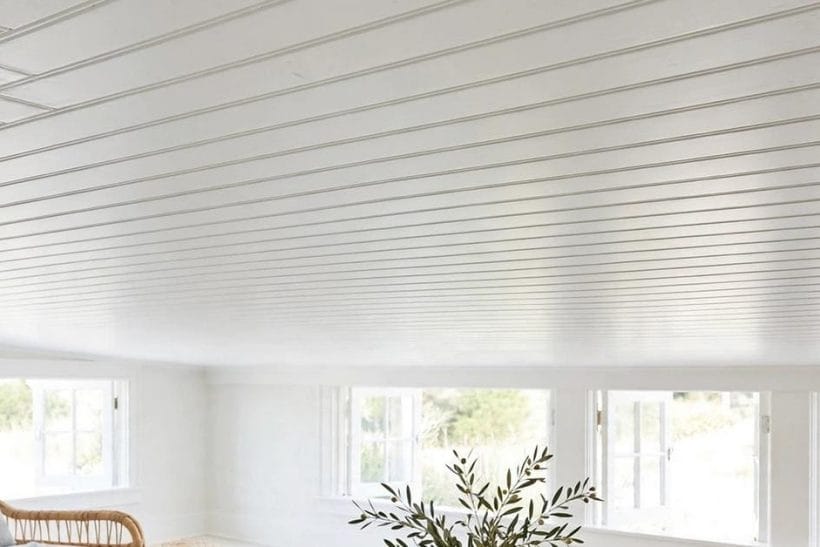
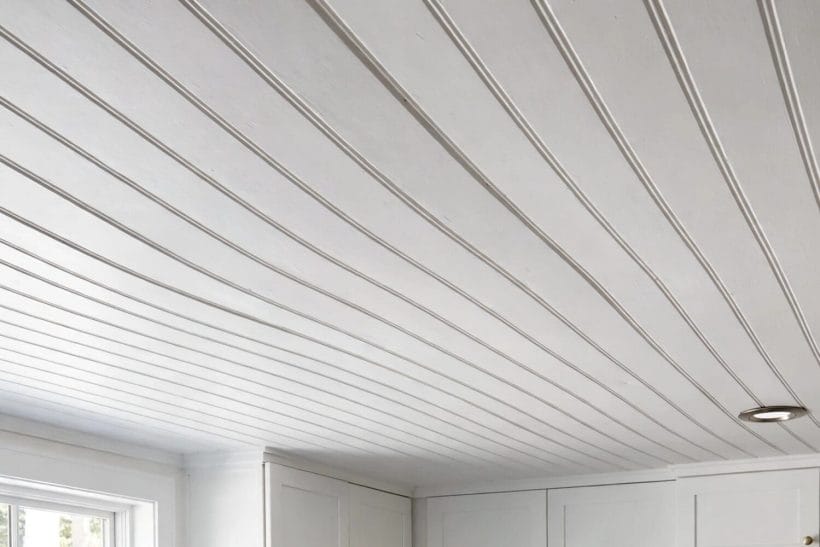
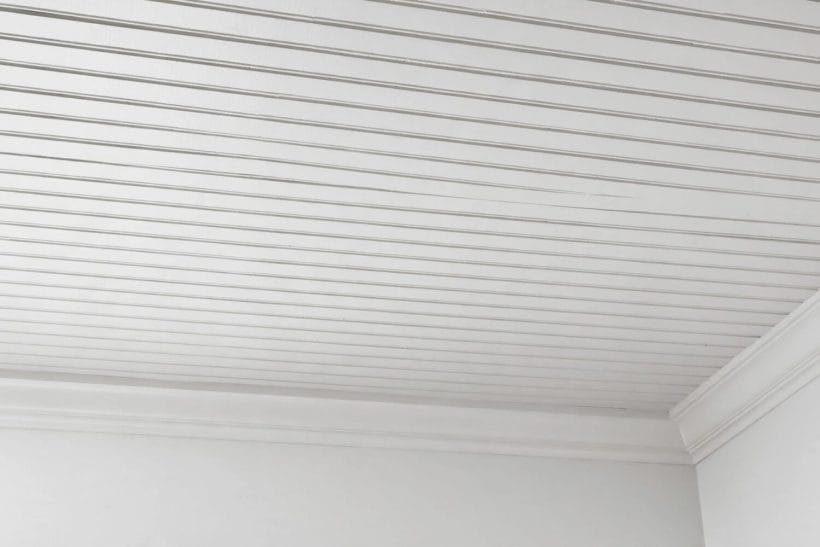
Beadboard is a series of narrow boards, each with a small rounded bead along its edge, fitted side by side. The beads cast a fine shadow line between boards, which is what gives beadboard its distinctive striped texture. On a ceiling, those lines draw the eye along the room and make the overhead plane feel finished.
The boards can be individual tongue-and-groove pieces or sheets scored to look like boards. Individual boards give the most authentic shadow line and the most forgiving fit on uneven ceilings. Sheets install faster and cost less, but the scored lines are shallower and can read as flat from below.
Widths vary. Narrower boards give a finer, more traditional rhythm; wider boards feel calmer and more contemporary. The choice depends on the room’s scale: a small porch suits a fine rhythm, while a large room can carry wider boards without looking busy.
Beadboard’s history explains its enduring appeal. It lined the walls and ceilings of cottages, farmhouses, and porches for generations because it was affordable, forgiving, and easy to repair board by board. That practical heritage still suits it today: a damaged board can be replaced without redoing a whole ceiling, and the material’s texture hides the small imperfections that flat plaster shows mercilessly. Bead profiles vary too, with single beads giving a fine rhythm and double beads a bolder one, so the profile is worth comparing in person before ordering. The right profile depends on the room’s scale and the look you want the ceiling to carry.
2. Materials to Choose From
Timber beadboard is the classic choice. It takes paint beautifully, holds its shadow lines well, and feels solid overhead. It needs sealing and painting, and it can move slightly with humidity, so it suits rooms with stable conditions.
Moisture-resistant boards suit humid rooms and covered porches. They resist swelling and hold paint better where steam or damp air is present. For a porch ceiling, a board rated for exterior or damp use is worth the extra care in choosing.
Vinyl and PVC beadboard suits wet or hard-to-reach spots. It needs no painting, resists moisture, and wipes clean. It can look less warm than timber up close, but from ceiling height the difference is small, and the low maintenance suits porches and bathrooms.
Paint-grade boards deserve a note of their own. Timber boards sold as paint-grade may carry knots and grain that paint will cover, which keeps costs down without affecting the finished ceiling. Stain-grade boards, by contrast, need clear timber because the finish shows the wood itself, so they cost more and demand more careful selection. Moisture-resistant MDF boards suit painted ceilings in dry rooms and cut cleanly, but they are heavier than timber and need support to match. PVC and vinyl boards suit wet rooms and porches where painting is not wanted, though their colour range is narrower and their feel is cooler under the hand.
3. Direction and Rhythm
Direction changes how a room feels. Boards running along the longest dimension stretch a room visually, while boards running across it can make a wide room feel more intimate. On a porch, boards usually run from the house outward, following the roofline.
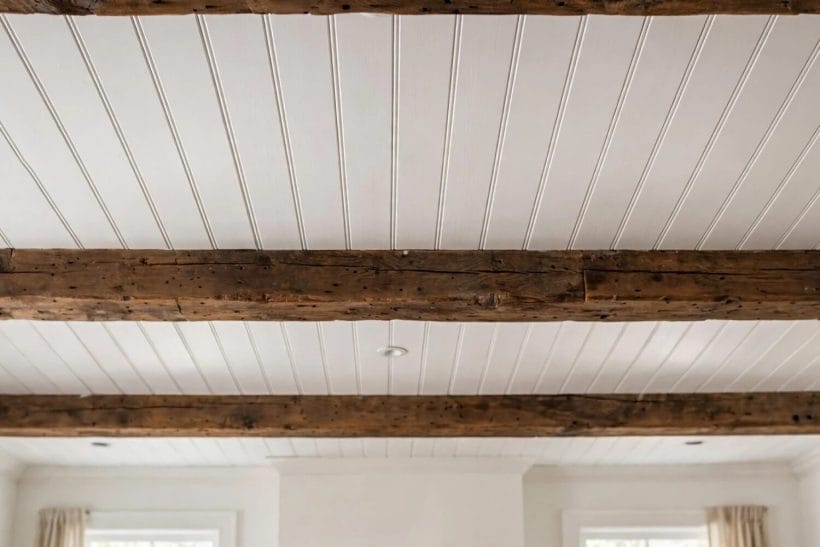
Beams and trims break up long runs and give the ceiling structure. A simple beam across a wide ceiling stops the beadboard from feeling like an endless striped plane, and it gives a natural place to hang a light or a fan. Keep beams in proportion to the room: too heavy and they dominate, too light and they look lost.
Where the beadboard meets the wall, a simple trim or cove moulding finishes the edge cleanly. A fussy cornice fights the plain character of beadboard, so a modest trim that matches the room’s other woodwork is the safer choice.
Direction on sloped and vaulted ceilings needs its own thought. Boards running up the slope emphasise the height and draw the eye to the ridge, while boards running across the slope calm the space and make the ceiling feel lower and more intimate. Where a beadboard ceiling meets a flat ceiling, a simple trim or beam hides the junction and gives the two planes a clean meeting point. Transitions between rooms deserve the same care: a beadboard porch ceiling that meets a plaster hall ceiling needs a trim that belongs to both, or the junction will look accidental rather than designed.
4. Porches and Outdoor Rooms
The porch is beadboard’s natural home. A beadboard porch ceiling feels welcoming, hides roof structure, and gives the porch a finished character that matches the house. It is also one of the first things visitors see, so it sets the tone for the whole home.
Outdoor beadboard needs weather thinking. Covered porches protect it from direct rain, but humidity and temperature swings still reach it. Choose a board rated for the exposure, seal every edge, and paint or finish it properly before and after fitting.
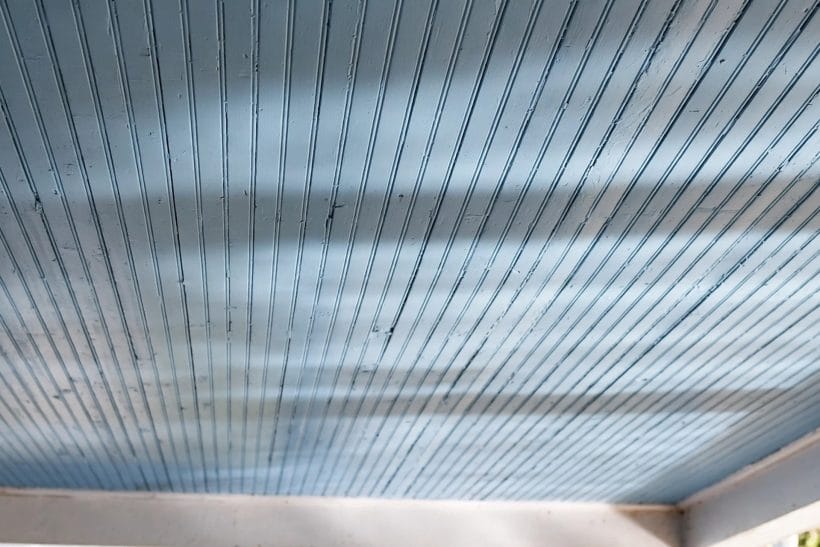
Colour on a porch ceiling is a classic decision. White and pale blue are traditional porch ceiling colours: white keeps the porch bright, while pale blue has a long folk tradition and softens the light. Either works with beadboard’s rhythm; the choice is about the mood you want at the door.
Porch ceilings have their own traditions worth knowing. The pale blue porch ceiling, sometimes called haint blue in southern tradition, is said to keep insects away and certainly softens the light beautifully. Whether or not the folklore holds, the colour’s effect on a porch is real: it makes the space feel airy and welcoming from the street. Ceiling fans on porches need solid fixing into joists and fittings rated for damp locations, and the fan’s drop should suit the porch’s height. Screens, when fitted, change the porch’s airflow and light, so the ceiling colour should be judged with the screens in place.
5. Kitchens and Dining Rooms
A beadboard ceiling warms a kitchen without adding clutter. It suits farmhouse, coastal, and cottage kitchens especially, where its texture echoes timber floors and painted cabinets. In a kitchen, the ceiling becomes part of the room’s character rather than a blank overhead.
Think about what hangs from it. Pendant lights over an island, a pot rack, or a ceiling fan all need solid fixing into joists, not just into beadboard. Plan those fixing points before the boards go up, so nothing ends up screwed into thin air.
Grease and steam reach a kitchen ceiling over time. A washable paint finish on beadboard makes cleaning possible, and a good extractor above the cooker keeps the worst of it away. Electrical work for lights and fans belongs to a qualified electrician.
Kitchen ceilings meet grease, steam, and heat daily, and beadboard there needs a finish that can be cleaned. A washable paint, properly applied, lets the ceiling be wiped down, while a flat paint will mark and hold grease. Beams crossing a kitchen ceiling can carry pot racks or pendant lights, but anything hung from them needs solid fixing into the beam itself, not just into the beadboard. Recessed lights in a beadboard kitchen ceiling need housings that suit the ceiling’s depth and the insulation above it, and the electrical work belongs to a qualified electrician. Plan the lights before the boards go up, so the positions are deliberate rather than improvised.
6. Bedrooms and Living Rooms
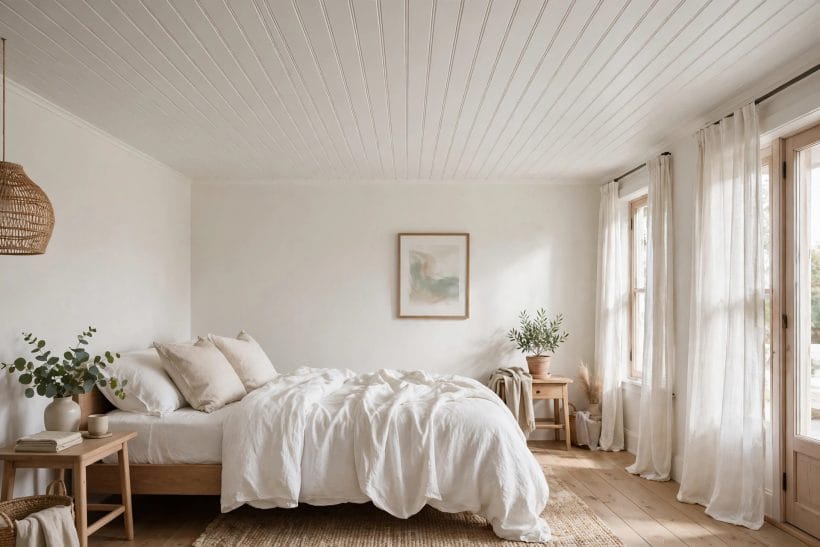
In a bedroom, a beadboard ceiling adds calm texture without competing with the bed or the view. Painted white, it keeps the room bright. Painted a soft colour, it becomes a gentle feature overhead that makes the room feel considered.
In a living room, beadboard suits a relaxed, collected feel. It pairs well with timber floors, upholstered furniture, and layered textiles. Keep the rest of the room calm so the ceiling’s rhythm reads as texture, not noise.
Ceiling height matters. Beadboard adds visual interest without lowering the ceiling, which is an advantage in rooms that are not tall. It draws the eye up without making the ceiling feel closer, unlike heavy beams or dark colours.
Combining beadboard with other ceiling treatments opens more possibilities. A beadboard ceiling inside a tray or coffered frame gains a formal structure that suits dining rooms and traditional living rooms, while a beadboard ceiling on its own suits relaxed rooms. In bedrooms, beadboard on the ceiling pairs well with plain walls, because the ceiling already carries the room’s texture and the walls can stay calm. In living rooms, beadboard overhead suits timber floors and upholstered furniture, and it gives a room with few architectural features a sense of craft. Keep the rest of the room simple so the ceiling’s rhythm reads as texture, not noise.
7. Bathrooms
A beadboard ceiling suits a bathroom’s relaxed character, and it hides the uneven surfaces that bathrooms often have. Moisture is the question here: choose a moisture-resistant board, ventilate well, and paint with a bathroom-suitable finish.
Ventilation matters more than the board choice. A good extractor fan, used every shower, keeps humidity down and protects both the beadboard and the room behind it. Without it, even the best board will suffer over time.
Keep the ceiling simple in a small bathroom. A plain beadboard ceiling with one good light feels calm and clean, while fussy trims and dark colours can make a small room feel cramped.
Bathroom beadboard needs a moisture strategy, not just a moisture-resistant board. An extractor fan that runs during and after every shower, vented outside rather than into the roof space, does more for the ceiling than any board choice. Paint formulated for bathrooms resists moisture and mould better than standard paint, and it should be applied over a suitable primer for lasting adhesion. Seams and edges deserve sealing, since moisture finds unsealed joints first. If mould appears, it signals a ventilation or leak problem to fix, not a surface to paint over, and persistent damp should be investigated by a professional.
8. Colour and Paint
White is the default beadboard ceiling colour for good reason: it reflects light, suits every room, and lets the shadow lines do the work. Bright white suits modern rooms; softer whites suit traditional ones.
Colour can transform the effect. A soft blue porch ceiling is a classic. A pale green or warm grey bedroom ceiling feels gentle overhead. A bold colour on a ceiling needs confidence and a room that can carry it, so test a large sample before committing.
Paint technique matters on beadboard. The beads and grooves need a brush or a sprayer that reaches into the shadow lines, or the grooves will show bare patches from below. Two coats, properly applied, give an even finish that lasts.
Priming is the step most often skipped and most often regretted. Bare timber drinks paint unevenly, leaving a patchy finish that shows in the grooves, while a good primer seals the surface and gives the topcoats something even to grip. Two topcoats over primer give a beadboard ceiling its lasting finish, and the second coat should wait until the first is fully dry. Spraying reaches into grooves faster than brushing, but it needs masking and ventilation, while brushing gives control at the cost of time. Whichever method is chosen, the grooves must be coated fully, or bare patches will show from below.
9. Light and the Ceiling
Light makes beadboard come alive. Downlights wash the boards and deepen the shadow lines, while a central pendant or chandelier gives the ceiling a focal point. The two together give a room both texture and focus.
On a porch, lights mounted on the beadboard ceiling make the space usable after dark and welcoming from the street. Choose fittings rated for the exposure, and have a qualified electrician handle the wiring.
Natural light matters too. A beadboard ceiling under a skylight or beside tall windows changes through the day as sunlight moves across the boards. That slow change is part of the material’s charm.
Recessed lighting placement changes how beadboard reads after dark. Lights placed too close to the ceiling wash the boards unevenly and create harsh shadows in the grooves, while lights placed to wash across the boards deepen the shadow lines evenly. Dimmers let the same lights serve both tasks and atmosphere, and warm-toned bulbs suit beadboard’s traditional character better than cool ones. Pendant lights hung from a beadboard ceiling need solid fixing into joists, and their drop should suit the room’s height. Plan the lighting with the ceiling, not after it, so the two work together.
10. Care and Longevity
Daily care is minimal: dust occasionally, wipe marks promptly, and keep an eye on damp spots. A beadboard ceiling that is sealed and painted well needs little more than that for years.
Watch for the signs that need attention: paint peeling near a damp spot, a board that has moved, or staining that suggests a leak above. Catching these early keeps repairs small. Roof and plumbing leaks above a ceiling should be fixed by the relevant tradesperson, not painted over.
Repainting is straightforward when the time comes. Clean the surface, touch up any damaged boards, and repaint with the same care as the first coat. A beadboard ceiling that is looked after can outlast several redecorations of the room below it.
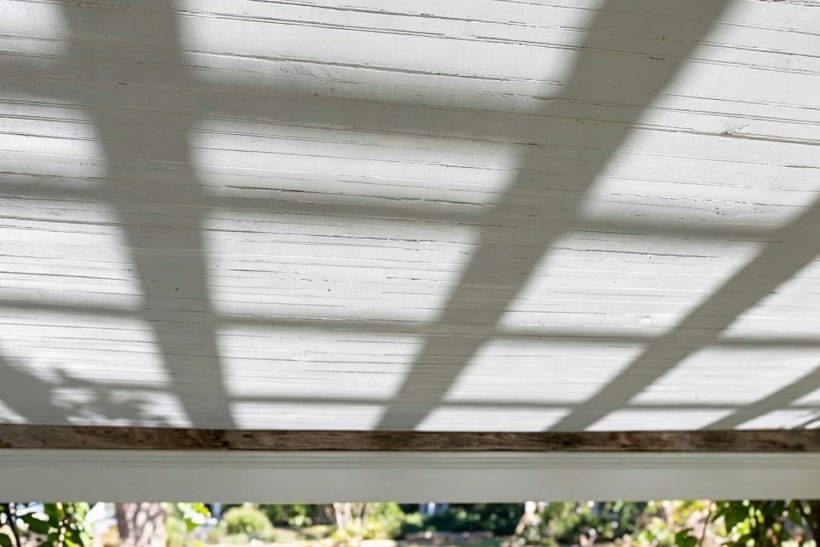
Replacing a single damaged board is beadboard’s quiet advantage. A board that has stained, warped, or cracked can be removed and replaced without disturbing its neighbours, provided the boards were fitted with that possibility in mind. Keep a few spare boards and the paint details from the original job, so a repair matches rather than stands out. Repainting the whole ceiling every several years refreshes the room and protects the timber, and the repaint is the moment to check for leaks above, loose boards, and failing trims. A beadboard ceiling looked after in this way can outlast several redecorations of the room below it.
Final Considerations
A beadboard ceiling is a simple idea done well: narrow boards, fine shadow lines, and a finish that suits the room. Choose the right material for the exposure, run the boards in a direction that flatters the room, finish the edges simply, and light it with care. The result is a ceiling that adds character without shouting.
For related reading, see beadboard bathroom ideas for the bathroom application of the same material, tiny house porch ideas and entrance pergola for porch character, and kitchen ideas, tiny bedroom ideas, and small living room ideas for rooms where a beadboard ceiling can shine.






0 Comments