
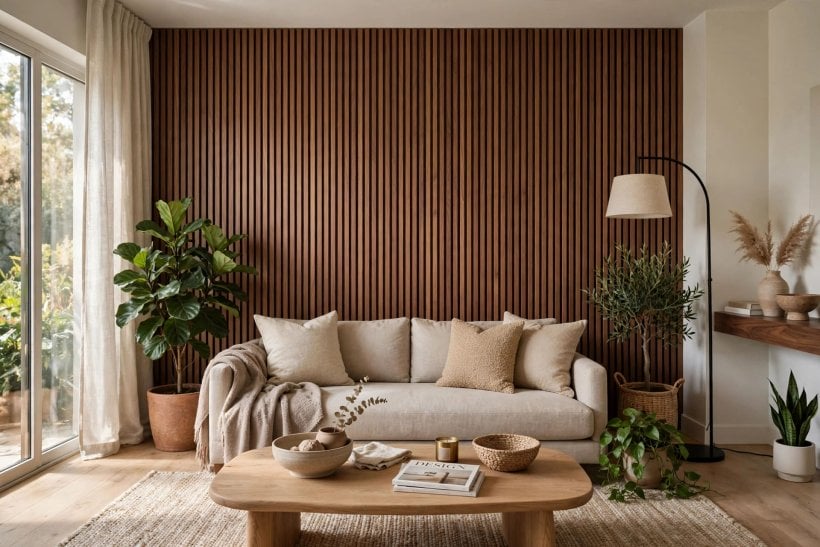
Few changes warm up a plain room as quickly as timber on one wall. A well-planned wood accent wall adds texture, depth and a focal point without the cost or upheaval of renovating the whole space, and it can suit a cottage bedroom, a modern living room or a tiny hallway alike.
These 75 ideas are grouped by material, layout and finish, with the practical details that decide whether the result looks built-in and calm, or busy and hard to live with.
1. At a Glance: Choosing Your Approach
| Approach | Best for | Watch out for |
|---|---|---|
| Full panel sheets | Clean, modern rooms and fast coverage | Seams need planning so joints look deliberate |
| Vertical planks | Making low ceilings feel taller | Uneven walls show up as wavy lines |
| Horizontal planks | Widening narrow rooms and hallways | Long runs need level starting lines |
| Slatted timber | Contemporary texture and acoustic softness | Dust settles between slats; allow cleaning access |
| Reclaimed boards | Character, cottages and rustic schemes | Colour and thickness vary board to board |
| Half-height panelling | Hallways, dining rooms and small budgets | The top ledge needs a neat finishing trim |
| Dark stained wood | Cosy media walls and evening rooms | Dark tones shrink the feel of small, dim rooms |
| Painted wood | Traditional rooms and colour-led schemes | Paint shows joints if preparation is rushed |
Start with the room, not the timber catalogue. A wall behind a bed, a sofa or a television has to work with the furniture against it, the light falling across it and the colours already in the room. Pale woods keep small spaces feeling open and show grain gently, while mid and dark tones create contrast and cosiness but demand better lighting. Decide, too, whether the wall should be the only star: the stronger the grain and pattern, the quieter everything else in the room should become.
Budget honestly for the whole job, not just the boards. Battens, fixings, adhesive, trim, finish, tools and the treatment of edges around sockets, skirting and door frames are all part of a result that looks finished rather than improvised.
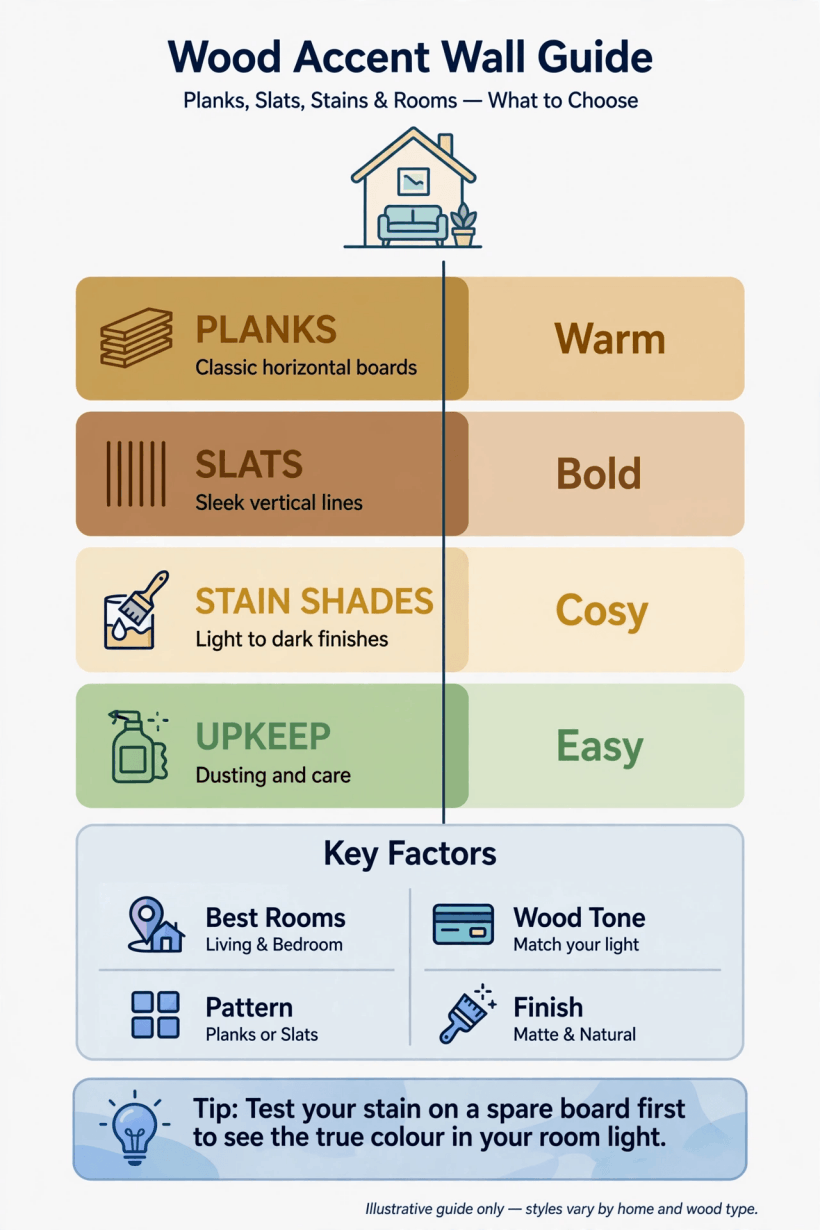
The main approaches at a glance, from full panels and planks to slats, reclaimed boards and painted finishes.
2. Full Panels for a Calm, Modern Backdrop
Large panels are the quietest way to cover a wall in timber. Veneered sheets, wide boards with minimal joints and smooth plywood panels all create a broad, even surface that suits modern living rooms and bedrooms where the furniture carries the pattern. Run panels floor to ceiling for a built-in feel, keep joints evenly spaced, and align them with something in the room, such as the edge of a window or the centre line of a sofa, so the rhythm looks intentional.
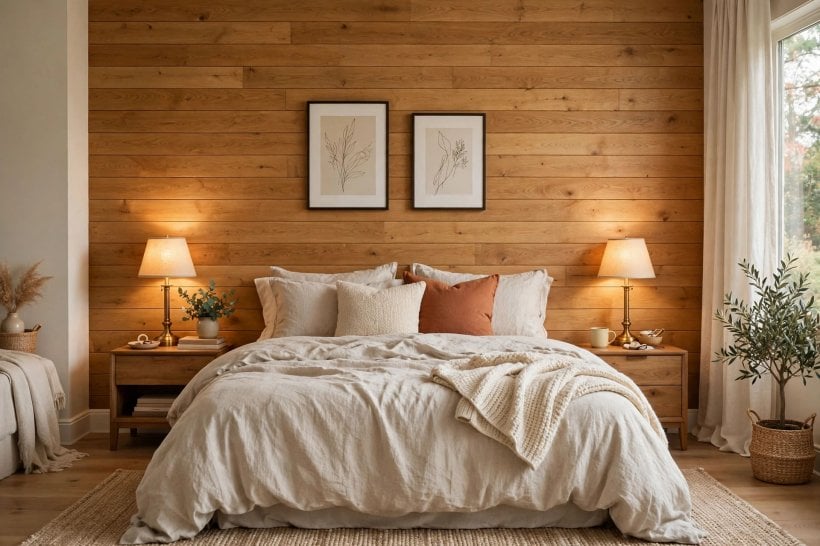
Panels work particularly well in compact rooms, because there are fewer lines to tire the eye. That restraint is familiar to anyone browsing tiny house living room ideas, where one strong surface treatment usually beats several competing ones. Choose a matte or low-sheen finish so large areas do not reflect glare, and test a sample in the room’s real light: veneers that look warm in a showroom can turn grey beside a north-facing window.
Plan the practical side before ordering. Panels are awkward to carry through tight hallways and stairwells, need a flat wall behind them, and must be cut carefully around sockets and switches. A day spent measuring, marking and dry-laying panels on the floor saves expensive mistakes on the wall.
3. Vertical Planks That Make Ceilings Feel Higher
Vertical boards draw the eye upward, which makes them the classic choice for rooms with low ceilings, small bedrooms and narrow entryways. Tongue-and-groove boards, simple battens over a painted backing and closely fitted planks all create that lifted effect. Keep the boards narrow for a refined rhythm or wider for a calmer, more contemporary feel, and carry the lines unbroken from skirting to ceiling wherever you can.
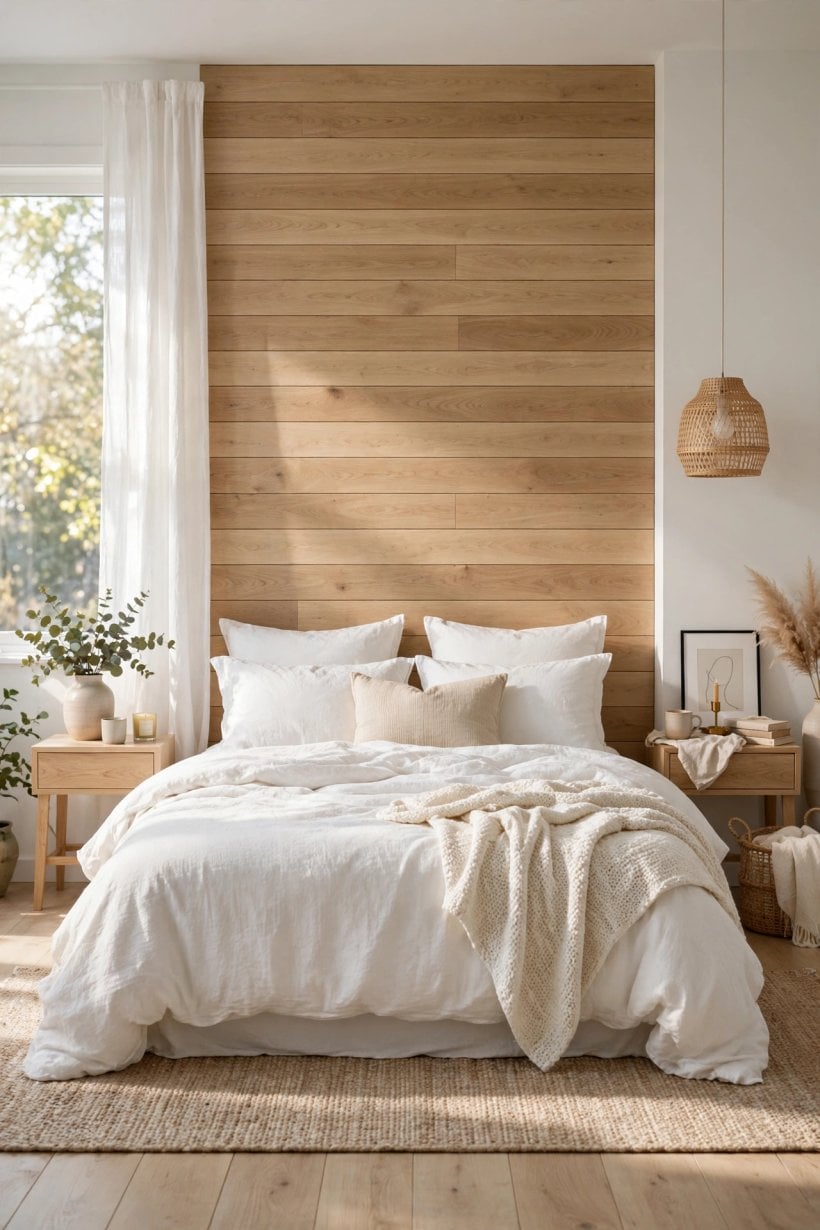
Behind a bed, vertical planking makes a generous headboard wall that needs no extra furniture, a trick that suits the compact layouts in tiny house bedroom ideas. Painted in the same colour as the room, it adds texture without contrast; stained or left natural, it becomes the focal point and lets plain bedding do the rest.
The practical warning with vertical work is accuracy. Small errors lean further out of true with every board, and uneven walls print through as wandering lines. Check the wall with a long straight edge first, pack out hollows, fix a level starting board, and check plumb every few boards rather than discovering a slant at the far corner.
4. Horizontal Planks and Shiplap-Style Lines
Horizontal boards stretch a room sideways, softening narrow proportions in hallways, galley living spaces and long thin bedrooms. Shiplap-style boards with a small shadow gap give a relaxed, coastal or farmhouse character, while tightly butted planks with no gap read more modern. Either way, the first board sets everything: it must be perfectly level, because every line above it will repeat any error across the whole wall.
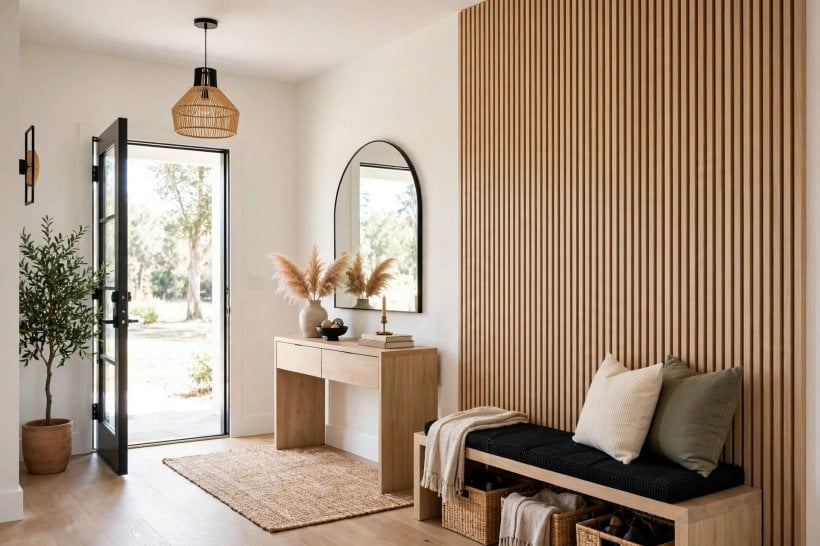
Horizontal lines collect a little more visual weight at eye level, so they pair well with simple furniture and uncluttered styling below. In a dining space they make a forgiving backdrop for a table and chairs, and in a bathroom they need moisture-suitable boards and finishes, a caution shared with the practical layouts in tiny house bathroom ideas, where timber near splashes must be sealed properly or kept to drier walls.
Think about where the lines will end. Wrapping one short return wall can look generous; stopping mid-corner rarely does. Decide the end condition, trim or return before the first board goes up, and order a little extra material for the cuts that corners always consume.
5. Slatted Timber for Texture and Sound Softening
Slatted walls, where narrow battens stand over a dark or fabric backing, bring rhythm, shadow and a welcome softening of echo in hard-surfaced rooms. They are a favourite behind televisions, in home offices on video calls and along hallways where sound bounces. The gaps do the visual work, so the backing matters as much as the slats: dark backing deepens the contrast, while a matching backing keeps the effect subtle.
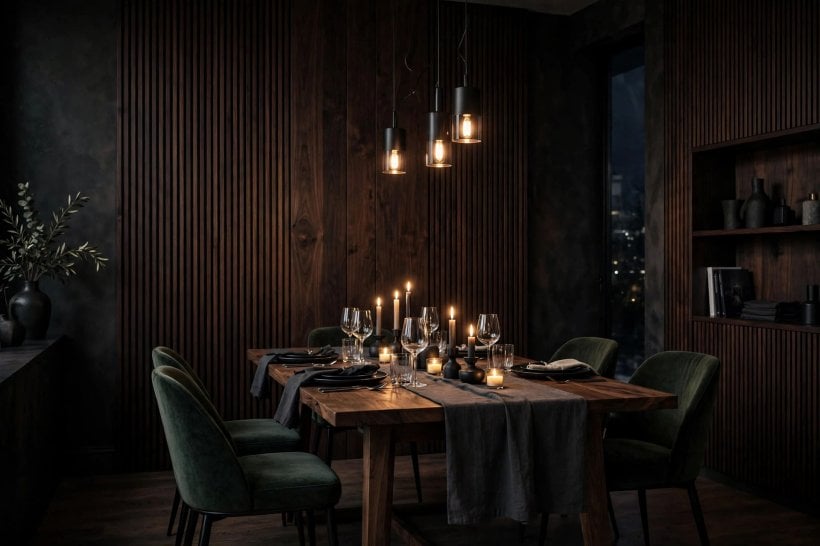
Ready-made slatted panels simplify this look enormously, giving even spacing without fixing dozens of individual battens. If you build your own, use a spacer block for consistent gaps and fix through the backing so fasteners stay invisible. Either route benefits from samples: slat width and gap width change the whole character, from fine and tailored to bold and graphic.
Be honest about upkeep. Slats gather dust in a way flat panels do not, and a wall you cannot reach with a brush or vacuum attachment will quietly grey. In kitchens and busy family rooms, a flatter profile may be the kinder choice, however handsome the slatted version looks in photographs.
6. Reclaimed Boards Full of Character
Reclaimed timber brings nail holes, saw marks, weathering and colour variation that new boards cannot imitate, and for cottages, barns and relaxed family rooms that history is the point. Source boards with a consistent thickness where you can, clean them thoroughly, check for old fixings and pests, and let them acclimatise in the room before fitting so they move less afterwards.
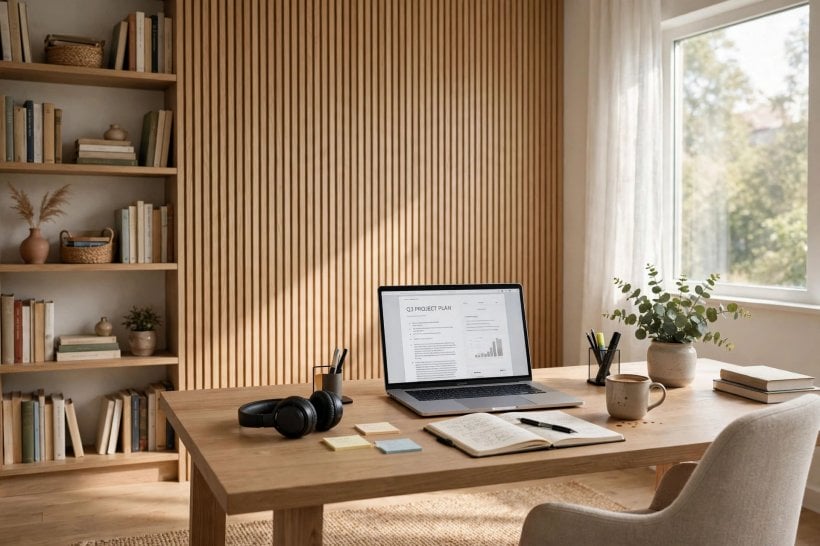
Lay reclaimed boards out on the floor first and compose the wall like a picture, spreading dark and pale boards evenly so one corner does not end up heavy. That arranged randomness suits the honest interiors in tiny barn house interior schemes, where old timber sits comfortably beside simple, sturdy furniture.
Keep expectations realistic. Reclaimed wood will never look machined, quantities can be hard to match later, and very rough boards behind beds or sofas can snag fabrics. Sand enough to make the surface pleasant, seal it if the room is dusty or steamy, and save offcuts for repairs, because an exact match may not exist next year.
7. Half-Height Panelling, Wainscot and Ledges
Covering only the lower part of a wall is one of the most practical ideas in this collection. Half-height panelling protects busy hallways, dining walls and children’s rooms where chairs and hands do the damage, while the painted wall above keeps the room light. Finish the top with a proper ledge or trim profile; that horizontal line is what makes the panelling look architectural rather than unfinished.
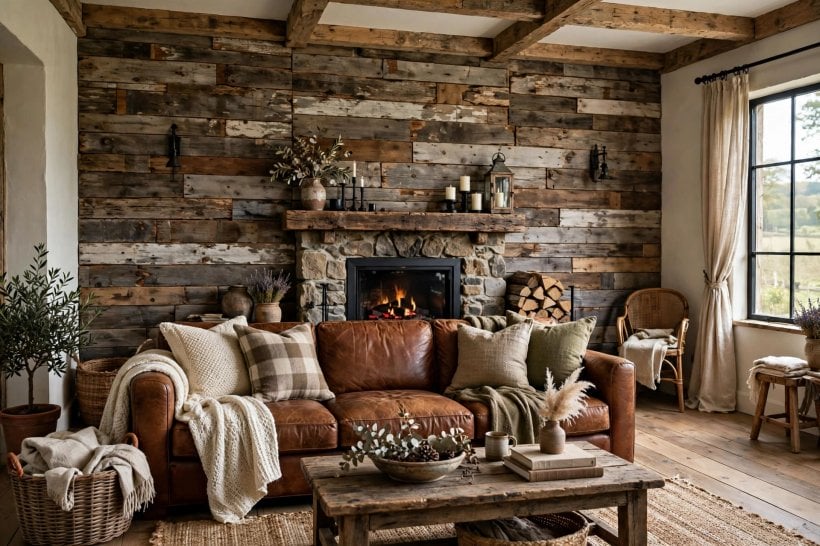
Height is a design decision. A third of the wall feels traditional, half feels tailored, and two-thirds, carried behind a bed or sofa, feels contemporary and cocooning. Align the ledge with something, a window sill, a picture rail or the top of a door frame, so the line settles into the room’s existing geometry instead of arguing with it.
The ledge itself earns its keep. It can hold pictures, plants and lamps without fixings in the wall above, and in the thoughtful bedrooms in bedroom interior design for tiny houses, that shallow shelf often replaces a bulky nightstand. Paint the panelling for a classic look, or use stained timber below and pale paint above for contrast that still feels calm.
8. Dark, Stained and Painted Finishes
Finish decides the mood more than the board profile does. Pale, natural timber feels Scandinavian and restful; honey and mid tones feel warm and traditional; dark walnut-style stains feel intimate and dramatic, especially behind a television or in an evening room. Painted wood deserves equal respect: deep green, ink blue or warm off-white panelling gives colour and texture together, and can be repainted when tastes change in a way stained timber cannot.
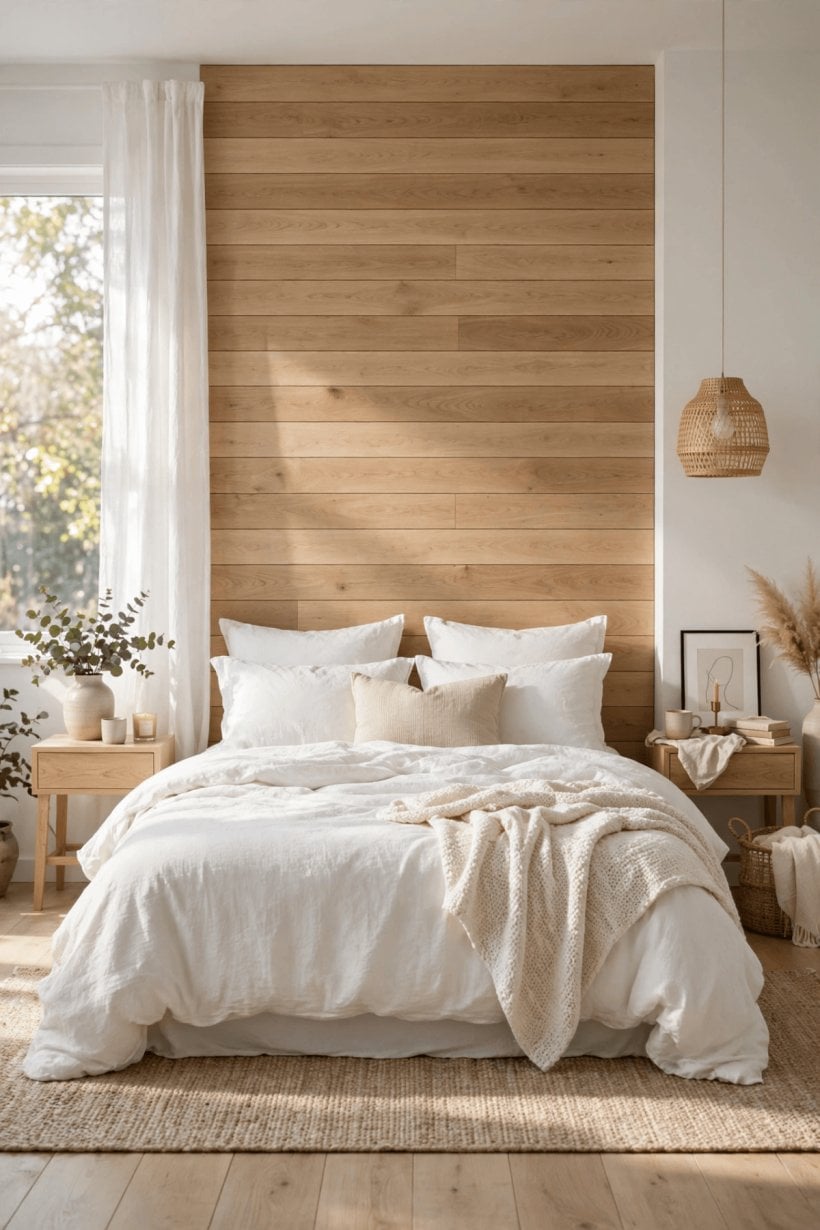
Test finishes on offcuts, on the actual wall, in day and evening light. Grain drinks stain unevenly, especially across different boards, so a trial area prevents a whole wall of surprises. The joyful schemes in colourful tiny house interior features show how painted timber can carry strong colour gracefully when the surrounding surfaces stay simple.
Protect the finish appropriately for the room. Matte sealers suit bedrooms and living rooms, harder-wearing finishes suit hallways and dining spaces, and anything near a bath or cooker needs a product genuinely rated for moisture or heat. Keep leftover stain or paint, labelled, for the touch-ups that busy walls eventually need.
9. Small Rooms, Hallways and Awkward Walls
Compact spaces benefit most from restraint. One timber wall in a small room adds the warmth that tiny homes need without crowding them, especially when boards run vertically to lift the ceiling and the finish stays pale or mid-toned. Hallways, often windowless and purely functional, become places with character when the end wall or the long wall carries simple planking and good lighting washes down it.
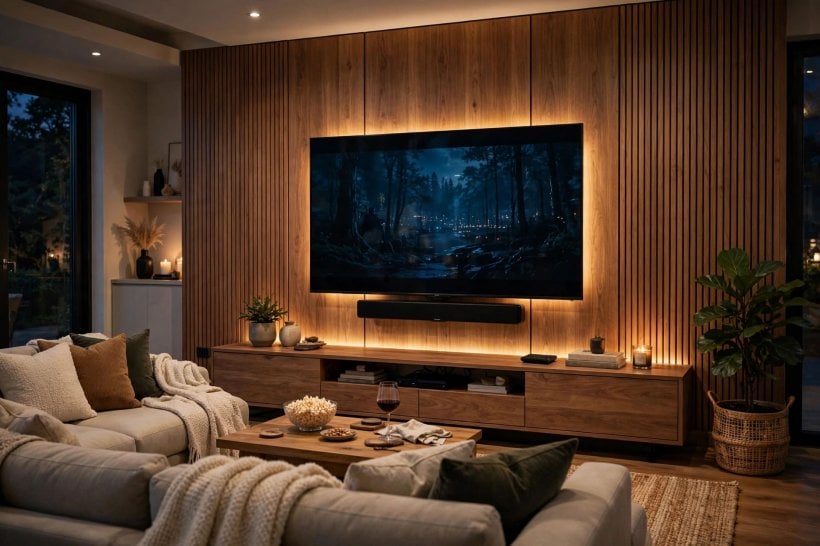
Awkward walls reward the same thinking. A chimney breast, a wall with a sloping ceiling or the wall under the stairs can all take timber, provided you template the angles carefully and accept that cutting, not fixing, will take most of the time. Around doors and openings, return the boards or finish with a clean trim; exposed board ends are where home projects most often betray themselves.
Outdoors-adjacent thinking helps indoors too. The layered approaches in tiny house landscaping ideas rely on one strong structure softened by planting; indoors, one strong timber wall softened by textiles, pictures and plants follows exactly the same logic, and keeps small rooms from feeling like showrooms.
10. Fitting, Fixing and Finishing Details That Matter
Most timber walls are fixed to battens screwed to the wall, glued and pinned, or installed as panels over a prepared surface, and the right method depends on the wall behind. Solid walls take direct fixings; plasterboard needs fixings into studs or proper anchors; uneven walls need battening out level first. Electricity deserves respect throughout: sockets and switches must be extended safely to sit on the new surface, and that is work to plan, and where required have done professionally, before boards go up.
One last check is worth making before the first board is cut: stand in the doorway and look at the wall with fresh eyes. Is it really the best wall in the room for timber? The wall you see on entry carries the most impact, the wall behind you the least, and a wall already busy with doors, radiators and windows will fight any pattern you add. Sometimes moving the treatment to a plainer wall transforms a fussy plan into an easy one, using exactly the same materials in exactly the same finish.
Think, too, about what will live against the finished wall. Tall furniture can hide most of a half-height scheme, open shelving will interrupt vertical lines, and pictures hung later will need fixings planned into studs or battens rather than hopeful screws into boards alone. A wall designed around the furniture it will actually hold always looks more settled than a wall decorated first and furnished as an afterthought.
And keep a small offcut of every board and a note of every finish you used, stored somewhere dry. Timber walls live for years, boards get knocked, and a repair made from the original batch, finished with the original product, disappears in a way that a later approximation never quite manages.
Details decide the finish. Scribe boards to skirting or remove and refit skirting over the boards for a built-in line. Fill pin holes sparingly, sand between finish coats, caulk only the joints that are meant to disappear and leave movement gaps where the system requires them, hidden behind trim. Work in good light, because raking light from a window will find every ridge and glue smear you leave behind.
Finally, live with the plan before committing. Tape the wall’s extent on the floor and wall, prop sample boards in place for a day and look at them morning and evening. The readers who follow how to build your own tiny house know that small, patient test stages are what separate projects that feel inevitable from projects that feel regretted.
Final Considerations
The right wood accent wall is the one that suits its room’s light, size and furniture, is fixed to a wall properly prepared for it, and is finished with the care its position deserves. Panels calm a modern room, planks steer proportions, slats soften sound, reclaimed boards bring history and half-height panelling protects hard-working walls, and any of them can look expensive or improvised depending on the details at edges, sockets and corners.
Choose the approach honestly, sample the finish in real light, budget for trims and tools as well as boards, and give the fitting the time it needs. Done that way, one timber wall quietly becomes the surface the whole room is remembered by.

0 Comments