

New plasterboard walls look simple, which is why quotes for hanging and finishing them can be so confusing. Understanding drywall installation cost means looking past the boards themselves: most of what you pay for is skilled labour, careful finishing and the awkward details that decide whether a wall ends up smooth or wavy.
This guide explains the drivers behind a quote, stage by stage, so you can compare estimates on equal terms and budget for the finish you actually want.
1. At a Glance: The Main Cost Drivers
| Cost driver | What changes | Why it matters |
|---|---|---|
| Wall and ceiling area | Total board area, room count and ceiling work | More area means more boards, joint compound and labour |
| Finish level | From a basic taped finish to a smooth paint-ready surface | Higher finishes take repeated coats, drying time and sanding |
| Board type | Standard, moisture-resistant, fire-rated or sound-reducing boards | Specialist boards cost more and may be required in some rooms |
| Room shape and details | Corners, angles, arches, niches and openings | Every detail adds cutting, beading and finishing time |
| Frame condition | Whether studs are straight, plumb and ready | Wavy framing prints through finished boards |
| Access and delivery | Stairs, lifts, parking and sheet size that fits the route in | Boards are large, heavy and easy to damage in transit |
| Demolition and disposal | Removing old boards, plaster or failed finishes | Strip-out, skip hire and cleanup are real work stages |
| Region and timing | Local labour rates and crew availability | Busy markets quote higher for the same specification |
Compare quotes against this table before comparing totals. A price that includes a smooth finish, all the compound, sanding, cleanup and disposal is a different product from a price that stops at hanging boards. Neither is dishonest if it is described clearly, but they cannot be compared as if they were the same job. Ask each installer to state, in writing, exactly which stages their figure covers.
Decide your finish before you ask for prices. A garage wall, a rental refresh and a living room that will catch raking evening light all deserve different levels of finishing, and paying for the highest level everywhere is as wasteful as paying for the lowest level where it will show.
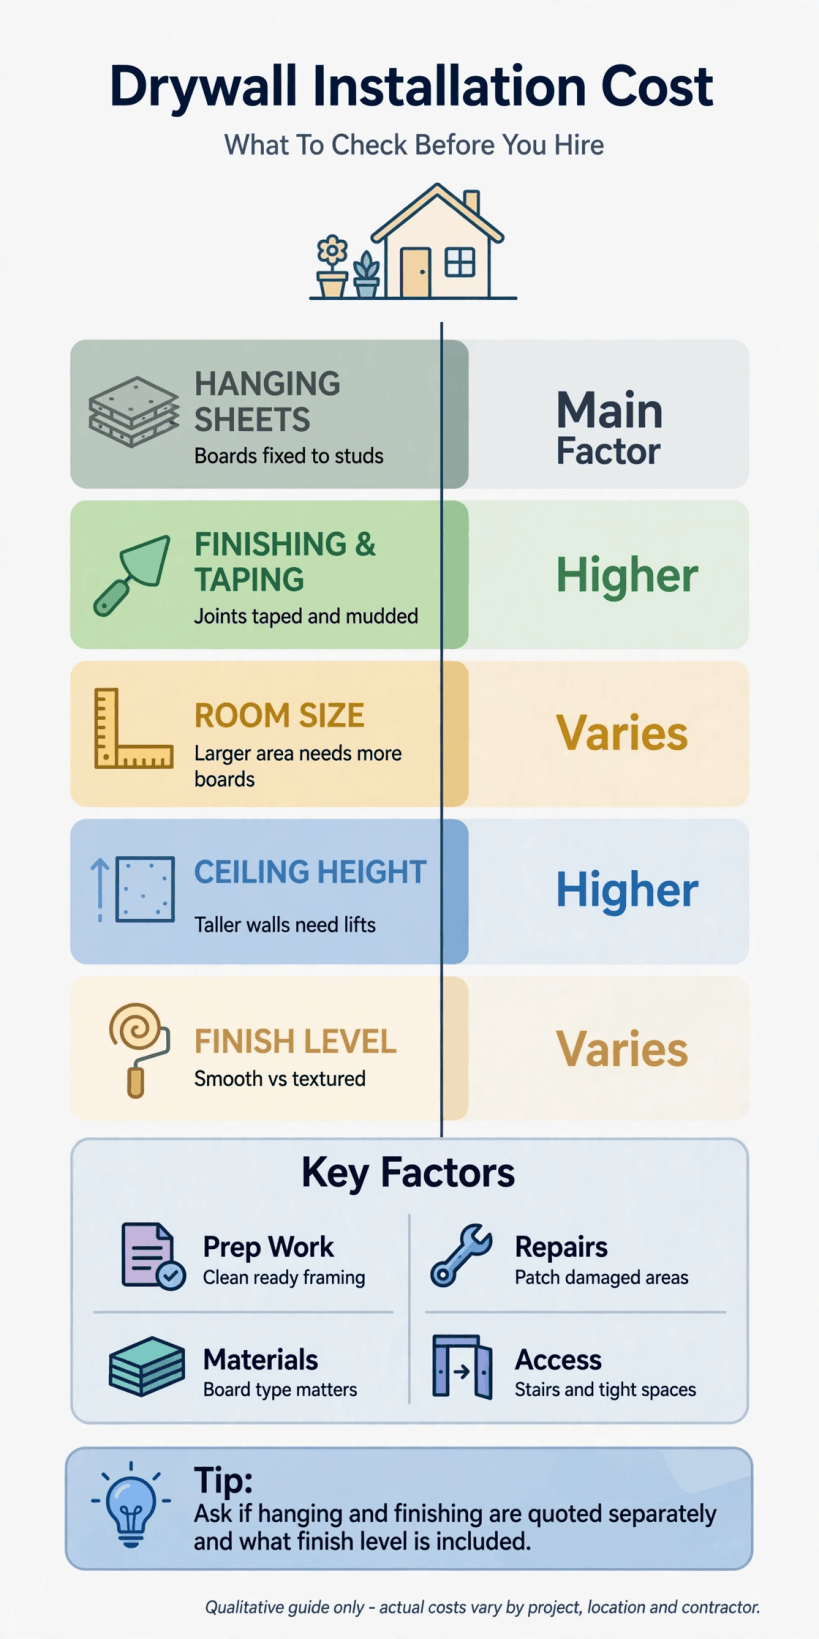
The main drivers behind a drywall quote, from area and finish level to access, strip-out and local labour.
2. How Much Wall and Ceiling You Are Covering
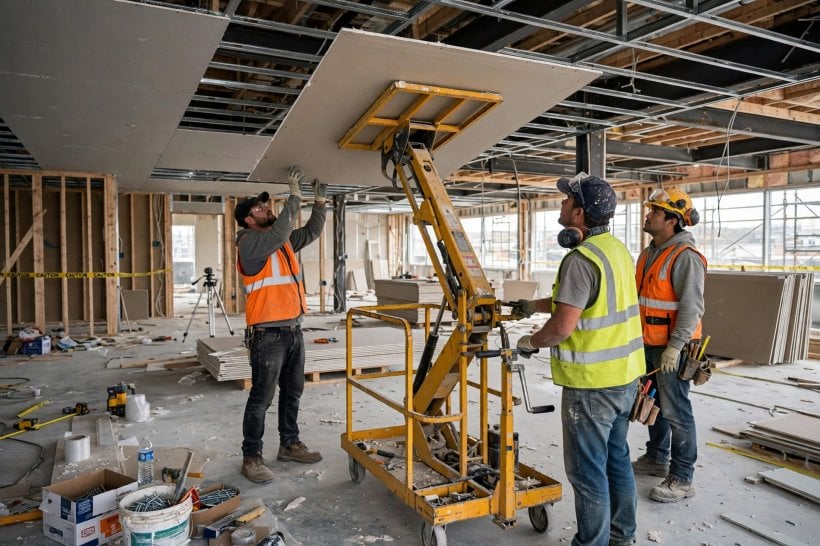
Area is the starting point of every quote. Installers think in board area, so a whole flat costs more than a single room even when everything goes smoothly, and ceilings usually cost more per unit area than walls because the work is overhead, slower and harder on the crew. High ceilings add platform time, and rooms spread across several floors add carrying, cutting space and repeated setup in each space.
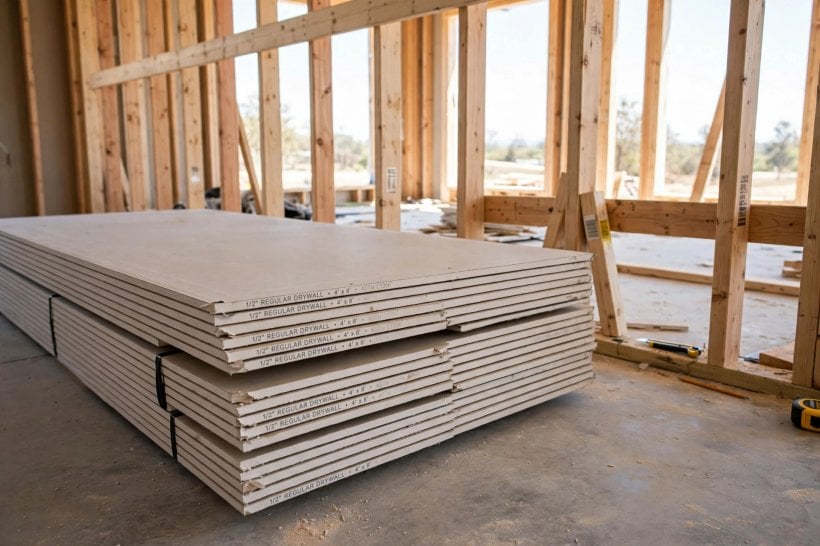
Openings complicate simple area maths. Doors, windows and hatches reduce board area slightly but add cutting and edge finishing that often cancel the saving, so do not expect a wall full of openings to be priced as a bargain. If you are planning the room as a whole, the layouts in tiny house living room ideas show how often new boarded walls and re-planned openings arrive together in a renovation, which is exactly why measurements must be final before anyone prices the job.
Give every installer the same measured drawings or room dimensions, ceiling heights and a note of which surfaces are included. Quotes based on a quick glance will be revised, and revisions mid-job are always harder to challenge than a clear scope agreed at the start.
3. The Finish Level You Choose
Finishing is where drywall prices really separate. Hanging boards is comparatively fast; turning them into a surface that disappears under paint takes taping, several coats of compound feathered wider each time, drying days between coats and careful sanding. A basic finish suits garages, cupboards and walls that will be tiled or covered. A smooth, paint-ready finish for living spaces takes substantially more labour, and an almost flawless finish for strong side light takes more again.
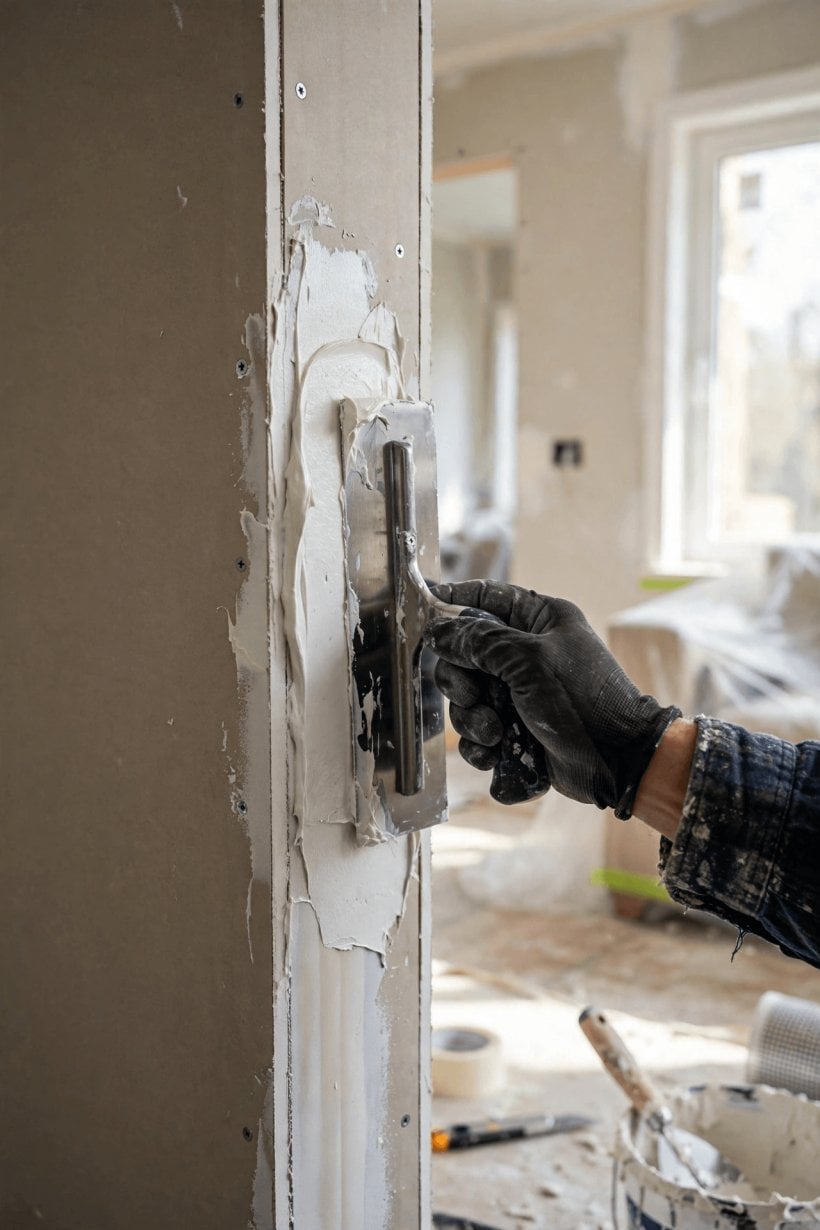
Be specific about where light will fall. A wall opposite large windows, a hallway lit by downlights or a ceiling under a skylight will show every ridge and hollow, and a good finisher will recommend the extra work before painting rather than after. It is far cheaper to add a coat during finishing than to re-finish a painted wall that disappoints.
Surface preparation after sanding matters too. Priming, especially with a dedicated drywall primer, equalises how paint sits over joints and board faces. Ask whether priming is included, whose product is used and whether the quote ends at sanded, primed or fully painted, because those are three different finishing lines, in the same way that the calm bedrooms in tiny house bedroom ideas depend on invisible preparation long before colour goes on.
4. Board Types for Different Rooms
Standard boards suit most dry rooms, but many projects need more. Moisture-resistant boards belong around baths, showers and steamy kitchens; fire-rated boards are specified for certain walls, ceilings and escape routes; sound-reducing boards help bedrooms, studies and party walls; and tougher, impact-resistant boards earn their place in hallways, playrooms and garages. Each step up in performance raises the material price, and some boards are heavier, which slows handling and hanging.
Thickness plays a part as well. Thicker boards feel more solid, deaden sound better and resist knocks, but they weigh more, cost more and can complicate door frames and trim depths. Your installer should be able to explain, room by room, why a board has been specified, rather than defaulting to one board for the whole house or upselling the dearest board everywhere.
Where rules or warranties apply, board choice is not a free decision. If a quote proposes swapping a specified board for a cheaper standard one, ask what performance is being given up. In wet rooms especially, the practical warnings in tiny house bathroom ideas apply: the board behind the finish is part of the moisture system, not a place to quietly save money.
5. Corners, Angles, Niches and Other Details
Plain rectangular rooms are the cheapest to board. Every extra detail, inside and outside corners, angled ceilings, arches, alcoves, niches, bulkheads and boxed pipework, adds measuring, cutting, beading and several extra passes of finishing. A room can have modest floor area and still be an expensive room if its walls are a catalogue of details, and quotes should reflect that honestly rather than pretending the details are free.
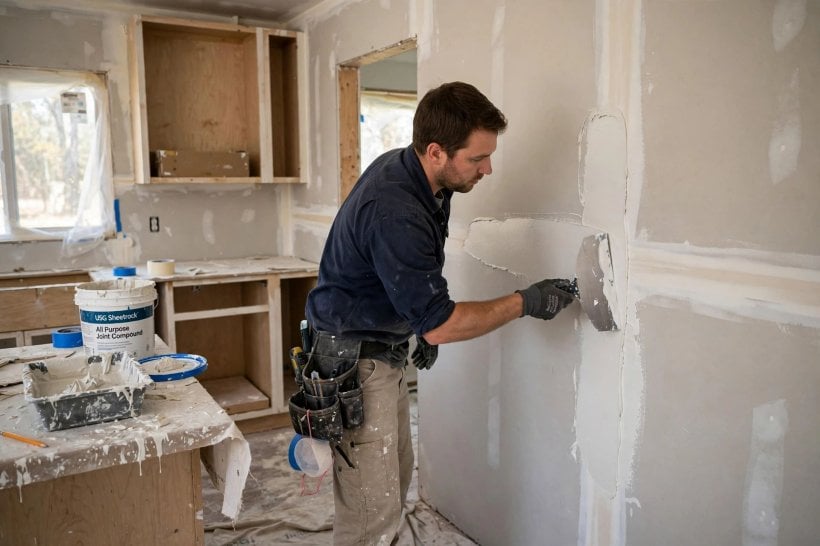
Curved or angled work deserves a conversation about expectations. Board can be coaxed into gentle curves and crisp angles, but the labour rises steeply and the finish depends on the installer’s experience with that kind of detail. Ask to see photographs of similar finished details, not just flat walls, before awarding a detail-heavy room on price alone.
Electrical and plumbing points multiply the small work. Every socket, switch, light fitting, radiator pipe and vent needs an accurate cut, and in a kitchen or media wall there may be dozens. Marking out services on the frame before boarding is the kind of quiet preparation that separates tidy installs from walls patched around mistakes.
6. The Frame Behind the Boards
Drywall is honest: it shows the frame behind it. Studs that are twisted, bowed or out of line produce walls that wave under light no matter how skilled the finisher is. Part of a good quote is checking and correcting the framing first, packing, planing or adding battens so boards sit flat. That preparation takes time before a single board is lifted, and it is time well bought.
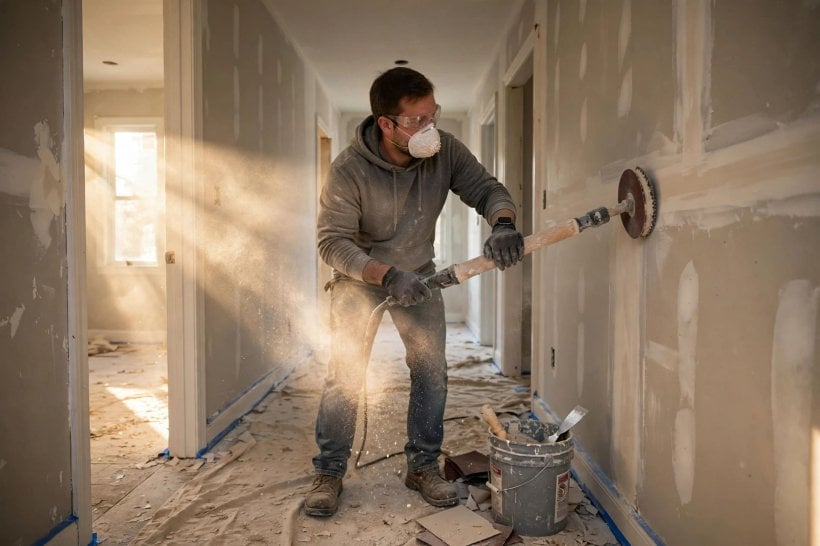
In older properties, expect surprises: uneven masonry, timber that has moved and previous repairs of variable quality. An installer who flags frame correction as a possible extra, with a clear way of pricing it once walls are open, is being straight with you. The alternative, boarding over problems and hoping paint hides them, fails in the first shaft of side light.
This is also the moment for anything that goes inside the wall: insulation, sound treatment, cables, pipes and blocking for future shelves, televisions and grab rails. Adding those while the frame is open is quick and cheap compared with opening a finished wall later, a principle familiar to anyone studying tiny barn house interior conversions, where every layer of a wall is planned because space and access are precious.
7. Access, Delivery and Working in an Occupied Home
Boards are among the most awkward materials in a house: large, heavy, brittle at the corners and too big for some stairwells. Getting them to the room, up stairs, through narrow halls or into a lift, and storing them flat and dry until use, all shape the practical price. If full sheets cannot make the journey, smaller sheets or more joints may be needed, which changes both material and finishing time.
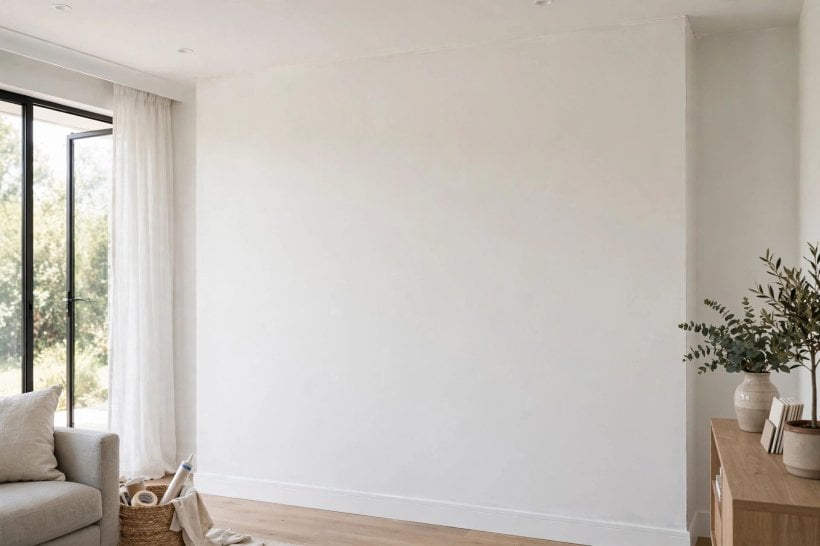
Occupied homes add protection and patience. Floors, stairs and furniture need covering, cutting is best done in one controlled area, and joint sanding produces fine dust that must be contained and cleaned even with extraction sanders. A quote for an empty property and a quote for a lived-in home are not the same product, and the lived-in version legitimately costs more.
You can help by clearing rooms fully, agreeing where materials will live and deciding working hours in advance. Every trip a crew makes around a householder’s belongings is a trip you are paying for in time, however friendly the arrangement feels.
8. Taking the Old Surface Away First
Many installs begin with removal: failed plaster, damaged boards, old tiles and adhesive, or a previous surface that cannot be boarded over soundly. Strip-out is dusty, physical work, and the waste is bulky, so skip or disposal costs belong in the conversation from the start. What the removal reveals, rotten timber, damp or wiring that needs attention, can also change the plan, which is why careful quotes separate strip-out from installation.
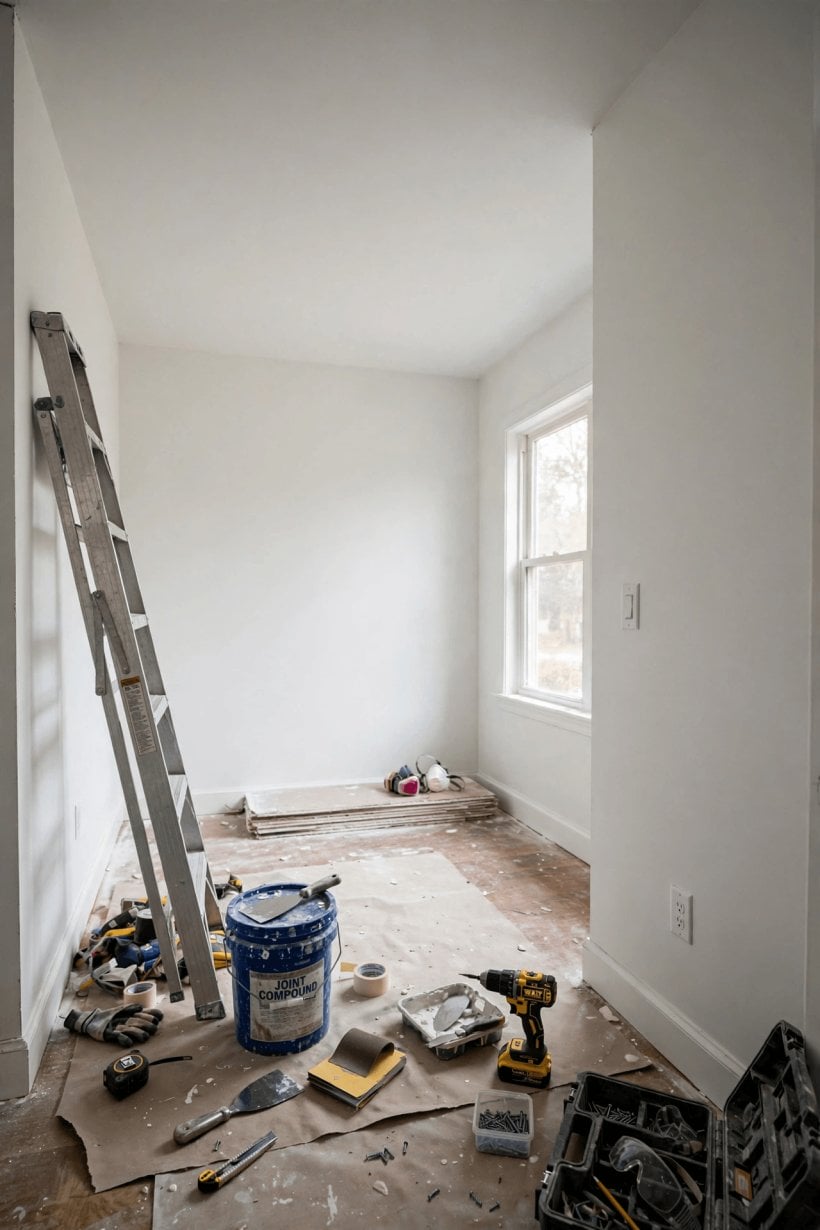
Boarding over an existing surface is sometimes the sensible alternative, and it saves strip-out and disposal, but it adds thickness at doors, skirting and sockets and it inherits whatever unevenness lies beneath. A good installer will tap, check and explain which surfaces are sound enough to cover and which are not, rather than covering everything by default.
Ask where debris goes and who arranges it. A finished room with bags of old plaster still stacked outside is not a finished job, and disposal arranged properly is part of the same cleanup culture that makes the painted schemes in colourful tiny house interior features possible: the mess leaves before the room is handed back.
9. Labour, Sequencing and Where You Live
Most of the price is skilled time, and time follows a sequence that cannot be compressed: frame checks, boarding, taping, coats with drying between them, sanding, snagging and priming. Drying days mean a crew may visit several times for short stages, and that pattern is built into realistic quotes. Installers in high-cost areas, or with long waiting lists, price that time higher, and no material saving elsewhere will offset local labour rates.
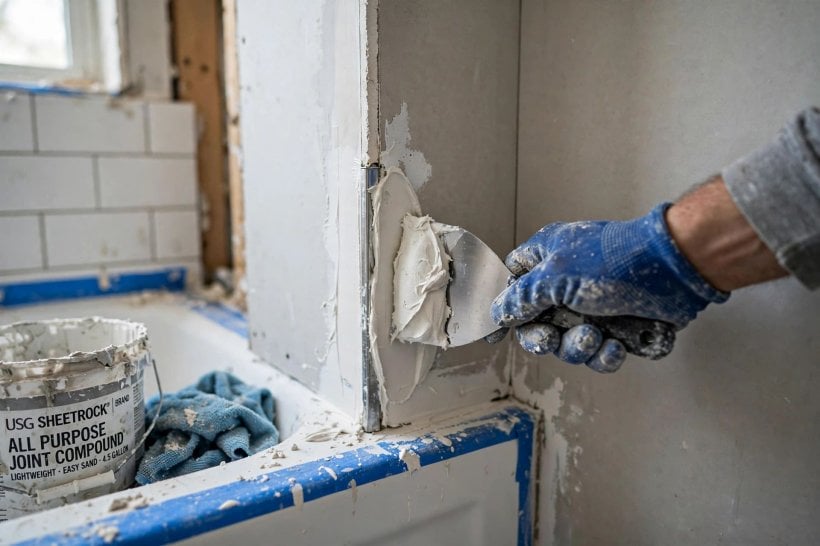
Sequencing with other trades matters to the total as well. Boarding before first-fix electrics and plumbing are complete invites cutting and patching; finishing before a room is dry from other wet trades invites problems. A contractor who coordinates the order of work is protecting your finish, and the small premium for an organised crew is usually recovered in work that does not have to be redone.
Be wary of rushing the drying stages to meet a decorating date. Compound that is painted before it has dried and been sanded properly telegraphs through paint, and fixing it costs more than the days saved. A realistic programme agreed at quote stage is part of what you are buying.
10. Comparing Quotes Like for Like
The safest way to judge the final drywall installation cost for your project is to give every installer the same written scope: rooms and measurements, board types by room, the finish level expected on each surface, who strips out and disposes, who primes, and how frame corrections will be charged if they prove necessary. Itemised quotes against that scope can be compared line by line; single round figures cannot.
Read for omissions. Does the quote include corner bead, screws, tape and compound, or materials at all? Sanding and cleanup? Making good around openings? A low quote that excludes materials or finishing stages simply moves those costs to later, when they arrive as extras with no competition attached. Readers of how to build your own tiny house will recognise the pattern from every trade package: undefined scope is never free scope.
Check the ordinary protections too: insurance, references, photographs of finished (not just boarded) work, and payments staged against completed stages. Keep a contingency for what open walls may reveal. Drywall is one of the fairest trades to price accurately, but only when the wall behind and the finish in front are both described honestly.
It is also worth agreeing how snagging will work before the final payment is made. Walk the finished walls together in daylight and, if you can, with a lamp held at an angle, because that is when ridges, pockmarks and missed sanding show themselves. A professional installer expects that walk and builds a return visit for small corrections into the programme; a quote that assumes perfection on the first pass, with no snagging stage, is quietly transferring that risk to you and your decorator.
Final Considerations
A drywall quote is really a price for flatness, smoothness and readiness for paint, built up from area, board type, detail, frame condition, access, strip-out and local labour. When each of those is named, totals stop looking mysterious, and the gap between a cheap quote and a careful one usually turns out to be a gap in scope rather than efficiency.
Choose the installer whose quote describes the finished walls you expect, in the rooms you measured, with disposal and priming accounted for. Those are the walls that will still look straight and calm when the light rakes across them long after the boards themselves are forgotten.
Finally, keep your paperwork together: the agreed scope, board types by room, finish levels and the snagging notes from your walk-through. If a wall ever disappoints later, that record is what turns an argument into a conversation, and it makes any future work in the same rooms easier to price, because the next installer can see exactly what was done and why.



0 Comments