

Weathered wood, cool stone and blackened iron: a rustic bathroom gets its power from materials that look like they have already lived a life.
Work through the guide in order: layout first, then the vanity, surfaces, storage and light.
1. Rustic Bathroom at a Glance: Start With Materials, Not Accessories
The convincing rooms in this style are built from a short, honest material list: timber with visible grain, stone or stone-look surfaces, and iron or aged metal. Decide those three first, then let every later purchase answer to them. For small footprints, these tiny house bathroom layouts show how much layout matters before finishes are chosen.
| Element | What to Decide First | Rustic Direction |
|---|---|---|
| Timber | Tone and where wood can stay dry | Reclaimed-look vanities, shelves and mirror frames |
| Stone | Floor and wet-zone surfaces | Slate-look, tumbled or stone-effect tile with matte finishes |
| Metal | One finish for taps, lights and hooks | Blackened iron, oil-rubbed bronze or aged copper |
| Walls | Boards, plaster-look paint or tile | Warm neutrals that let texture lead |
| Storage | Open versus closed balance | Timber shelves, crates, baskets and a solid vanity |
| Light | Face light and a warm glow | Iron sconces with warm bulbs, never cool white |
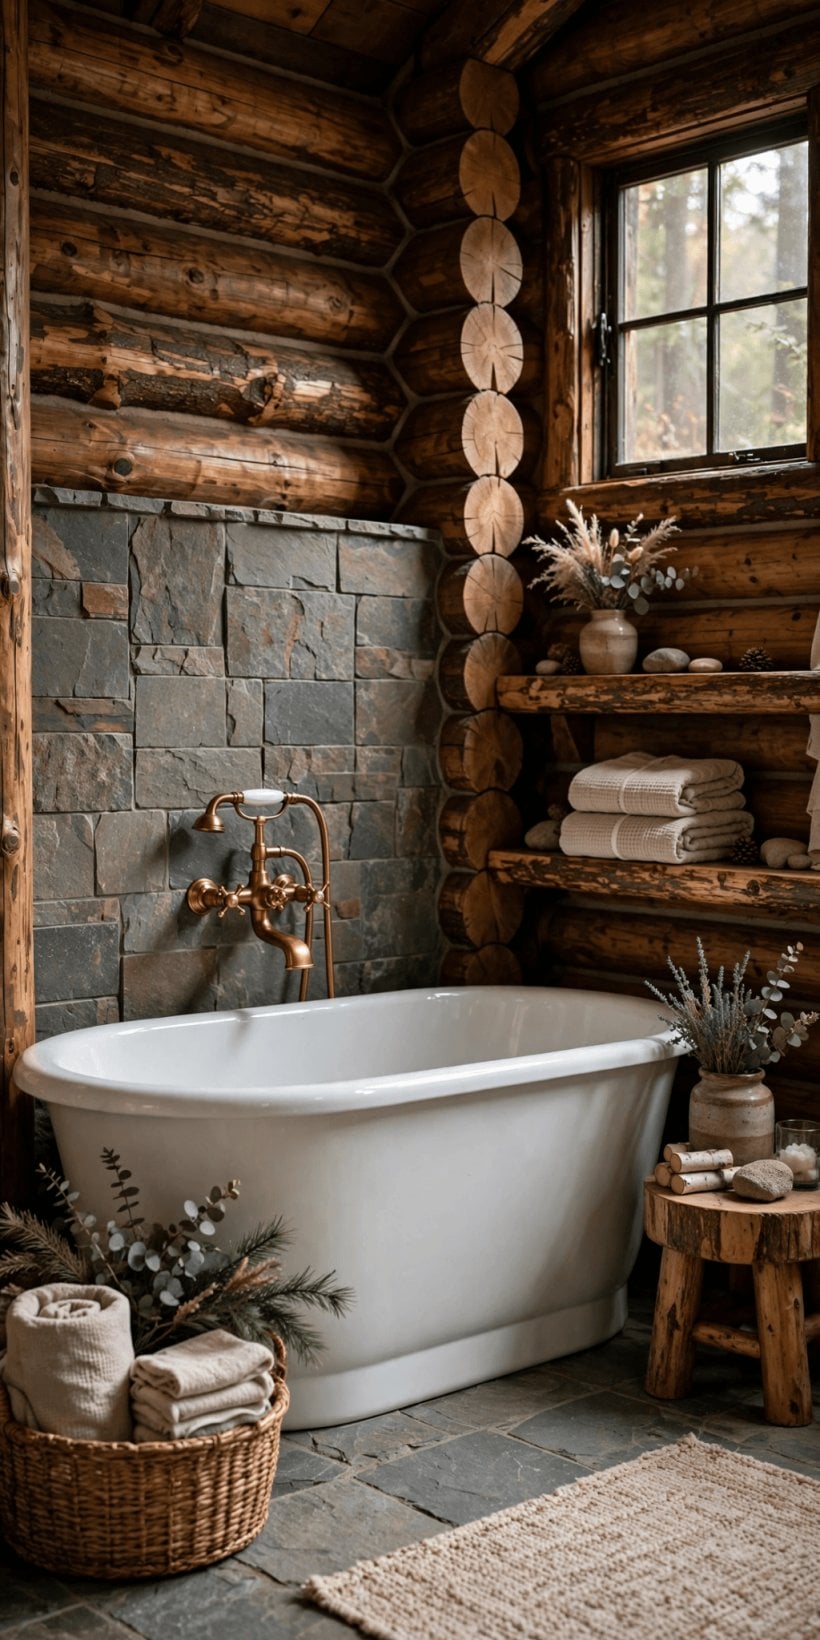
The summary above puts the decisions in a safe order: fix the layout, commit to timber, stone and iron, protect every surface from water, and only then add the objects that make the room feel personal.
1. Write a three-material rule and keep it. Timber, stone and iron is the classic trio for this look. When a possible purchase falls outside the list, it needs a very good reason to enter the room at all.
2. Keep plumbing grouped on one wall. A single wet wall keeps costs contained and leaves the longest wall free for a timber vanity run, shelving and hooks, which is where this style shows its character best.
3. Decide the bathing fixture before finishes. A deep tub, a stone-tiled shower or both will determine floor structure, drainage and waterproofing. Finishes chosen before that decision often have to be chosen again afterwards.
4. Check where water will actually reach. Timber belongs mostly in dry zones, stone and tile in wet ones. Mapping splash zones honestly at the start prevents the swollen boards and failed finishes that spoil rustic rooms.
5. Plan for weight where it matters. Stone basins, thick timber shelves and cast-iron style tubs are heavy. Confirm floors and wall fixings can carry them before you fall in love with a particular piece.
6. Leave one wall quiet. Texture everywhere becomes noise. A single plain wall in a warm neutral gives the eye rest and makes the timber and stone elsewhere look richer by comparison.
7. Mock up timber tones against stone. Wood that sings beside a warm stone can look orange beside a cool grey one. Live with samples together in daylight and lamplight before ordering large pieces.
8. Set the mood with one sentence. Cabin calm, mountain lodge or desert modern: a one-line brief settles arguments about every later choice, from tap finish to towel colour, without endless debate.
2. Vanities and Basins: Timber Furniture With a Working Brief
The vanity is the largest timber piece in the room, so it carries the style. Solid-looking construction, simple fronts and a basin in ceramic, stone or metal will always read more convincing than ornate themed pieces.
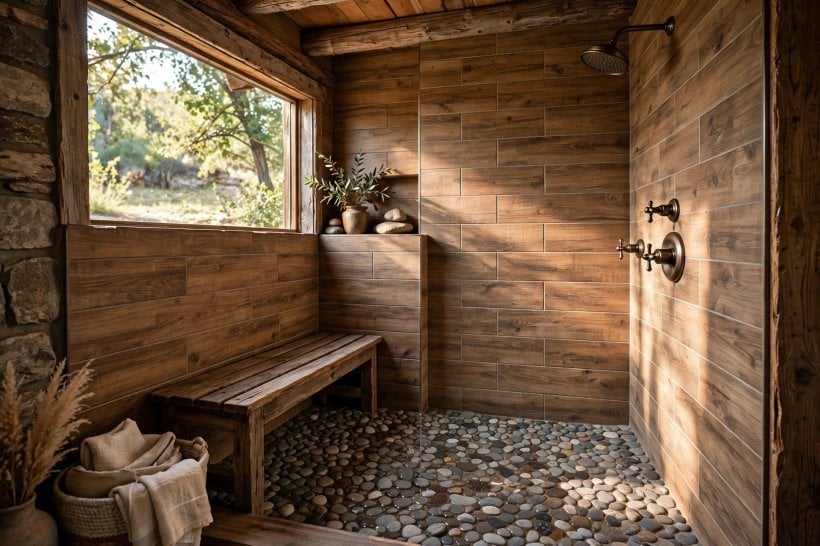
9. Build the vanity from reclaimed-look timber. Boards with saw marks, knots and varied tone bring instant history. Balance the roughness with a smooth, well-sealed top surface so daily cleaning stays easy and hygienic.
10. Set a stone vessel basin on top. A carved-look or honed stone vessel pairs naturally with timber and needs no cut-out in the vanity top. Keep the vessel’s height in mind when setting the cabinet height.
11. Try a copper basin for warmth. Hammered copper deepens in colour with use and glows against dark wood. It needs gentle cleaning and no abrasive products, which is a fair trade for its character.
12. Use a trough basin in a family room. One long basin with two taps handles the morning rush gracefully and echoes old utility sinks. Wall-mount the taps to keep the trough’s rim clear and easy to wipe.
13. Choose slab fronts over fussy carving. Flat or simple planked drawer fronts let the timber grain be the decoration. Add iron pulls with real weight and the simplest cabinet becomes convincing furniture.
14. Repurpose a workbench or potting table. An old bench with a sealed top and a vessel basin makes a vanity with genuine provenance. Adapt one drawer around the waste and keep the rest for towels.
15. Float the vanity to show the floor. A wall-hung timber unit keeps stone flooring visible and makes a small room feel larger. Confirm the wall structure first; floating heavy timber is an engineering decision, not a styling one.
16. Keep the top sealed and matted down. Standing water is timber’s enemy. A quality matt sealer, a tray under bottles and a habit of wiping splashes will keep a wood top handsome for many years.
3. Tile and Stone: The Cool Counterweight to Timber
Stone balances wood’s warmth and handles the wet zones. Keep patterns geological rather than decorative: tumbled edges, slate tones and handmade variation belong here more than bright prints or high-gloss finishes.
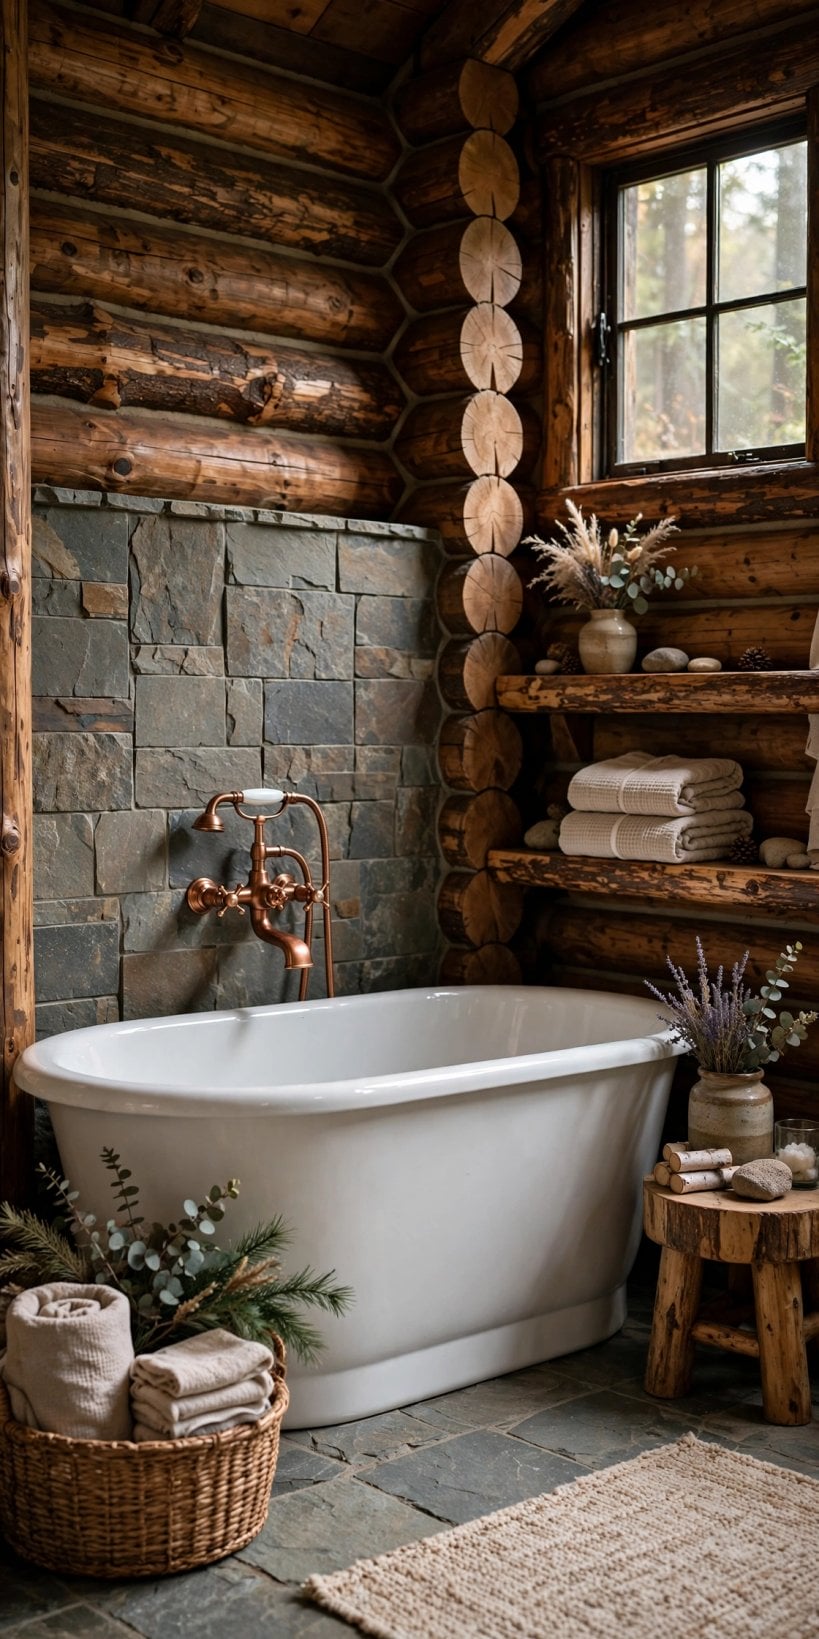
17. Lay slate-look tile on the floor. Dark, matte and forgiving of dust, slate-effect porcelain gives the grounded base this style needs. Choose a wet-area finish and a mid-grey grout that will age gracefully.
18. Use tumbled stone-look tile in the shower. Softened edges and varied tones read as quarried material rather than factory product. The variation also hides water marks and soap residue better than flat, uniform tile.
19. Build a stone accent wall behind the vanity. A stacked-stone effect panel behind timber and a vessel basin is the classic lodge moment. Keep it to one wall and seal it properly against bathroom humidity.
20. Choose handmade-look subway tile for balance. If stone everywhere feels heavy, an undulating cream subway tile lightens the room while staying in character. Warm grout keeps the effect soft rather than urban.
21. Run large-format stone tile for calm. Fewer grout lines mean a quieter backdrop and faster cleaning. Large tiles suit floors and shower walls where timber is absent, letting wood pieces stand out against them.
22. Add a pebble-look shower floor. A pebble-effect surface gives grip underfoot and a stream-bed feeling that suits the style perfectly. Keep the grout tone close to the pebbles so maintenance stays realistic.
23. Match grout to material, not fashion. Grout slightly darker than the tile hides life and emphasises texture; bright white grout fights every rustic surface. Test a small board before committing to whole walls.
24. Protect stone-look surfaces correctly. Porcelain needs little beyond cleaning, but any natural material needs the sealing its supplier specifies. This overview of tiny house bathroom waterproofing and wet bath tiling explains the layers beneath the finish.
4. Storage in Timber, Crates and Iron: Order That Looks the Part
Storage in this style should look built, found or repurposed rather than bought as a matching set. The discipline behind these tiny house closet design and storage ideas applies perfectly: group by use, hide the ugly, display the handsome.
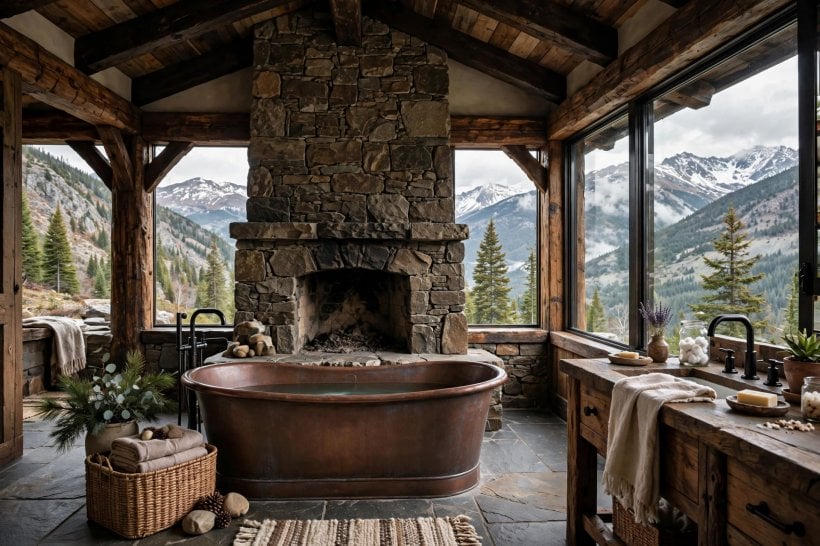
25. Hang thick timber shelves on iron brackets. Deep shelves with visible black brackets hold towels, baskets and a plant with ease. Fix brackets into studs or proper anchors; loaded shelves are heavier than they look.
26. Stack wooden crates for flexible storage. Crates can hold spare towels today and become a side table tomorrow. Sand rough edges, add felt pads where they meet tile and keep the arrangement deliberately simple.
27. Use a ladder shelf against the wall. A leaning ladder with shelves or towel rungs adds height without building work. Secure the top to the wall for safety, especially in homes with children or large dogs.
28. Add a wall cabinet in aged painted timber. One closed cabinet hides medicines and the visual chaos of bottles. A chalky painted finish in a muted tone contrasts beautifully with natural wood elsewhere in the room.
29. Fit iron hooks in a generous row. Big hooks take thick towels, robes and wash bags without slipping. Mount them on a timber back board so fixings land in studs and the board becomes a feature.
30. Store spares in lidded baskets under the vanity. Open vanities need disciplined storage beneath. Matching lidded baskets hide spare paper and cleaning supplies while keeping the airy, furniture-like feeling of the piece intact.
31. Add a niche with a timber lintel in the shower. A tiled niche framed with a small wood-look lintel detail stores bottles off the floor. Keep the niche’s tile identical to the shower walls for a built-in feeling.
32. Keep a timber stool doing double duty. A solid stool is a towel perch, a bath-side table and extra storage surface in one. Choose a dense, water-tolerant wood and oil it on a regular schedule.
5. Showers and Tubs: Stone, Water and a Sense of Shelter
The wet zone should feel like the most elemental part of the room: stone underfoot, water falling simply, and timber kept to stools, shelves and details that can dry out fully between uses.
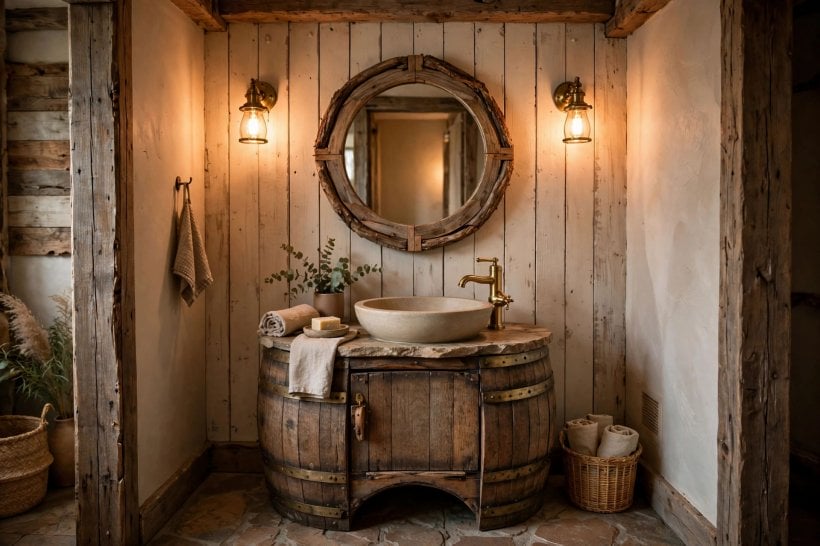
33. Build a walk-in shower in stone-look tile. A generous walk-in with a low threshold and the floor tile running through feels like a grotto in the best way. Keep the shower head simple and the controls reachable from outside the spray.
34. Choose a deep soaking tub in a traditional shape. A roll-top or deep oval tub is the lodge bathroom’s reward at the end of the day. Place it where the view and the light are best, not just where plumbing is easiest.
35. Frame glass with blackened steel. A black-framed shower screen echoes iron hardware and keeps water in without closing the space down. The grid should be bold and simple, never fussy or decorative.
36. Use a rain head with a practical hand shower. The overhead head delivers the atmosphere; the hand shower rinses the stone, the tub and the dog. A simple diverter keeps the arrangement honest and easy to repair.
37. Add a built-in stone-look bench. A bench in the shower, tiled to match the walls, serves every age and stage of life. Slope it very slightly so water runs off instead of pooling on the seat.
38. Keep the tub filler floor-standing or wall-mounted. With a freestanding tub, a traditional floor-standing filler in aged metal becomes sculpture. Confirm the floor structure and access for future maintenance before it is sealed in.
39. Lay the shower floor for grip first. Small tiles or pebble-look surfaces with plenty of grout lines are the safe choice under wet feet. Beauty that slips is not beauty for long in a working home.
40. Extract steam properly. Timber, plaster-look paint and iron all suffer in trapped humidity. A strong, quiet extractor that people actually use is one of the most style-preserving purchases you can make.
6. Lighting, Taps and Ironwork: Warm Glow, Honest Metal
Metal is the third voice in the material trio, and light decides whether timber looks golden or muddy. These tiny house interior paint colors will help you test how warm light changes wall tones beside wood.
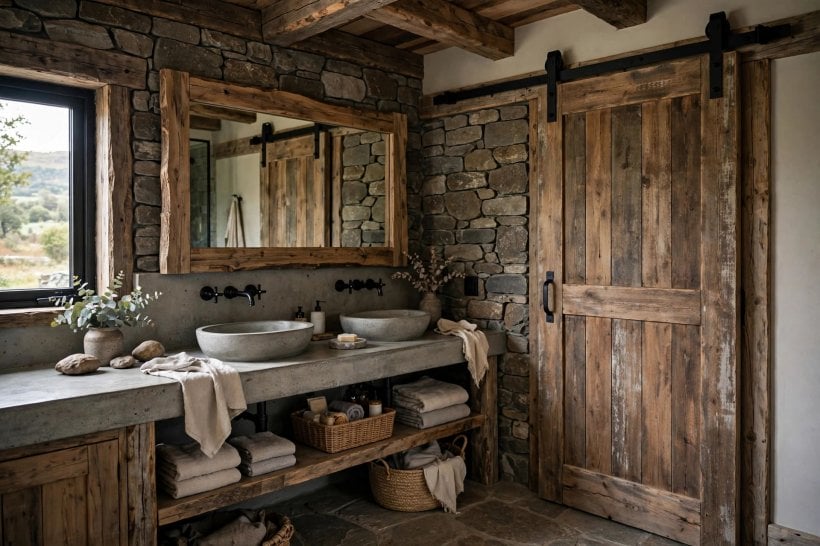
41. Hang iron sconces beside the mirror. Caged or simple shaded sconces in blackened iron give face light with lodge character. Place them at eye level on both sides to avoid the shadows a single overhead light creates.
42. Choose oil-rubbed bronze or matte black taps. Dark metal against stone and timber is the reliable pairing for this style. Commit to one finish across basin, bath and shower so the room reads as one build.
43. Try aged copper as the single warm metal. Copper taps and a copper basin together can be the room’s glow, especially with dark wood. Let it patina naturally; polishing it back to bright fights the whole concept.
44. Use lever or crosshead handles. Traditional handle shapes suit the architecture and are easier for wet hands and older joints. Modern minimal levers can work too, but only in the same dark, quiet finish.
45. Add a wagon-wheel or beam pendant only with height. Statement rustic pendants need ceiling height and scale to avoid looking like props. In ordinary rooms, a simple iron pendant or flush fitting is the more honest choice.
46. Put warm bulbs everywhere, without exception. Cool light turns timber grey and stone blue. Warm bulbs in every fitting, including the extractor light, keep the material palette glowing as intended at night.
47. Swap plastic accessories for iron and wood. A timber toilet-roll holder, iron towel ring and a wood bath bridge remove the last traces of generic fittings. These small touches are noticed every single day.
48. Frame the mirror in chunky timber. A deep wood frame or an arch of reclaimed-look boards anchors the vanity wall. Size it boldly; a timid frame beside a heavy stone basin looks like an apology.
7. Small Rustic Rooms: Texture Without the Weight
Small rooms can carry this style if the texture is scaled honestly: lighter timber, smoother stone and fewer, larger gestures instead of many small rugged details competing in a tight space.
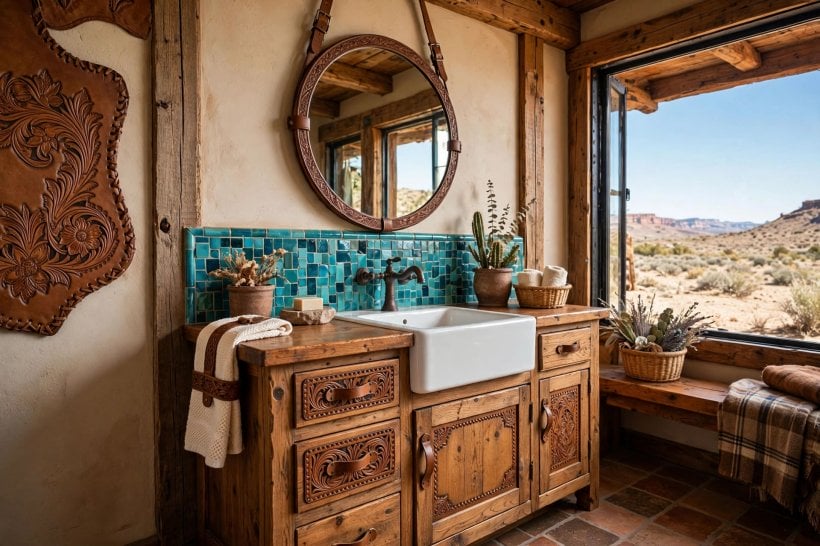
49. Use lighter timber in a small room. Pale, weathered-look wood keeps the character without the cave effect. Reserve the darkest timber for one piece, usually the vanity, and let everything else breathe around it.
50. Choose a compact stone-look basin unit. A smaller vanity with an integrated basin keeps plumbing simple and surfaces wipeable. Timber drawer fronts below give the style while the top stays practical.
51. Run the floor tile into the shower. One continuous floor makes a small wet room feel twice its size. With correct drainage and waterproofing, the whole room becomes a calm stone surface with timber accents.
52. Hang storage high and keep the floor clear. Wall shelves, hooks and a cabinet above eye level store plenty while the floor stays open. Visible floor is the cheapest space-expander in any small room design.
53. Pick a sliding barn-style door carefully. A timber sliding door saves swing space and suits the look, but it seals sound and steam poorly. Use it where privacy demands are modest, not for every layout.
54. Limit the palette to two tones plus metal. In a small room, mid wood, pale stone and black iron is a complete scheme. Every additional colour will shrink the room visually, however handsome it is alone.
55. Mirror a full wall section above the vanity. A large plain mirror doubles light and view, offsetting heavy materials. A thin timber frame keeps it in the family without adding visual weight.
56. Keep decor to one living thing. A single trailing plant on a high shelf softens stone and wood in a small space. Anything more competes with the materials, which are already doing the decorating here.
8. Colour and Texture: Letting Materials Be the Palette
In the rooms collected in this tiny barn house interior tour, colour never arrives as decoration first; it comes from timber age, stone variation and metal patina. Copy that order and the scheme will hold together.
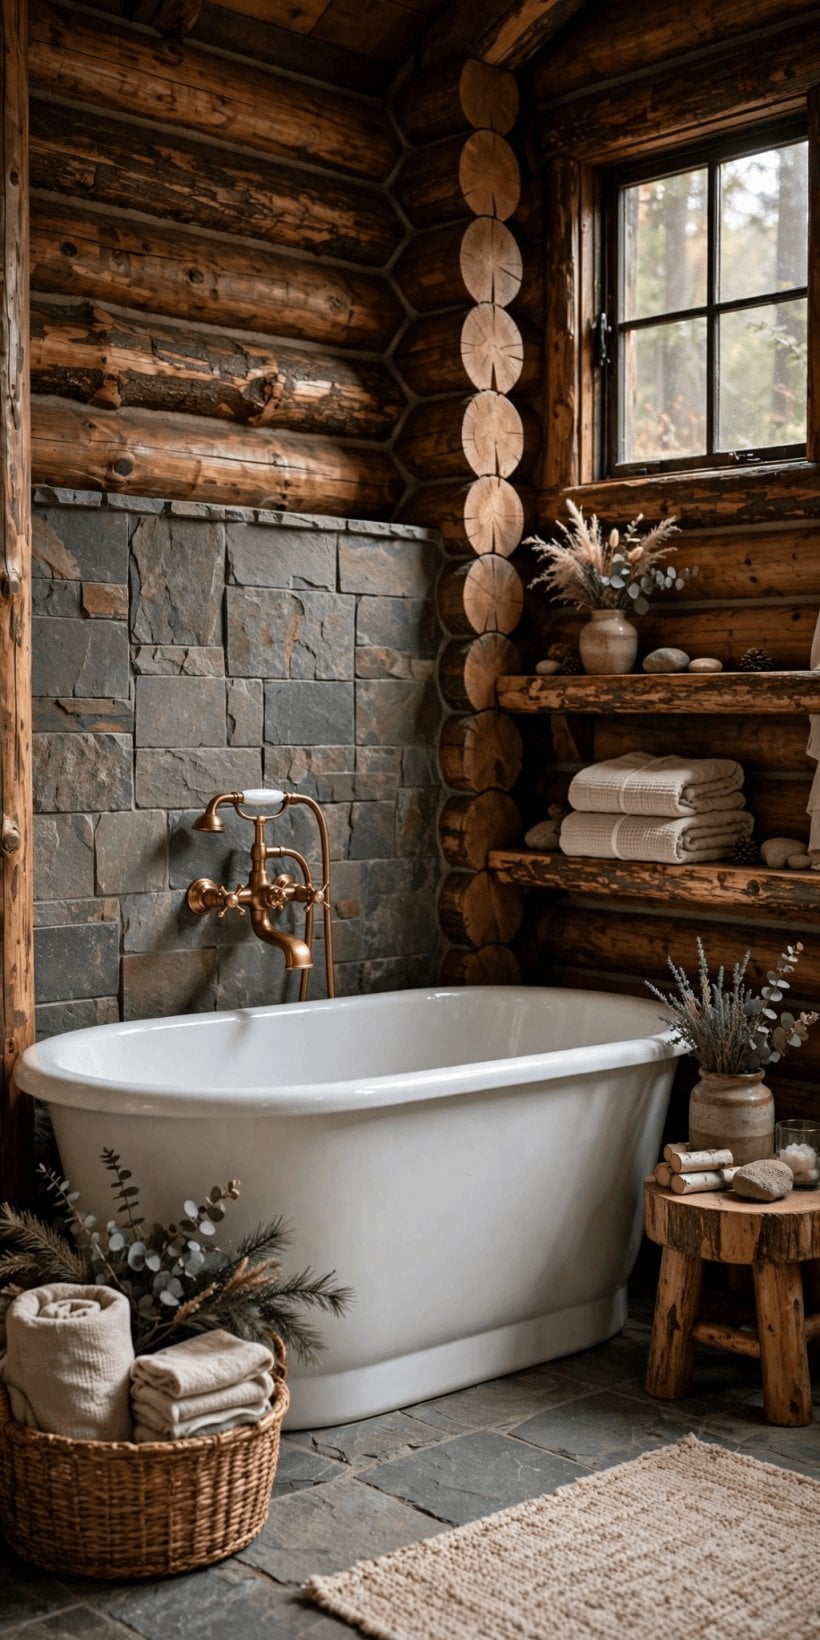
57. Paint walls a warm, muddy neutral. Greige, warm putty and soft clay tones sit quietly behind timber and stone. Avoid blue-greys, which make wood look orange, and bright whites, which make it look dirty.
58. Add one deep colour on the vanity. Forest, ink navy or charcoal on cabinetry makes pale stone and warm taps glow. Keep that colour to the one piece so it stays a decision, not a theme.
59. Layer textiles in earth tones. Towels and a runner in rust, ochre, moss and cream echo the materials without matching them exactly. Natural fibres with visible weave add the final layer of texture.
60. Let metal patina be a colour too. The green-brown deepening of bronze and the dulling of copper are part of the palette. Plan for them rather than fighting them with polishes and coatings.
61. Bring in woven and clay accessories. A woven basket, a clay soap dish and a timber brush cover every accessory a room needs. Their matte, irregular surfaces belong beside stone in a way plastic never will.
62. Hang art that suits the materials. Charcoal sketches, landscape prints and old maps in timber frames add story without gloss. Keep glass anti-glare if the room is bright, and scale art to the wall, not the vanity.
63. Use scent as an invisible layer. Cedar, pine and wood-smoke notes from a simple candle or soap reinforce the material story. Keep flames away from towels and timber shelves, and never leave them unattended.
64. Keep windows plainly dressed. A timber blind or a heavy linen curtain in a natural tone is enough. Fussy treatments trap steam and argue with the straightforward character of everything else in the room.
9. DIY and Sensible Spending: Where the Money Shows
This style forgives a modest budget because its hero materials are humble. Spend on the vanity, the wet-zone build and the taps; save on accessories, which thrift, timber offcuts and patience provide well.
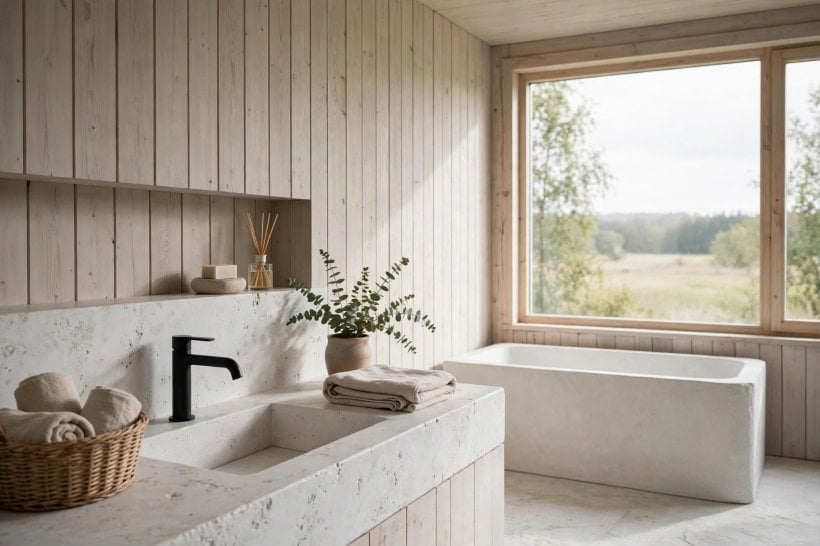
65. Make shelves from scaffold-style boards. Thick boards, sanded and sealed, on iron brackets are the classic budget win of this style. Buy boards with character, then spend your effort on fixing them absolutely level and solid.
66. Refresh a plain vanity with timber cladding. Thin wood-look panels or real veneer strips on flat cabinet fronts can transform a generic unit. Seal every edge, especially the bottom, where water will test your work first.
67. Age new timber with simple techniques. Sanding back, a grey-brown wash and wax can take the raw orange edge off new pine. Test on offcuts and keep the result subtle; fake distressing that shouts is worse than honest new wood.
68. Hunt second-hand for the story pieces. Old stools, crates, mirrors and hooks carry real history this style celebrates. Check timber for woodworm and old plumbing pieces for safe, working fittings before you commit.
69. Change hardware before fixtures. Iron pulls, hooks and a towel rail in one dark finish unify a room of mixed pieces for very little money. It is the fastest weekend upgrade in this entire guide.
70. Never economise on waterproofing. Membranes, seals and correct falls are invisible and priceless. Every pound saved there is borrowed from a future repair, usually with interest paid in damaged timber and stone.
10. Care and Keeping: Helping Honest Materials Age Well
Rustic materials age beautifully when they are looked after and badly when they are not, much like the outdoor spaces in these tiny house landscaping ideas, where regular small care beats occasional rescue every time.
71. Oil timber on a calendar, not on a crisis. Vanity tops, shelves and stools near water need oil or sealer renewed before the surface goes pale and thirsty. Note the date each time and the rhythm will set itself.
72. Squeegee stone-look shower walls. Thirty seconds after a shower keeps soap film off textured tile and grout. It is the single habit that most extends the freshly built look of a stone wet zone.
73. Let iron dry and touch up chips. Blackened iron that stays wet will eventually rust at chips and screw points. Dry it, touch up damage promptly with matching paint and it will serve for decades.
74. Clean stone-effect surfaces gently. Avoid harsh acids on anything stone or stone-look in a wet zone unless the supplier approves it. Warm water, a mild cleaner and a soft cloth handle daily life well.
75. Edit accessories every season. Rustic rooms accumulate objects like cottages accumulate everything. A seasonal edit that returns shelves to towels, baskets and one plant keeps the room honest and easy to clean.
Final Considerations
Decide the material trio first, protect it from water second and decorate last. That order is the whole secret: timber, stone and iron will carry almost any layout, while even expensive accessories cannot rescue a room whose wet zones were an afterthought.
Start with the piece you touch most, whether that is the vanity, the shower or the light beside the mirror, and finish it completely. A room built one honest decision at a time will still feel right long after trend-led rooms need replacing.


0 Comments