

A pole barn is the most flexible building most properties will ever get: one clear-span shell that can start as storage and grow into a workshop, a barn or even a home.
Searchers often reach this topic through the name morton buildings, so this guide uses that familiar shorthand for this style of post-frame building. It is a general ideas guide, not a brand catalogue: the designs, layouts and cost logic below apply to pole buildings from any builder or kit.
1. Morton Buildings at a Glance: Choosing a Pole Building That Fits Your Land
Post-frame construction puts widely spaced posts in the ground or on a foundation and hangs the roof on trusses, which is why these buildings give large, open interiors for their cost. Start with use, size and site, helped by the measurement discipline in these tiny house bathroom layouts: small spaces and big shells alike reward honest measuring before anything is ordered.
| Decision | Main Options | Guidance |
|---|---|---|
| Primary use | Workshop, storage, barn, garage, barndominium | Design for the main use; flex space covers the rest |
| Size | Footprint and eave height | Size for equipment and vehicles plus working room |
| Structure | Posts, trusses, steel or timber cladding | Clear spans keep the interior fully flexible |
| Doors | Sliding, overhead, sectional, walk doors | Door size decides what can ever get inside |
| Interior | Open shell, insulated, fully finished | Finish in phases as budget and use evolve |
| Costs | Shell, site work, concrete, interior fit-out | The shell is only part of the total; see section 10 |
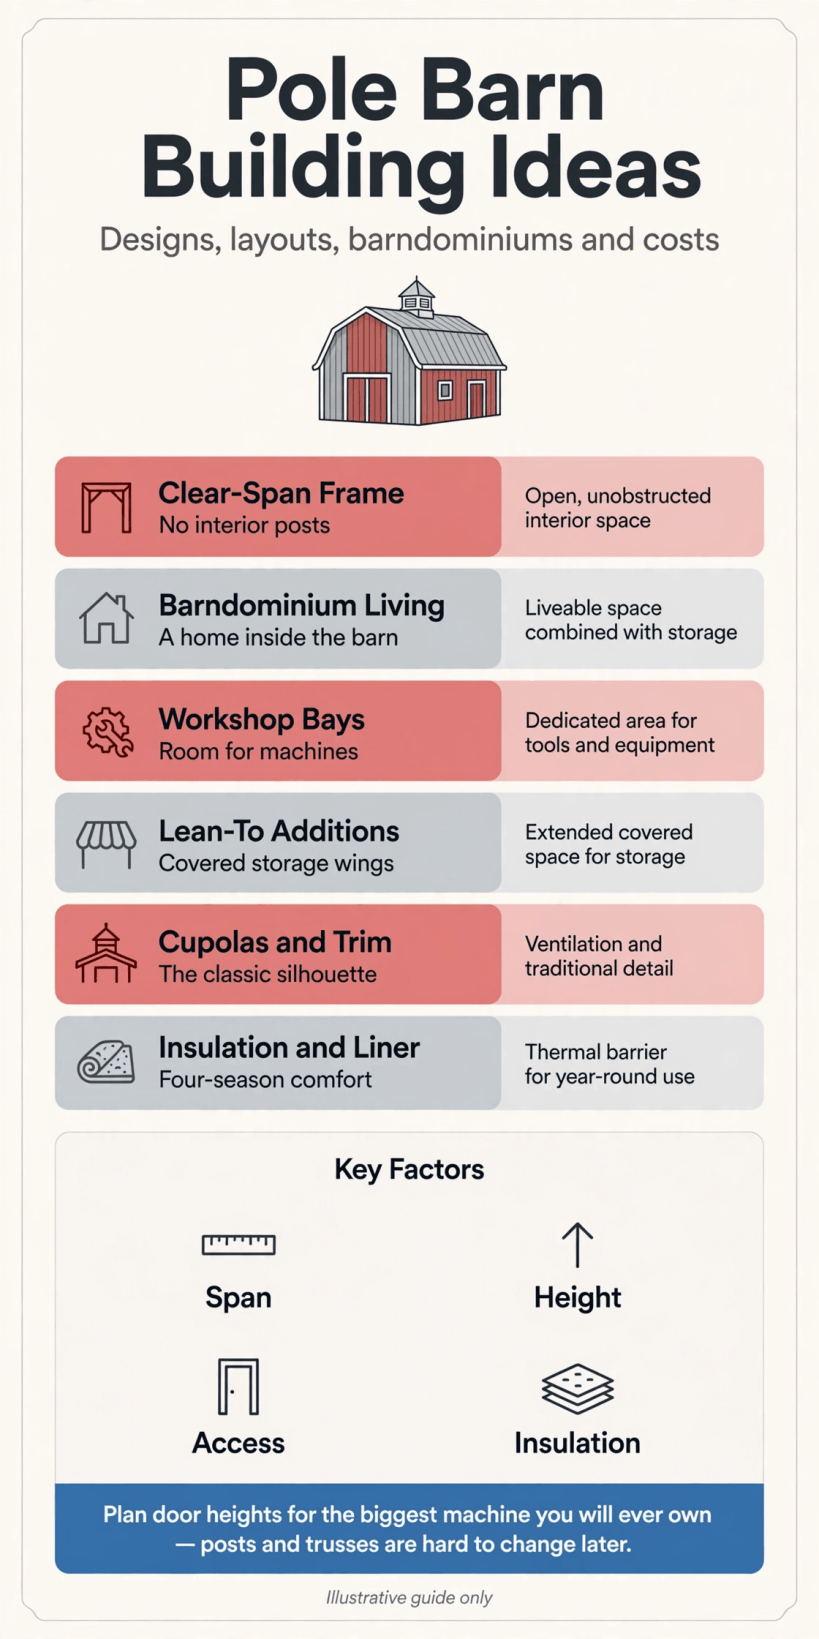
The order that keeps a pole building project calm: fix the use, size the shell around your largest equipment, choose doors, then plan the interior and the budget in that sequence.
1. Start from the main job the building must do. A workshop, a machinery store and a horse barn are all pole buildings, but their doors, floors and interiors differ completely. Name the primary use first and let secondary uses share what is left.
2. Size for the largest thing that will ever enter. Measure tractors, trailers, boats or lifts with mirrors folded and booms lowered, then add working room on all sides. A building that only just fits its contents is a building that frustrates daily.
3. Choose eave height for tomorrow, not today. Taller eaves allow vehicle lifts, mezzanine storage and taller doors later. Height is cheap to build in at the start and effectively impossible to add afterwards, so err generous here.
4. Keep the interior clear-span wherever possible. The magic of post-frame design is an open floor with no load-bearing interior walls. Protect that flexibility; partitions can be added anywhere later, but structure cannot be removed.
5. Plan the building in phases. Shell and concrete first, insulation and interior rooms as money and time allow. A phased plan with a finished design prevents the random additions that make farm buildings a tangle.
6. Check local rules before falling in love with a design. Permits, setbacks, height limits and use rules vary widely and can reshape size and placement. A short conversation with the local office early saves redesigns and strained neighbour relations later.
2. Workshop Buildings: Layouts for Making and Mending
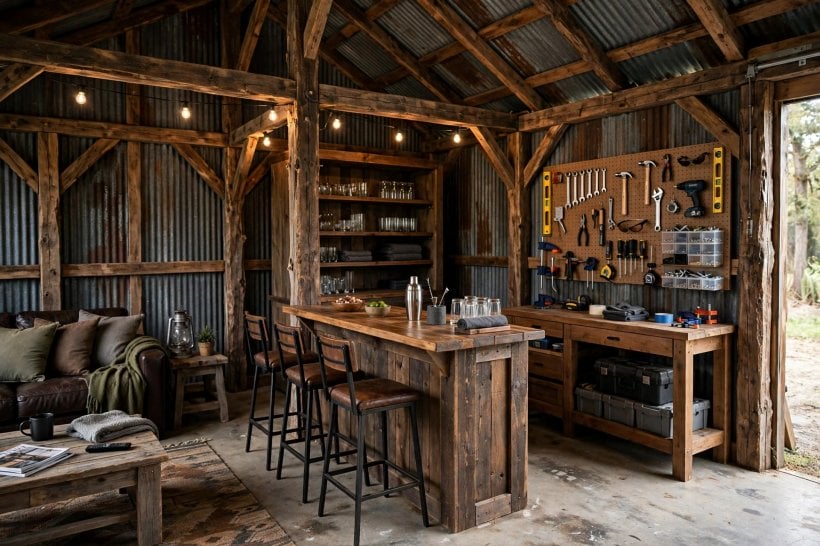
A good workshop building puts benches on the walls, big work in the middle and everything heavy close to the door it arrived through. Light from the sides, power everywhere and storage that closes are the marks of a shop that stays pleasant.
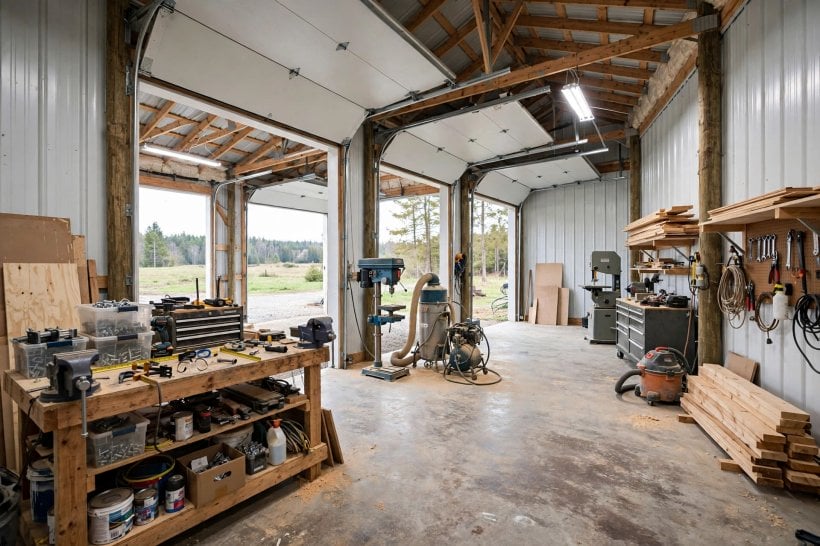
7. Put the main workbench under a window. Daylight on the bench is the best task light ever fitted, and a view keeps long jobs pleasant. Add a bright artificial light above it for winter afternoons and detailed work.
8. Keep a clear central bay for big projects. The middle of the shop is for the vehicle, trailer or furniture piece being worked on. If the centre is permanently full of stored clutter, every project starts with an hour of moving things.
9. Run tool storage along one wall, materials along another. Tools you grab hourly belong in cabinets and on boards by the bench; timber, pipe and sheet goods belong in racks elsewhere. Separating the two keeps both findable and the walkways clear.
10. Give welding and grinding their own corner. Sparks and finished work do not mix. A metal corner with a clear floor, a screen and extinguisher access keeps the rest of the shop, and its occupants, out of the spark zone.
11. Add a vehicle lift only where the slab and height allow. A lift transforms mechanical work but demands ceiling height, concrete depth and clear swing room. Plan its position at design stage even if the lift itself arrives in a later phase.
12. Heat and light the bench zone, not the whole shell. In a big building, comfort is local: a heater and strong light over the working area cost a fraction of conditioning the entire volume, and they make winter evenings in the shop genuinely enjoyable.
3. Barndominiums and Hobby Buildings: Living Space Inside a Pole Shell
The barndominium idea pairs a dwelling with a serious workshop or garage under one roof, and the pole shell takes it well because the interior is free to arrange. The lived-in half of this tiny barn house interior shows how warm a barn-form interior can feel once it is lined, lit and furnished like a home.

13. Split the plan into living and working halves. Put the dwelling at one end and the shop at the other, with storage or a utility room as the buffer between them. The buffer swallows noise, smells and the visual chaos of projects in progress.
14. Face the living rooms to the best view and sun. The shop can face the yard; the home should face the landscape. Kitchens and sitting rooms on the sunny, private side make the building feel like a house that happens to have a barn attached.
15. Use the roof volume for a loft or mezzanine. A partial upper level over the living end adds bedrooms or a studio without enlarging the footprint. Keep the shop side full-height so tall equipment and lifts still fit beneath the trusses.
16. Plan plumbing in one stacked zone. Kitchen, bathroom and utility sharing one wall of plumbing keeps a big building affordable to fit out and easy to maintain. Scattered wet rooms are where simple builds turn complicated and expensive.
17. Give the hobby space its own door. A separate entrance for the workshop or studio keeps muddy boots, deliveries and visiting collaborators out of the living rooms. Two front doors, one grand and one practical, suit this building type perfectly.
18. Finish the living half to house standards from the start. Insulation, vapour control, heating and sound separation are far easier before furniture arrives. A barndominium that feels like a house inside holds its value and its occupants’ affection far better.
4. Equipment Storage and Machine Sheds: Protecting the Fleet
Machinery lasts longer and starts happier under a roof, which is the entire economic argument for the machine shed. The organisational thinking in these tiny house closet design and storage ideas scales up surprisingly well: a place for everything, labelled zones and nothing stored in the doorway.

19. Give the biggest machine the straightest run in. The tractor or combine that moves most often should drive in and out without shunting. Design the door positions and interior lanes around that single movement and everything else falls into place.
20. Park implements in order of season. What is needed next month belongs near the door; what sleeps until next year belongs at the back. Rotating the order twice a year takes an hour and saves a season of climbing over equipment.
21. Choose sliding doors for wide openings. Sliding doors suit very wide machine entrances, never blow in the wind and leave the interior doorway completely clear. Keep their tracks clean and they will outlast several generations of machinery.
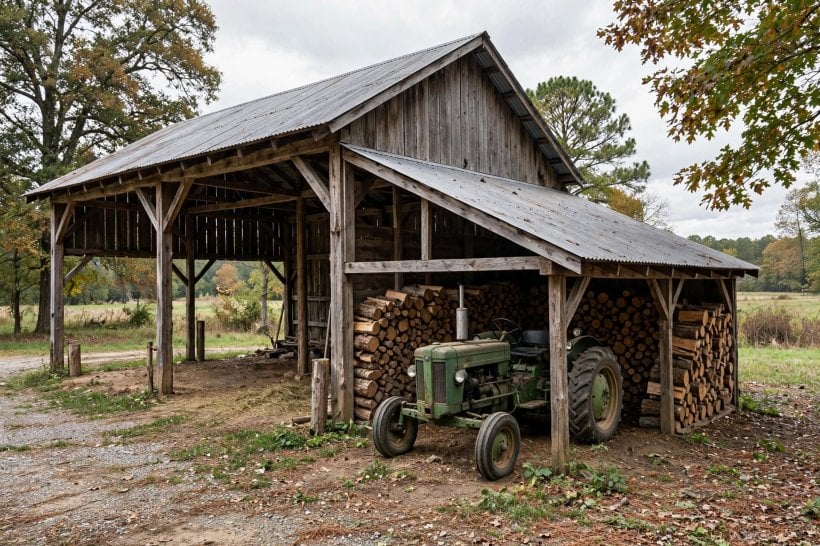
22. Add a lean-to for the weather-hardy equipment. A simple roof extension along one side shelters trailers, toppers and firewood at a fraction of enclosed cost. Not everything needs four walls; some things only need the rain kept off.
23. Keep fuel and chemicals in a separated, ventilated corner. A dedicated store with ventilation and a bunded floor keeps the main shed safer and tidier. It is also the corner to keep locked, which is easier when it is small and defined.
24. Fit a concrete apron at the doors. Mud at the entrance is the enemy of every shed: it tracks in, ruts up and freezes in winter. A firm apron where machines turn and enter keeps the interior floor, and the machines, cleaner for years.
5. Horse Barns and Livestock Buildings: Animals First
A barn succeeds on airflow, dryness and calm routines: wide aisles, stalls that muck out easily and feed stored close but separate. Design the daily round first, the photograph second, and the building will work in February as well as it looks in June.

25. Run stalls down both sides of a wide centre aisle. The centre-aisle barn is classic because it works: horses face the activity, the aisle carries hay, water and wheelbarrows, and doors at both ends give through-draught and an escape route.
26. Give every stall an outside window or top door. Light and air at each stall keep horses healthier and calmer, and let them watch the yard. Ventilation high and low, without a direct draught on the animal, is the balance to aim for.
27. Put the wash and grooming bay on a drained floor. A wash area needs water, drainage and a surface that stays grippy when wet, so treat its waterproofing with the same care as the wet areas in tiny house bathroom waterproofing and wet bath tiling.
28. Store feed, hay and tack in separate rooms. Feed away from bedding, tack away from dust, hay away from everything electrical. Three small rooms off the aisle keep the barn safer, tidier and far more pleasant to work in daily.
29. Design livestock pens with handling in mind. Gates that swing to funnel animals, a race or crush space for vet work and pens that clean from outside the animals’ area turn stressful jobs into routine ones for cattle, sheep or goats alike.
30. Keep a sick bay or foaling stall in the quiet corner. One larger, easily disinfected stall away from the main traffic serves foaling, isolation and recovery. It will sit empty most of the year and be priceless the week it is needed.
6. Garages and Vehicle Buildings: Cars, Collectors and Daily Drivers
A pole building makes an excellent garage because the span gives bays without pillars and the height gives lifts and storage lofts. Plan doors, turning and the dirty jobs honestly and the cars will live better than they ever did in a house garage.
31. Standardise bay widths around your real vehicles. Doors and bays sized for the widest vehicle plus open-door room prevent the daily door-ding shuffle. One extra-wide bay in the row earns its keep for loading, trailers and projects.
32. Choose sectional overhead doors for daily-use bays. Insulated sectional doors seal well, open fast and keep the weather on the correct side. Sliding doors suit the big occasional opening; overheads suit the car that leaves twice a day.
33. Add a dedicated wash and detailing bay. One bay with drainage, bright light and water becomes where vehicles are cleaned and small jobs happen. Keeping the wet bay separate keeps stored cars and tools dry and the floor elsewhere clean.
34. Build a storage loft over the low bays. Seasonal tyres, roof boxes and parts live happily above head height at the building’s ends. A loft turns otherwise wasted truss space into the storage that keeps the floor for vehicles only.
35. Separate the collection from the daily drivers. A partition, even a partial one, keeps the dusty, busy end away from the polished end. Collectors and commuters have opposite needs; give each a zone and both will behave better.
36. Light the bays for work, not just parking. Bright, even light over each bay, plus a portable light for engine bays, makes the building a place vehicles are maintained, not merely kept. Dark garages are where small problems hide until they are big ones.
7. Farm and Ranch Utility Buildings: The Working Extras
Beyond the headline buildings sit the useful ones: hay stores, calving sheds, general barns that catch everything the farm throws at them. Utility buildings repay simplicity, toughness and positions chosen by the daily round rather than by looks.
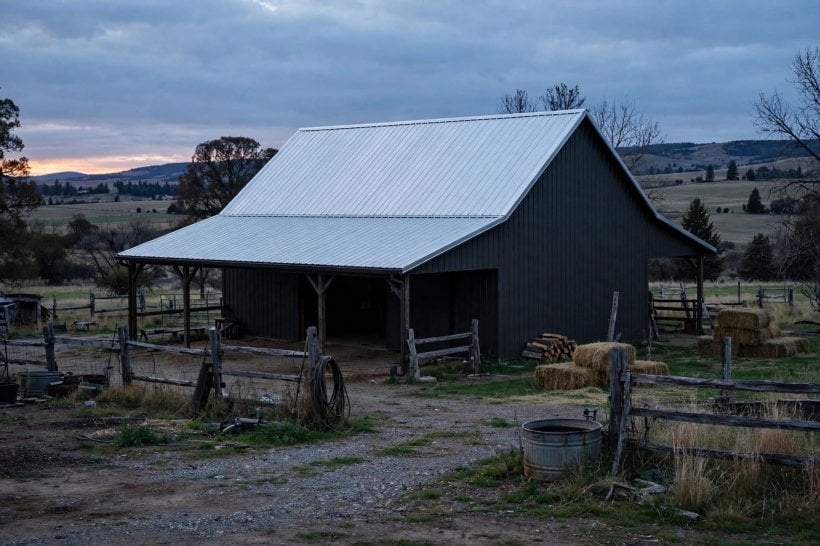
37. Build one flexible general-purpose barn. Every property needs a building with no fixed purpose: this season’s hay, next year’s project, the overflow of everything. A plain, tall, open pole barn near the centre of operations is the hardest-working structure most farms own.
38. Store hay under cover with airflow. Hay keeps its value dry and ventilated; a roof with open or louvred sides and a floor that stays above ground moisture protects the crop and reduces fire risk compared with sealed storage.
39. Add open-fronted bays for livestock shelter. A three-sided bay facing away from the prevailing wind gives cattle and horses shelter they use voluntarily. Facing and drainage matter more than materials here; a dry lying area is the whole point.
40. Put a small workshop corner in the utility barn. A bench, a vice and basic tools where the work actually happens saves a hundred walks to the main workshop each season. Utility buildings earn their name by absorbing small jobs close to home.
41. Plan a covered firewood and supplies store. Firewood, fencing materials and feed supplements all keep better under a simple roof near the yard. A modest lean-to store, kept ruthlessly tidy, tidies the appearance of the whole property at once.
42. Leave one bay empty on purpose. The empty bay is where the unexpected lives: a borrowed machine, a delivery of timber, a neighbour’s trailer for the weekend. Properties without slack store the unexpected in the rain instead.
8. Interiors, Insulation and Finishing: Making a Shell Comfortable
A bare pole shell is a starting point; insulation, lining and services turn it into a building people enjoy in all weathers. Borrow colour confidence from these tiny house interior paint colors when the finished rooms need painting, because light interiors transform steel buildings completely.

43. Insulate the roof first, walls second. Heat and condensation both live at the roof in a tall building. A well-insulated, vapour-controlled ceiling makes the largest comfort difference per pound spent and protects the structure from drip and rust.
44. Line working interiors with something tough and washable. Steel liner panels or sealed boards at working height shrug off knocks, hosing and dust in a way bare insulation never will. Finished low, open above is a practical and good-looking compromise.
45. Pour the concrete floor with falls to drainage. A floor that drains to a channel or sump can be washed, and washable buildings stay healthy. Slight falls, decided before the pour, beat puddles swept around for thirty years afterwards.
46. Zone the electrics like the building’s rooms. Separate circuits for workshop, storage and living areas, with sockets planned per wall rather than per hope, keep the building safe and flexible. Outdoor-rated fittings near doors earn their modest premium.
47. Add natural light with translucent panels or windows high up. Daylight from above lights a big floor evenly and leaves wall space free for storage and machinery. Even a plain storage building works better when you are not reaching for the light switch at noon.
48. Finish one corner completely. An office, a tack room or a warm rest corner finished properly gives the building a civilised heart. It is also the proof of concept that guides finishing the rest in later phases.
9. Siting, Doors and Access: Placing the Building Well
Where a pole building sits decides how it works for decades: its relationship to the house, the road, the fields and the weather. The placement principles in these tiny house landscaping ideas about approaches, screening and drainage apply to a forty-foot barn exactly as they do to a tiny plot.
49. Site for the daily round, not the view. A barn visited twice daily should sit a short, dry walk from the house and close to the fields it serves. Every unnecessary fifty metres is walked thousands of times in mud, dark and hurry.
50. Face big doors away from the prevailing wind and rain. Doors on the sheltered side stay usable in storms, drift less with snow and let work continue at the entrance in bad weather. Local wind knowledge is free; ask anyone who has farmed nearby.
51. Build the access track as part of the project. A building is only as good as its approach in February. A firm, drained track and turning area, built at the same time, cost less than years of ruts, tows and damaged verges.
52. Keep drainage falling away on all sides. Ground that slopes gently away from the building, with roof water carried off deliberately, keeps floors dry and posts healthy. Most pole building problems begin as water problems, and most are preventable on day one.
53. Leave room to grow on one side. Pole buildings extend gracefully bay by bay. Choose the site so one end can grow when the herd, fleet or family does, and today’s perfect size does not become tomorrow’s hard limit.
54. Screen the building kindly into the landscape. A hedge, a few trees and a considered cladding colour settle a large building into its setting within a few seasons. Neighbours and planners both notice, and both respond better to buildings that try.
10. Costs and Long-Term Care: Budgeting Honestly, Keeping It Sound
Pole buildings are popular partly because the basic shell is usually the most affordable way to enclose a large space, but the shell is only the first line of the budget. Site work, concrete, doors, services and interior finish commonly grow the total well beyond the kit or shell price, and a fully finished, insulated, serviced building is a different financial animal from an open storage shed. Price your whole design, in phases, and get comparable written quotes for the same specification before comparing numbers.
55. Budget the whole project, not just the shell. Groundworks, the slab, drainage, doors, electrics and interior finish together often rival the shell itself. A simple shell with everything else planned honestly will always beat a grand shell surrounded by unfinished essentials.
56. Expect finish level to drive cost more than size. An open storage building and an insulated, lined, heated workshop of the same footprint live in different cost worlds. Decide the finish honestly per area; storage rarely needs the workshop’s standard.
57. Phase spending in the order of weather-tightness. Structure, roof, doors and concrete first; insulation, lining and services after; comforts last. This order protects every later pound spent, because nothing finished early sits exposed to weather it cannot handle.
58. Keep a contingency for the ground. Sites surprise: soft spots, rock, drainage that only appears in winter storms. A sensible contingency, held back rather than spent in advance, is what keeps a ground surprise an inconvenience instead of a crisis.
59. Maintain the envelope yearly. An annual walk with a ladder and a list: roof fixings, gutters, door tracks, cladding damage, post bases. Small repairs done yearly are why sound pole buildings routinely serve for decades with their frames intact.
60. Reassess the building’s job every few years. Farms, families and hobbies change, and a clear-span building can change with them: storage to workshop, workshop to barn, barn to business. The most valuable feature of this building type is that it never has to stay what it started as.
Final Considerations
Whatever name a searcher types to find them, these buildings succeed or fail on the same fundamentals: the right size on the right site, doors that fit the work, a floor and roof that handle water properly, and a budget that counts the whole project rather than admiring the shell price.
Design yours in that order and build it in phases if you must. A pole building planned honestly will still be earning its place, in a job you may not even have yet, long after the last fixing is tightened.


0 Comments