

Bathrooms forgive guesswork less than any other room: a few centimetres decide whether a door clears the basin, knees fit in front of the toilet and drawers open fully. The bathroom measurements below are typical planning ranges drawn from everyday practice, not rules — use them to sketch a layout that works for real bodies, then confirm the figures that matter with your local authority and your installer before ordering anything.
1. Start With the Shell: Overall Dimensions and an Honest Sketch
Every good bathroom starts as a measured drawing, not a shopping list. Measure the room wall to wall in several places, because walls are rarely perfectly square or parallel, and write down the smallest figure rather than the most flattering one. Add the ceiling height, the positions of the window and door, and — most important of all — the fixed points: the soil pipe, the water feeds and any existing waste runs. Moving a soil pipe is the kind of work that rewrites a budget, while basins and baths can shift far more freely, so the plan should grow around what is expensive to move.
Sketch the room to scale on graph paper or in a planning app, draw in the door swing as an arc, and mark the fittings at their real footprints rather than as hopeful rectangles. This is the stage where small-space layouts prove themselves, and the discipline behind tiny house bathroom ideas is exactly this: nothing earns its place until it fits on the drawing with room to spare. The table below gathers the figures you will keep coming back to — treat every one as a typical range to plan with, then verify the ones your project depends on.
| What to measure | Typical planning range | Why it matters |
|---|---|---|
| Room length and width | The actual shell, measured in several places | Every other decision hangs off these two numbers |
| Doorway clear width | Commonly around 70-80 cm on standard internal doors | Decides what fits through — including the bath on delivery day |
| Space in front of the toilet | Often planned at around 50-60 cm or more | Knees, comfort and cleaning access |
| Vanity counter height | Typically around 80-90 cm to the basin rim | Backs and elbows, twice a day, every day |
| Shower tray footprint | Commonly from about 80 x 80 cm upwards | Elbow room is what makes a shower feel generous |
| Bath length | Often around 160-180 cm externally | Soaking comfort weighed against floor space |
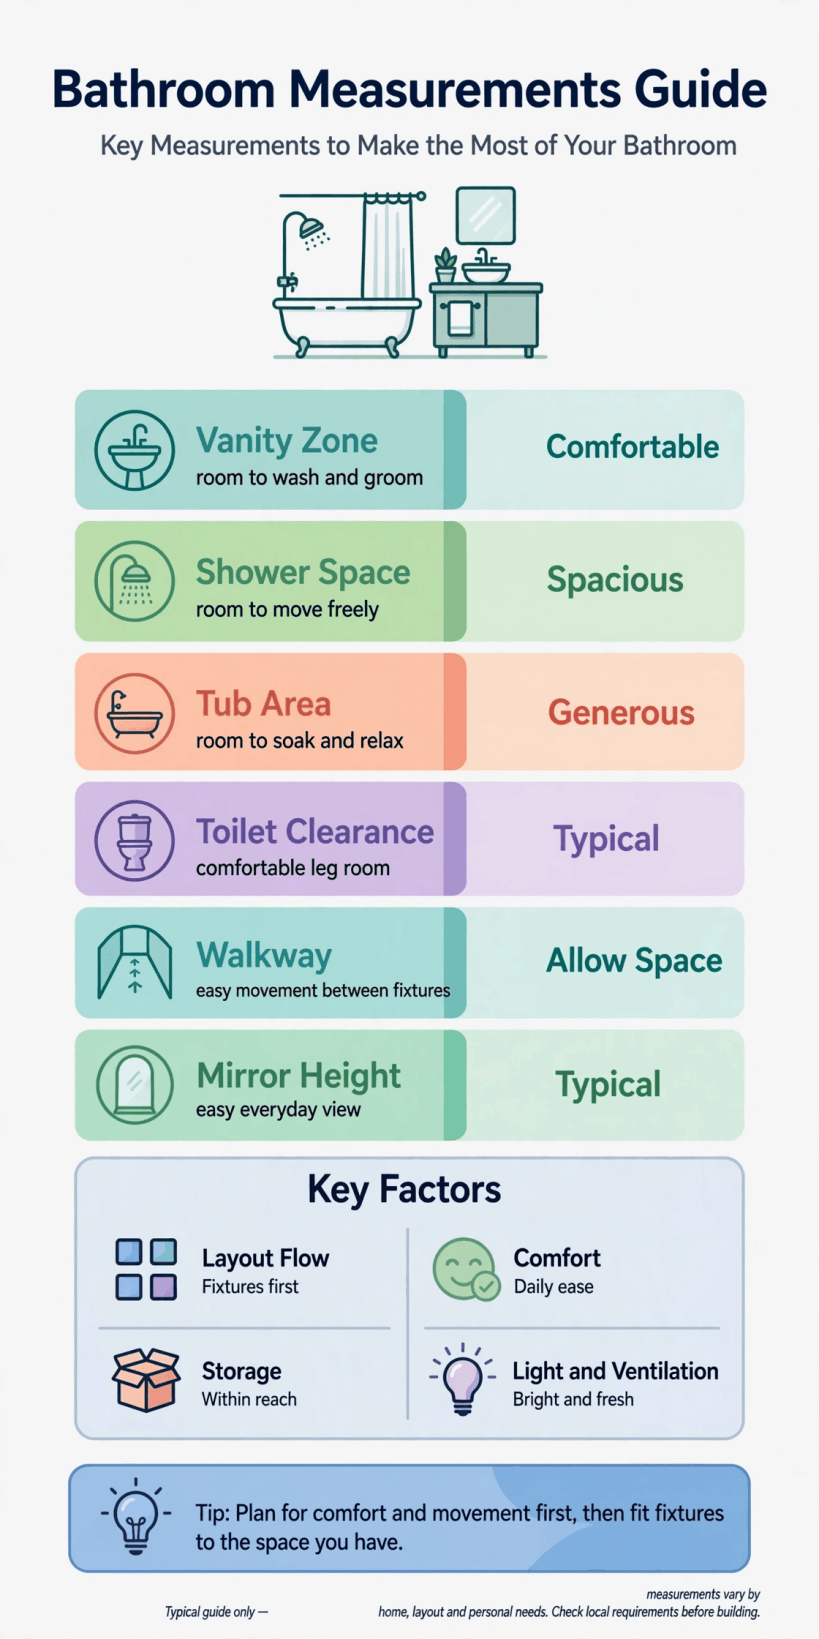
The figures worth settling first, gathered in one place: typical ranges to plan with, then verify against your room and your products.
2. Doorways and Door Swings: The Clearance You Use Every Day
The measurement that matters at a doorway is the clear opening — frame inner edge to frame inner edge with the door open — not the size printed on the door slab. Architraves, stops and hinges all take their small toll, and a doorway that looks generous on paper can measure noticeably tighter in the hand. Standard internal doors are commonly supplied around 70 to 80 centimetres wide, but older houses, conversions and narrow cottage plans regularly fall outside that, so measure the opening you actually have.
Then draw the swing. A door’s arc across the plan shows at a glance whether it will clip a vanity corner, kiss the toilet or trap someone between door and bath. If the swing causes trouble, the usual escapes are rehanging the door to open the other way, opening it outward onto the landing, or switching to a sliding or pocket arrangement — each trades something: outward doors need landing space, sliders need a clear wall to run along, and pocket doors need a wall built to receive them. None of these is automatically right; the drawing decides. While you are at the doorway, check handle height and lock position for the people who will use the room, including children and anyone with limited grip — small ergonomic details are cheapest to fix at this stage.
3. Toilet Spacing: Room at the Sides and Space for Knees
A toilet placed too close to a wall or a vanity is a daily irritation that no amount of styling will hide, so give its spacing proper attention. As typical planning practice, the centreline of the pan is often set around 40 centimetres or a little more from a side wall or the nearest obstruction, which leaves elbow room on both sides, and the space in front of the bowl is commonly planned at around 50 to 60 centimetres or more before it meets a wall, a bath or the door’s swing. Measure that front clearance from the front rim of the bowl, not from the cistern — the two figures differ by the depth of the pan itself.
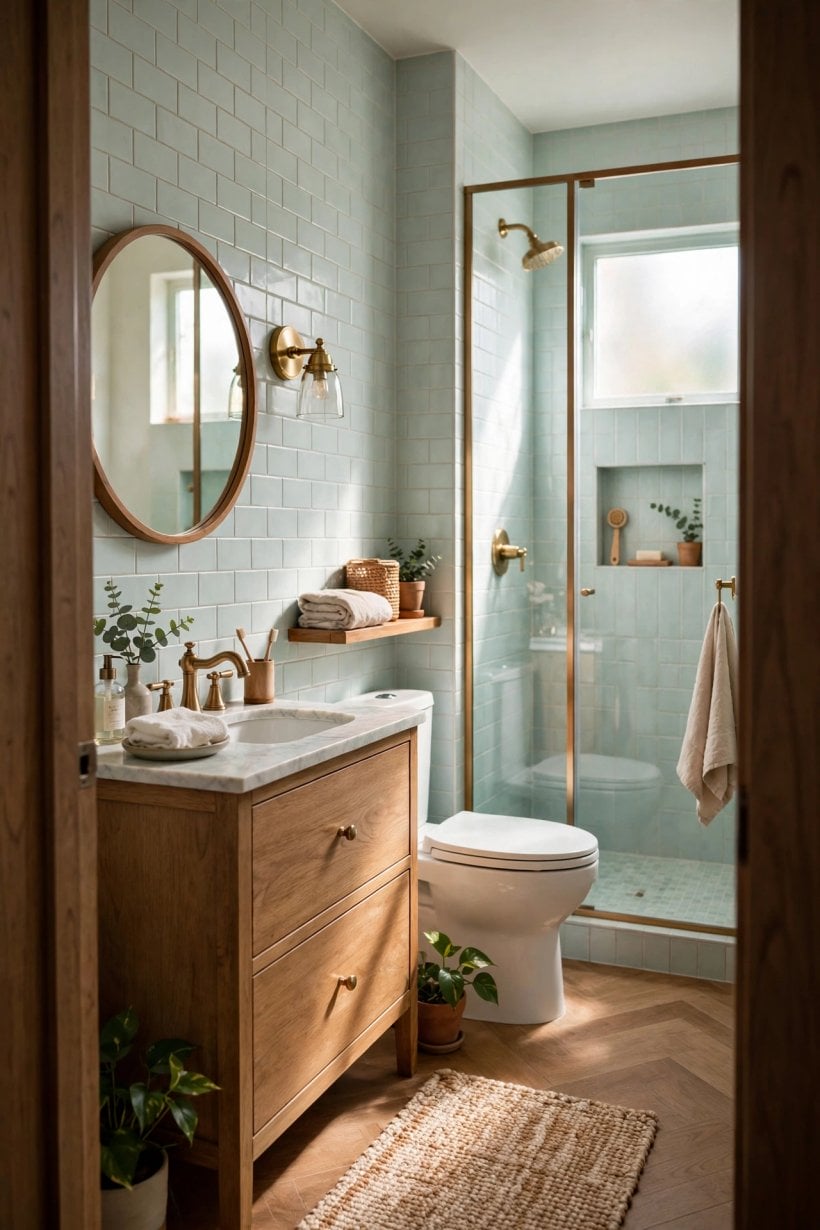
Before you fall for a particular model, check where its waste outlet needs to be and whether that suits the soil connection you already have; the gap between the wall and the outlet decides whole product families in or out. Wall-hung pans hide the cistern in a frame, which changes the wall build-up depth — measure the room again with that frame included. Leave practical room for the unglamorous companions, too: a brush, a bin and a spare roll all need somewhere to be that is reachable from a seated position. Because drainage positions are fixed early and are governed by rules that vary by place, confirm the arrangement with your installer and, where required, the local building control before the floor goes down.
4. Vanity and Basin Heights: Set the Counter for the People Using It
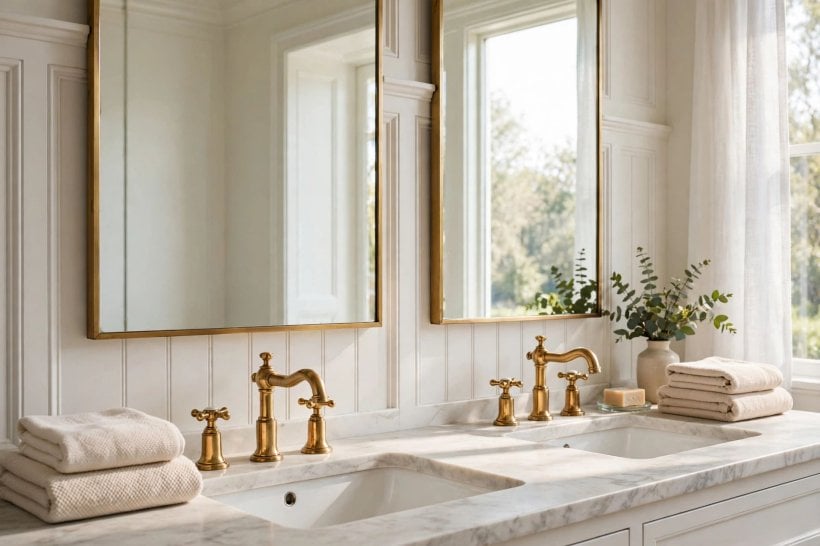
Vanity height is the measurement your back will judge every single morning. Counter and basin-rim heights are typically planned somewhere around 80 to 90 centimetres from the floor, with taller households usually happier toward the upper end of that range. What counts is the height of the rim you actually lean over: an inset basin sits its rim close to the counter, while a vessel basin adds its own depth on top, which can quietly push a standard counter into stooping territory. If you love a vessel basin, lower the counter to compensate, and write the finished rim height on the plan.
Work downward and upward from the rim. Below it, drawers and cupboards need clearance for the trap and pipework, which often steals the top drawer’s depth — measure the waste position before ordering furniture with drawers. Above it, set the mirror so its centre sits roughly at the eye level of the people using it, with the bottom edge high enough to escape the splash zone behind the taps. Check the tap, too: its spout should reach sensibly over the basin rather than dribble down the back edge, and lever handles need swinging room clear of the wall or mirror. It is the same fit-the-person thinking that makes bedroom interior design for tiny houses work — dimensions chosen around bodies, not around catalogue photographs.
5. Bath Dimensions: Length, Width and Working Room Around the Tub
Baths are commonly sold in lengths around 160 to 180 centimetres and widths around 70 to 80, but the number that decides whether you can stretch out is the internal length at the bottom, which is always shorter than the external figure once the sloped ends have taken their share. If you possibly can, sit in the bath you are considering before it is plumbed in; five minutes in a dry tub at the planning stage beats years of knees-up bathing. Note the rim height as well, since it decides how easy the bath is to step over, and how it will pair with a shower screen if the bath doubles as the shower.
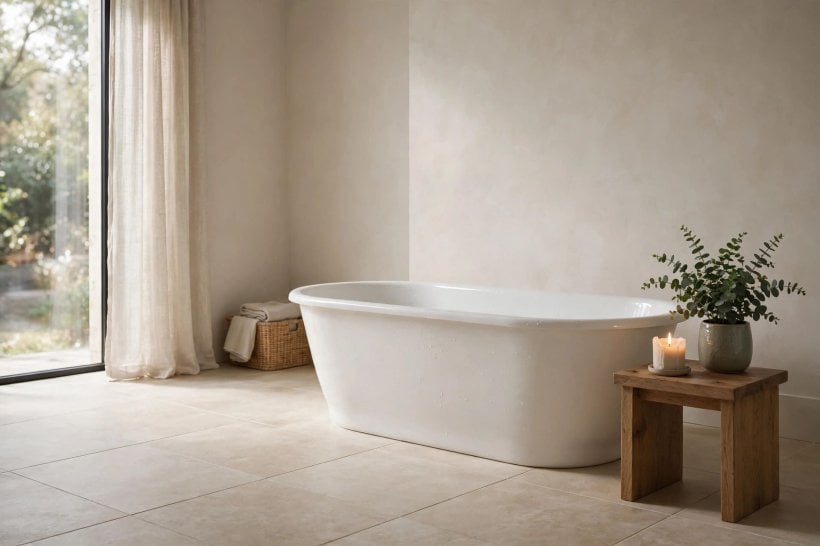
Around the tub, allow working room rather than the bare minimum. Taps and wastes need an access route for the day something leaks, so note where panels will sit and whether they can actually be removed. Leave enough space along the side for getting in and out safely and for cleaning — a bath sealed hard against three walls with no handhold is nobody’s friend. Measure the delivery route as carefully as the room: doorways, hall turns and stair angles have ended more bath plans than taste ever has, a lesson familiar from tiny barn house interiors, where large pieces meet old, narrow openings. Finally, if a shower will live over the bath, measure the standing headroom from the bath’s floor, not the room’s.
6. Shower Sizing: Trays, Screens and Honest Elbow Room
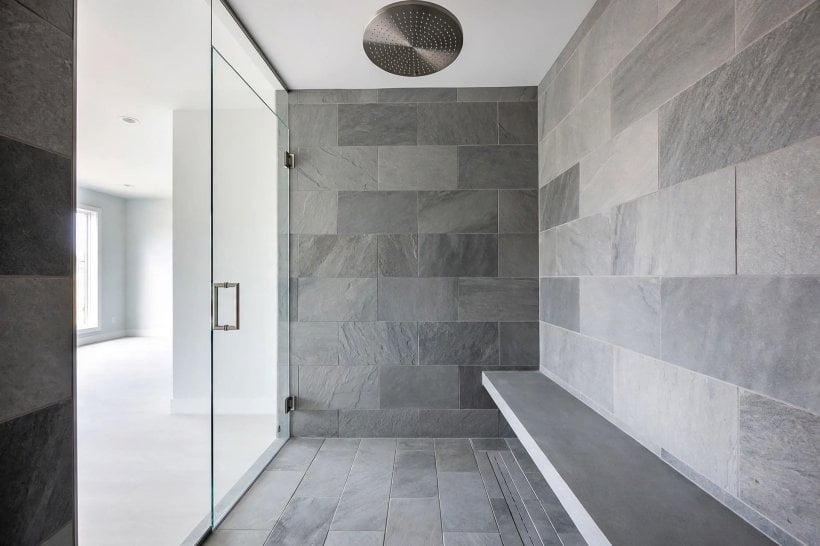
Shower trays cluster around a familiar set of footprints — squares from about 80 by 80 centimetres, and rectangles such as roughly 90 by 76 or 120 by 80 — and the differences between them are felt immediately in use. A smaller tray can work well for a quick rinse, but if elbows keep meeting glass when you wash your hair, the shower will feel mean no matter how handsome the tiles are. When space allows, extra tray length usually buys more daily comfort than any other single upgrade in the room.
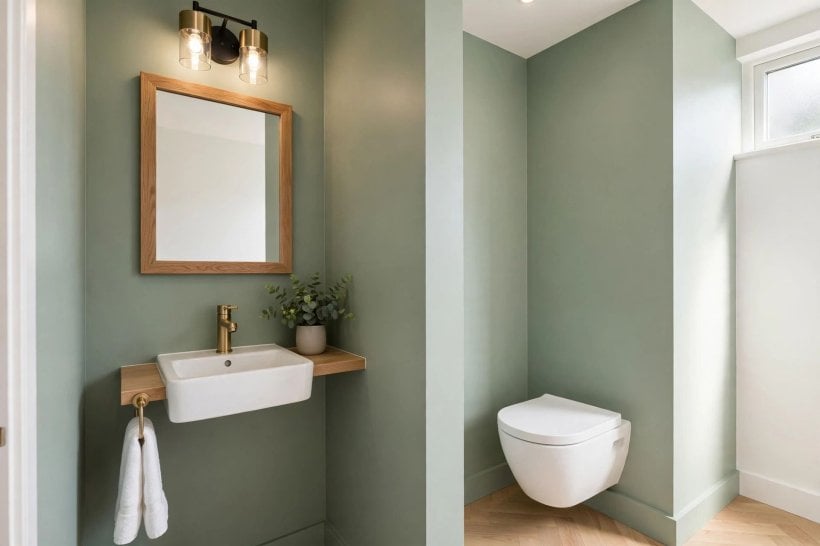
Choose the enclosure around the swing and the splash. A hinged door needs its arc kept clear, just like the room door; sliders and bifolds keep the footprint inside the tray; a walk-in screen needs enough length — and enough distance between shower head and opening — to keep the spray zone inside the tiled area, and it will still let some mist wander, so think about where towels and paper live relative to it. Set the shower controls where they can be reached before stepping under the water, and measure head height from the tray surface: in low-ceilinged rooms and loft conversions the sloped ceiling, not the nominal height, is the limit that matters. The falls that carry water to the drain, and the drain position itself, are your installer’s territory — agree them early, because they fix where the tray, and often the screen, can go.
7. Storage Depths: Cabinets and Niches Sized From the Things Themselves
Bathroom storage fails in a predictable way: it is bought by the look of the cabinet rather than the size of the contents. Start instead with a tape measure against your own shelves — the tallest bottle, the widest box, the hair tools that need a home. Mirrored cabinets are commonly planned fairly shallow, often around 15 to 20 centimetres deep, because they sit above a basin where a deep box would lean over the user; that depth swallows bottles and toothbrushes but not towels. Linen and bulk storage needs more — around 30 centimetres or deeper — and is often better placed just outside the bathroom door if the room itself is tight.
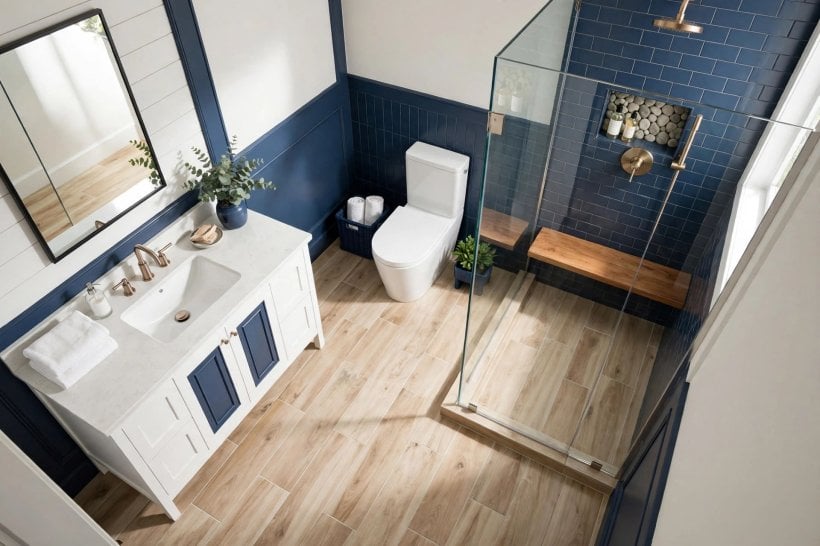
Set shelf spacing from the contents too, with a small finger gap above the tallest item on each shelf, and put the most-used shelf between waist and shoulder height so nothing essential lives at ankle or stretch level. A recessed niche in the shower is sized by the wall’s build-up and the stud positions behind it, so its depth and width are a conversation with your installer, not a catalogue choice — agree it before tiling, and size it from the bottles it will actually hold. The golden rule everywhere in this section: never let storage steal clearance. A cabinet that overhangs the toilet’s shoulder room or narrows the basin’s elbow space is a problem wearing a door. Compact homes get this right by treating storage as measured joinery, a habit worth borrowing from tiny house bedroom ideas.
8. Support Rails, Seats and Step-Free Access: Measuring for Every Body
A bathroom planned for every body is simply a bathroom planned well, and the time to allow for support is at the drawing stage, when walls can still be strengthened. Grab rails belong beside the toilet, in the shower and along the bath, positioned around the reach of the person who will use them — commonly planned so a seated user can take a rail naturally at the side, and so a standing user meets one at about hand height on rising. There is no single correct figure that suits every body, which is why the positions should be settled with the user, and ideally an occupational therapist or experienced installer, rather than copied from a diagram.
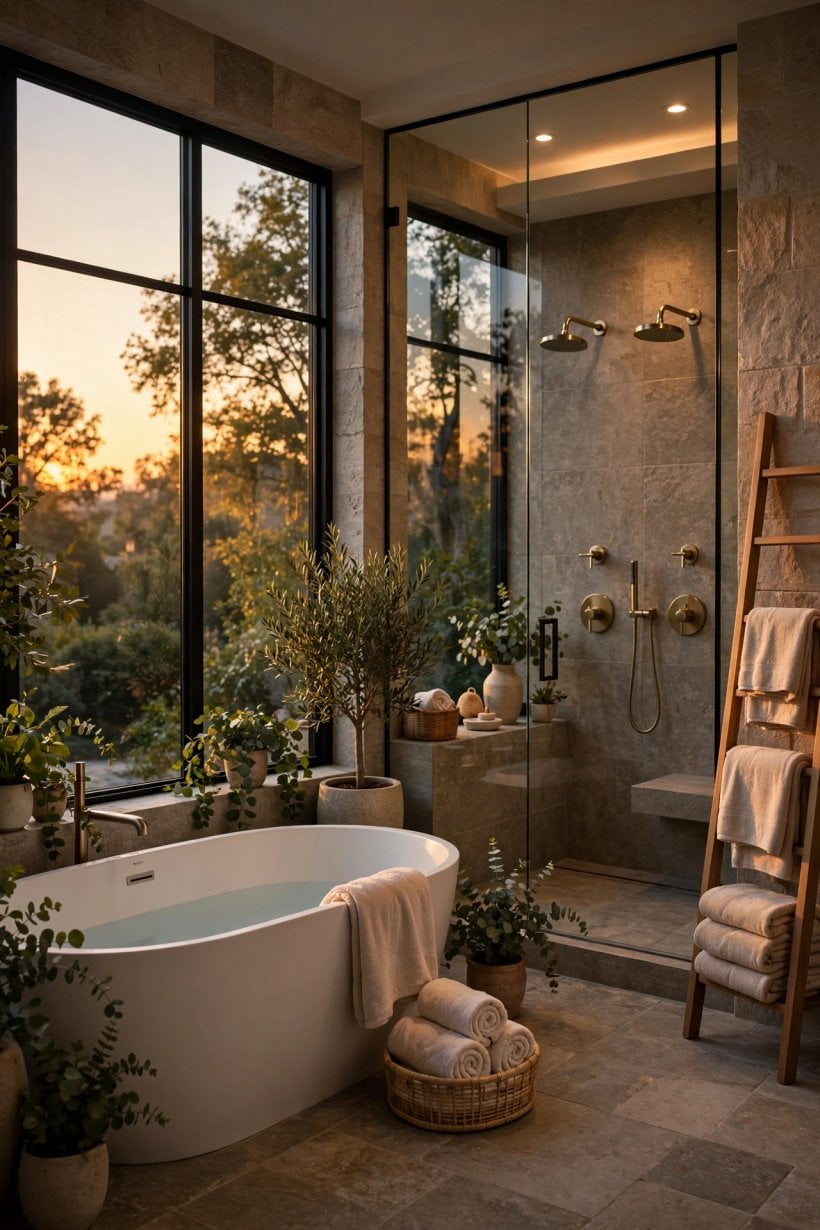
Two things are non-negotiable beneath the surface: rails must fix into something solid — structure, not just tile and plasterboard — and any layout intended for mobility aids needs honest turning space, often planned around a clear circle of roughly a metre and a half in accessible design practice. Treat that figure as a starting point for a conversation, and confirm current requirements with your local authority or an access specialist before designing to it, because guidance and rules differ by place and by building type. Step-free shower entries, fold-down seats and lever taps all follow the same pattern: the product dimensions come from the manufacturer, the falls and drainage from your installer, and the final check from the rules that apply where you live. Build those conversations into the plan and the room will serve its household for decades, through prams, injuries and older age alike.
9. Mirrors, Lighting and Sockets: Heights That Make Mornings Easier
Above the basin, measure for faces. The mirror’s centre should sit near the eye level of the household’s adults — measure the people, not the catalogue — with enough width that two people at a double basin are not negotiating for a reflection. Side lighting at about face height flatters and reveals in equal measure, while a single downlight directly overhead carves shadows into every face; if budget forces a choice, even one well-placed light beside the mirror outperforms a glamorous one in the wrong place. As colourful tiny house interiors demonstrate, light changes how colour reads — doubly true over a basin at seven in the morning, when toothpaste and makeup decisions are made.
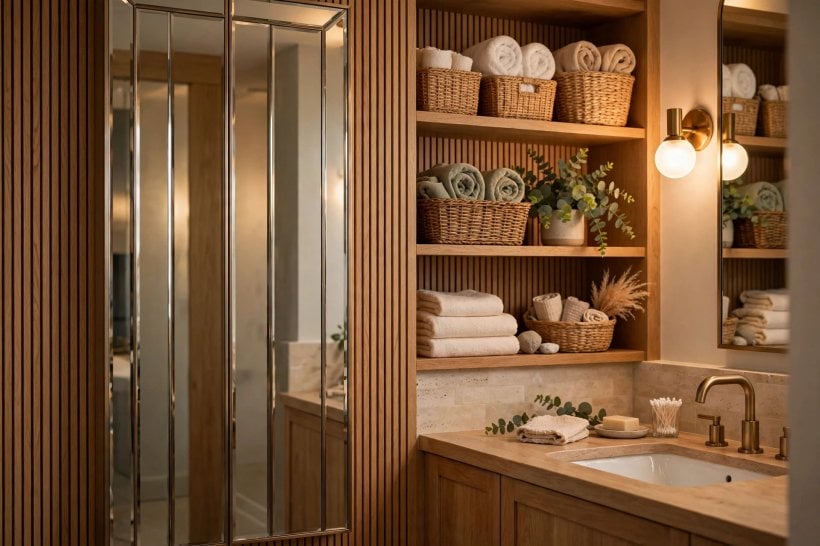
Electrics deserve a paragraph of their own, because in bathrooms they are regulated work in most places: sockets, shaver points, extractor fans and heated mirrors all come with rules about where they may sit relative to baths and showers. The sensible division of labour is to measure and mark what you would like — a shaver point inside the cabinet, a demister pad behind the mirror, the fan where steam gathers — and then let a qualified electrician confirm positions against the current rules before anything is chased into a wall. Do the same with the extractor’s duct run: a short, direct route through an outside wall behaves very differently from a long sagging one, and the ceiling layout you draw should respect it.
10. Towel Rails, Radiators and the Finishing Distances
The last measurements are the ones nobody lists, and they are the difference between a bathroom that photographs well and one that works at 6 a.m. Place the main towel rail within an easy arm’s reach of the bath or shower exit — measured from where a wet person actually stands, not from the centre of the room — so nobody crosses a cold floor dripping. Rails are commonly planned somewhere around shoulder-to-waist height for the main towel, lower for a hand towel beside the basin, but the honest method is to hold a towel where you would reach for it and mark that. Keep towels clear of the door’s swing and out of the toilet’s splash zone while you are at it.
Heated rails and radiators need their own geometry: enough wall to radiate into the room rather than behind a door, clearance so towels hang without touching the floor or a basin edge, and pipework positions agreed with your plumber — heat output sizing is their calculation, not a guess to make from a brochure. Robe hooks behind the door need the swing measured first (see Section 2), and a stool, a plant or a laundry basket each need a footprint on the plan rather than a hope. These finishing distances are where bathrooms quietly succeed, and the mindset — place things where the hand already goes — is the same one that makes tiny house living room ideas feel calm rather than cramped.
Final Considerations
Finish with one sheet of paper that rules the whole project: the shell dimensions, every fitting’s chosen size, the clearances in front of and beside it, and the heights that matter — rim, mirror, rail, controls. Re-measure the room once the old suite is out, because plaster, boxing and pipe runs move figures by centimetres that matter, and re-check every product against the manufacturer’s own dimensions before it is delivered; where a planning range in this article and a product’s instructions disagree, the product and the rules win. Tape the layout on the floor at full size and walk it — sit on an imaginary toilet, mime the shower, reach for the towel — because bodies catch what drawings miss.
And keep the division of labour clear to the end: typical ranges help you plan, but regulated work — electrics, drainage moves, structural changes, accessibility requirements — gets confirmed with the authority that enforces it locally or the professional qualified to sign it off. That habit of measuring twice and checking once is the thread running through every good small-space project, from the readers planning along with how to build your own tiny house guides to the careful pacing of tiny house landscaping ideas. Measure honestly, verify what matters, and the smallest room in the house becomes one of the easiest to live with.

0 Comments