

A post-war brick house usually has good bones: solid masonry walls, a sensible footprint and a garden worth building towards. The challenge is gaining space without losing that sturdy character.
This collection of brick home addition ideas shows how a 1950s brick house modern addition can add light, rooms and flexibility while respecting the original building, from quiet brick-matched extensions to confident glazed links, with layouts, colours and practical details throughout.
1. Start With the Original House: Survey, Structure and Style
Before you sketch a single new wall, get to know the house you already own. Most post-war brick homes were built with cavity walls, a roof structure that was never meant to carry an extra storey without help, and drainage runs that often pass exactly where a rear extension wants to sit. A measured survey records what is actually there: wall thicknesses, floor and ceiling levels, lintel heights, and the position of inspection chambers and manholes.
Walk around the outside with a camera and note the brick bond, the mortar colour and the size of the bricks themselves, because modern metric bricks differ slightly from older imperial ones and a mismatch shows immediately in a finished wall. Photograph the eaves, verge details and window proportions too, since repeating those rhythms is the simplest way to make an addition feel settled rather than stuck on.
Inside, list what the house lacks instead of what merely looks dated. Is it a kitchen that seats two at a squeeze, one bathroom shared by five people, or a hallway that swallows coats and boots? Additions succeed when they solve named problems, so write the brief as problems first and rooms second. That list will steer every later decision about layout, budget and finish, and it stops the project drifting into space you did not actually need.
Use this at-a-glance summary to frame the whole project before you compare individual ideas.
| Best suited to | Detached and semi-detached post-war brick houses with rear or side garden space |
| Popular addition types | Single-storey rear extension, side return, wraparound addition, two-storey extension, glazed link |
| Brick approach | Match the existing brick and mortar closely, or contrast deliberately with render, timber or metal cladding |
| Roof choices | Pitched roof echoing the main house, flat roof with a neat parapet, or a lightweight glazed roof |
| Key checks | Drainage runs, foundations, shared walls, daylight to neighbours and local planning limits |
| Biggest mistake | Choosing finishes before the layout works properly on paper |
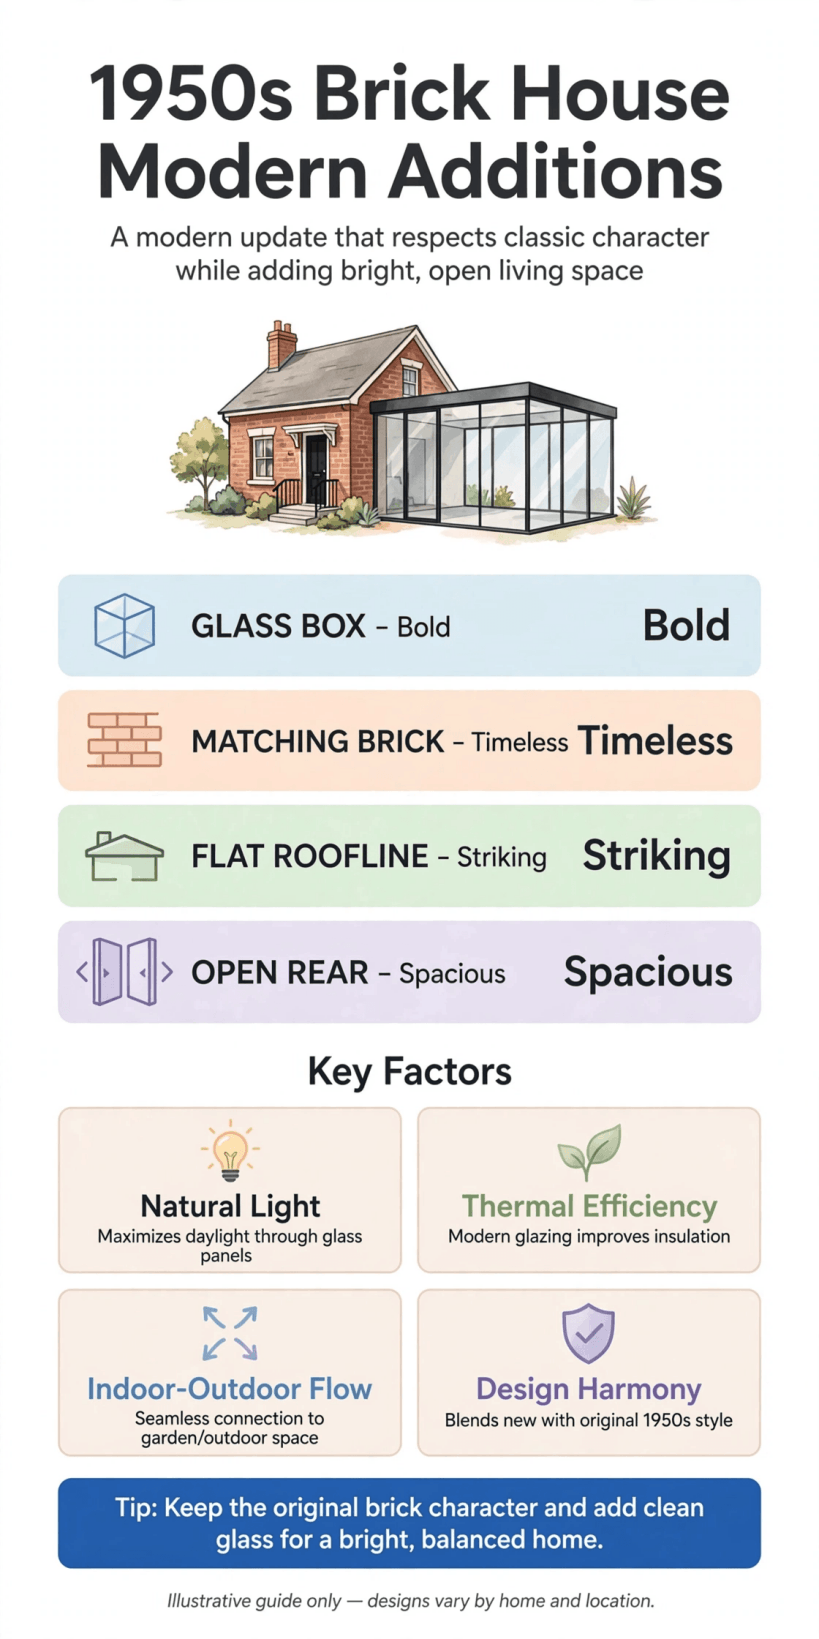
The main addition types, brick strategies and roof options for a post-war brick house, summarised in one place.
2. Rear Extensions That Keep the Brick Frontage Intact
The rear elevation is where most brick houses can grow with the least fuss. Because the addition hides behind the original house, the street view keeps its familiar face while the back opens up completely. A full-width rear extension turns a small kitchen and a dark dining room into one generous family space, and it works even on modest plots if you borrow light from above with roof lights or a part-glazed roof.
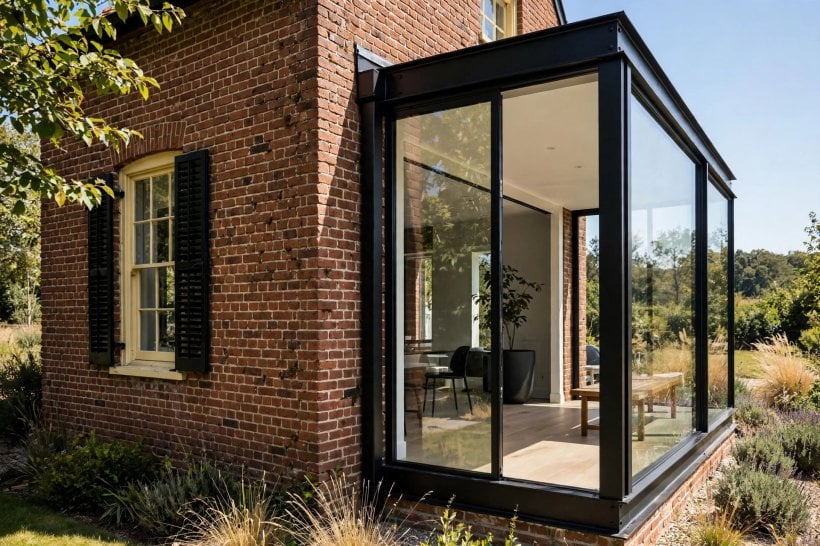
Depth is the decision that matters most. A shallow extension of a couple of metres adds a dining area without stealing much garden, while a deeper one can hold a kitchen, seating and a small study corner. Watch the middle of the plan, though: the deeper you build, the darker the original rooms can become, so plan a courtyard notch, a glazed corner or an internal lightwell where the old and new parts meet. Think about how the room will actually be used day to day, in the same way good tiny house living room ideas squeeze real comfort out of limited floor area.
Keep the threshold simple. Level access from the new room to the terrace makes the garden feel like part of the house for most of the year, and a continuous floor finish inside and out strengthens that effect. If levels differ, a wide shallow step is safer and looks better than a narrow steep one.
3. Side Returns and Wraparound Additions
Many post-war houses sit in plots with a strip of land down one side that does little except store bins and grow weeds. Building into that side return is one of the smartest moves available: you gain width exactly where kitchens are usually cramped, and the new wall can run close to the boundary so the garden stays almost untouched. A side return on its own suits a longer, thinner kitchen; combined with a rear extension it becomes a wraparound that transforms the whole ground floor.
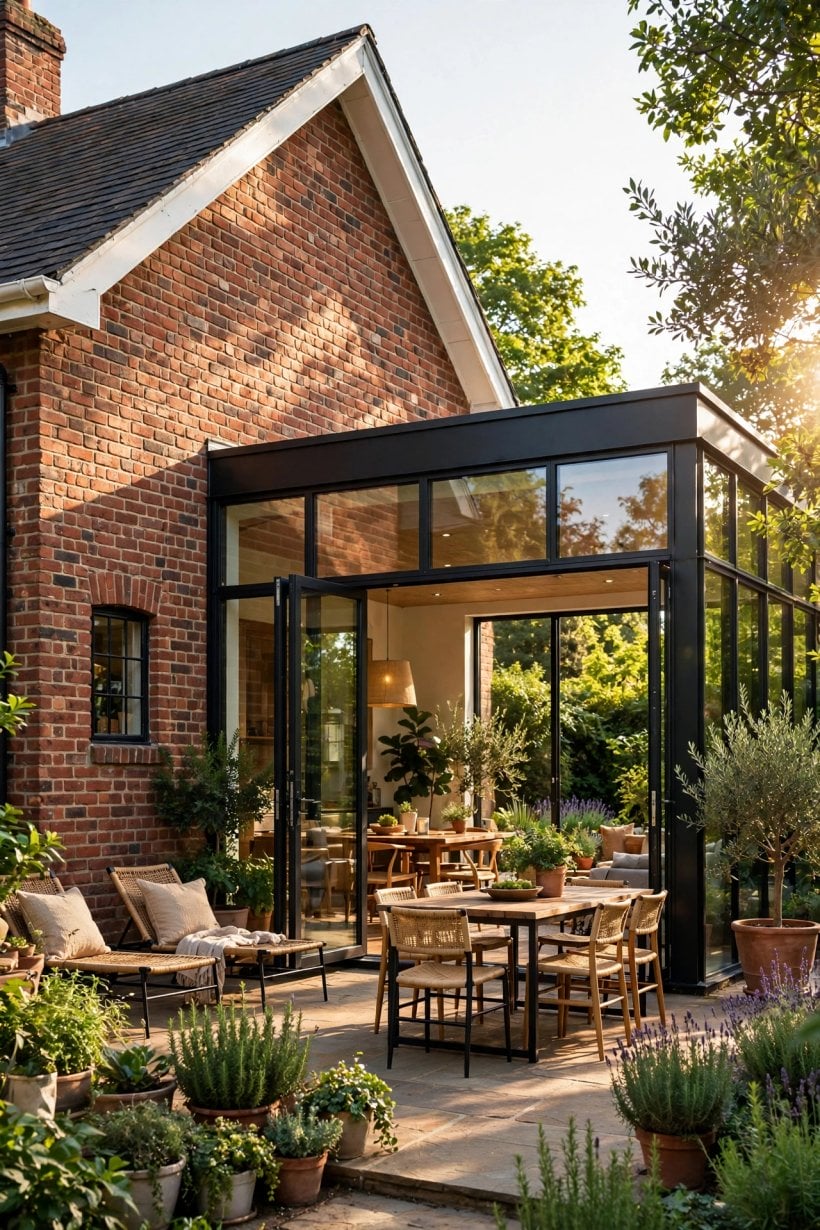
Because a side return is narrow, light needs planning. A glazed roof strip along its length, high windows that borrow light without losing privacy, or a roof light over the worktop all stop the new space feeling like a corridor. Put the hob or the sink under the brightest part and keep tall units against the solid wall. Drainage and access are the practical hurdles: manholes often sit in the side strip, and your builder still needs a route through for materials, so agree both before work starts. The outside strip you give up can be repaid with better planting elsewhere, and browsing tiny house landscaping ideas is a good way to rethink a smaller but better-organised garden.
4. Matching Brick Versus a Deliberate Contrast
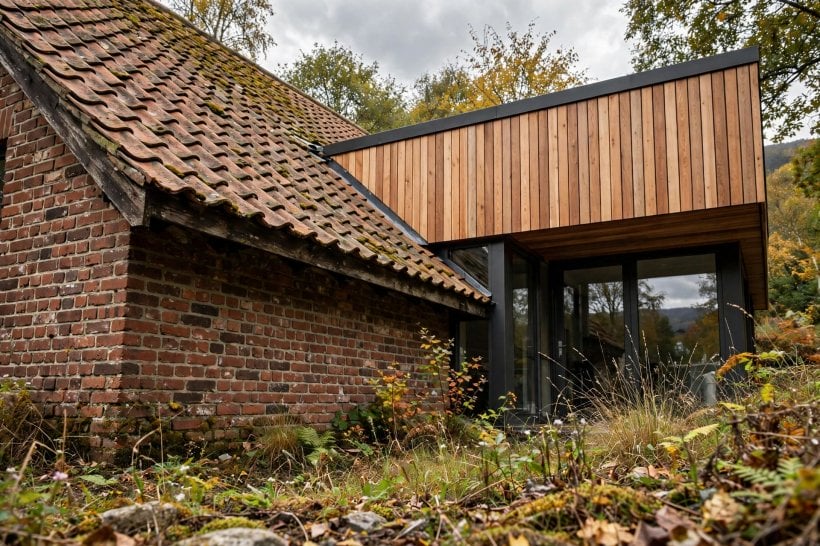
Nothing dates an addition faster than brickwork that almost matches. Close-but-wrong bricks, slightly different mortar and clean new pointing against weathered old pointing all draw the eye for the wrong reasons. You have two honest options: match properly, or contrast on purpose. Matching properly means sourcing bricks of the same size, colour range and texture, laying them in the same bond, and using a mortar mix and joint profile that mimic the original once weathered.
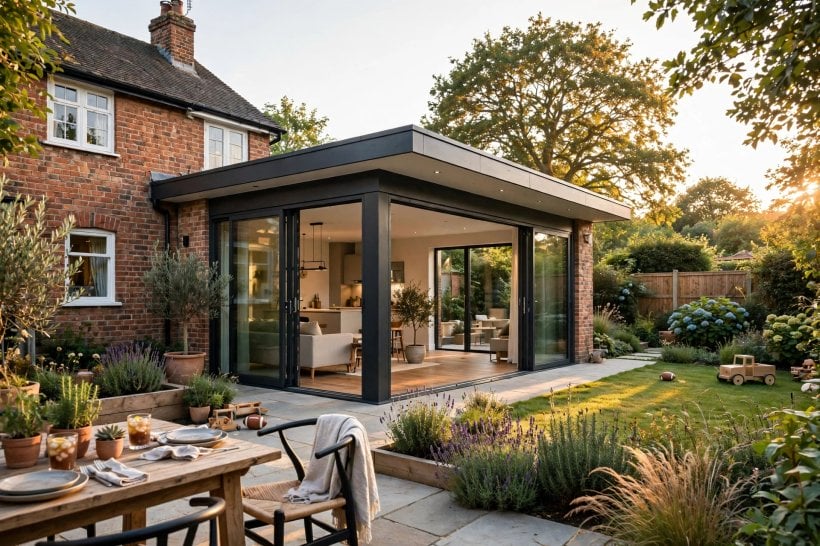
Reclaimed bricks can blend beautifully but vary in quality, so check they are sound and suitable for external use. New bricks weather in over a few seasons, and tinting can soften the difference in the meantime. The contrast route is more forgiving: a crisp rendered block, vertical timber boarding or dark metal cladding reads as a deliberate new layer, and it often suits a glazed rear extension better than imitation brickwork. Whichever route you choose, build a small sample panel first and look at it in morning and evening light. If you love strong colour and pattern inside as well, the playful approach in these colourful tiny house interior ideas shows how confidence beats near-misses.
5. Roof Lines: Pitched, Flat and Glazed Links
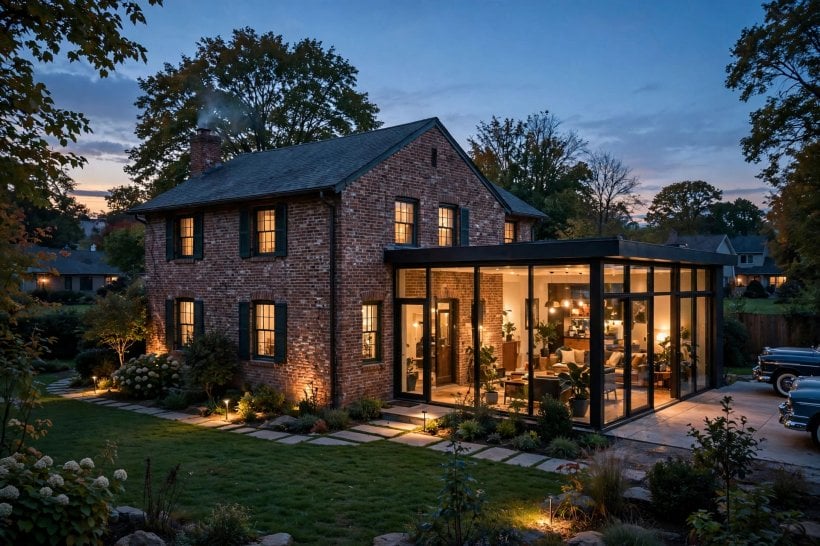
The roof decides whether an addition looks like part of the house or a box that landed behind it. A pitched roof that echoes the main roof’s angle and tiles is the safest choice for two-storey work and for additions visible from the street. Keep the new ridge lower than the existing one and match the eaves detail, and the extension reads as a natural step down in scale.
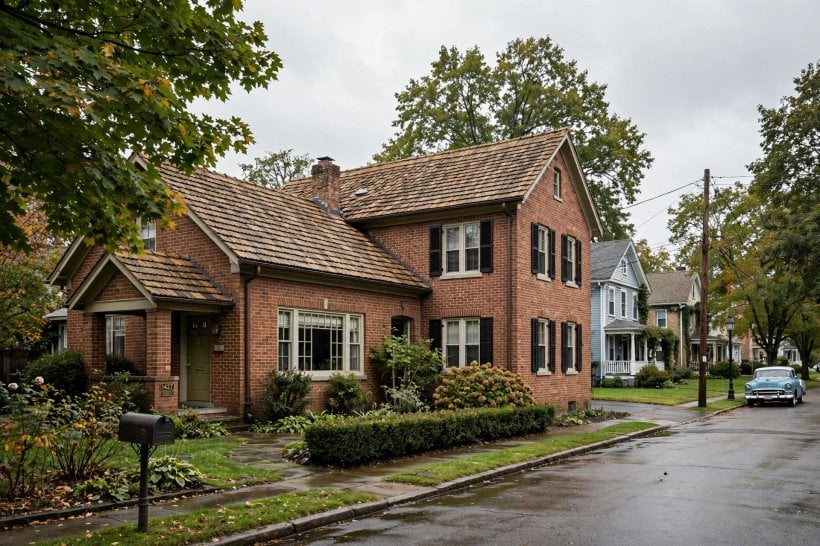
Flat roofs suit single-storey rear additions, especially where a pitched roof would block a neighbour’s light or hide an upstairs window. A flat roof does not have to look flat: a raised lantern, a neat parapet with a metal coping, or a sedum finish all lift it. Glazed links are the third option and often the most elegant: a slim glass connector between the old house and a new brick volume keeps the original wall visible, marks the join honestly and floods the middle of the plan with light. The detailing of junctions matters more than the material itself, much as it does in a well-planned tiny barn house interior, where old structure and new lining meet cleanly.
6. Kitchen-Diner Layouts for Family Life
Most brick additions are really kitchen projects in disguise. Start with the working triangle of sink, hob and fridge, then give each activity a home: cooking along one wall, a dining table near the glass, and a softer corner with a sofa or window seat so the room is not only about food. An island works when there is clear walking space all round it; if the room is tight, a peninsula gives the same extra worktop without squeezing the circulation.
Plan storage before style. A run of tall units swallows appliances and food in one tidy block, leaving lower cabinets and open shelves for the pretty things. Put the utility jobs somewhere too: a boot bench by the back door, a cupboard for the vacuum, hooks for school bags. These unglamorous details are what make an addition feel generous six months later. If the new space also has to hold a sleeping corner for guests, the multi-use thinking in these tiny house bedroom ideas transfers surprisingly well to dual-purpose family rooms.
7. Light, Glazing and the Garden Connection
Light is the real luxury an addition buys, so spend the glazing budget where it changes daily life. Wide sliding or bifold doors suit a level terrace; French doors with fixed side panels can be cheaper and lose less heat. Place the largest glass on the elevation you use most, and remember that a big roof light over a dining table often does more for a room than another metre of floor.
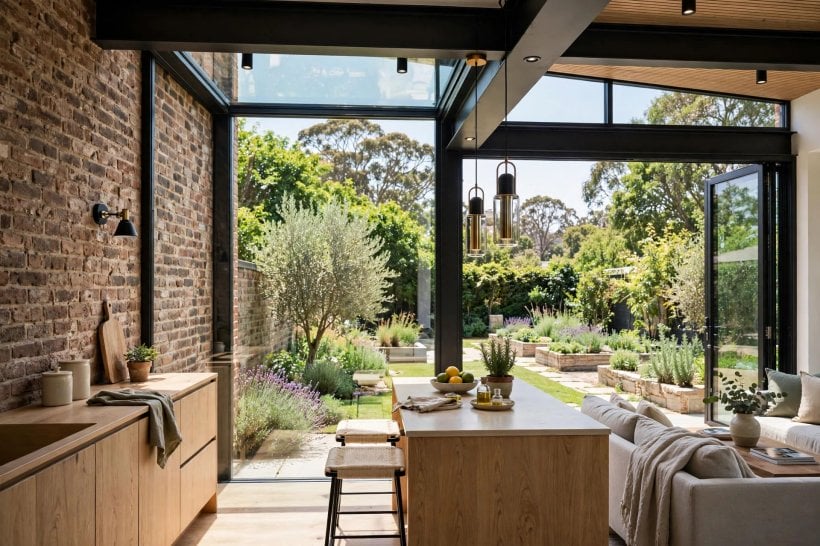
Balance the glass with shade and ventilation. South-facing rooms overheat without external shading, deep reveals or opening roof lights to let hot air escape, and trickle vents alone rarely keep a glazed room comfortable in high summer. Privacy matters too: a well-placed screen, a raised planter or obscure glass at the boundary keeps the room feeling private without curtains drawn all day. Flooring that continues onto the terrace, a flush threshold and planting that frames the view rather than blocking it will make the garden feel like the second half of the room.
8. Bedrooms, Bathrooms and Quiet Corners Upstairs
A two-storey addition earns its cost when it fixes the upstairs as well as the ground floor. The classic gain is a main bedroom with its own bathroom, freeing the family bathroom for everyone else, but even a modest first-floor extension can add a proper study, a nursery or a guest room that stops the sofa-bed shuffle. Keep new bedrooms on the quieter side of the house where you can, and give each one a window that opens fully for summer nights.
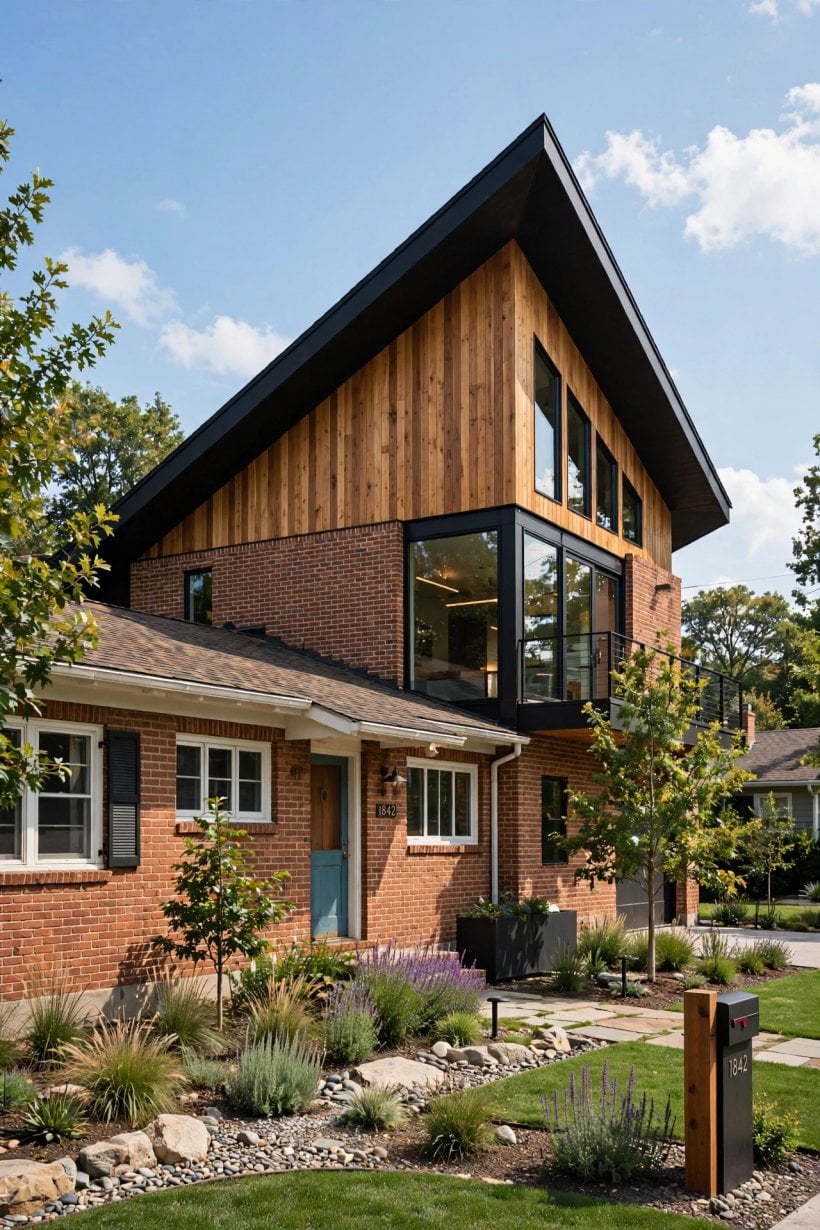
Bathrooms in additions need early decisions about drainage, because soil pipes dictate layouts more than tiles do. Stack the new bathroom above or beside existing plumbing where possible, and plan extraction that actually reaches outside. Sound insulation between a new bedroom and a busy kitchen below is money well spent; nobody loves hearing the kettle at dawn. Small-space bathrooms reward careful planning, and many of the layouts in these tiny house bathroom ideas suit a compact new en suite perfectly.
9. Materials, Insulation and Weatherproofing Details
An addition is the best chance you will get to improve how the whole house performs. New walls, floors and roofs must meet current building regulations for insulation, and going a little beyond the minimum makes the new rooms the most comfortable in the house. Pay attention to the junctions: the line where new meets old is where cold bridges and draughts hide, so continuous insulation and careful sealing there matter more than exotic materials elsewhere.
Weatherproofing is a chain of small details: cavity trays and flashings where a new roof meets an old wall, drip details over openings, and gutters sized for the extra roof area. Choose windows and doors with decent seals and install them into the insulated line of the wall, not the outer face, to keep the junction warm. If the original house has solid or poorly insulated walls, ask whether external insulation on the old walls can be wrapped into the project while scaffolding is up; it is disruptive work that is far easier mid-build than as a stand-alone job.
10. Planning, Budgeting and Sequencing the Build
Some additions fall within permitted development rights and some need a full planning application; the rules depend on size, position, previous additions and local conditions, so confirm your position with the local planning authority or a qualified designer before you commit money to detailed drawings. Party wall matters, building regulations approval and drainage agreements are separate hurdles, and each has its own timeline. None of this is difficult, but all of it rewards starting early.
Budget honestly. Get drawings priced by more than one builder, hold a contingency for the groundworks surprises that older houses specialise in, and sequence decisions so the expensive ones are made once: structure first, then openings, then finishes. A realistic programme allows for inspection stages and for the crunch points where old and new construction meet. If you are weighing up whether to extend or start from scratch, the step-by-step overview in this guide on how to build your own tiny house is a useful reminder of how much work hides behind even a small building project.
Finally, plan how you will live during the build. A temporary kitchen, a protected route for children and pets, and honest conversations with neighbours about working hours all make the messy middle months bearable, and they cost nothing but forethought.
Final Considerations
The best additions to post-war brick houses share a common attitude: respect for what is already there, and confidence about what is new. Whether you match the brick course by course or set a glazed link against it, a 1950s brick house modern addition succeeds when the layout solves real problems, the light is planned rather than hoped for, and the junctions between old and new are detailed with care.
Start with the survey, write the brief as a list of problems, and choose the simplest structure that answers them. Spend on the things you cannot change later — foundations, drainage, insulation and openings — and let finishes be the flexible part of the budget. Thoughtful bedroom interior design in tiny houses proves the same point at a smaller scale: good bones and honest materials outlast fashion every time. Do that, and your addition will not feel like an addition at all; it will simply feel like the house, finished properly at last.
One last practical word: photograph the house before, during and after the work. Progress pictures are not just satisfying; they record where pipes, cables and foundations actually sit, which is gold the next time anyone opens a wall or floor. Keep the drawings, certificates and guarantees together in one folder, and note the brick, mortar and paint references you used. Future you, and any future owner, will be grateful that the thinking behind the addition was written down as carefully as the addition itself was built.

0 Comments