

Warm, repairable and forgiving under a knife, a solid wood worktop earns its place in a hard-working kitchen. This guide explains the woods, the finishes and the day-to-day care that keep one looking good for years.
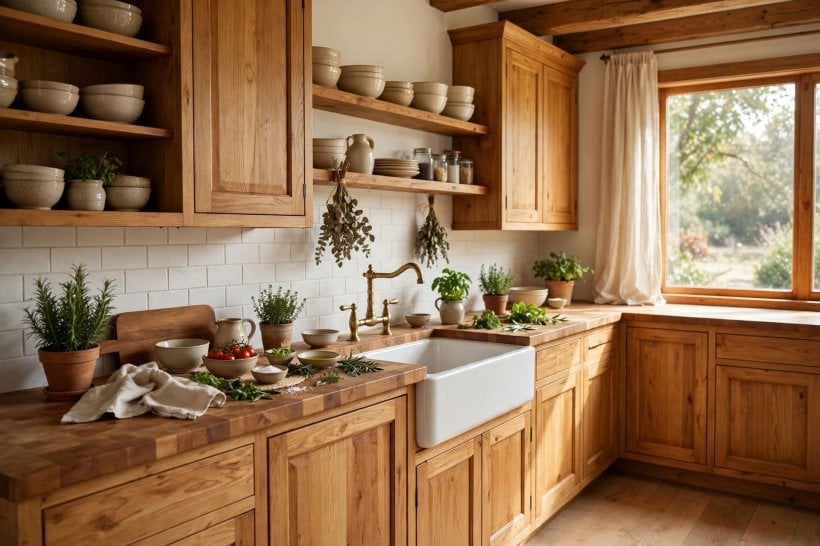
1. At a Glance: Wood Worktop Key Points
A wood worktop is not a single product but a family of choices: the species, the way the strips are joined, the finish that protects it, and the habits of the people who cook on it. Get those four decisions roughly right and the surface rewards you with decades of service; get the finish or the care wrong and even a beautiful slab will stain, dry out or split at the seams.
| Question | Key point |
|---|---|
| What is butcher block? | Strips of solid wood glued together into a thick slab. The strips may run as edge grain, face grain or end grain, and each build looks and wears differently. |
| Which wood is hardest wearing? | Dense hardwoods such as maple and beech are popular for heavy-use kitchens, while walnut and cherry are chosen more for colour and grain. |
| Oil or film finish? | Penetrating oils are easy to refresh at home but need regular upkeep. Film finishes seal the surface and resist water better, but repairs are harder to blend in. |
| Can I chop directly on it? | You can, and end-grain boards are built for it, but most owners use a separate board for daily chopping to keep the worktop itself smoother for longer. |
| How much care does it need? | Wipe spills promptly, keep the finish fed, and reseal on the schedule the finish maker recommends, sooner if water stops beading on the surface. |
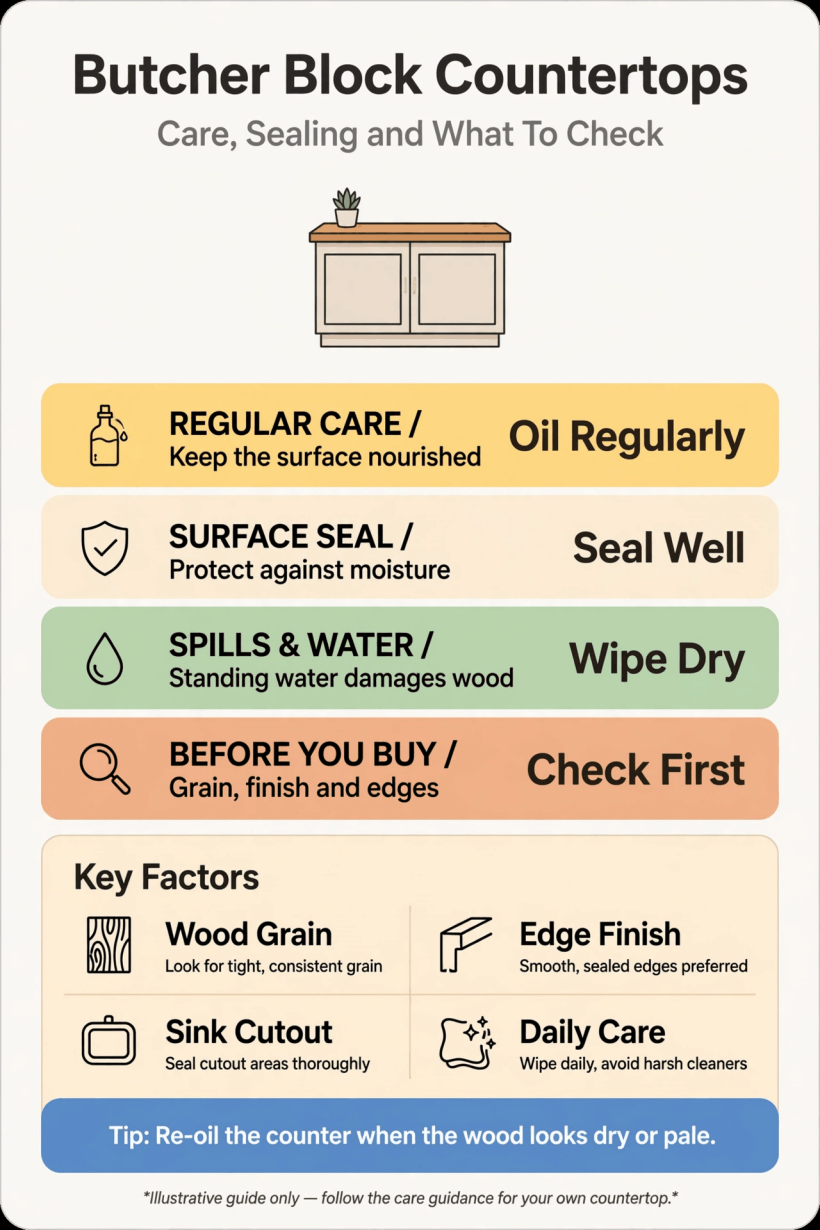
Woods, grain builds and finishes at a glance, plus the care each one asks for.
The sections ahead take each decision in turn: species first, then construction, finishes, installation realities, daily care, repair, and the mistakes that shorten a worktop’s life. If you are planning a whole compact kitchen rather than a single surface, the layout thinking in our small home interior design ideas guide pairs well with the material choices here.
2. The Woods: Colour, Hardness and Character
Maple is the classic worktop hardwood: pale, fine-grained, dense and comparatively forgiving of daily knocks, which is why professional chopping blocks have used it for generations. It takes oil evenly, hides light scratches well, and darkens only gently with age. Beech is a close cousin in behaviour, slightly warmer in tone, widely available, and a sensible default when you want a hard, honest surface without a dramatic grain pattern competing with the rest of the kitchen.
Walnut sits at the other end of the mood board. Its rich brown colour and flowing grain make it the statement choice, and it is a little softer than maple, so it rewards households that use boards and trivets as a habit. Cherry begins lighter and redder, then deepens over time into a warm, mature tone; owners who love that evolution choose it deliberately, while anyone expecting the showroom colour to stay fixed should look elsewhere. Oak brings prominent grain and a traditional feel, with strong resistance to daily wear, though its open pores mean the finish matters even more around sinks.
When people research butcher block countertops, they often meet bamboo as well. Bamboo is a grass rather than a timber, pressed into boards that are hard and pale with a distinctive fine pattern. It can serve well, but it behaves differently under sanding and oiling, so follow the specific care guidance supplied with the product rather than generic wood advice. Whatever species you choose, remember that colour samples age: a finish, sunlight and years of oiling all shift the tone, so choose for the direction the wood travels, not only for day one.
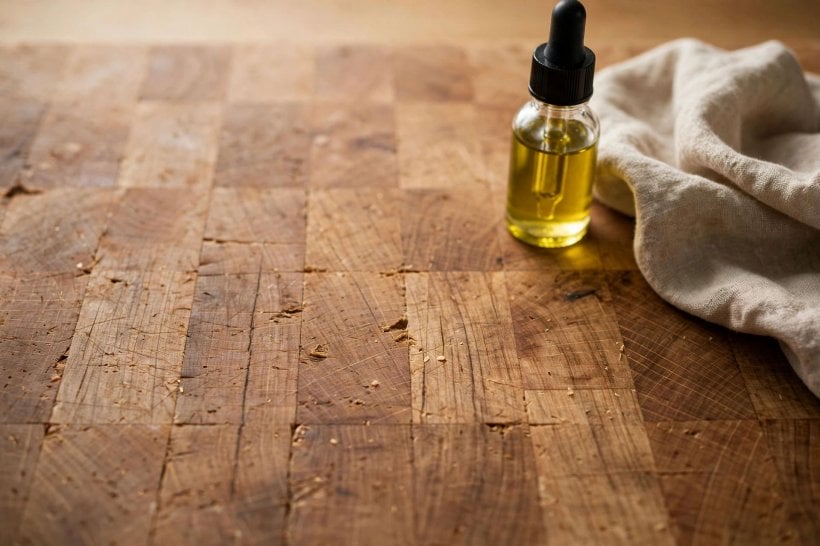
3. Edge Grain, End Grain and Face Grain Builds
How the strips are arranged changes both the look and the job the surface can do. Edge-grain construction turns the strips on their sides, giving long, straight lines along the worktop and a good balance of toughness and value. It is the most common build for full countertops because it is stable, repairable and calm to look at across a long run.
End grain turns the strips upright, so you see the ends of the fibres in a checkerboard of small rectangles. Knife blades slip between fibres rather than severing them, which is why thick end-grain blocks are the traditional butcher’s surface and why they can look almost self-healing after years of chopping. The trade-offs are cost, weight and sensitivity to moisture movement; an end-grain section is often best used as a dedicated chopping zone or island top rather than around a sink.

Face grain shows the broad side of each board, with the widest, most dramatic grain patterns. It photographs beautifully and suits a serving or baking station, but the softer face shows knife marks and dents more readily. Many kitchens mix builds on purpose: a resilient edge-grain run for everyday work, an end-grain block where the chopping happens, and face grain kept for a breakfast bar. That kind of zoning is the same thinking behind the worktop planning in our dining room interior design ideas, where each surface is matched to how it is actually used.
4. Finishes Explained: Oils, Waxes and Film Coatings
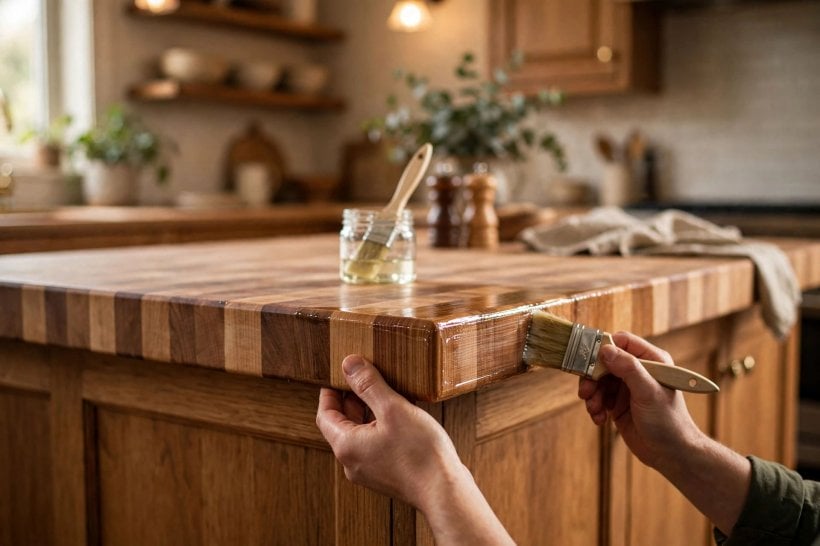
A finish does two jobs: it slows water getting into the wood, and it decides how the surface feels and ages. Penetrating oils, most simply food-safe mineral oil, soak into the fibres rather than forming a skin. They keep the natural, low-sheen look, they are easy to apply with a cloth, and local damage can be sanded and re-oiled without redoing the whole top. Their weakness is commitment: an oiled surface needs refreshing whenever it starts to look dry or water stops beading, and sinks areas need the most attention.
Oil-and-wax blends and hardwax oils sit in the middle ground. They penetrate like an oil but leave waxes at the surface that improve water resistance and give a soft sheen, and many owners find they need refreshing less often than plain oil while staying almost as easy to repair. Film finishes, such as varnish and polyurethane coatings made for worktops, build a sealed layer on top of the wood. They shrug off standing water and staining better than any oil, which suits busy family kitchens, but once the film is cut through or starts to fail, repair usually means sanding back and recoating a whole section.
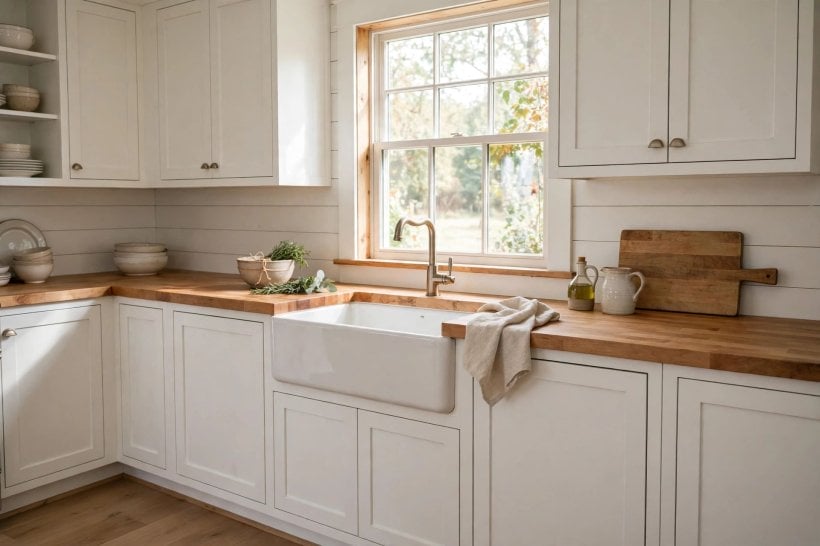
Food-contact questions deserve a calm answer. Cured finishes made and sold for worktops and chopping boards are designed for kitchen use, and the safest routine is simply to use a product intended for the job, apply it exactly as its maker directs, and let it cure fully before the surface goes back to work. If you plan to chop directly on the top every day, an oil finish you can refresh yourself is usually the pragmatic choice; if the top will mostly host appliances and serving, a film finish earns its keep. Our gift shop interior design ideas guide makes the same point for display surfaces: match the finish to the wear it will honestly take.
5. Thickness, Overhangs and Supporting the Slab
Worktops are sold in a range of thicknesses, and thicker is not automatically better. A substantial slab looks generous and feels reassuringly solid, but it is heavy, costs more to move and fit, and lifts the working surface higher above standard cabinets, which shorter cooks feel in their shoulders by the end of a long cooking session. A slimmer slab keeps the working height comfortable and the budget calmer, and with proper support it performs perfectly well for everyday cooking.
Support is the part nobody photographs and everybody should check. Long spans, wide overhangs for seating, and cut-outs for sinks and hobs all remove material exactly where strength is needed, so brackets, corbels or cabinet support should be planned with the supplier rather than improvised on fitting day. Seating overhangs need particular honesty: knees need room, and the slab above them needs holding up by something other than optimism.
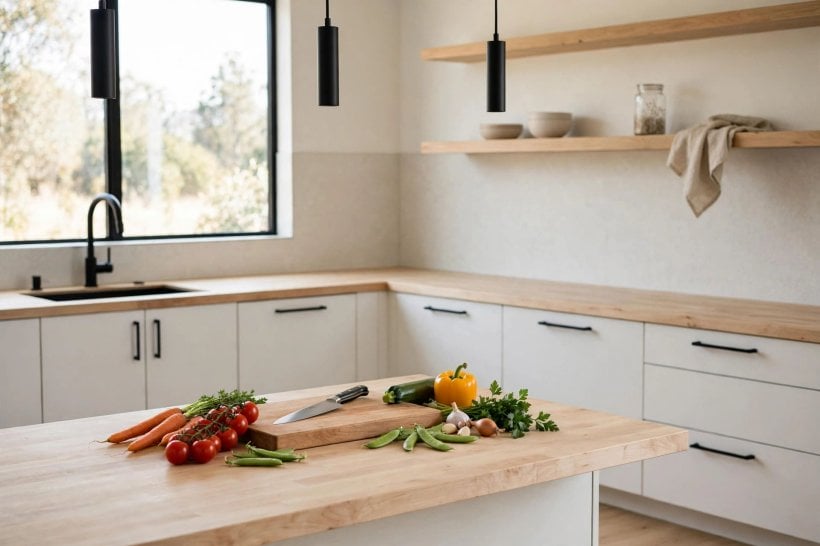
Acclimatisation is the quiet step that prevents loud problems later. Solid wood arrives holding the moisture of wherever it was stored, and a heated kitchen in winter is a different world. Letting the slab rest in the room, unwrapped as the supplier directs, before it is cut and sealed gives it time to settle. Sealing every face, including the underside and the edges inside cut-outs, matters just as much: wood that can only breathe on one side is wood that cups. Fitters who work in small homes, like those featured in our tiny houses for sale in Charlotte buyer’s guide, treat this sealing step as non-negotiable, and they are right.
6. Sinks, Hobs and the Honest Weak Points
Every material has a place where it struggles, and for wood that place is standing water. Around a sink, splashes are constant, tap bases seep, and wet cloths get left behind. An undermount sink exposes the end grain of the cut-out to all of it, which is why many fitters steer wood worktop owners toward a sit-on or inset sink that keeps the vulnerable edge covered, plus a disciplined bead of sealant and a habit of wiping the area dry at the end of the day.
Heat is the second weak point. Wood tolerates the warmth of a busy kitchen happily, but a pan straight off the hob will scorch it, and repeated heat in one spot dries the finish and then the fibres beneath. Trivets and pan stands are not decorative fussiness; placed where the cook naturally lands a hot pan, they become invisible habits within a week. The same goes for appliances that vent steam or drip: a kettle or coffee machine that lives on the wood deserves a tray or mat under it, emptied and dried regularly so moisture never sits trapped against the surface.
None of this makes wood a fragile choice; it makes it a participative one. Owners who enjoy the material describe the care as closer to looking after a good wooden table than maintaining a machine part. If your household prefers a fit-and-forget surface above all else, be honest about that at the choosing stage, because a neglected wood top and a neglected sealed-stone top age very differently. Compact kitchens in our tiny houses for sale in Nashville guide show both philosophies working, each matched to the people who live with it.
7. Daily Cleaning and Weekly Habits

Daily care is deliberately unglamorous. Crumbs and grit are the enemy of any finish, because they grind under pans and boards, so a quick brush-down before wiping protects the surface better than any special product. Wash with a soft cloth, warm water and a small amount of mild washing-up liquid, then dry the surface rather than leaving it to air wet. Standing water is the habit to break: puddles under the washing-up rack, a soaked sponge left on the wood, and bottles with wet bases all leave rings and dark marks given time.
Acidic and strongly coloured spills deserve speed rather than panic. Lemon, vinegar-based dressings, red wine, turmeric and beetroot can all mark a tired finish, and most will lift if they are wiped promptly and the area is cleaned gently; marks left overnight on a dry, under-oiled surface are the ones that need sanding later. Avoid harsh scouring powders and strong bleach cleaners, which attack the finish and roughen the fibres, and never let a steam cleaner linger on the surface.
Weekly, look at the top the way you would check a plant: does the area in front of the sink look paler or feel rougher than the rest? Does water still bead near the taps? Those are the early warnings that the finish is thirsty, and a light refresh of oil in those zones, following the product’s own directions, takes minutes and prevents the bigger job. Households that build this glance into the weekly clean almost never face a full refinish, which is the quiet secret behind every good-looking older wood kitchen.
8. Oiling, Refreshing and When to Refinish
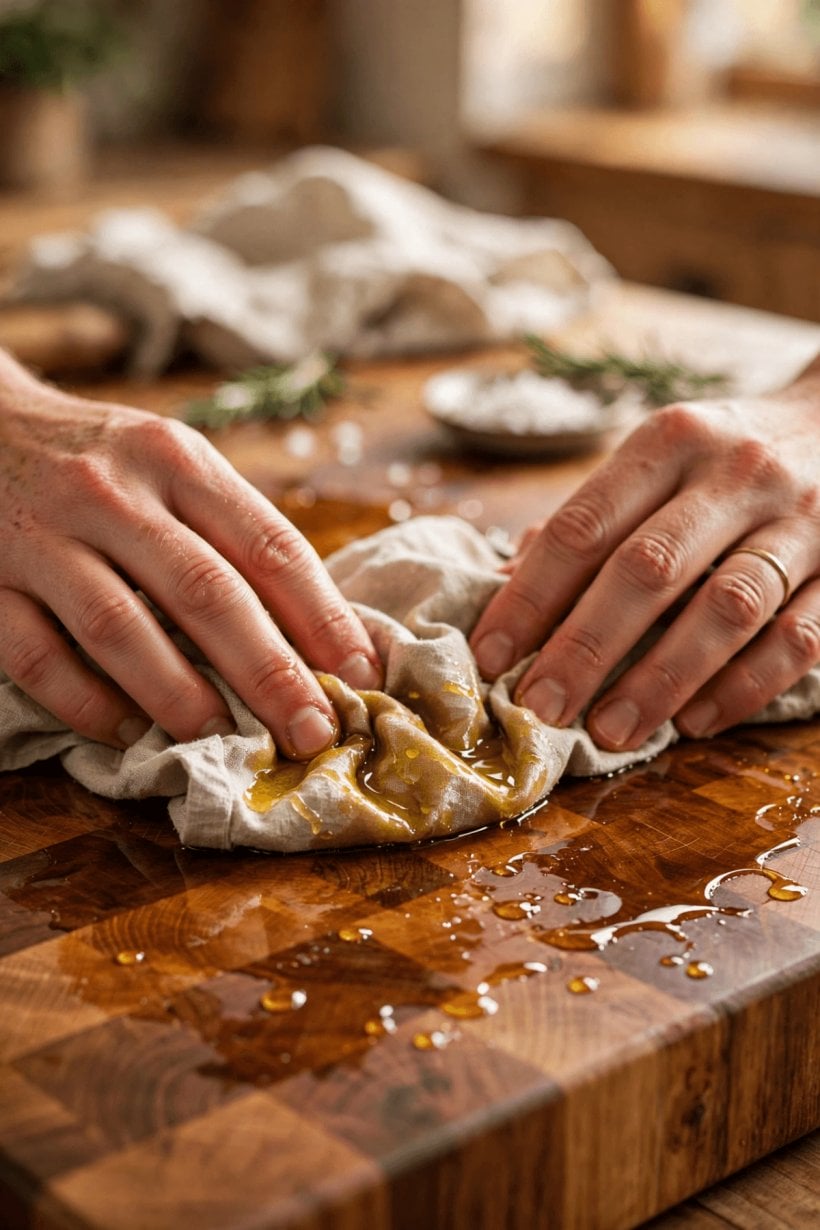
Refreshing an oiled top is one of the most satisfying small jobs in a kitchen. The surface must be clean and fully dry. A thin coat of the same oil already on the wood is worked over the surface with a lint-free cloth, left to soak in as the product directs, and any excess is wiped away so no sticky film remains. Working in the evening and letting the top rest overnight before normal use is a rhythm many owners settle into, refreshing high-wear zones more often than the full run.
Refinishing is the bigger reset, for tops whose finish has worn through in patches, picked up stubborn stains, or simply had a long and busy life. It means sanding back through the grits to clean, even wood, keeping the sander flat so the surface does not dish, then rebuilding the finish in coats. It is dusty, unhurried work: mask the room, protect appliances, and accept that the kitchen is out of action for a while. Film finishes and hard stains may call for a professional, and there is no shame in that; a pro with a dust-extracted sander will do in a day what takes a careful amateur a weekend. Readers planning bigger home projects alongside, like those in our guide to solar panels for a tiny house, often schedule refinishing into the same project week so the disruption happens once.
9. Scratches, Stains and Small Repairs
Wood’s great advantage is that most damage is negotiable. Light knife scores and surface scratches in an oiled finish often fade dramatically with a local sand and re-oil, because the repair blends into the surrounding surface rather than sitting on top of it. Shallow dents sometimes respond to gentle steam from a damp cloth and a warm iron, which swells the compressed fibres back up; test in an unobtrusive spot first and keep expectations modest on deep damage.
Dark water rings and blackened patches around taps usually mean moisture has sat in the fibres for a long time. Catch them early and drying plus re-oiling may be enough; established marks can need careful sanding back to clean wood before refinishing, and if the wood has softened or a joint has opened, that is the moment to bring in a joiner rather than reach for filler. Joints between strips can open slightly with seasonal movement and usually close again; a gap that keeps growing, or a split running with the grain, deserves professional eyes. Prevention stays cheaper than every cure in this section: dry sink surrounds, fed finishes, and boards and trivets used as habits rather than intentions.
10. Choosing Well: Questions to Ask Before You Buy
Before ordering, ask what species and build you are actually being quoted for, where the timber is graded for kitchen use, and whether the slab arrives unfinished, pre-oiled or film-finished, because that decides your first weekend with it. Ask how cut-outs and edges will be sealed, what the supplier recommends for support on your longest span and widest overhang, and which exact finish product they want you to maintain it with, then buy a small supply of that product with the slab so the first refresh is never delayed by a missing tin.
Ask, too, about delivery and handling. A long slab is heavy, awkward on stairs, and unhappy about being stored leaning in a damp garage; confirm it will be kept flat and dry until fitting, and who is responsible for the final measure. Templates and measurements made after cabinets are fixed and level are worth insisting on, because a worktop cut to a hopeful measurement rarely forgives the hope. Finally, walk your own kitchen routine honestly: where do wet things land, where do hot pans go, who chops what, and how often? The answers pick the wood, build and finish more reliably than any showroom. First-home kitchens in our tiny house for sale in Dallas guide face exactly these questions at smaller scale, and the same honest routine test applies.
Final Considerations
Butcher block countertops ask for a little more participation than most surfaces and give back warmth, repairability and a top that can be renewed instead of replaced. Choose the species for how it ages, the build for how you cook, and the finish for the maintenance rhythm your household will genuinely keep. Seal it thoroughly, support it properly, wipe water as a habit, and refresh the finish before the wood has to ask twice.
Do that, and the surface stops being a worry and becomes what owners promised you it would be: the hardest-working, best-looking board in the house, quietly improving with every year of meals made on it.




0 Comments