

A plastic shower surround is one of the easiest bathroom surfaces to look after, provided you treat it gently: warm water, a mild cleaner and a soft cloth will handle almost everything it collects. Knowing how to clean plastic shower surround panels properly is mostly about avoiding the two things that damage them — abrasive scrubbing and harsh chemicals — while staying ahead of soap scum and sealant mildew.
This guide walks through the full clean step by step, then the checks worth making while the panels are wet and easy to inspect.
1. At a Glance: Questions and Answers
| Question | Short answer |
|---|---|
| What can I clean a plastic surround with? | Warm water with a little mild washing-up liquid, or a gentle bathroom cleaner labelled safe for plastic or acrylic, applied with a soft cloth or non-scratch sponge. |
| What should I never use on it? | Abrasive scouring pads, gritty powders, stiff brushes, strong solvents and acetone-type cleaners — they scratch the surface or dull and cloud the finish. |
| How do I shift soap scum? | Soften it first: apply warm soapy water, let it sit for several minutes, then wipe. Repeat rather than scrubbing harder. |
| Can I use bleach on a plastic surround? | Only well diluted, only where the product label allows it, and never mixed with anything else. Many people skip it entirely and deal with marks on the sealant instead. |
| Why has the finish gone dull? | Usually a build-up of soap and hard-water film, or fine scratches from past abrasive cleaning. Film lifts with gentle cleaning; scratches are permanent, so prevention matters. |
| What about black spots at the edges? | That is usually mildew on the sealant or in the joints, not on the plastic itself. Clean what you can; if sealant stays black or is peeling, plan to replace that bead. |
| How often should I clean it? | A light wash weekly or so, a rinse or squeegee after showers if you can, and a deeper clean whenever film or spots start to show. |
| How do I stop it getting dirty so fast? | Ventilate after showers, squeegee or towel the panels dry, and avoid leaving shampoo and soap sitting in puddles against the walls. |
The golden rule underneath every answer above is that plastic rewards patience and punishes force. A cleaner left to dwell for five minutes does more than five minutes of hard rubbing, and it does it without leaving the fine scratches that hold dirt and make the next clean harder. If you remember one thing from this guide, make it that: soak first, wipe second, scrub almost never.
It also helps to think of the surround as three different cleaning problems rather than one. The panels themselves need gentle film removal; the joints and sealant need attention for mildew and lifting edges; and the fittings — taps, shower head, shelf corners — collect their own ring of residue. Each is cleaned slightly differently, and the steps below take them in that order.
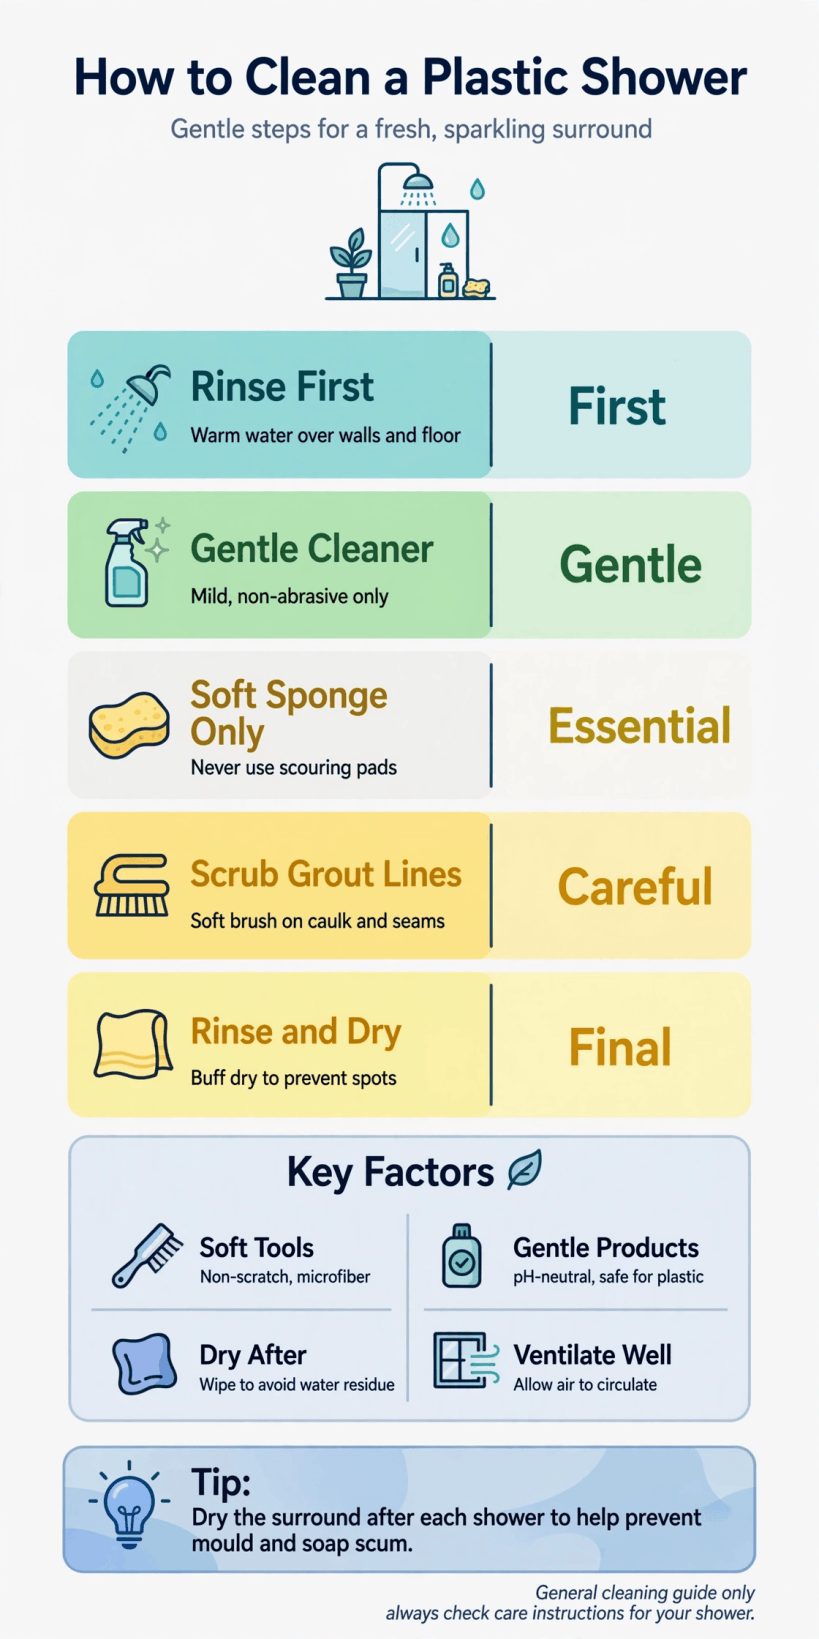
Cleaning a plastic shower surround at a glance: the safe tools, the step order, and the checks to make as you go.
2. Gather Gentle Tools and Cleaners
Start by assembling everything within reach so you are not climbing in and out of a wet shower cubicle. You need two soft microfibre cloths or a non-scratch sponge, a small bucket or basin, mild washing-up liquid or a gentle bathroom cleaner that states it is suitable for plastic, an old soft toothbrush for corners and around fittings, a squeegee, and a dry towel or third cloth for finishing. Rubber gloves are sensible if your skin is sensitive or you are using anything stronger than washing-up liquid.
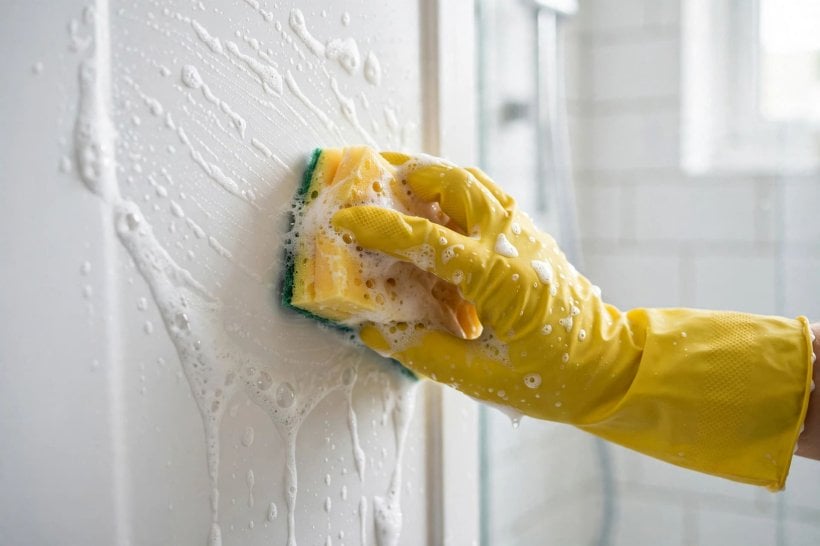
Check every item for the scratch test in your head: if it could mark the surface of a non-stick pan, keep it away from the panels. That rules out scouring pads, melamine sponges used with pressure, stiff nail brushes and gritty cream or powder cleansers. Also set aside anything with strong solvents. Plastic surrounds in small bathrooms deserve the same soft-touch logic that runs through tiny house bathroom ideas: compact spaces show every mark, so protecting the finish is half the job.
Clear the shower out completely — bottles, razors, loofahs, the mat if there is one. Every object left standing leaves a ring you will have to clean around, and the corners under bottles are where residue and mildew quietly take hold between cleans.
3. Rinse Everything Down First
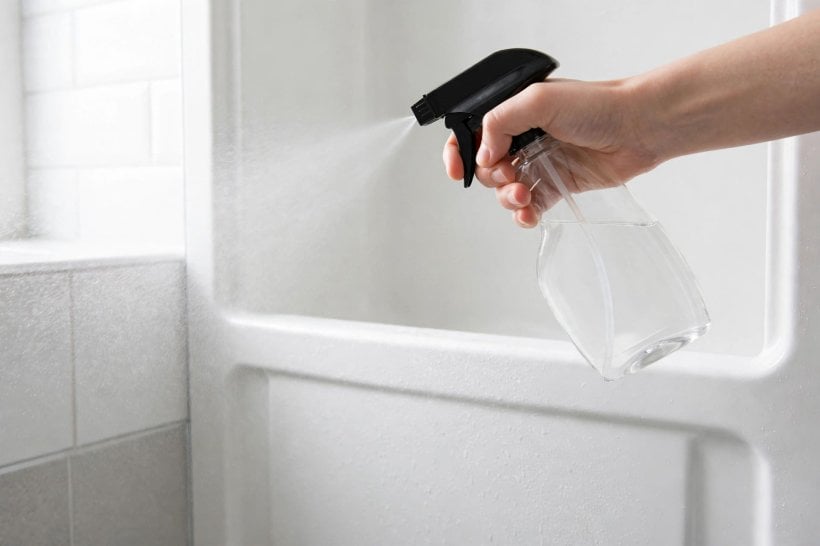
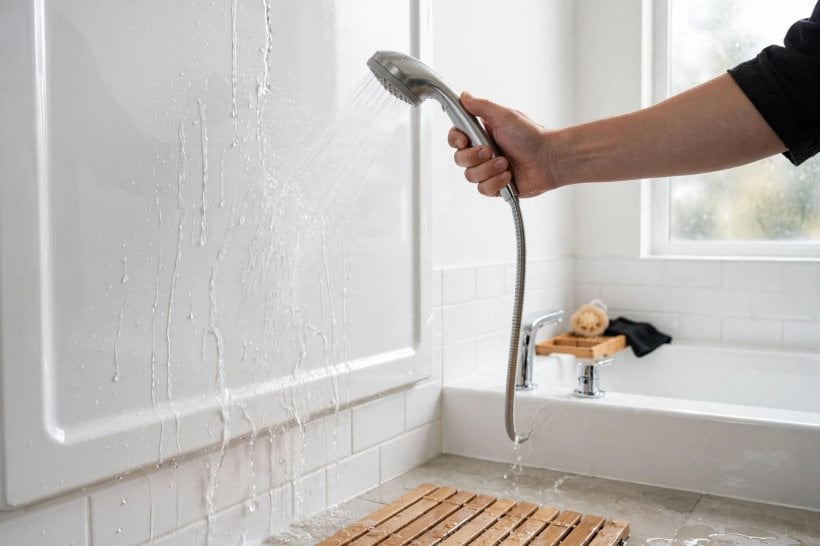
Run the shower warm for a minute and rinse the whole surround from top to bottom. This first rinse does more work than people expect: it floats away loose hair, dust and gritty particles, softens dried soap splashes, and warms the panels, which helps your cleaner work. Grit removal matters most — if you begin wiping over sandy particles, even a soft cloth can drag them into fine scratches.
While the water runs, clear the drain cover of hair so water can leave freely; a surround standing in pooled, soapy water at the base will keep redepositing film on the lower panels no matter how well you clean them. Then give the tray or bath edge the same rinse, and shake the shower mat outside the cubicle if it has one.
Turn the water off and let the panels stay wet. You are now ready to wash a surface that is already softened, which is the difference between an easy wipe-down and an arm-aching scrub in every bathroom, large or small — the same reason the layouts in bedroom interior design for tiny houses treat wet zones and dry zones so deliberately.
4. The Basic Wash, Panel by Panel
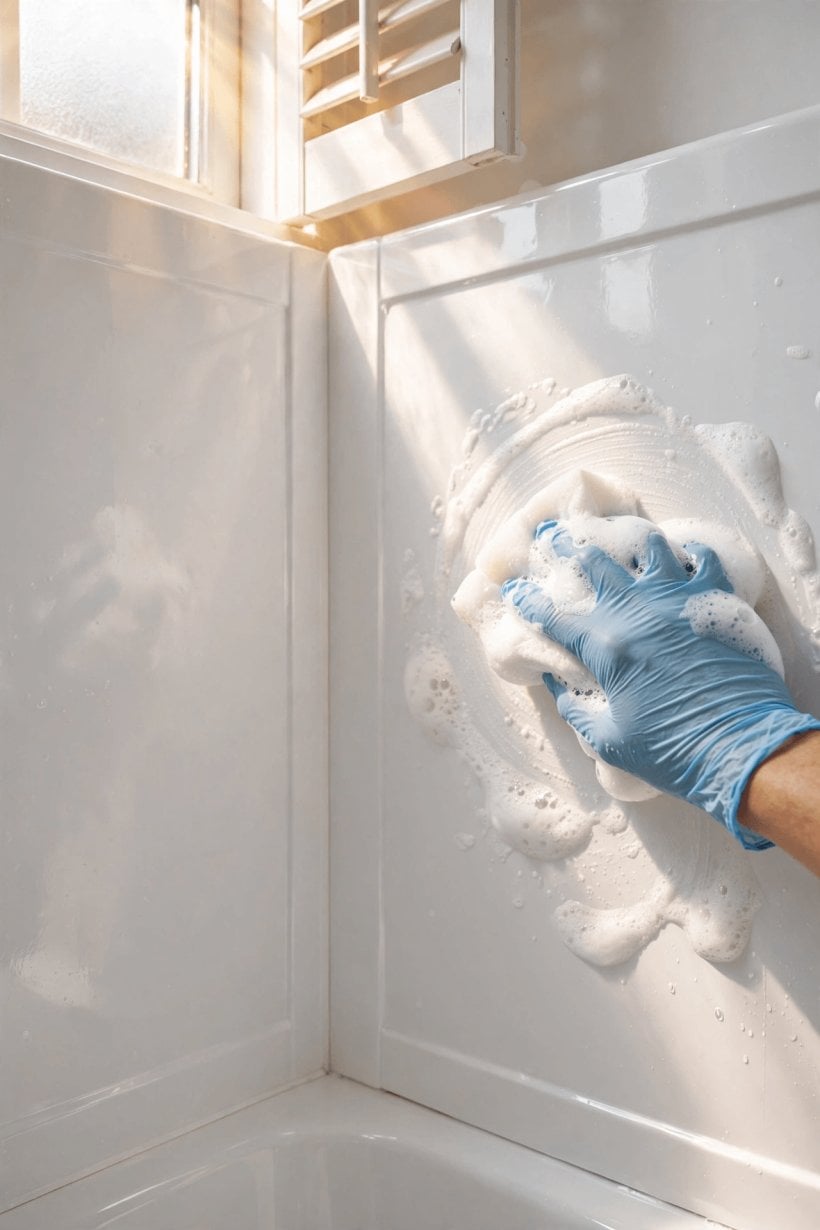
Mix warm water with a small squirt of mild washing-up liquid in your bucket, or spray your gentle cleaner directly onto the panels a section at a time. Working from the top down — so dirty water never runs over panels you have already finished — wash each panel with the soft cloth or sponge in slow, overlapping strokes. Top-down matters more than technique: gravity is your rinse aid if you let it be.
Give corners, ledges and the moulded soap shelves a second pass with the soft toothbrush, which reaches the lines where the cloth bridges over. Work around the tap, temperature control and shower-head mount with the brush too; these fittings collect a stubborn tide-mark of soap and skin oils that cloths skim past. Keep the pressure light throughout. If a patch resists, do not press harder — leave it wet and come back to it in the later steps, where dwell time does the work.
Rinse the cloth often in the bucket and change the water if it turns grey; washing with dirty water simply spreads a thinner film of the same dirt. When every panel has had one honest pass, stop and rinse the whole surround with warm water from the shower head so you can see what, if anything, is still clinging on.
5. Soap Scum and Body-Oil Film
What usually remains after a basic wash is soap scum: the chalky, draggy film made when soap meets hard water and body oils, worst at shoulder height and around the soap shelf. The fix is dwell time. Reapply your warm soapy solution generously to the filmed areas, or lay a cloth soaked in the solution flat against bad patches, and leave it for five to ten minutes while you clean something else. Softened scum then wipes away with the cloth almost without pressure.
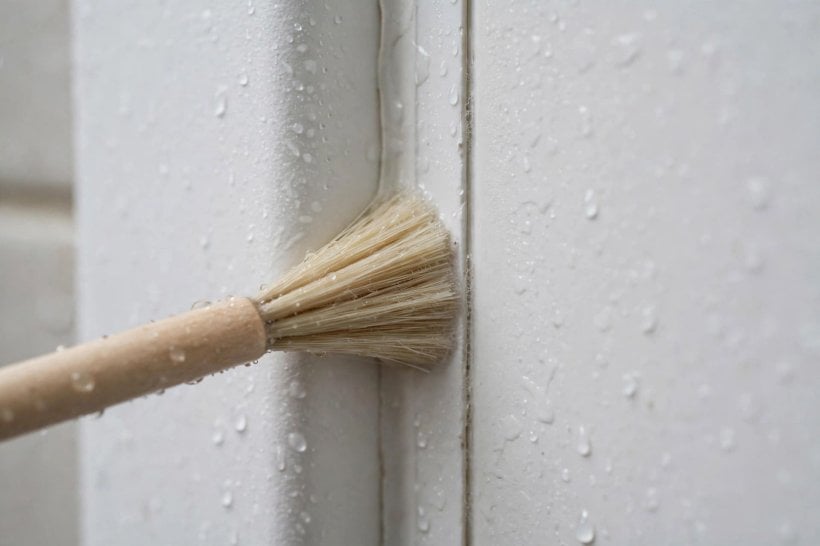
Work through the film methodically, rinsing and checking with your palm as you go: a panel that squeaks slightly under a wet hand is clean, while a panel that feels slick or draggy still carries film. Repeat the soak-and-wipe cycle on stubborn areas rather than escalating to anything abrasive. Two gentle rounds beat one rough one, for the surface and for your arms.
If your home has very hard water, scum returns faster and this step becomes the centre of the routine — one reason households in the tiny barn house interior stories so often build a weekly wipe into the house rhythm rather than saving up a monthly battle.
6. Hard-Water Marks and Limescale, Handled Carefully
White, crusty edging where water sits — around the tray, taps and the bottom of panels — is mineral scale rather than dirt. Many households use a mild acidic approach for scale, such as a diluted vinegar solution or a descaler the label says is suitable for plastic and acrylic surfaces. Two cautions matter more than the recipe. First, test any such product on a small, hidden corner and wait, because some plastics cloud under acids left too long. Second, never layer products: if you have used anything bleach-based anywhere in the bathroom, rinse everything thoroughly and take a break before using anything acidic, because mixing bleach with acids or ammonia creates dangerous fumes.
Apply your chosen solution to a cloth rather than spraying widely, press the cloth onto the scaled area for a few minutes to let it work, then wipe and rinse very thoroughly. Expect heavy, long-standing scale to improve over two or three cleans rather than vanishing in one; chiselling or scraping at it with anything hard will leave marks far worse than the scale.
Prevention is the real cure here, and it appears again below: water left standing is what lays scale down, so drying the panels after use starves the problem. In well-planned small bathrooms — the kind collected in tiny house living room ideas for living spaces and their bathroom counterparts for wet ones — ventilation and quick drying are treated as design features, not afterthoughts.
7. Mildew on Sealant and in the Joints
The black or pink tinge that creeps along the bottom edge and up the corner joints is almost always growing in or on the sealant and the damp line behind fittings, not in the plastic itself. Wipe the joints with your soapy solution and the toothbrush first, rinse, and look closely: surface mildew on sound sealant often lifts or fades with cleaning and thorough drying. If you use a dedicated mould-and-mildew product, follow its label exactly, ventilate the room well, keep it off your skin, and never combine it with any other cleaner.
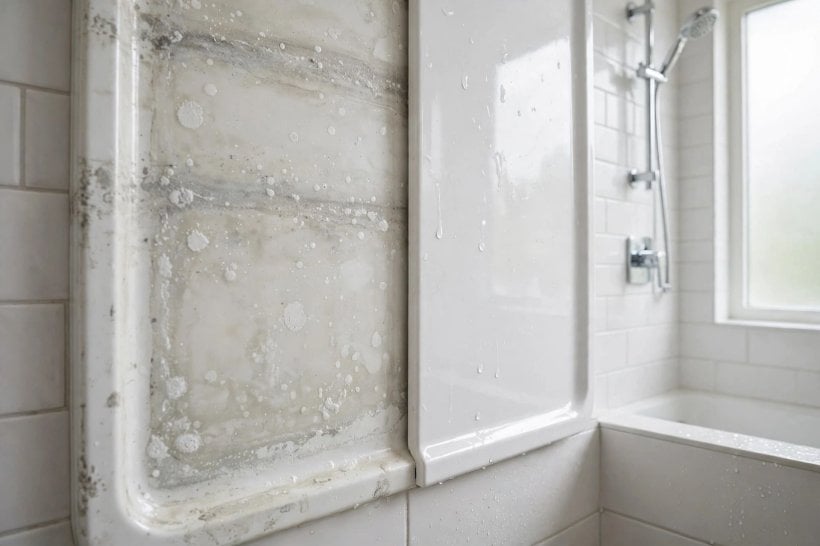
Be honest about what cleaning cannot fix. Sealant that is black through its depth, cracked, or peeling away from the joint will keep harbouring mould and, more importantly, can let water behind the panels. That is a resealing job, not a cleaning job, and it is worth doing promptly: cut out the failed bead, let the joint dry completely, and apply fresh bathroom sealant, or have it done. Cleaning over failed sealant is effort spent protecting a leak.
Drying is the mildew deterrent you control daily. A bathroom that steams up and stays closed will regrow spots on even new sealant, while one that is aired after showers slows it dramatically — the same moisture discipline that keeps small interiors fresh throughout colourful tiny house interior homes, where every room is close to a water source.
8. Rinse, Dry and Buff
Finish the clean with a full warm rinse, top to bottom, washing every trace of cleaner off the panels — residue left behind dries into its own film and attracts dirt faster than the original grime did. Then squeegee the panels from top to bottom, wiping the blade between strokes, and follow with the dry towel on corners, ledges and around fittings where the blade cannot reach.
Drying is not cosmetic. It removes the water that would otherwise dry into spots and scale, it leaves the surface genuinely finished rather than nearly finished, and it lets you see the panels clearly for the inspection step that follows. A light buff with the dry cloth restores the sheen on smooth panels and reveals any patch of film you missed as a dull area — go back and spot-clean only that patch rather than redoing the wall.
Put bottles and accessories back only onto dry surfaces, and consider standing them on a small rack or tray so water drains instead of pooling underneath. The two minutes spent drying are what stretch the gap between deep cleans from days to weeks.
9. What to Check While Everything Is Clean
A clean, wet-then-dried surround is the easiest one to inspect, so use the moment. Run a fingertip along every sealant line: it should feel continuous and springy, with no gaps, cracks or lifting edges. Press each panel gently near its corners and edges; a sound panel feels firm, while movement, a hollow sound or a soft, spongy patch behind it can mean water has found its way in and deserves investigation before it spreads.
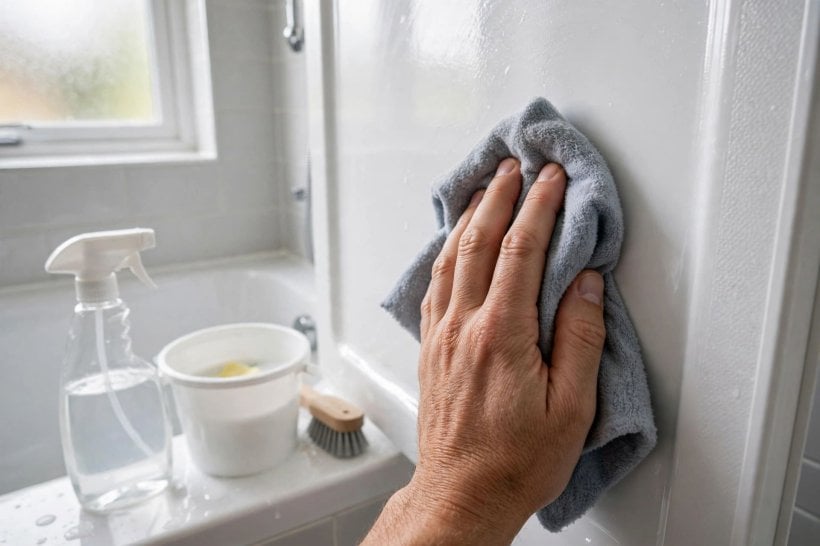
Check around the tap, shower valve and head mount for drips or greenish and white crust that suggests a slow weep, and look at the tray-to-panel junction where movement cracks appear first. Run the shower briefly and watch the base: water should head for the drain, not creep sideways or pool against a panel. Note anything you find while it is fresh in your mind; small sealant fixes and a tightened fitting are cheap, while the saturated wall behind a surround is not — a truth anyone who has read how to build your own tiny house will recognise, because layered construction hides water damage until it is advanced.
Also check the extractor fan or window you rely on for ventilation: a fan clogged with fluff moves little air, and a quick vacuum of its grille during a deep clean pays for itself in slower mildew growth.
10. Keeping It Clean Between Deep Cleans
The surround stays presentable with tiny habits rather than big efforts. Squeegee or towel the panels after the last shower of the day — thirty seconds that removes most of the water, soap and oils before they dry into film. Leave the door or curtain open and the fan running, or a window cracked, for a while after showering so surfaces actually dry rather than staying warm and damp.
Once a week, a five-minute wash with the same mild soapy water resets the surface before scum can build into the soak-worthy kind. Keep bottles on a rack, rinse the tray of standing soapy water after baths and showers, and wipe the sealant line dry when you notice it staying wet. None of this is housework in the heavy sense; it is the moisture equivalent of the daily tidy that keeps small homes like those in tiny house bedroom ideas feeling calm instead of cluttered.
Set a rough rhythm — light weekly wash, deeper clean monthly or as film appears, sealant inspection each deep clean — and adjust it to your water hardness and how many people shower daily. Homes with hard water and a full house will sit at the frequent end; a guest bathroom may need only the weekly wipe and a monthly look-over.
Final Considerations
Learning how to clean plastic shower surround panels well comes down to a short list: gentle tools, mild cleaners, warm water, dwell time instead of force, a full rinse, and thorough drying — plus the discipline never to mix cleaning chemicals and never to attack the surface with anything abrasive. Followed in order, those steps handle soap scum, film and everyday marks while keeping the finish intact for years.
Use each deep clean as an inspection too, checking sealant, panels and fittings while everything is visible, and build the small daily habits — squeegee, ventilate, dry — that slow the dirt down. A surround cared for that way stays bright with minutes of effort a week, instead of demanding a rescue mission every few months.




0 Comments