

Crown molding can make an eight-foot room feel finished and taller — or squat and top-heavy. The difference is rarely the molding itself; it is the checks you make before you buy a single length. This guide walks through what to verify first when choosing crown molding for low ceilings: real height, profile size, the state of the ceiling line, existing trim, corners, light and samples, in the order an experienced fitter would check them.
1. Start With Questions: The Checks That Matter Most
Before looking at profiles, answer six questions about your specific room. They take an hour with a tape, a straight edge and a phone torch, and they prevent nearly every disappointment this project can produce. The table below is the whole guide in miniature; the sections after it explain each check in depth. If any answer surprises you — a ceiling lower than you assumed, a wall line that waves — solve that first, because molding fitted over a problem displays the problem.
| Question | What to check | Why it matters |
|---|---|---|
| How high is the ceiling, really? | Measure floor to ceiling in several places, including corners | Heights vary; the lowest point sets your proportions |
| How much wall will the profile cover? | How far the molding drops down the wall and reaches across the ceiling | Oversized coverage makes a low room feel lower |
| Does the ceiling line run true? | Waves, dips, cracks and old repairs along the wall-ceiling joint | Rigid molding bridges gaps; flexible planning hides them |
| What else lives at the top of the wall? | Door and window architraves, curtain tracks, tall cabinets, vents | The molding must meet, clear or stop short of each one gracefully |
| What is the ceiling made of? | Plaster, plasterboard, beams or a ceiling that moves with the house | Fixing method and filler choices depend on the surface |
| How does light hit the top of the wall? | Downlights, windows and shadows at different times of day | Light exposes every joint and exaggerates deep profiles |
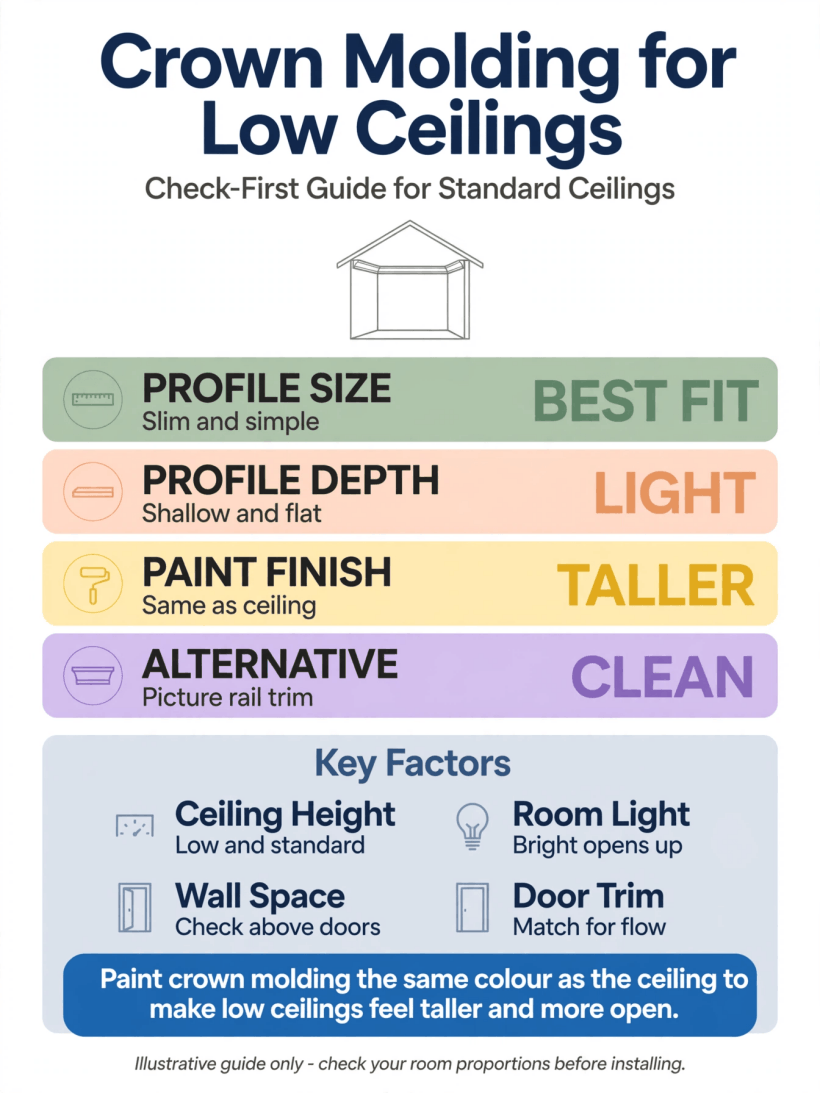
The six checks to make before buying: height, coverage, ceiling line, clashes, ceiling material and light.
2. Check the Real Ceiling Height and the Room’s Proportions
Start with the tape, not the catalogue. Measure the ceiling height in the middle of the room and again in each corner; older houses and converted spaces often vary by more than you expect, and the lowest reading is the one your design must respect. Note the room’s other proportions too: a long, low living room carries molding differently from a small square bedroom, and a narrow hallway is the least forgiving space of all. As a working principle, the lower the ceiling, the more the molding should hug the joint rather than stride out across the ceiling and down the wall.
Proportion is also about what the molding competes with. In a room with tall windows or full-height doors, the eye already travels upward and a modest profile completes the picture. In a room with low window heads and a great deal of uninterrupted wall, a heavier profile can feel like a lid. This balancing act is familiar from tiny house living room ideas, where every vertical element is rationed carefully. Write your measurements on the wall itself in pencil; you will refer to them at every later step.
3. Choose a Profile Size That Respects a Low Ceiling
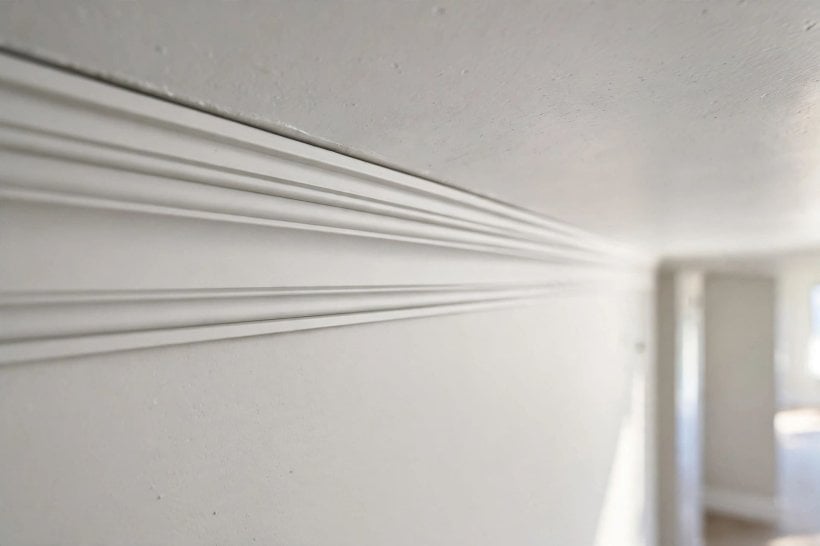
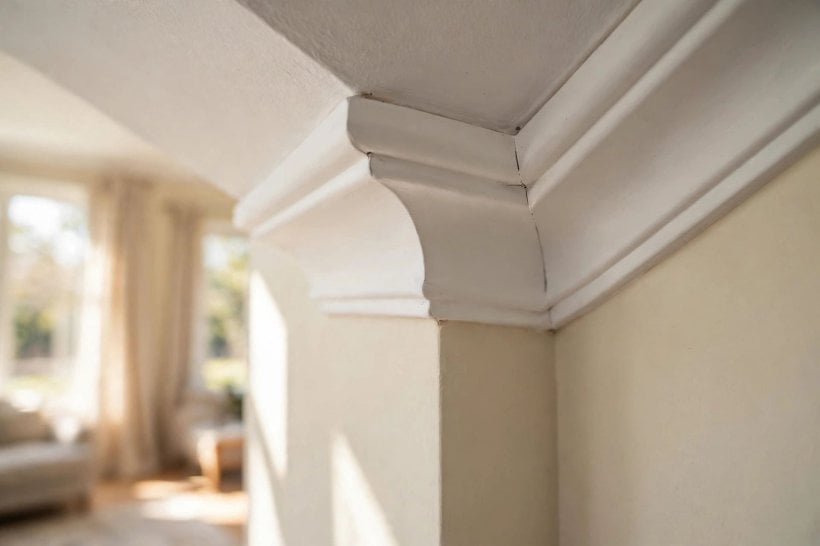
Profile size is described by its face width — the diagonal you actually see — and by how that face splits between wall coverage and ceiling coverage. On an eight-foot ceiling, smaller and simpler profiles are the safe starting point: enough presence to finish the joint, not so much that the molding becomes the room’s main event. Deep, ornate profiles with several steps and curves were designed for taller rooms, where they are read from farther away; up close and overhead, their detail turns to visual noise and shadow.
Simple does not mean boring. A clean cove, a gentle ogee or a plain stepped profile in a modest size casts one clear shadow line and reads as intentional. If you fall for a larger profile, borrow the fitter’s trick: choose one that sits flatter, spreading more of its face along the ceiling and less down the wall, so the wall keeps its height. Bedrooms reward restraint most of all, as the calm schemes in tiny house bedroom ideas show — the ceiling treatment should soothe, not perform. Whatever you choose, apply the same profile throughout connected rooms so the house reads as one decision.
4. Look Hard at the Ceiling Line: Levels, Waves and Cracks
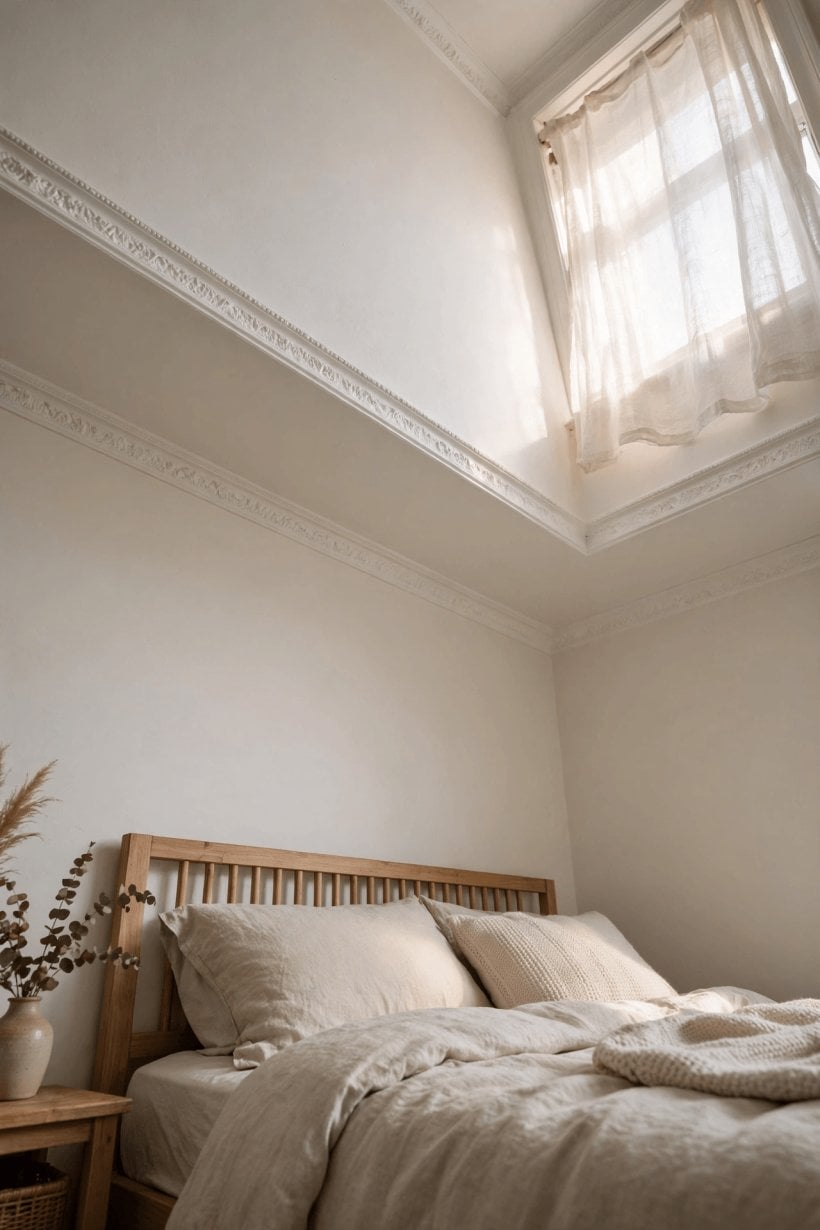
Molding is a straightedge fitted against two surfaces that are rarely straight. Run a long level or a taut string along the wall-ceiling joint and look for dips, humps and cracks. Mark the worst spots. Small waves can be absorbed by flexible filler and careful scribing; bigger ones need a decision: pack and fair the ceiling line first, choose a profile with a forgiving shape, or fit the molding to the wall and let the ceiling gap be filled and painted so it disappears into the shadow line.
Also check what the ceiling is and how it behaves. Plasterboard, lath and plaster, and ceilings in compact or movable homes all flex differently, and a rigid installation across a joint that moves will crack along the paint line within a season. In bathrooms and kitchens, add moisture to the picture — the small, steamy rooms discussed in tiny house bathroom ideas punish the wrong materials — and choose molding and filler that tolerate damp air. Photograph the joint in raking light from a torch held flat to the wall; it reveals more in ten seconds than an hour of squinting.
Where gaps do appear, technique matters more than force. Never bend a length hard against a dip; you will store a spring in the joint that works against the fixings for years. Instead, scribe the profile to the ceiling’s shape on the worst stretches, pack behind it where needed, and fill in thin layers rather than one fat bead that shrinks and cracks. A gap that is filled neatly and painted disappears; a molding forced into a curve announces itself along the whole wall.
5. Coordinate With Doors, Windows, Curtains and Cabinets
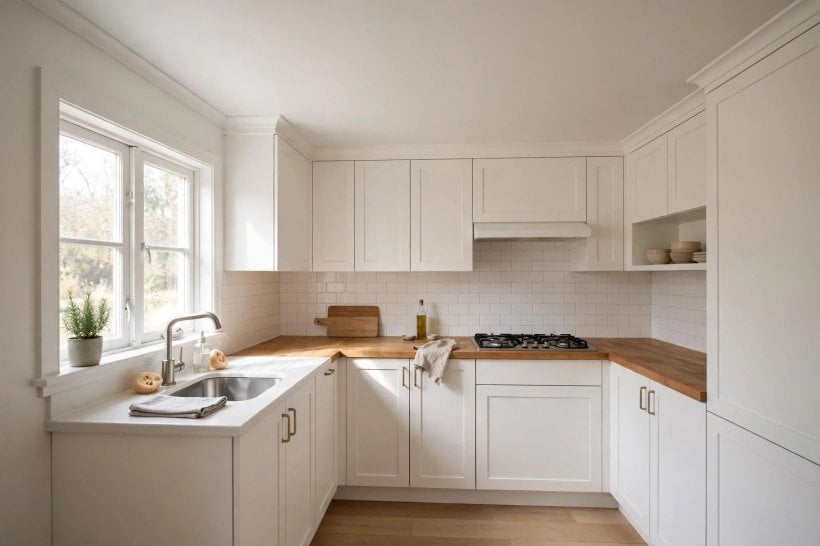
Crown molding never meets an empty wall. Walk the room and list everything that reaches the top of the wall: door architraves, window frames and their curtain tracks or pelmets, tall kitchen cabinets, wardrobes, air vents, ceiling beams and light fittings near the edge. For each one, decide in advance whether the molding runs past it, stops with a neat return, or steps around it. Improvising these meetings mid-installation is where good rooms turn scruffy, because a molding that crashes into a door frame reads as a mistake forever.
Heights matter as much as positions. If a door architrave nearly touches the ceiling, there may be no honest room for molding on that wall at all, and stopping the run cleanly at the frame — or choosing a slimmer profile for the whole room — beats squeezing. Curtain tracks are the quiet trap: a track fitted close to the ceiling can clash with the molding’s ceiling coverage, so check the order of operations and, if curtains are planned, fit the track position into the same drawing. A simple paper plan of each wall, with clashes marked, is the cheapest hour of the whole project.
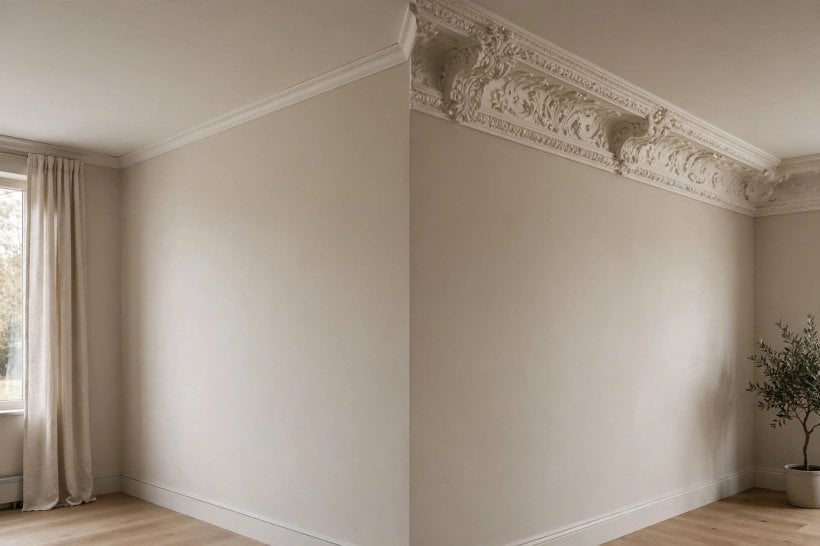
6. Decide Between One Single Piece and a Built-Up Profile
You can buy crown molding as one shaped length, or build the effect from two or three simpler pieces: a small cove at the joint, a flat or stepped band on the wall beneath it, sometimes a slim bead to finish the lower edge. Built-up profiles have real advantages in low rooms. Each piece is light, cheap and easy to cut; gaps can be managed piece by piece against a wavy ceiling; and you control exactly how far the combined effect reaches down the wall. The cost is time and more joints to fill and paint.
A single piece is faster and gives crisp, continuous shadow lines, but it is less forgiving and usually pricier in larger profiles. A sensible hybrid used by many fitters is a modest single crown with one simple band beneath it, which reads as a generous, architectural treatment while keeping each element small. The layered, practical trim work in tiny barn house interior ideas shows the same philosophy: simple boards, thoughtfully combined, outperform one grand gesture. Whichever route you take, buy all the material in one go so profiles and batches match around the room.
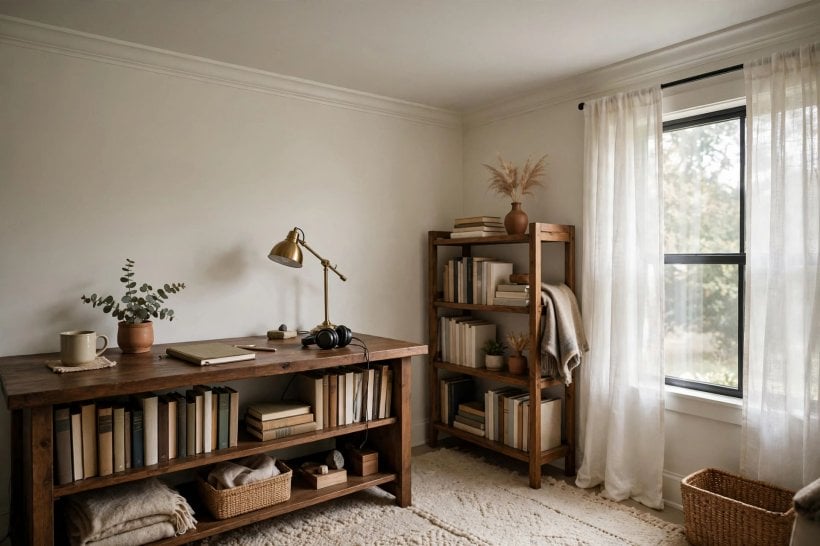
7. Plan Corners, Joints and Returns Before You Cut Anything
Corners decide whether the job looks professional. Inside corners are best coped — cut to fit the profile of the adjoining piece — because coped joints stay tight when houses move, while simple mitres open up. Outside corners are mitred and benefit from being glued and pinned with care. On a low ceiling you work closer to your mistakes, and visitors stand nearer to them too, so budget your best effort for the corners at eye level from the doorway, the ones everyone actually sees.
Plan the run like a route: start on the wall opposite the door and work so that length joints — where two pieces meet along a wall — fall in the least-seen places, and order extra material for test cuts and one ruined corner, because everyone ruins one. Practice the compound angles on offcuts first, label each piece with its wall and orientation, and dry-fit a whole corner before any adhesive comes out. Where a run must end in open view — beside a beam or a tall cabinet — plan a returned end rather than a raw cut; a small mitred return is the detail that separates fitted work from hopeful work.
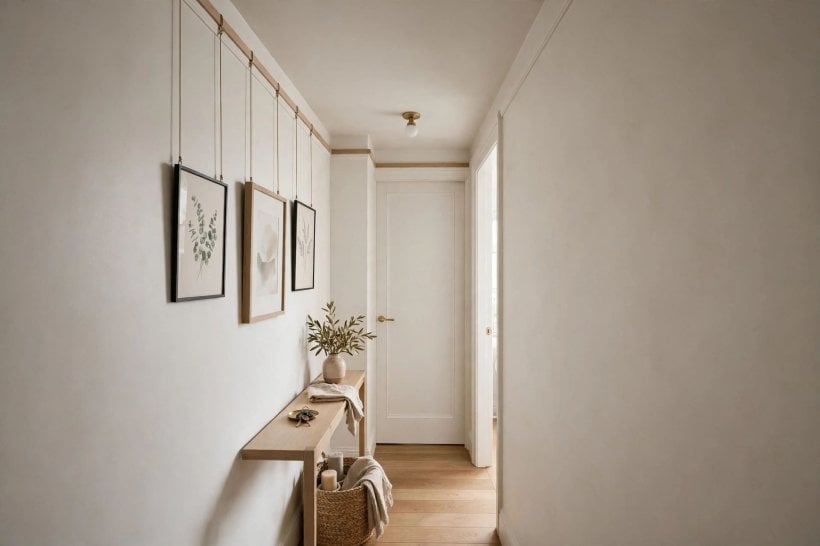
8. Think About Light, Shadow and Paint Finish Early
Crown molding is a shadow-making machine. Every step and curve in the profile casts a line, and on a low ceiling those lines sit close to eye level, so the effect is stronger than the same profile in a tall room. Walk the room at different times: morning sun raking along a wall will expose every joint, while ceiling downlights fitted close to the wall can throw a scalloped shadow that fights the molding. If downlights are planned near the walls, decide their distance with the molding in mind, not after it.
Paint is your quiet ally. Painting molding, ceiling and the top of the wall in the same colour and a soft finish — the approach used throughout colorful tiny house interior ideas to stretch small rooms — lets the profile read as gentle architecture rather than a white stripe. A slight sheen difference between ceiling and molding adds definition without contrast. High-gloss finishes are the least forgiving at this height, showing filler and joints; satin or eggshell-type finishes hide a multitude of honest imperfections. This is also where bedroom interior design for tiny houses offers a lesson: in compact rooms, finish and light do more for perceived height than any single product choice.
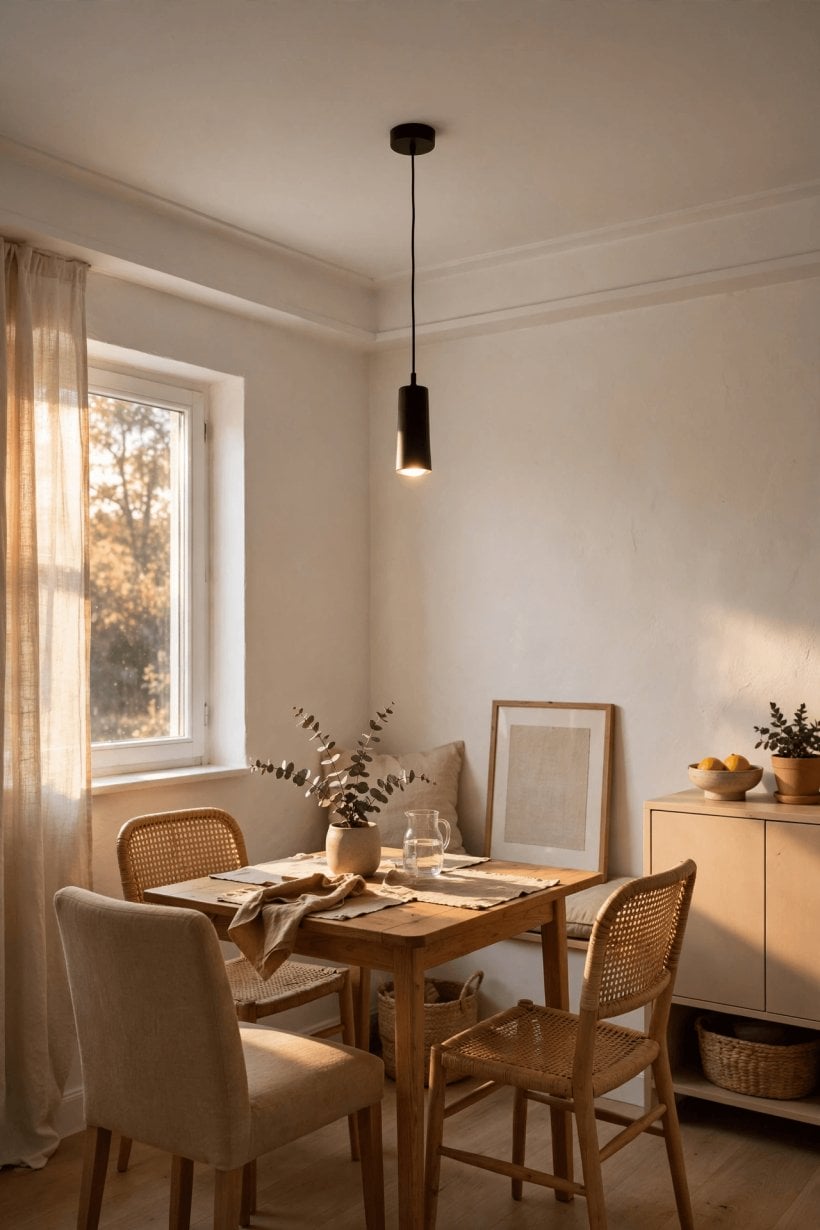
9. Test With Real Samples at the Ceiling, Not Under Shop Lights
Never choose a profile from a website photo or a sample held at waist height. Buy or borrow short sample lengths of your two or three finalists and pin, tape or prop them at the actual joint, in the actual room. Live with them for at least a full day: look from the doorway, from seated height and lying in bed if it is a bedroom. Profiles read dramatically bigger overhead and in your own light than they do in a store, and the sample that seemed timid on the shelf is often the one that looks right at home.
Test the joints too. Cut one inside corner in each candidate material — some lightweight moldings cope cleanly, others crumble at the detail — and see how the material takes filler and paint. Check how the sample behaves against your ceiling’s worst wave, not its best stretch. Finally, photograph the samples in place and look at the pictures a day later with fresh eyes; the camera is brutally honest about proportion. This unglamorous step, which costs almost nothing, is the single most reliable predictor of whether you will still like the result in five years.
10. Budget, Tools and an Honest Skill Check
Cost the whole job, not just the molding: lengths plus a sensible allowance for waste and practice cuts, adhesive and filler, pins or fixings, caulk, paint, and any ladder or platform hire needed to work safely at the ceiling for hours. Lightweight polystyrene and polyurethane moldings are forgiving for beginners and kind to low ceilings visually, timber gives the crispest traditional detail, and plaster is the heavyweight option best left to specialists. Match the material to your tools: fine-toothed saws and a good mitre setup matter more than expensive molding.
Be honest about skill, as any builder following a how to build your own tiny house guide learns to be: coped corners are a learnable skill, but they are learned on offcuts, not on the best wall in the house. A sensible route for a first attempt is one small room, a simple profile and built-up pieces, which together keep every mistake cheap and fixable. If the room is large, the ceiling is very uneven, or the molding is plaster, get a fitter’s quote and compare it honestly with the cost of your time and materials; sometimes the professional is the budget option.
Final Considerations
Good crown molding for low ceilings is chosen in a specific order: measure the real height, respect the proportions, interrogate the ceiling line, plan the clashes and corners, and only then fall in love with a profile — testing it in place before committing. Keep the profile modest, the finish soft and the colour unified with the ceiling, and an eight-foot room gains the finished, considered look that makes people assume the ceiling was always that graceful. Check first, cut once, and let the room — not the catalogue — make the decisions.
One last habit separates a good installation from a lasting one: after painting, walk the room once more in the evening light with a tube of filler in hand and deal with the two or three tiny gaps you can now see. They will never be easier to fix than they are today, and nobody will ever know they existed. That quiet final pass is what makes visitors look up, nod, and ask who your fitter was.



0 Comments