

Grout lines are the part of a tiled shower nobody loves: they stain, they crumble and they demand scrubbing. Cultured marble wall panels promise the polished look of stone with a fraction of that upkeep.
This guide weighs the genuine pros and cons, then lists the checks to make before panels go on your walls.
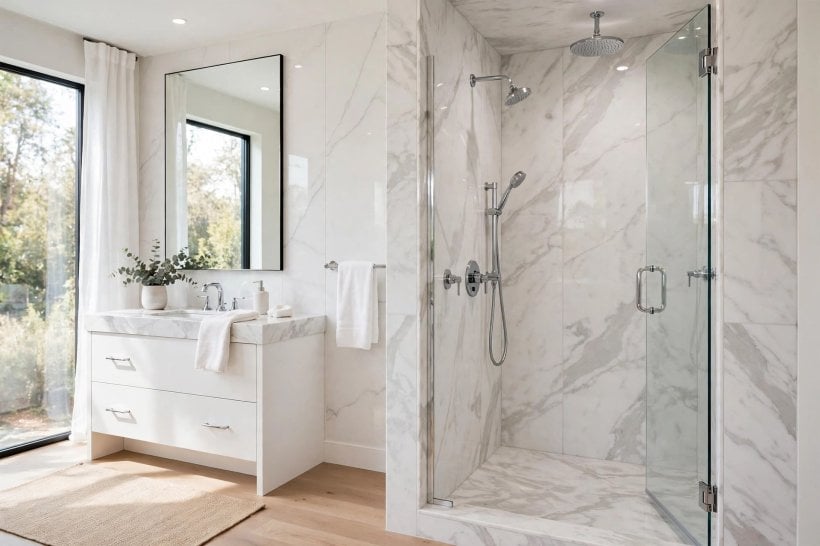
1. Cultured Marble Shower Panels at a Glance
First, the quick answers. The table below summarises what these panels are, where they shine and where they ask for care.
| Question | Short Answer |
|---|---|
| What is cultured marble? | A man-made material that blends crushed natural stone with resin, cast into panels and finished with a protective gel coat. |
| What is the biggest advantage? | Large, smooth panels with very few joints, so there is almost no grout to scrub, stain or re-seal. |
| What is the biggest drawback? | The surface can be scratched or dulled by harsh cleaners and heat, and repairs are trickier than swapping a tile. |
| Is it real marble? | No. It imitates marble’s veining convincingly, but it is an engineered product with its own behaviour and care rules. |
| How long does it typically last? | With correct installation and gentle cleaning, panels commonly serve for many years; abuse of the gel coat shortens that. |
| Who is it best for? | Busy households, rental properties and anyone renovating a small shower who values easy cleaning over natural stone character. |
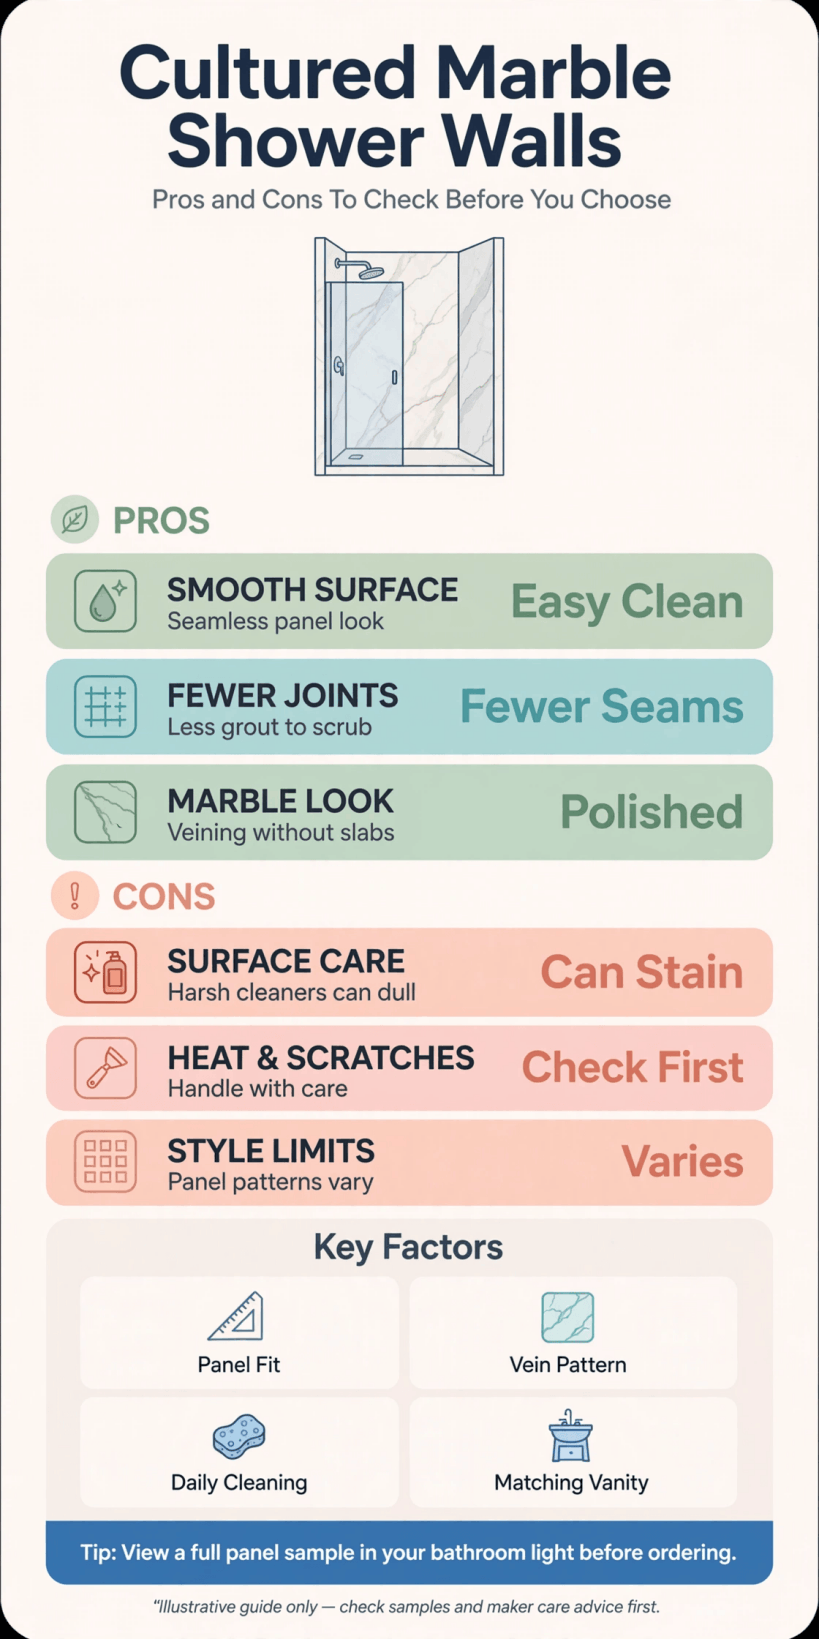
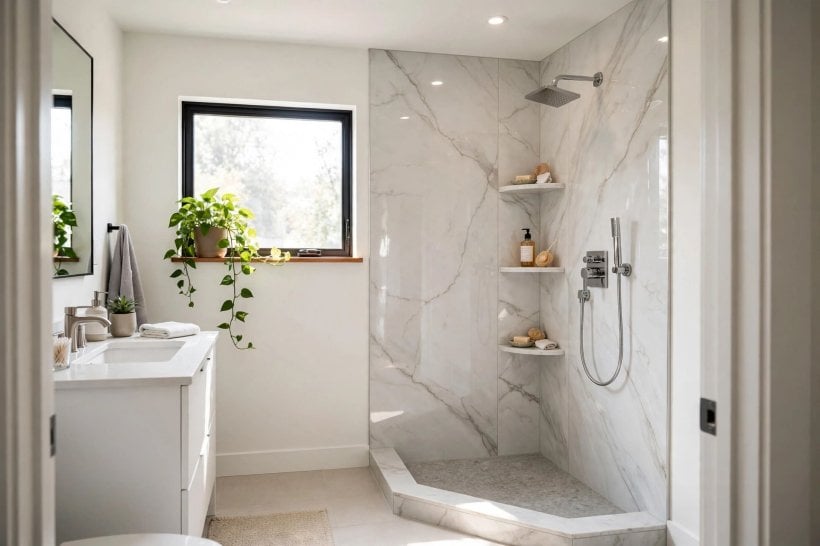
Pros, cons and checks at a glance: seamless cleaning and good looks, balanced against heat, scratch and repair limits.
2. What Cultured Marble Actually Is
Cultured marble begins as a mixture: ground natural stone held together with resin, poured into a mould and cured into a solid panel. A clear gel coat seals the face, providing the shine and the first line of defence against water and stains. Because the panels are cast, makers can add marble-style veining, soft colour washes and a matching shower base or trim pieces from the same material family.
Knowing it is engineered, rather than quarried, explains most of its behaviour. The surface is non-porous in normal use, so water sits on top instead of soaking in, and there are no individual tiles to move independently. The panel is also warmer to the touch than natural stone and noticeably lighter per area, which can matter on upper floors and in tiny homes where wall loading is a design consideration.
It also explains the limits covered later in this guide: the gel coat, not stone, is what you actually touch, so anything that harms gel coats, from abrasive pads to excessive heat, harms your shower. Judge cultured marble on its own terms, as a practical engineered surface that borrows marble’s looks, and your expectations will land in the right place from day one. The bathroom planning in our tiny house bathroom design ideas shows where panel systems fit best in compact layouts.
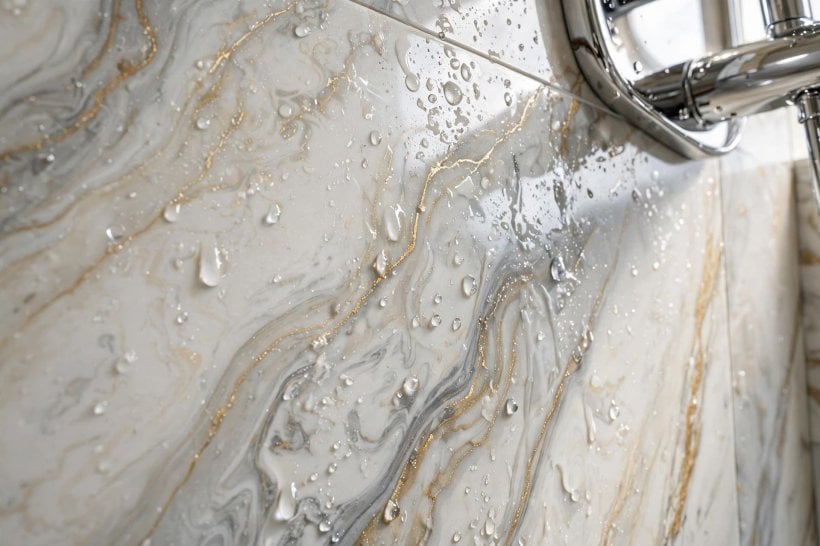
3. The Pros: Seamless Walls and Easy Cleaning
The headline advantage is the near-absence of joints. A tiled shower wall might carry dozens of grout lines, each one a future cleaning appointment; a panelled wall typically has only the corners and edges to seal. Soap scum and limescale sit on a smooth surface where a soft cloth and a suitable cleaner can reach them, which turns the weekly shower scrub from a project into a few minutes’ work.
Leaks also have fewer places to start. With no grout to crack and no porous tile body behind the surface, water management depends on a small number of well-made seals rather than a whole grid of vulnerable lines. In small showers, the large-format panels visually calm the space too, because the eye is not chopped up by a grid; the room reads bigger and tidier, an effect small-home owners prize.
Add warm-to-touch comfort, consistent colour from panel to panel, and installation that is usually quicker than equivalent tiling, and the appeal is clear. For households with limited mobility, busy rentals and anyone who has declared war on grout, cultured marble shower wall panels solve real daily irritations. The pros are genuine; the rest of this guide simply makes sure the cons fit your household just as well.
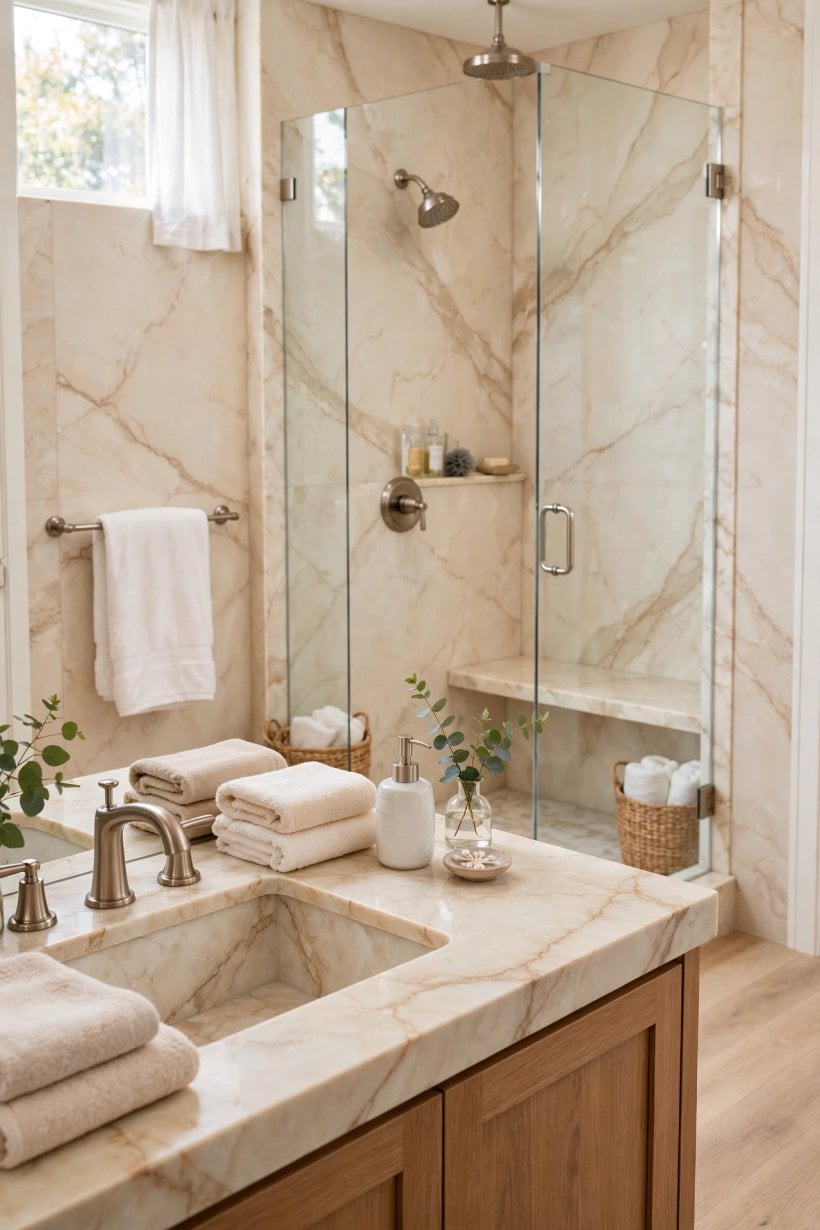
4. The Cons: Heat, Scratches and Repair Limits
Balance matters, so here is the honest downside. The gel coat surface can dull or scratch if it meets abrasive scouring powders, stiff brushes or gritty cleaners, and once the shine is damaged in a patch, blending a repair invisibly is difficult. Hair styling tools, very hot water splashes against one spot and dropped heavy bottles are everyday hazards worth respecting.
Colour behaviour deserves a thought too. Some lighter cultured marble can yellow subtly with age, heat and certain cleaning chemicals, which is why makers’ care instructions are strict about approved products. Natural stone can be re-polished; a damaged gel coat offers fewer second chances, and a badly damaged panel may need professional refinishing or replacement rather than a quick swap like a single tile.
Finally, the look itself is a matter of taste. The veining is printed by the mould’s pattern rather than formed by geology, so very close inspection reveals repetition that real stone never shows. Most owners happily trade that nuance for the cleaning benefits, especially in a small everyday shower, but if authentic natural material is your top priority, be honest with yourself now rather than at installation. Weigh these points alongside the way you actually clean, which our tiny house kitchen design guide also recommends for worktops and other hard-working surfaces.
5. Panels vs Tile: An Honest Comparison
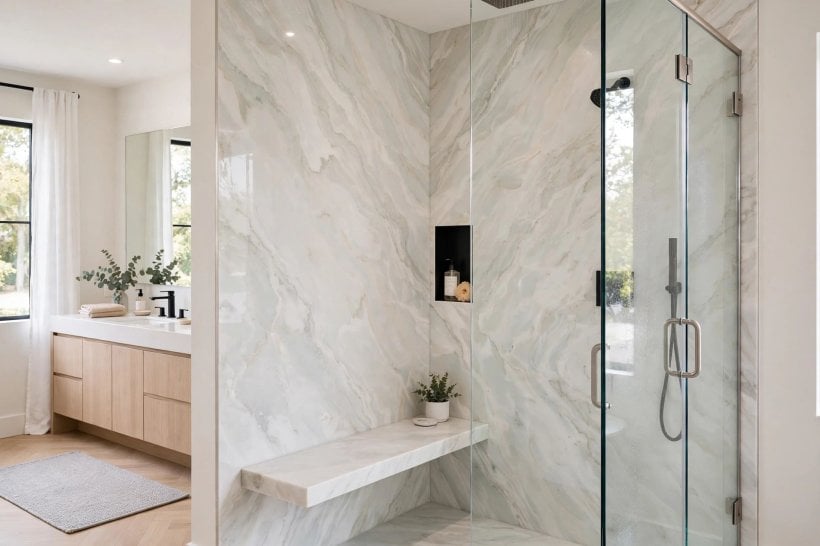
Most buyers choosing panels are cross-shopping tile, so a direct comparison helps. Tile wins on design freedom: endless formats, colours and layouts, plus the ability to replace one damaged unit. It also tolerates heat and abrasion with indifference. Its price is maintenance: grout needs cleaning, occasional re-sealing and, over the years, renewal.
Panels win on daily effort and speed. Fewer joints mean faster cleaning and fewer leak paths, and a straightforward panel installation is typically completed and usable sooner than a fully tiled and cured equivalent. In a one-bathroom home, that shorter disruption can decide the project on its own. Panels also feel warmer and can be quieter under the shower’s drumming than hard tile.
Costs sit in a pattern rather than a fixed order: materials, labour and finishing vary by region and specification, so compare complete installed quotes for both options in your own bathroom rather than relying on general claims. Include your future time in the maths; an hour of grout care saved every month is a real return. The right answer depends on whether your household prizes design freedom or effortless upkeep more, and many good bathrooms mix both, tiling a feature wall and panelling the hard-working shower enclosure.
6. Sizes, Finishes and Colours: What To Check
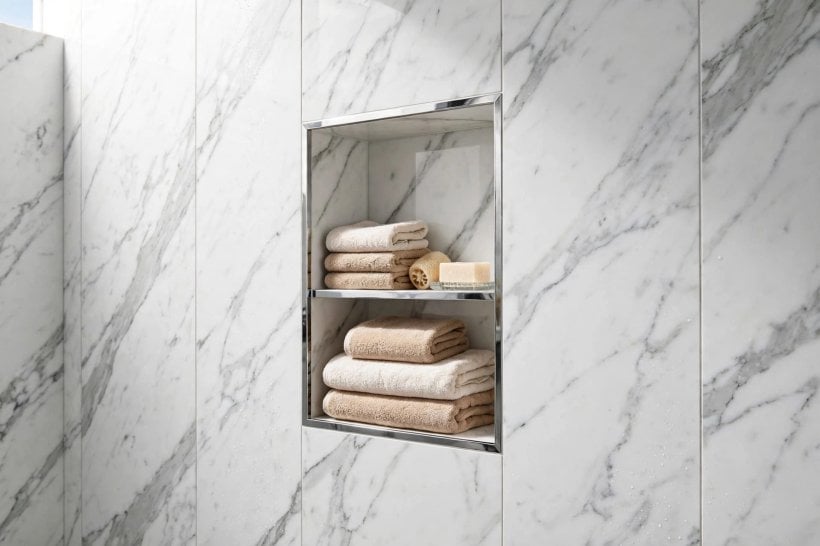
Before ordering, measure your shower like a tailor. Note the width and height of every wall, the position of the valve, shower head, shelves and any window, and whether walls are truly square; older bathrooms frequently are not, and panels must be trimmed or ordered to suit. Confirm panel thickness and how edges are finished, because exposed edges need matching trim to look intentional rather than cut.
Finishes range from high gloss, which shows water spots and soap film most honestly, to softer matte and stone-textured faces that forgive more between cleans. In hard-water homes, a mid-sheen finish in a mid-tone colour is often the pragmatic sweet spot. Order samples and splash them: view the colour wet and dry, in your bathroom’s actual light, because veining that looks gentle on a screen can arrive bolder in person.
Check the extras at the same time: corner trims, end caps, soap dishes, foot rests and matching bases or skirts are easier bought as one family than improvised later. Ask whether the range offers a coordinating vanity top if you want the room to match, a trick used in several of the schemes in our living room ideas for tiny houses where repeating one material ties a small space together.
7. Installation: What Good Fitting Looks Like
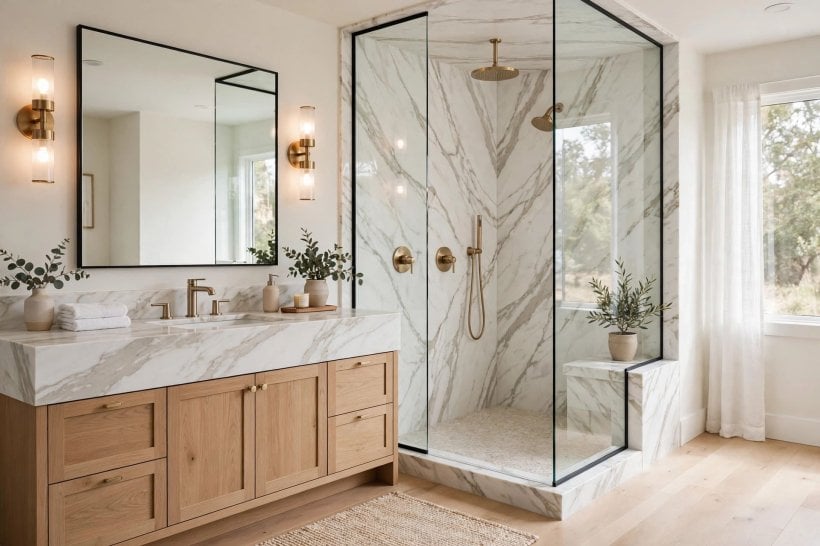
Panels forgive a lot, but not poor preparation. The wall behind must be sound, dry and suitable for adhesive fixing; damaged plaster, loose old tiles and damp all need dealing with first. A good installer checks the shower base or tray for level and movement, because panels fixed to a flexing enclosure will stress their seals no matter how well they are applied.
During fitting, look for the details that separate careful work from quick work: panels acclimatised to the room, cuts made neatly around pipework with proper clearance, continuous adhesive coverage rather than a few hopeful dabs, and high-quality sanitary sealant at every joint, tooled smoothly and left to cure for the stated time before the shower is used. Rushing that cure is the classic false economy of bathroom work.
Decide early whether this is a confident DIY project or a professional one. Straight walls in a standard alcove suit skilled DIY; out-of-square walls, heavy panels and plumbing alterations argue for a professional, whose labour also usually protects the product guarantee. Either way, read the manufacturer’s fitting guide before work starts, photograph the wall preparation, and keep the documentation; that folder is what turns future questions into quick answers.
8. Cleaning and Care Rules That Protect the Surface
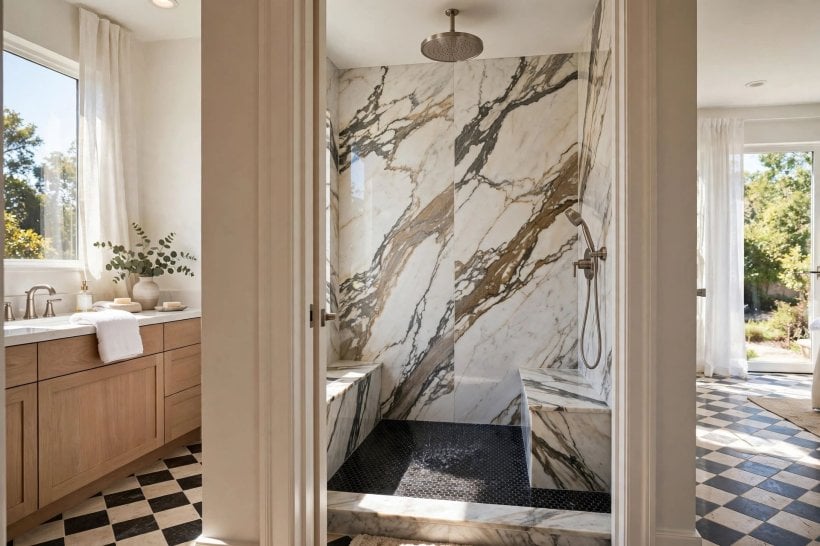
Care is where cultured marble rewards gentle owners and punishes enthusiastic scrubbers. The safe routine is simple: rinse the walls after showering when you can, wipe with a soft cloth or squeegee, and clean regularly with a mild, non-abrasive product approved for gel-coat surfaces. That rhythm prevents the build-up that tempts people towards harsh chemicals in the first place.
Keep a household blacklist on the bathroom door if it helps: no abrasive powders or pads, no stiff bristle brushes, no products the maker warns against, and no leaving strong chemicals or hair dyes sitting on the surface. Address limescale with approved descalers used as directed, rather than improvised acids. If your water is very hard, a squeegee habit does more for the panels’ appearance than any product on the shelf.
Sealant is the maintenance item to schedule. Inspect corner and base seals periodically and renew them when they show wear, since the panels themselves cannot compensate for failed joints. With that small discipline, the enclosure keeps its fresh, hotel-like smoothness for years, which is the entire reason most owners chose it; the same protect-the-surface logic runs through our home interior design ideas for tiny houses, where finishes are chosen for real daily life, not showroom weekends.
9. Costs and Value: Thinking in Patterns, Not Promises
Prices for panel systems vary with size, finish, brand family and region, so treat any single figure you hear with suspicion and think in patterns instead. The total project cost bundles panels, trims and accessories, adhesive and sealant, preparation of the existing walls, labour, and disposal of whatever comes out. A quote missing any of those lines is not cheaper; it is unfinished.
Value shows up over time. Compare the panel option against tile on a whole-project basis: installation speed, the value of getting your only bathroom back sooner, and the cleaning hours saved across the years. Set against that the possible cost of refinishing or replacing a damaged panel, and the guarantee terms that decide who pays. Households planning to stay put usually weight durability and care highest; landlords often weight speed and easy cleaning between tenancies.
Get at least two complete, like-for-like quotes, ask each installer to state preparation work explicitly, and keep a modest contingency for what old bathroom walls reveal once opened. That measured approach, rather than chasing the lowest headline number, is what owners of successful renovations consistently describe afterwards, whether the project is a shower enclosure or a whole home like those in our guide to building your own tiny house.
10. Questions To Ask Before You Order
Finish your research with a checklist conversation. Ask what exactly the panel is made from and how thick the gel coat protection is. Ask which cleaners are approved and which void the guarantee. Ask how scratches and chips are repaired, whether a repair kit exists for your colour, and what a replacement panel would involve years from now if the range is discontinued.
Ask the installer how they prepare walls, which sealant they use at joints, how long before the shower can be used, and whether their labour is guaranteed as well as the product. Ask to see a finished local installation, ideally one that has been in daily use, since fresh showroom panels all look perfect. Note delivery lead times and how panels arrive, because large sheets need a clear route into the bathroom and somewhere safe to rest.
Finally, confirm the order in writing: sizes, finish, colour batch, trims, accessories and what happens if a panel arrives damaged. Ten minutes of questions protects months of daily showers. If every answer is clear and documented, you can order with the confidence that the smooth, grout-free walls in the brochure are genuinely the walls you will get.
Final Considerations
Cultured marble shower panels are neither a miracle nor a compromise; they are a well-defined trade. You exchange natural stone’s uniqueness and tile’s design freedom for seamless walls, fast cleaning and a calm, consistent look that suits small bathrooms especially well.
Choose them with your cleaning habits, water type and household honestly in mind, insist on careful installation, and then keep the care routine gentle. Do that, and the panels will repay you the same way every single morning: with a shower that looks fresh in the time it takes to make coffee.


0 Comments