

Sealing an asphalt driveway is one of the most satisfying weekend jobs there is — but only if the product on the brush suits the surface under it. This guide explains what to check before you buy: sealer types, the condition of your asphalt, coverage, weather windows and application basics, so the finish lasts instead of peeling by spring.
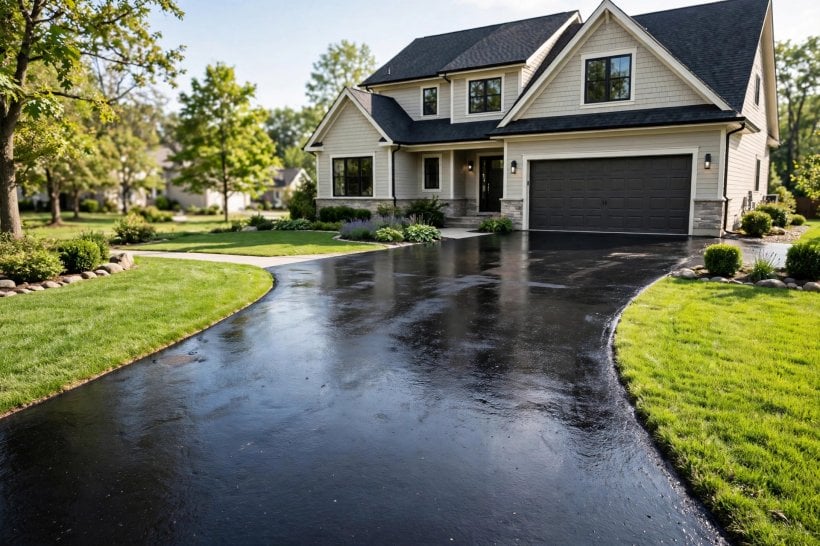
1. Driveway Sealers, At a Glance
People reading asphalt sealer reviews usually want a single winner, but the honest answer is that the best sealer is the one matched to your driveway’s surface, age and local weather. A product that performs beautifully on sound, well-cured asphalt can disappoint on a tired, cracked surface, and the reverse is true as well. So treat this guide as a set of checks rather than a league table: work through the questions below, note your answers, and the right type of sealer usually chooses itself. No brand names appear here on purpose — formulations change, but the checks stay the same.
| What does a driveway sealer actually do? | It refreshes the dark finish, shields the surface from water, sunlight and drips, and slows the visible ageing of the asphalt. |
| Which type suits an older, thirsty driveway? | A filling-type sealer made for weathered surfaces helps level minor texture differences and restore a more uniform colour. |
| Can I seal a freshly laid driveway straight away? | No — new asphalt needs time to cure and harden before any coating goes on, so wait as the surface’s guidance suggests. |
| How do I choose between finishes? | Decide whether you want a deep, restored black look or a subtler natural finish, then match the sealer type to that aim. |
| When is the best time to apply it? | A run of dry, mild days — the surface and the air both need to be dry, and not too cold, for the coating to cure well. |
| How long before vehicles can use it? | Follow the product’s own curing guidance and err on the longer side, especially in cool, damp or humid weather. |
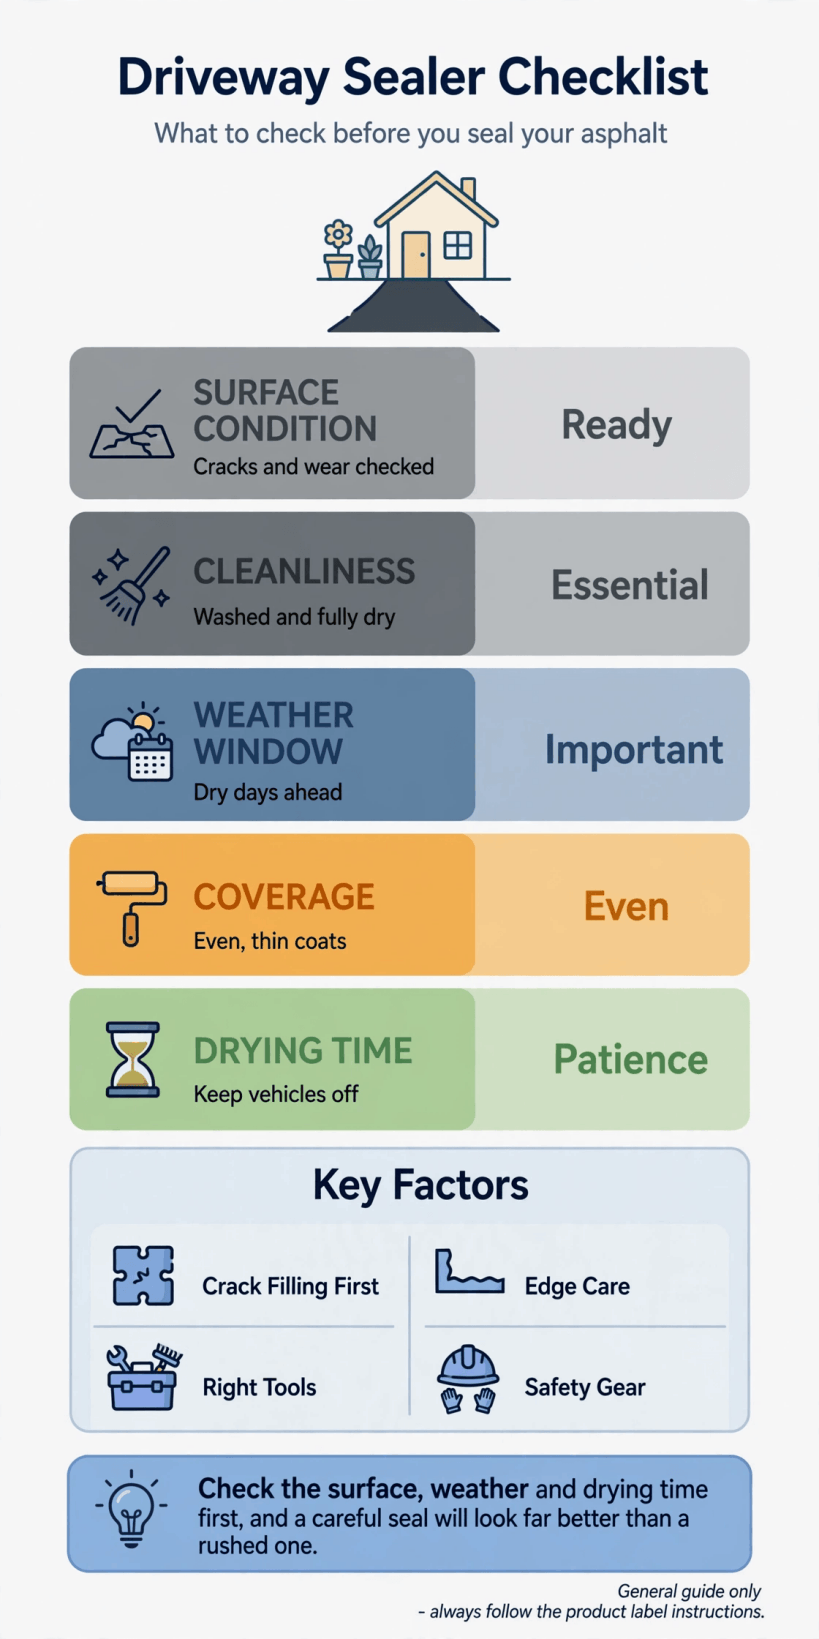
Before you buy, check four things in this order: the surface, the sealer type, the weather window and your tools.
2. Start With the Surface: Is Your Asphalt Ready To Seal?
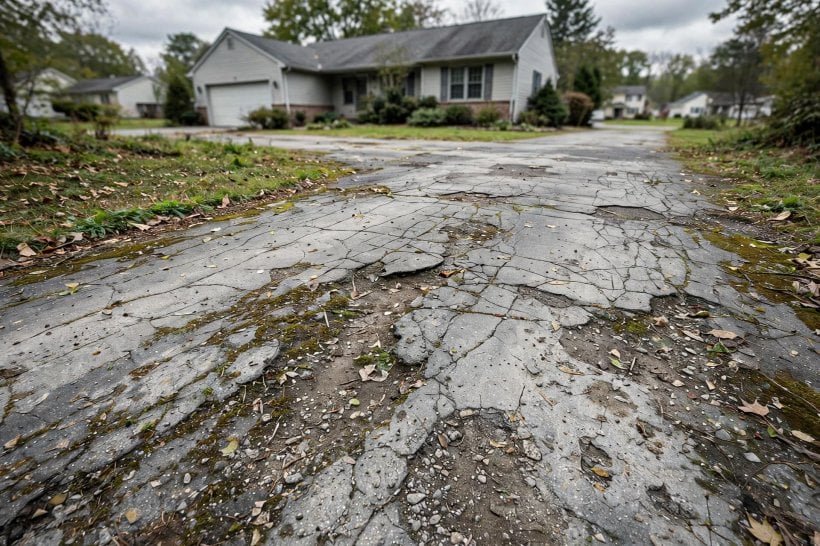
Every good sealing job starts with a slow walk. Look for cracks, crumbling edges, patches where the surface has gone grey and dry, low spots that hold puddles, and stains where oil or fuel has soaked in over the years. Sealer is a protective finish, not a structural repair: it will cosmetically unite a sound surface, but it cannot rescue asphalt that is breaking up, and it will not stick properly to contamination. Note the general colour and texture, too. A driveway that has faded evenly is a straightforward candidate; one with shiny, smooth, worn tracks where tyres run may need the preparation described later to give the coating something to grip. If the surface is brand new, patience is the main check — fresh asphalt must cure first. This honest appraisal takes ten minutes and decides everything else, much as a careful look at a plot comes before any of the projects in our roundup of new home exterior design ideas.
3. Know the Main Sealer Types Before You Compare
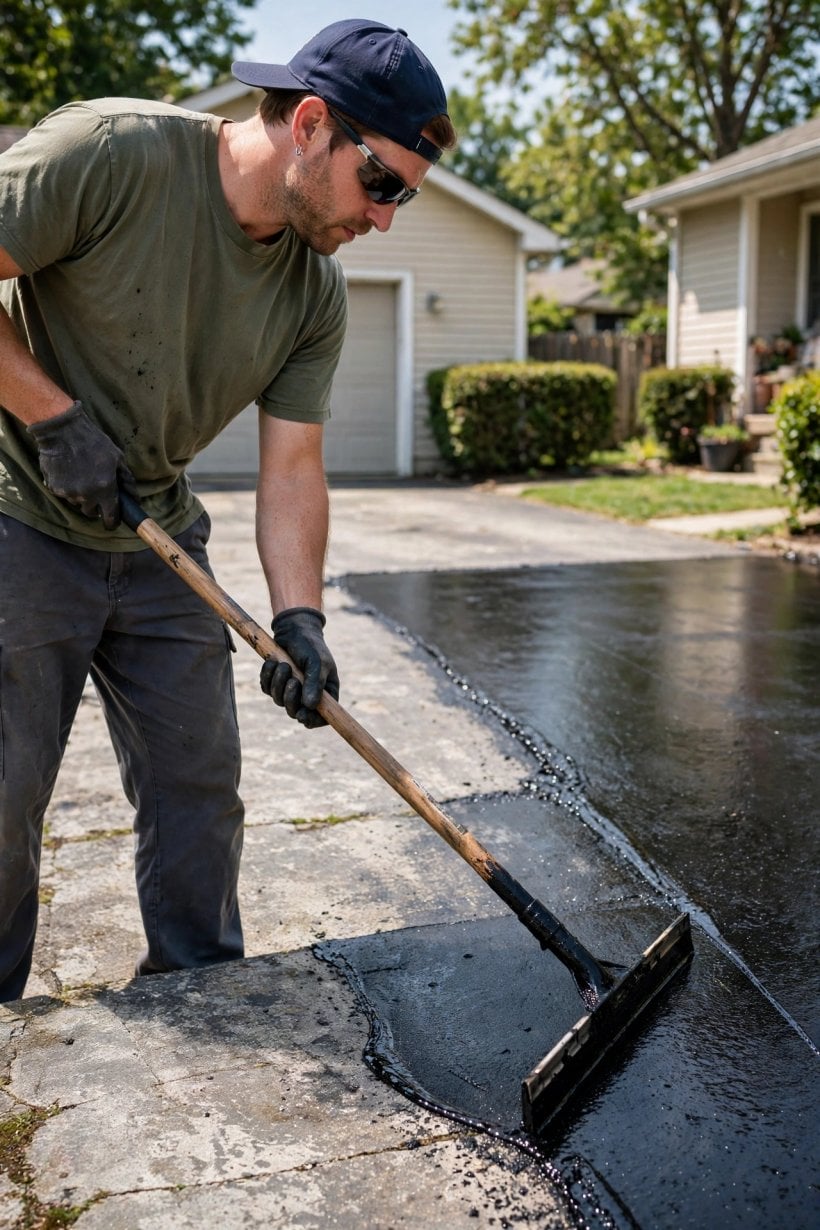
Driveway sealers fall into a few broad families, and understanding the families matters more than comparing individual tins. Traditional tar-based sealers are known for a deep black finish and strong resistance to fuel and oil drips, but they carry a strong smell while curing and are restricted or unavailable in some areas, so check local rules before assuming you can buy one. Asphalt-based emulsions are the gentle all-rounders: they restore colour, are kinder to work with and suit most sound residential driveways. Acrylic and polymer-modified coatings sit at the premium end, prized for colour that holds up well and a tidy, even finish, and they are often the choice where appearance matters most, such as a front driveway in full view. Finally, filling-type sealers are formulated for older, rougher surfaces, carrying fine material that settles into light texture and pitting. None of these families is universally best; each trades finish, durability, ease of use and working smell differently, and the next sections help you weigh those trades against your own surface.
4. Match the Sealer to the Driveway’s Age and Condition
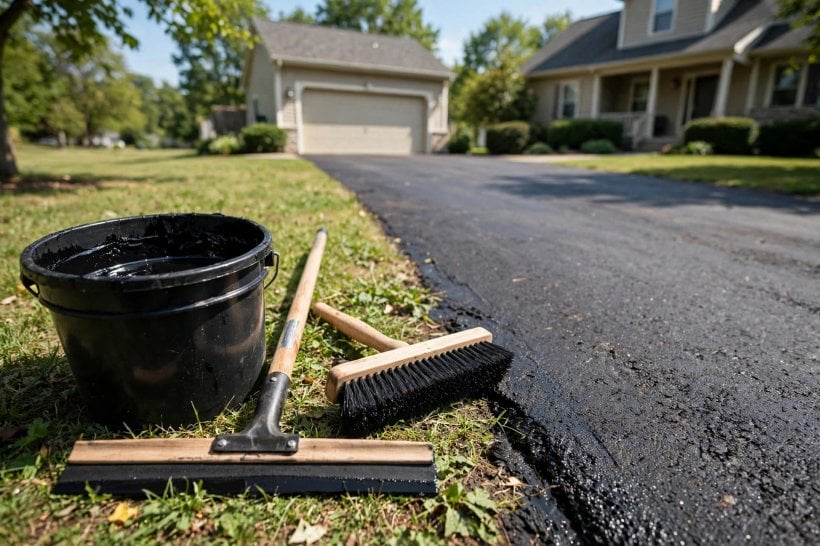
With the families in mind, match the product to the driveway in front of you. A young, sound surface in its first years of life mainly needs protection and colour, so a standard emulsion-type sealer is usually the sensible, economical match. A middle-aged driveway — faded, lightly textured, with a few hairline cracks you have already filled — benefits from the same family or a polymer-modified option if you want the finish to stay smart for longer between coats. An elderly, thirsty surface that drinks water and shows its aggregate needs the filling type, and even then it deserves honest expectations: sealing will smarten and protect it, not make it new. Also think about how the driveway is used. A drive that hosts a frequently dripping older vehicle argues for stronger resistance to oil and fuel; a rarely used frontage argues for appearance. Sketching your surface’s age, condition and use on paper before shopping keeps the decision rational — the same habit that helps when you design my own tiny house layouts rather than improvising on the day.
5. Check Coverage and How Much You Will Need
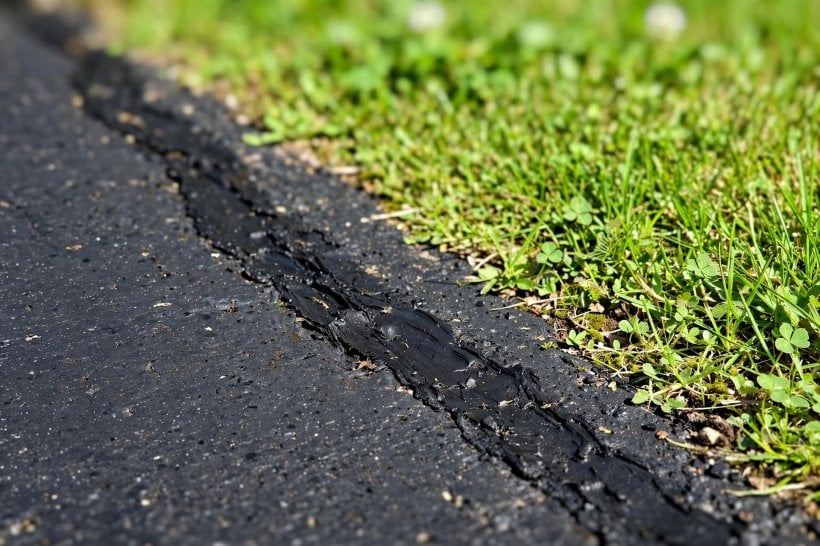
Running out of sealer halfway through the second coat is the classic avoidable disaster, so measure before you buy. Pace or tape the length and width of the driveway, multiply for the area, and compare it with the coverage guidance on the tin — then be pessimistic. Rough, weathered and previously unsealed surfaces drink noticeably more than smooth ones, and most good results come from two thin coats rather than one thick one, which your quantity needs to allow for. Buy a little more than your sums suggest, from the same batch if you can, because a mid-job top-up from a different batch can dry a slightly different shade and leave a visible tide line across the drive. Keep the receipt and store any unopened containers as directed; leftover sealer has a limited shelf life once opened, less so unopened. Planning quantities this carefully is also how you avoid overspending — a theme our guide to how to make a tiny house for cheap returns to often: measure honestly, buy once, waste little.
6. Read the Label Like an Inspector
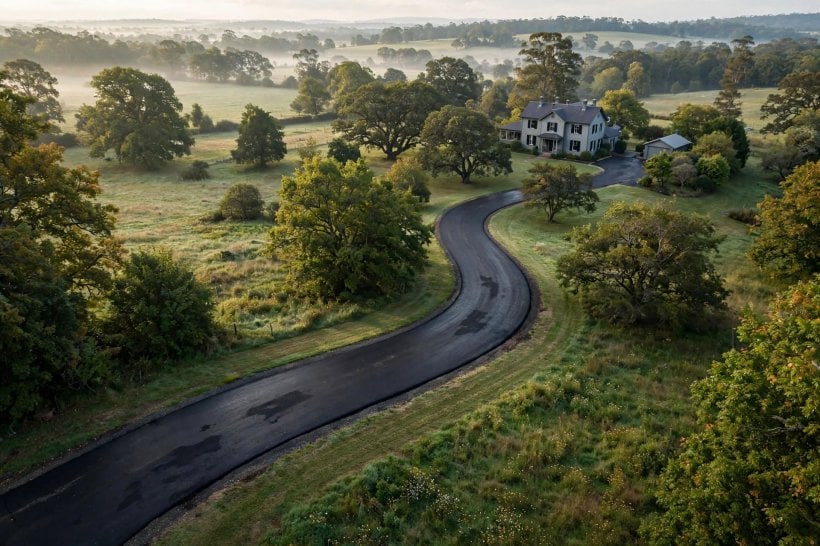
The label is the contract between you and the product, and five minutes reading it at the shelf saves every kind of grief later. Check the intended surface first: the sealer must be made for asphalt driveways, not for concrete, block paving or interior floors. Check the preparation it demands, the number of coats it assumes, and its guidance on drying and curing times in realistic weather, not laboratory weather. Check the temperature window for application and whether rain within a stated period will spoil the finish. Note the clean-up method — some products wash from tools with water, others need more — and the storage advice, since a tin stored through a freezing winter may not be the product you bought. Finally, compare like with like when judging value: a cheaper tin that covers noticeably less area, or needs an extra coat, is not cheaper on the driveway. If two products still tie after all that, choose the one whose instructions you understand best; clarity on the label usually reflects care in the formulation.
7. Prep Work That Decides the Result
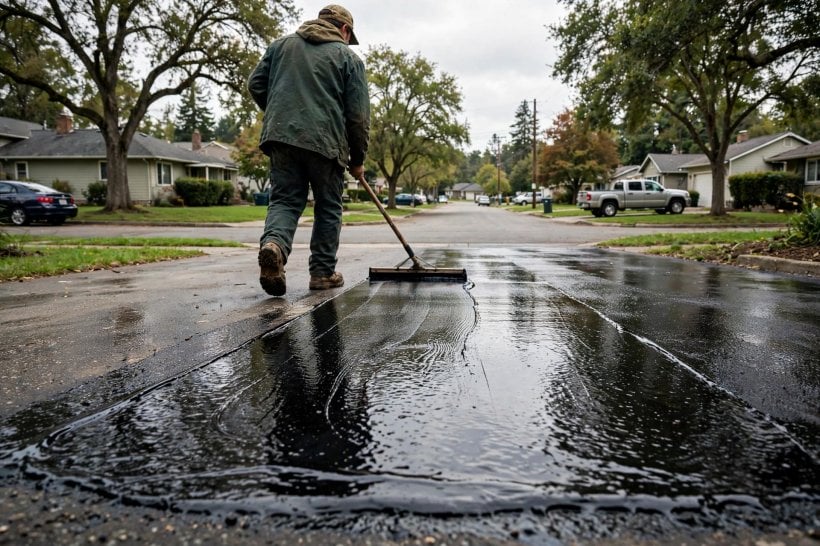
Ask any experienced applicator what decides a sealing job and they will say the day before, not the day itself. Sweep the whole surface, then wash it down and let it dry fully; grit and dust under a coating become weak points in the finish. Treat oil and fuel stains with a suitable driveway degreaser, because sealer over oil is sealer that peels. Fill cracks before sealing, not after — crack filler needs its own curing time, and sealing over an uncured fill traps problems beneath a pretty surface. Trim back grass and weeds along the edges, and mask paving, kerbs, garage doors and the house threshold with tape and sheeting, since splashes on pale stone are nearly permanent. Have everything ready before the first tin opens: brush or squeegee applicator, stirrer, old shoes and clothes, and a plan for keeping people, pets and vehicles off the surface for the full curing period. It is unglamorous work, but as anyone who has tackled a project like how to build your own tiny house knows, preparation is the part professionals never skip.
8. Pick the Right Weather Window
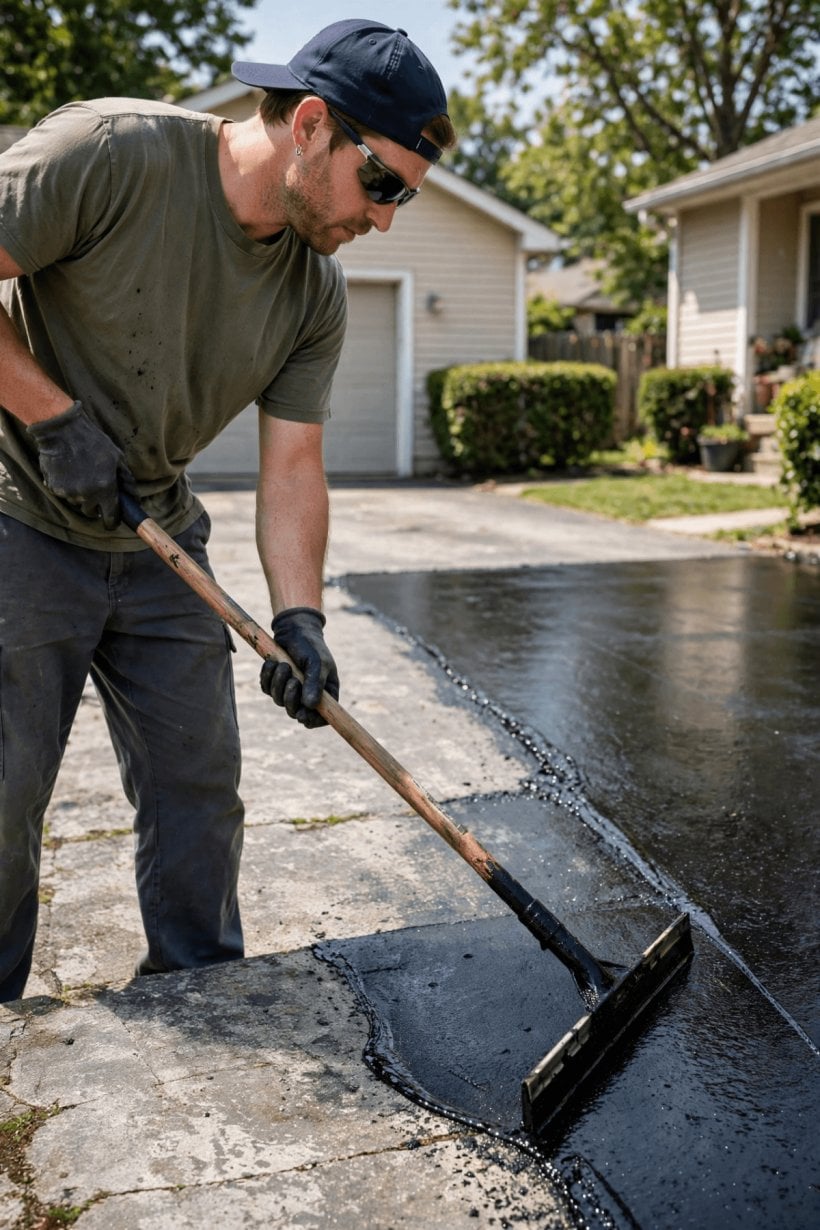
Sealer cures by drying, and weather is the foreman of that process. Choose a settled spell: the surface bone dry before you start, no rain expected through application and the first part of curing, and temperatures comfortably within the range the label asks for — cold nights, frost and scorching midday sun all cause trouble in different ways. Very hot weather makes coatings skin over before they have levelled, leaving brush marks; cold weather stretches curing times and can leave a finish that stays tender for days. Wind is a mixed blessing: a light breeze helps drying, a gusty day blows leaves and grit onto wet sealer. Read the forecast for the whole curing window, not just application day, and be willing to postpone a weekend if the weather turns — a delayed job costs nothing, while a rain-spoiled one costs a full second attempt and a difficult conversation with the surface. Shoulder seasons often give the kindest conditions: mild days, lower sun and driveways that dry by mid-morning after dew.
9. Application Checks: Tools, Coats and Edges
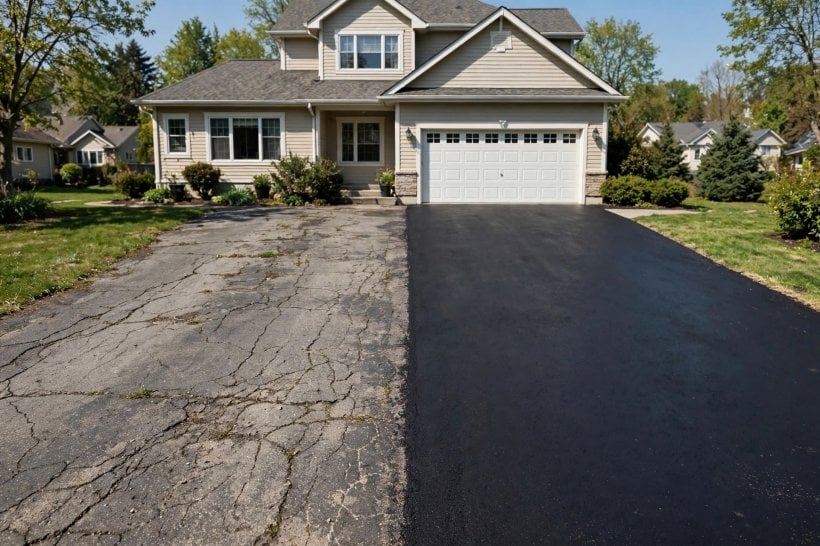
On the day, stir the product thoroughly and stir it again as you work, keeping the mixture even from the first band to the last. Work in manageable sections, cut in the edges with a brush, and spread the field with a squeegee or applicator in smooth, overlapping passes. Thin and even beats thick and generous every time: heavy coats skin on top, stay soft beneath and track footprints, while two thin coats cure hard and wear evenly. Keep a wet edge as you go so bands blend invisibly, and walk yourself off the driveway towards the street, never into a corner you have to cross later. Check your footwear plan — dedicated old shoes that stay at the edge — and your exit route for anyone in the house who forgets the drive is wet. If you are smartening the property more widely, perhaps ahead of a sale like the homes in our look at tiny houses for sale in Asheville, NC, a freshly sealed drive is one of the highest-impact finishing touches you can make in a single weekend.
10. Aftercare and When To Reseal
A freshly sealed driveway asks for very little: keep vehicles off it for the full curing period the label states, resist dragging heavy bins or turning steering wheels while stationary on the young surface, and sweep grit away rather than letting it grind under tyres. Over the following seasons, wash spills promptly, treat new oil drips before they soak through, and keep an eye on the high-wear tracks where tyres run, since those polish and thin first. Resealing is due when the surface fades back towards grey, water stops beading and starts soaking in dark patches, or the protective sheen wears unevenly — a matter of seasons rather than months for a well-matched product properly applied. When that time comes, your notes from this job — which type you used, how much the surface drank, what the weather did — are gold. Small properties benefit from keeping one simple maintenance log for the whole exterior, in the same organised spirit as the upkeep routines in our tiny house and small-space interior design guide.
Final Considerations
Choosing a driveway sealer well is mostly a matter of sequence: judge the surface honestly, shortlist by family rather than by tin, read labels like contracts, prepare like a professional and let the weather set the date. Do those things and almost any reputable product in the right family will reward you with a deep, even finish that shrugs off seasons of rain and sun. Skip them, and even the most praised product will struggle. Keep your notes, store leftovers properly, and your next round of asphalt sealer reviews will take half the time — because you will already know exactly which checks matter for the driveway outside your own front door.



0 Comments