

Forsythia is one of the most generous shrubs in the spring garden, and one of the easiest to multiply for free. A few healthy stems, a jar of clean water and a bright windowsill are genuinely all it takes to start new plants. This step-by-step guide covers choosing stems, making the cut, rooting, and potting on.

1. Rooting Forsythia in Water, At a Glance
If you want to know how to root forsythia in water, the short version is reassuring: cut a healthy stem, strip the leaves that would sit underwater, stand it in a clean jar in bright, indirect light, refresh the water regularly, and wait for roots. Forsythia is famously cooperative — the same stems florists force into early bloom indoors will often root on a windowsill with almost no fuss. The questions and answers below answer the points beginners ask most, and the ten steps that follow walk through the whole process in order, from choosing the parent shrub to planting your rooted cutting in the garden.
| When is the best time to take cuttings? | Soft new growth in late spring and early summer roots most readily; stems taken during winter forcing often root too. |
| How long should each cutting be? | A hand’s length or a little more, with several leaf nodes along the stem and a cut just below a node. |
| Do I need rooting hormone? | No — forsythia roots willingly in plain water, which is why this method suits beginners so well. |
| How often should I change the water? | Every few days, or whenever it looks cloudy, to keep the jar fresh and well oxygenated. |
| How long until roots appear? | Typically a few weeks, though timing varies with temperature, light and the season the stems were cut. |
| When is a cutting ready to pot up? | Once it has a healthy cluster of roots a few centimetres long, handle it gently and pot it into moist compost. |
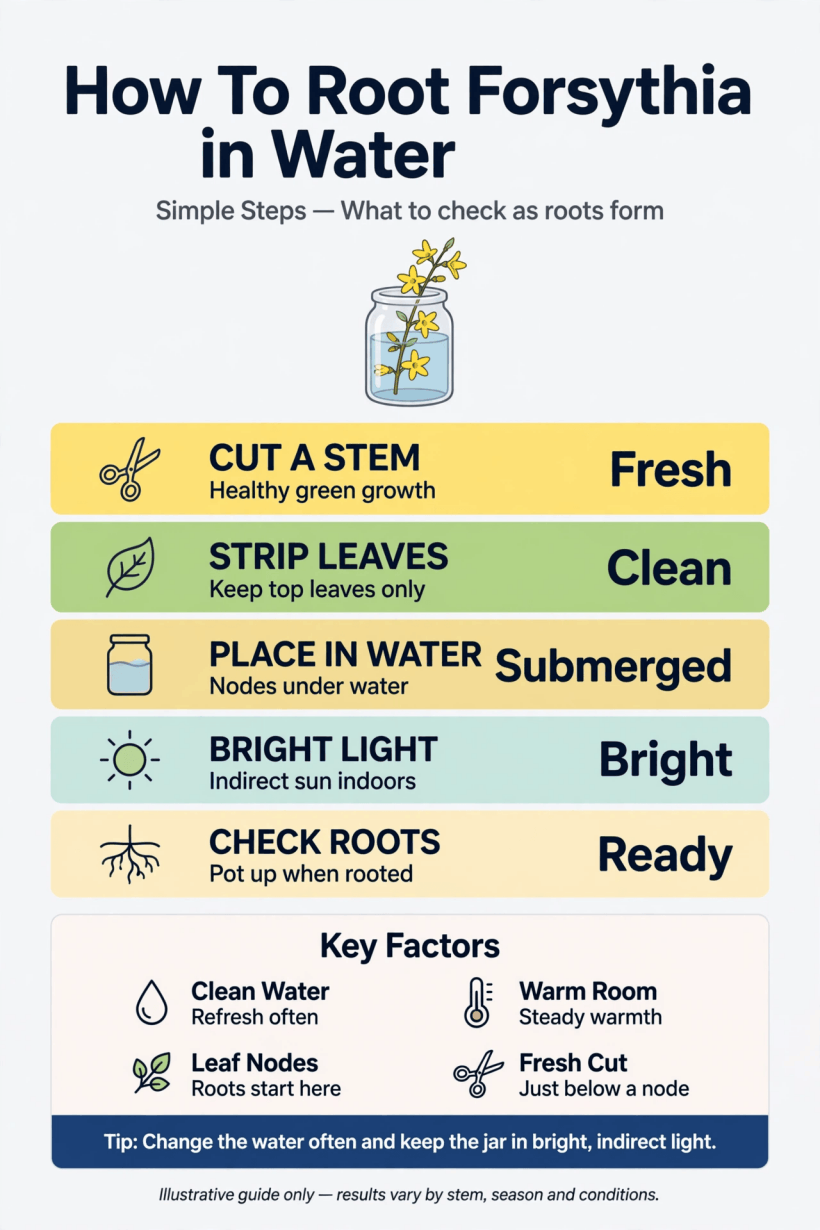
The whole method at a glance: cut below a node, strip the lower leaves, root in clean water, then pot up and harden off.
2. Choose a Healthy Parent Plant and the Right Stems
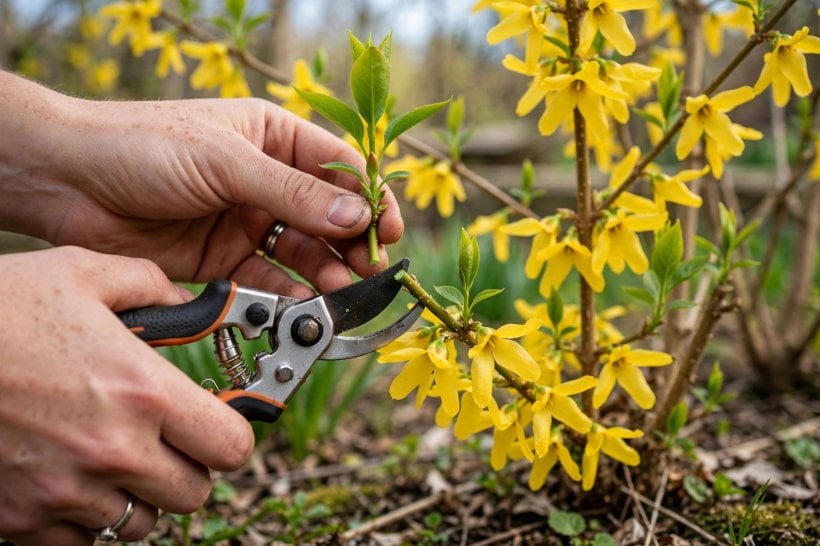
Start with the shrub itself. The best cuttings come from a vigorous, well-established forsythia that leafs out evenly and shows no dieback, spots or distorted growth. Look for straight, pencil-thin stems from the current or previous season’s growth — flexible and green-brown rather than thick, gnarled old wood, which roots reluctantly. Stems that grew in reasonable light make sturdier cuttings than the thin, pale whips from deep inside a crowded bush. If a neighbour’s shrub is the one you admire, ask first; most gardeners are delighted to trade a few stems for a rooted plant later. Take more cuttings than you need — a jar of six or eight stems costs nothing extra, and spares forgive every beginner mistake. Gardeners planning a whole new hedge from one shrub should think of this as the first row of a longer project, in the same patient spirit as the builds in our guide to how to build your own tiny house: steady steps, generous materials, no rush.
3. Gather Your Kit: Clean Tools, Jars and Water
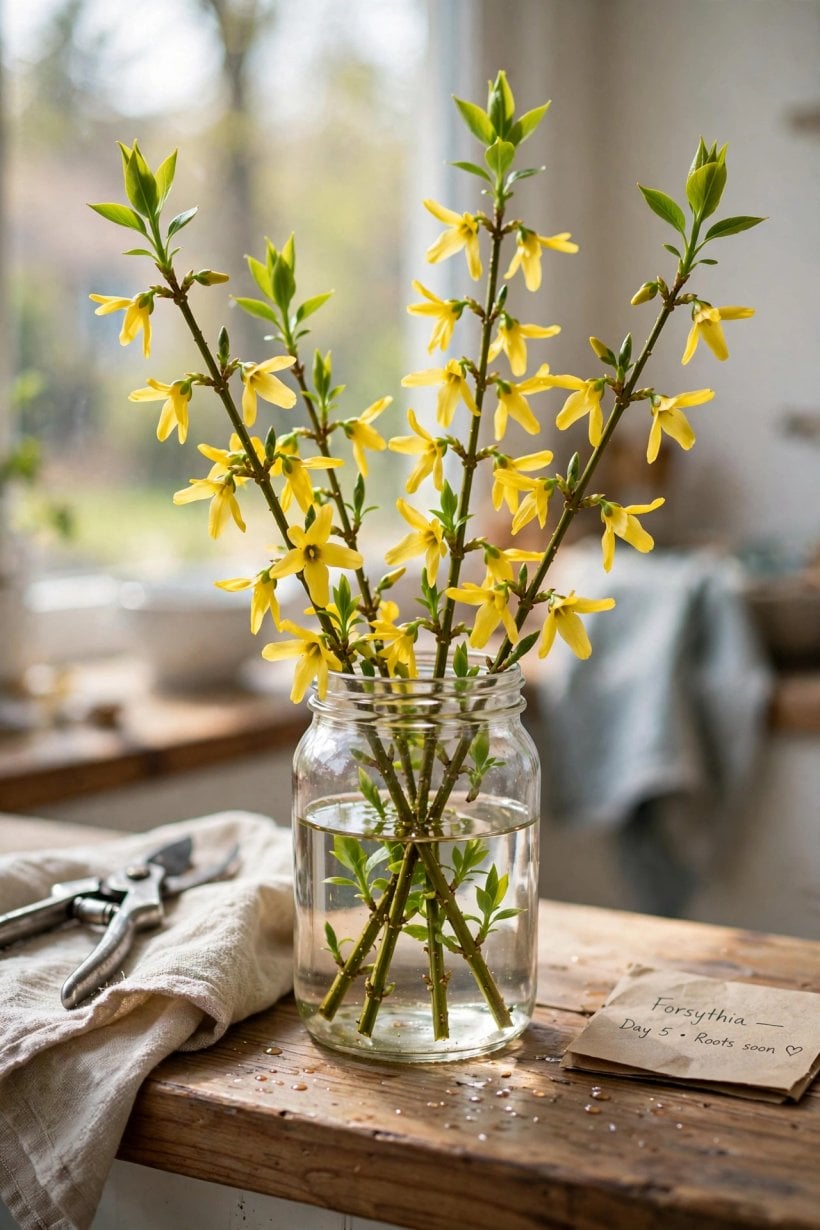
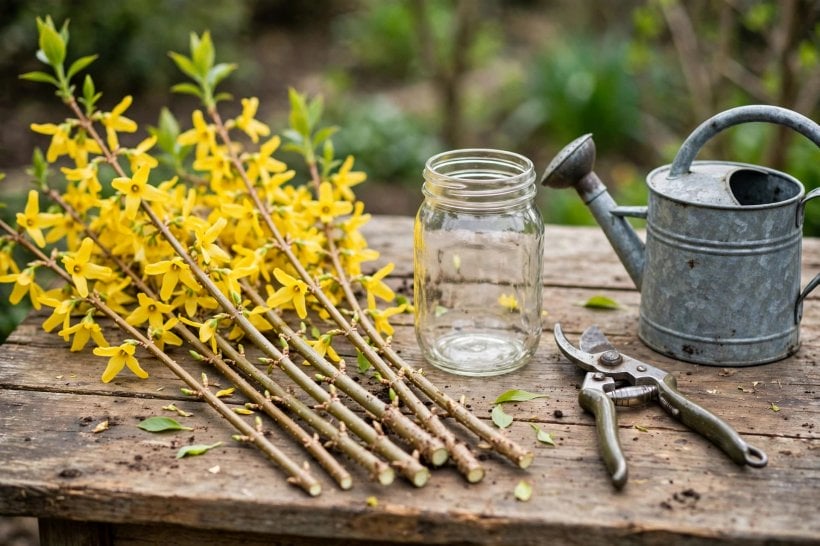
The kit list for this project fits in one hand: sharp secateurs or a clean knife, a few glass jars or bottles, and fresh water. Sharpness matters — a clean cut seals and calluses neatly, while a crushed stem invites rot in the jar. Wash jars with hot soapy water and rinse them well, since residue and bacteria are the main enemies of water rooting. Clear glass is more than a pretty choice: it lets you watch root development without disturbing the stems, which becomes half the pleasure of the project. Rainwater is lovely if you collect it, but ordinary tap water left to stand for a while works perfectly well for most gardeners. Set up one jar per handful of stems rather than cramming everything into a single vessel; elbow room keeps the water fresher and makes it easy to rescue one stem without disturbing the rest. Label each jar with the date and the parent shrub if you are rooting stems from more than one plant — future you, holding two similar jars in a month’s time, will be grateful.
4. Make the Cut: Length, Nodes and the Angle
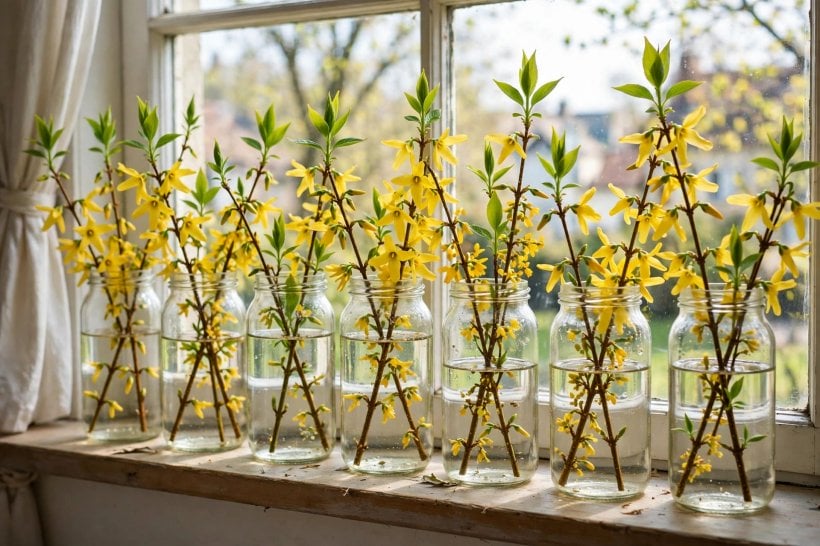
Cut each stem to a comfortable hand’s length, a little more if the stems are slender. The important detail is where the bottom cut lands: snip just below a leaf node, the knobbly ring where leaves join the stem, because that is where rooting energy concentrates. A gentle sloping cut increases the surface the stem can drink through and helps you remember which end is down — a real concern with a leafless winter stem that looks identical both ways up. Work in the cooler part of the day if you can, and drop cut stems straight into a jug of water as you go so the cut ends never dry out. If the stems must travel any distance, wrap them in a damp cloth inside a bag; forsythia is forgiving, but a stem that wilts hard before it reaches the jar starts the race a lap behind. Back indoors, recut the base under water or just before the stems go into their jars, so each cutting starts with a fresh, open cut.
5. Prepare Each Cutting: Strip, Trim and Tidy
Preparation is five quiet minutes that decide most failures. Strip every leaf from the lower half of each stem — any leaf left below the waterline will rot, cloud the jar and sour the whole batch. Keep two or three healthy leaves at the top so the cutting can keep photosynthesising while it works on roots; if those leaves are very large, trimming them back by about half reduces water loss without shutting the plant down. Remove any flower buds on soft spring cuttings too, pretty as they are, because flowering spends energy the stem should be saving for root-making. Check the base once more for a clean cut and trim away any ragged bark. What you want, going into the jar, is a tidy stem: bare and smooth below, lightly leafed above, with at least one or two nodes sitting under the water. Gardeners who enjoy this kind of small, satisfying propagation often end up with a windowsill nursery for the whole street — a thrifty pleasure our notes on how to make a tiny house for cheap would approve of, scaled down to a jar.
6. Set the Cuttings in Water the Right Way
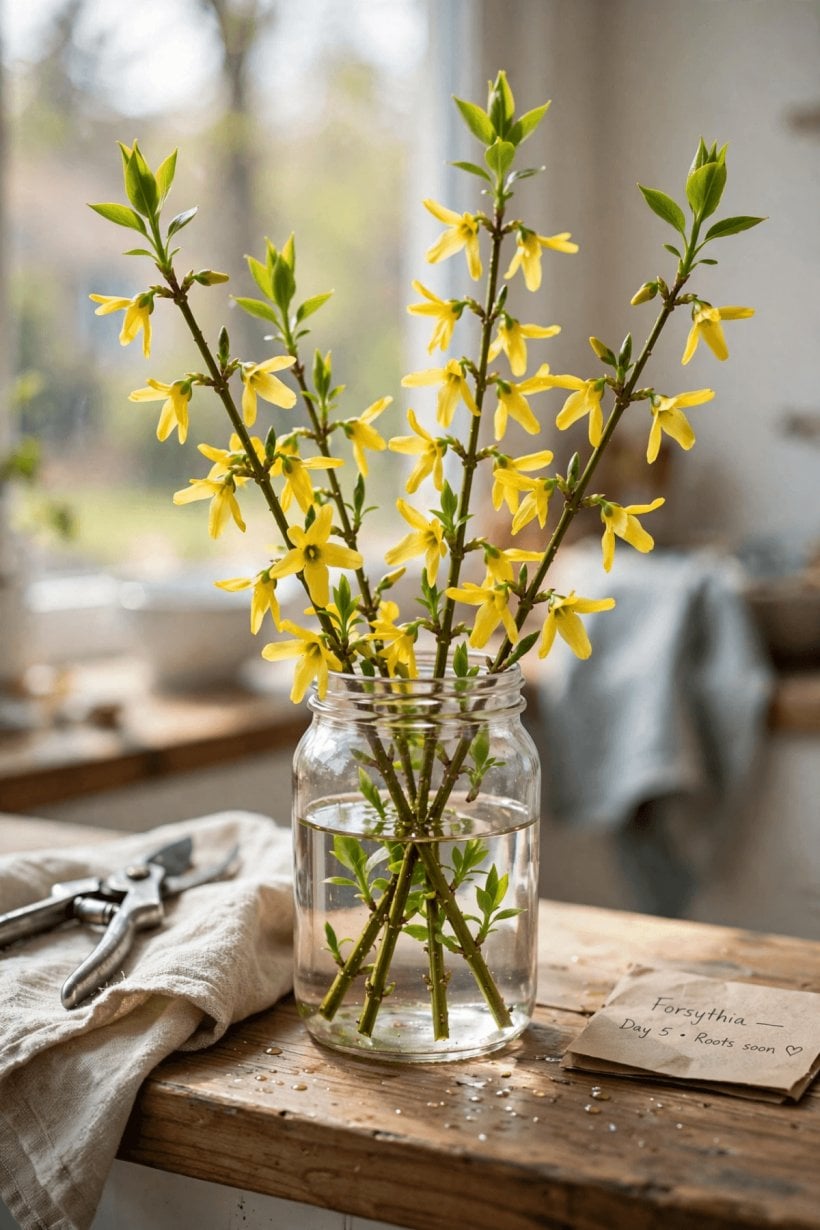
Fill each jar so the water covers the lower nodes but leaves the remaining foliage well clear of the surface. Stand the stems upright, not packed tight — a slight lean against the jar’s rim is fine and even helps each stem find its own space. If stems keep toppling, a piece of chicken wire or a coffee lid with holes over the jar mouth makes a simple grid that holds them apart. Place the jars where they get bright light without harsh midday sun: an east or west windowsill is ideal, and a north-facing sill works in brighter months. Direct sun through glass overheats small jars surprisingly fast and cooks tender stems, while a gloomy corner slows rooting to a crawl. Keep the jars somewhere you pass daily. Water rooting asks almost nothing of you, but it does ask it regularly, and a jar on the kitchen sill gets its water changed; a jar in the spare room gets forgotten. This is the whole secret of the method: the right stems, in clean water, in kind light, watched by someone who walks past.
7. Care While You Wait: Water Changes and What Roots Look Like

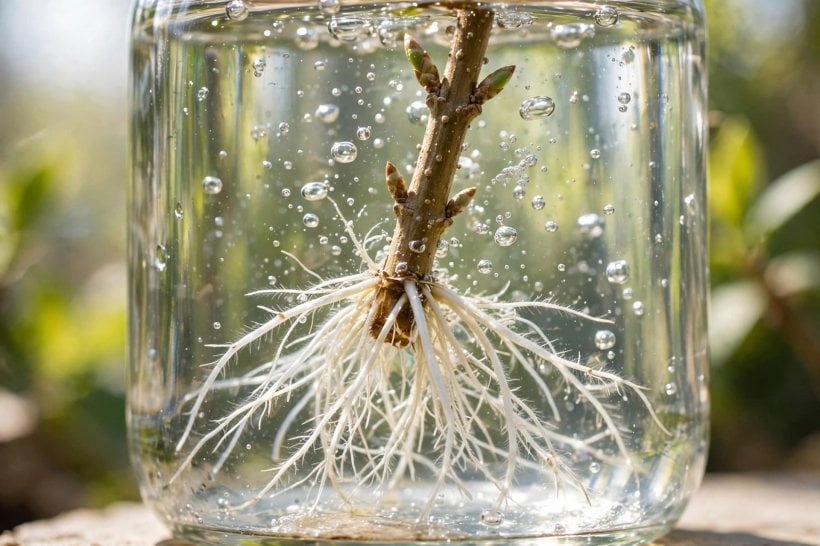
The waiting weeks have their own small routine. Change the water every few days, rinsing the jar if it feels slippery, and top up with fresh water at room temperature so the stems are never shocked by a cold plunge. If one stem turns soft, dark or slimy at the base, lift it out promptly and discard it — one rotting stem can take the jar with it, and your spares exist for exactly this moment. Healthy progress shows in stages: the submerged nodes swell slightly, tiny white bumps appear, and then the first thread-like roots push out, white and branching. Leaves at the top may unfurl and even a forced flower or two may open; enjoy them, but do not mistake leaf growth for roots — the jar only graduates when the root system below is real. Patience is the main skill here. Most jars show encouraging roots within a few weeks in warm conditions, and slower jars are usually just cooler or darker, not failures. Keep notes on the label you made in step three; comparing batches teaches you your own windowsill’s microclimate faster than any book.
8. Potting Up: From Water Roots to Compost
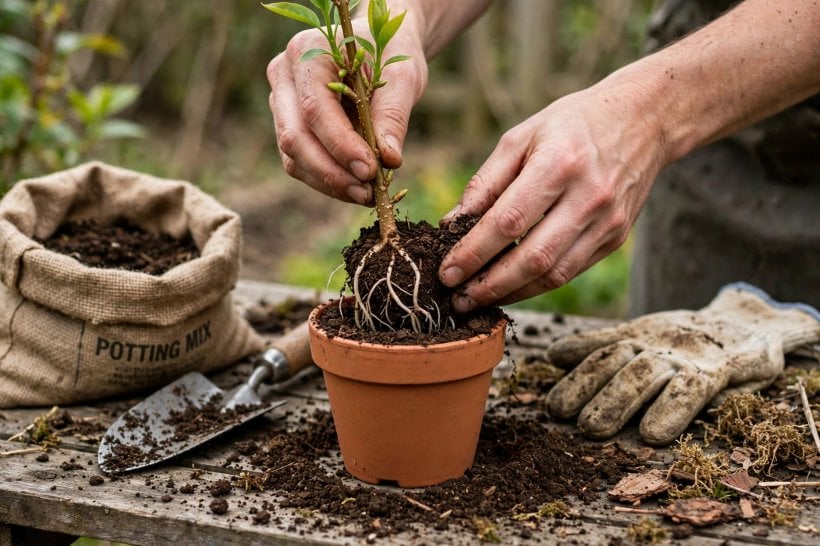
When a cutting carries a healthy tangle of roots a few centimetres long, it is time to pot up — the most delicate step of the whole process, because water-grown roots are brittle and used to a weightless world. Fill small pots with a free-draining, peat-free compost, water it first so it is evenly moist, and make a generous hole with a pencil. Lower the roots in without forcing or folding them, firm the compost gently around the stem, and water again to settle everything into contact. For the first week or two, treat the young plant like a convalescent: bright light out of fierce sun, compost kept moist but never soggy, and a clear cover or a light misting if leaves flag while the roots learn to work in soil. Expect a pause in top growth; the plant is rebuilding its plumbing, not sulking. Once new leaves hold firm through a warm day and growth resumes, you have a proper young shrub. Gardeners furnishing a new plot will find this the cheapest row of shrubs they ever plant — the same resourceful thinking that runs through our home interior design ideas for tiny houses, applied to the garden.
9. Hardening Off and Planting Out
A windowsill plant has lived a sheltered life — soft air, no wind, no frost — so introduce it to the garden gradually. Set the pots outside in a bright, sheltered spot for a few hours a day at first, lengthening the stay over a week or two, and bring them in if a hard frost threatens. This hardening off toughens leaves and stems so the move outdoors is a promotion, not a shock. Choose the planting spot with the mature shrub in mind: forsythia becomes a large, arching bush that wants sun for its best flowering and room to spread without swamping neighbours. Dig a hole wider than the pot, settle the plant at the same depth it grew in its pot, firm the soil, water deeply and mulch around — but not touching — the stem. Keep watering through dry spells in the first season while roots establish. If you are planning a whole boundary or spring screen, sketching positions first helps; the layout habits in design my own tiny house translate surprisingly well to planting plans.
10. Troubleshooting: When Cuttings Refuse To Root
Even a cooperative plant has off days, and most failures trace back to a short list of causes. Cloudy, smelly water means the jar needed changing more often, or a leaf was left rotting below the surface — start that stem again with a fresh cut above any soft tissue. Stems that sit for many weeks with swelling nodes but no roots are usually too cold or too dark; move the jar somewhere warmer and brighter and give it more time before giving up. Bases that go black from the bottom are rotting, often from a crushed cut or a dirty jar, and those stems rarely recover. Algae greening the glass is mostly cosmetic — change the water, rinse the jar and move it out of direct sun. Cuttings taken from very old, thick wood are the slowest of all; retake from younger growth if you have the choice. Keep the faith and the spares coming, because the method itself is sound: generations of gardeners have filled hedges with shrubs that started exactly this way, in a jam jar on a sill, including many planted around the small homes in our tiny house and small-space interior design features.
Final Considerations
Rooting forsythia in water is the kind of gardening that reminds you why you garden: near-zero cost, near-zero equipment, and the quiet thrill of watching white roots thread through a jam jar on an ordinary Tuesday. Work through the steps in order — healthy stems, clean cuts below a node, bare stems below the waterline, fresh water, kind light and patience — and most jars will reward you. Pot up gently, harden off honestly, and within a few seasons your free cuttings become the shower of yellow that announces spring on your street. Take more stems than you need, share the spares, and label your jars; the rest is simply learning how to root forsythia in water once, then doing it forever.




0 Comments