

A ledger board carries one edge of a deck or similar structure and fixes it to the house wall — which makes its attachment to a concrete block wall a structural job, not a casual one. This guide explains the anchors, the steps and the safety checks, in the right order.
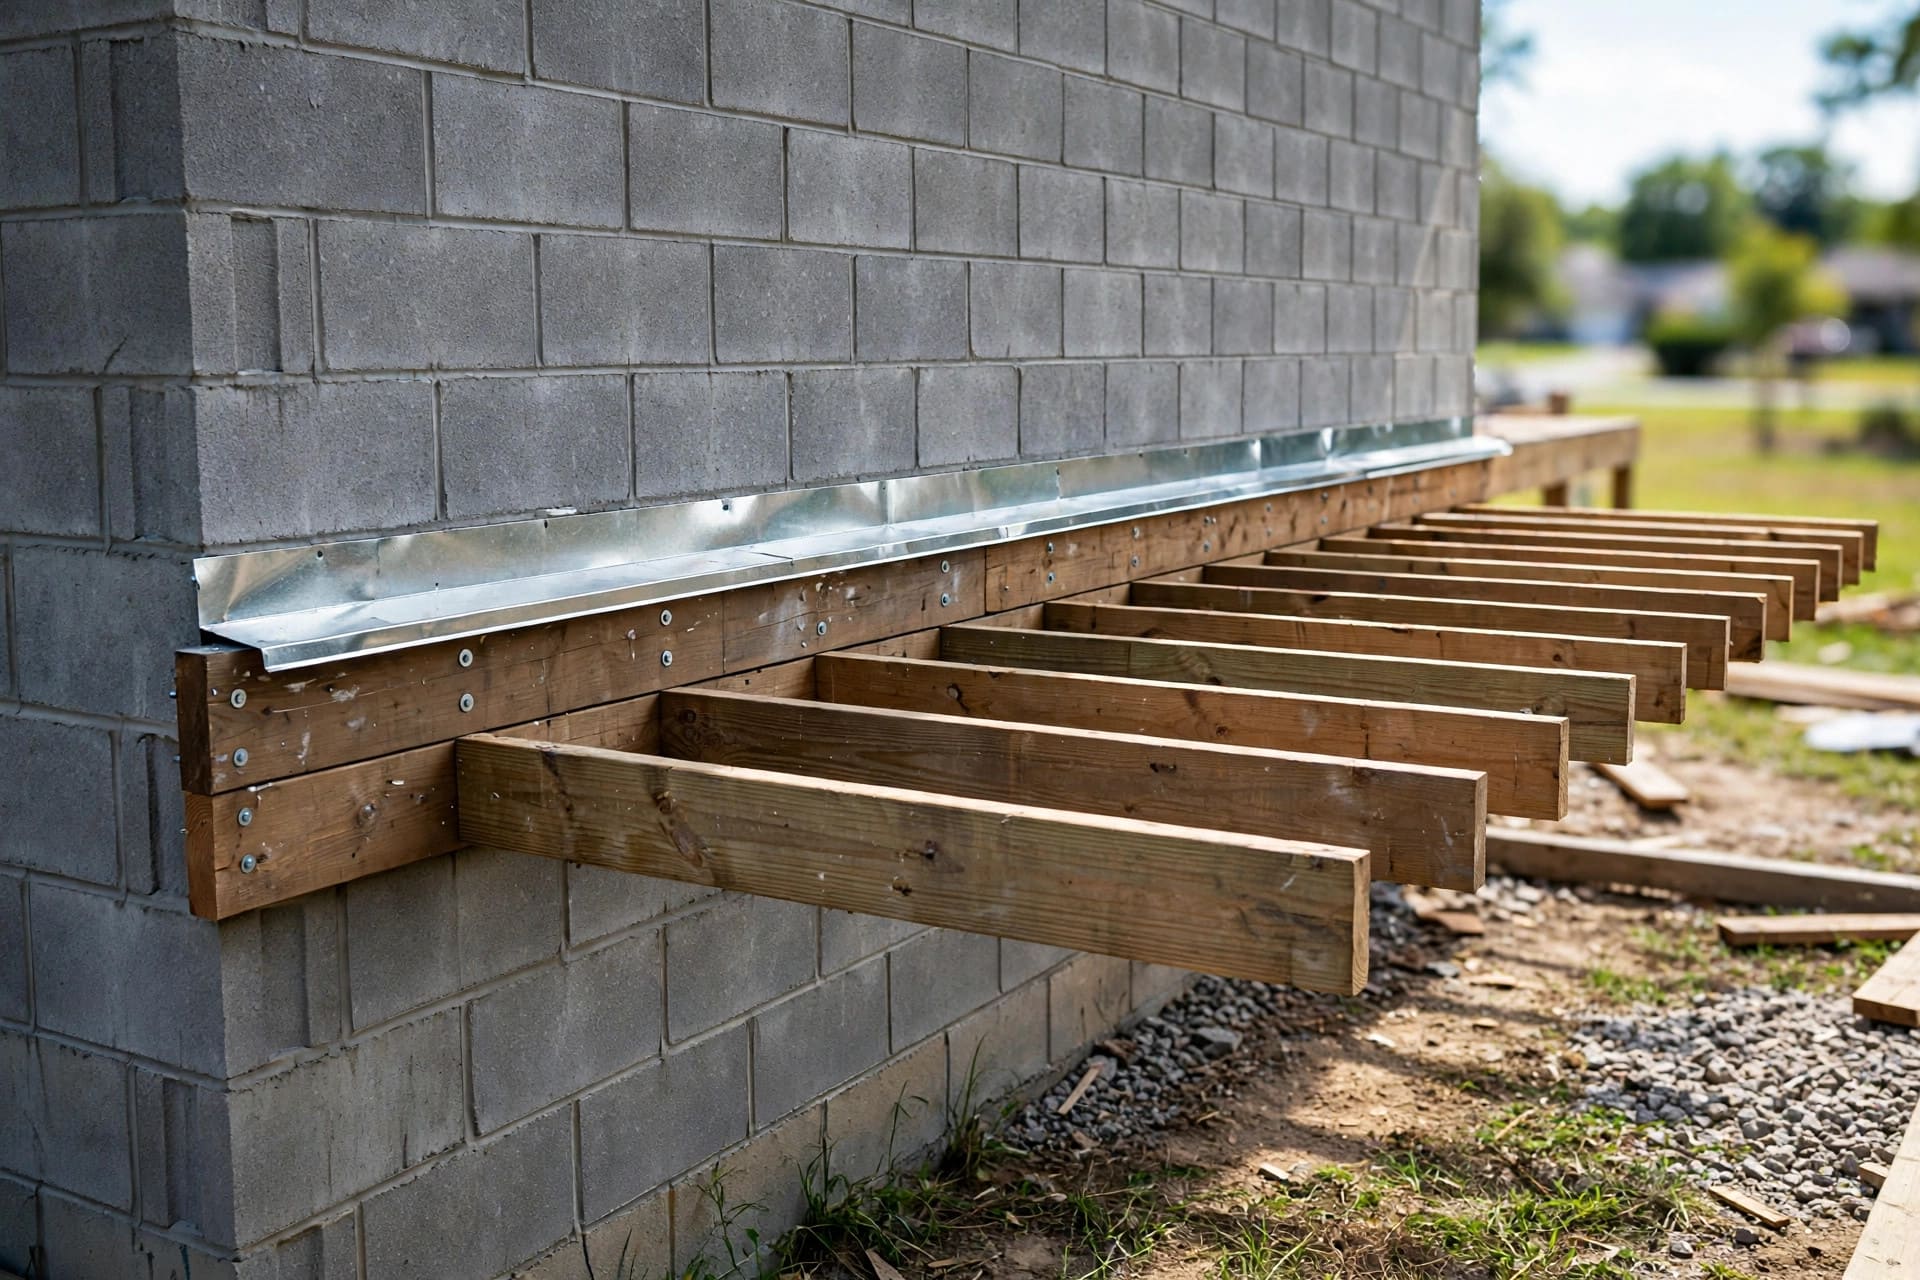
1. Attaching a Ledger to Concrete Block at a Glance
Guides in this series keep structural advice deliberately careful: loads and anchor behaviour are described in general terms, because the correct specification depends on your structure, your blockwork and your local code. Always follow the anchor manufacturer’s instructions for the exact product you buy, follow local code requirements, and use a licensed professional for structural design and any work you are not fully qualified to judge.
| Question | Short answer |
|---|---|
| What does a ledger board do? | It supports one edge of a deck or framed structure and transfers its load into the wall. |
| Can anchors go into concrete block? | Yes, with anchors designed and rated by their manufacturer for blockwork, installed exactly as instructed. |
| Is the hollow part of a block a problem? | It changes everything: fixings behave differently in the solid webs and shells than in hollow cores, so anchor choice must suit the substrate. |
| What is the biggest mistake? | Treating the job like hanging a shelf — guessing anchor type, spacing or condition of the wall. |
| Do I need permission or inspection? | Decks and structural attachments are regulated in many areas; check your local code and permit requirements before starting. |
| When should I use a professional? | Whenever the structure is large, elevated, roofed, or the wall’s condition is doubtful — and for the structural design itself. |

The job at a glance: assess the wall, choose anchors rated for block, mark out carefully, drill accurately, fix as instructed, flash against water and check everything.
2. Before You Drill: Assess the Wall and the Job
People usually arrive at this task with one plain question — how do i attach a ledger board to concrete? — and the honest first answer is: slowly, and only after assessing what you are fixing into. A concrete block wall can be structural or non-structural, solid grouted or hollow, sound or quietly crumbling behind paint, and each of those changes what a responsible fixing looks like. This is assessment, not drilling, and it deserves a full stage of the project to itself.
Look at the wall closely. Sound blockwork rings firm under a knuckle tap, mortar joints are full and hard, and there are no cracks stepping through joints near your fixing line. Hollow blocks have solid webs and face shells with voids between, which is why anchor position and type matter so much. If the wall shows significant cracking, spalling, damp damage or previous failed fixings in the area, stop and have it assessed professionally before designing anything around it.
Understand the structure the ledger will carry. A small, low platform and a large elevated deck with a roof are different worlds of load, and load is the ledger’s whole job. Anyone who has studied how to build your own tiny house knows the principle: the structure above is only ever as trustworthy as the connection at its base.
3. Choosing Anchors for Concrete Block
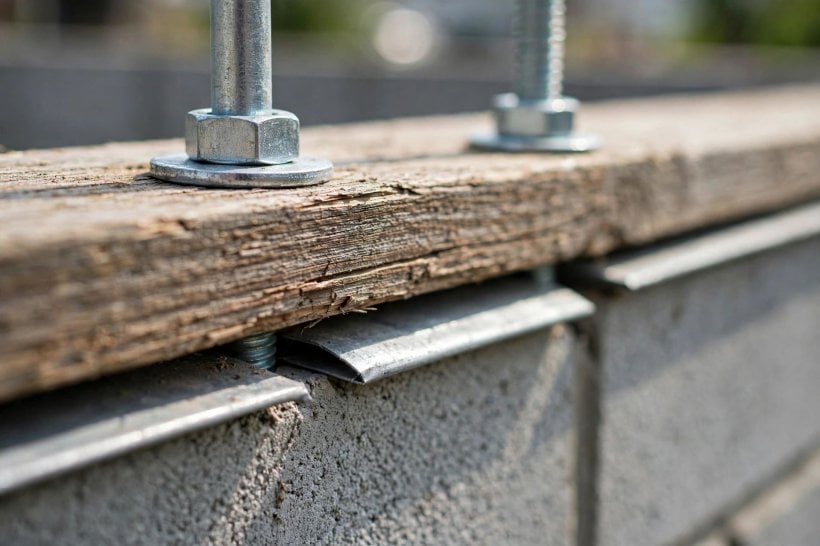
Anchors for blockwork fall into families, and the differences matter. Sleeve and wedge-style anchors expand against the material around them and are typically intended for solid concrete or the solid parts of blockwork, used strictly within their manufacturer’s stated applications. Through-bolts pass right through the wall where both sides are accessible, spreading load with plates or large washers. Adhesive anchor systems bond a threaded rod into a drilled hole with a resin specified by its manufacturer, and are often chosen where the substrate is variable, again strictly per the product’s instructions and approvals.
What you must not do is improvise: ordinary wall plugs, screws meant for timber, or anchors with no stated rating for masonry have no place in a structural ledger. Buy anchors whose manufacturer explicitly lists concrete block among their approved substrates, in the configuration you intend — hollow or grouted — and keep the packaging and instructions until the job is finished and checked.
Corrosion belongs in the same decision. A ledger lives outdoors in driven rain, so anchors and any metal connectors should be suited to exterior, treated-timber environments as the manufacturer specifies, because a rusted fixing inside a wall fails silently and invisibly.
4. Tools and Materials You Will Need
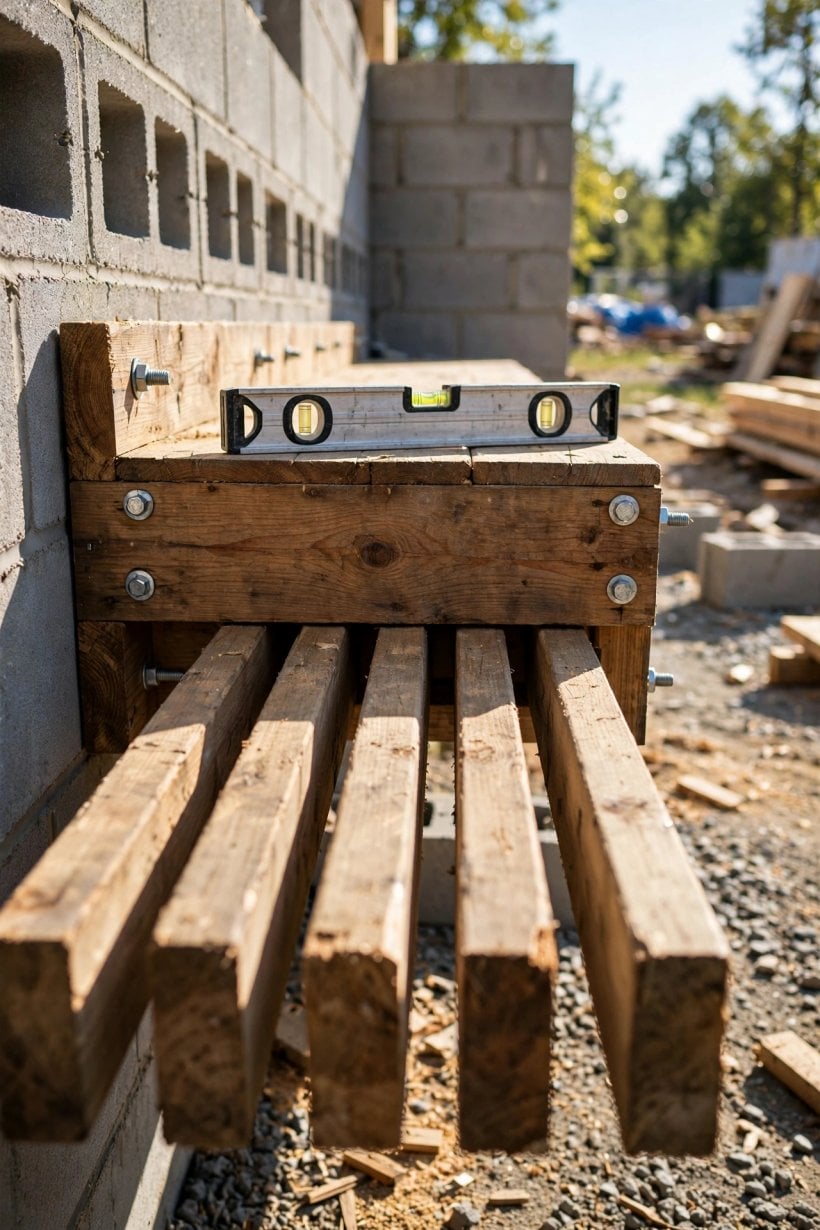
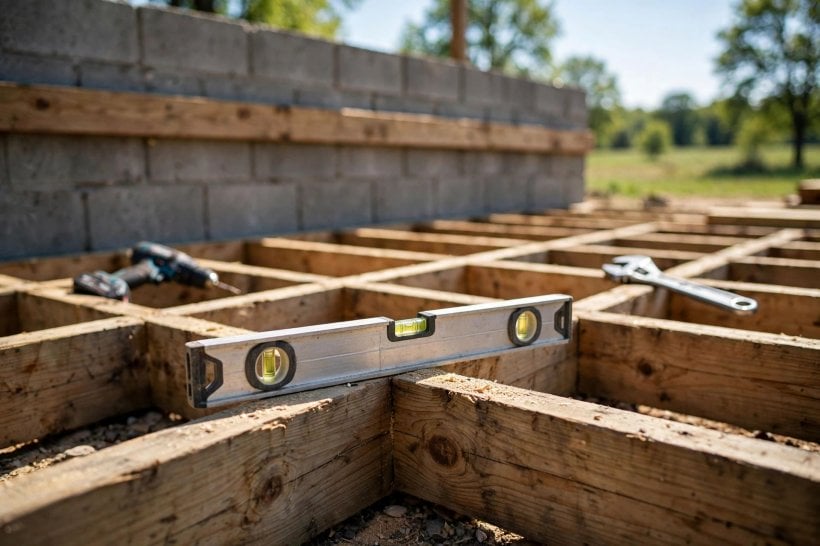
Gather everything before the first hole, because half-fixed structural work should never be left waiting for a shop run. The board itself should be sound, straight, exterior-grade treated timber suited to the application, checked along its length for twist and splits. You will need a rotary hammer drill with masonry bits matched to your chosen anchors exactly as their instructions specify, a means of clearing dust from drilled holes, a long level, a tape, a chalk or pencil line, and a wrench or socket set suited to your fixings.
Safety equipment is part of the tool list, not an extra: eye protection against masonry chips, a properly fitted dust mask for drilling concrete and block, hearing protection for hammer drilling, and gloves for handling treated timber and sharp flashing. Drilling overhead or from a ladder adds its own risks, so plan stable access — a proper work platform beats a wobbling ladder for any drilling that needs two hands and your full weight behind the drill.
Finally, gather the finishing materials at the same time: exterior flashing to shed water over the top of the ledger, a compatible exterior sealant where the design calls for it, and spacers or standoff hardware if your chosen, code-compliant design uses them to keep the board off the wall face.
5. Marking Out: Height, Level and Layout
Every later stage inherits the accuracy of this one, so mark out slowly and check twice. Establish the finished height of the structure first — the deck surface or floor level the ledger must support — then work backwards through board heights to the line where the ledger’s top edge belongs. A ledger fixed even slightly out of level telegraphs the error across the whole structure, and a ledger fixed at the wrong height is an expensive argument with every joist that follows.
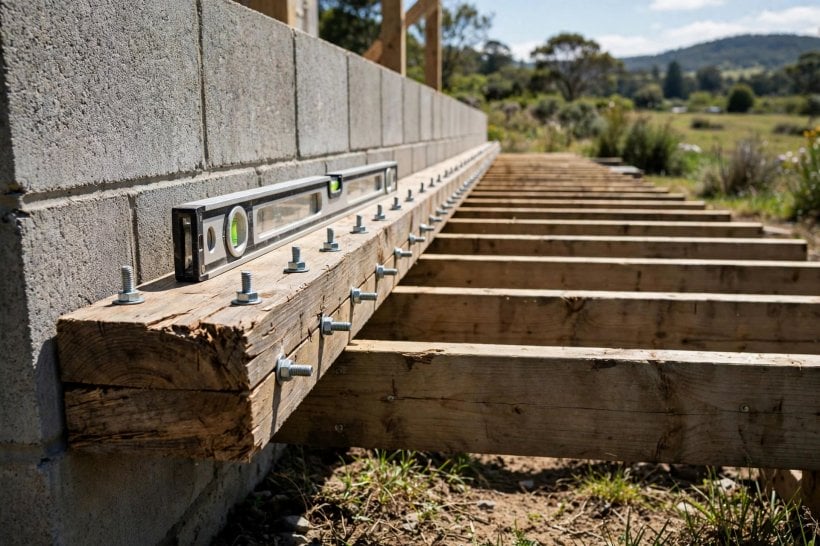
Snap or draw a clear level line for the board, mark the board’s ends, and then mark the fixing positions on the board itself, spaced and staggered as your structural design and the anchor instructions require. Transfer those marks to the wall with the board held or clamped in position, and look at where each mark lands on the blockwork: a fixing that lands on a mortar joint, a cracked shell or the edge of a block is a fixing to move, within the limits your design allows.
This is the same discipline as setting out any framed structure when you design your own tiny house plans and layouts: the drawing, the marks and the real wall must agree with each other before anything irreversible happens.
6. Drilling Into Block: Shells, Webs and Dust
Drilling blockwork is a different feel from drilling solid concrete, and the difference teaches you the wall’s anatomy. The face shell drills as a firm crust; behind it, a hollow block opens into a void until the bit meets a web or the far shell. That is why anchor instructions for block are so specific about where and how their product develops its hold, and why you follow the specified bit size and hole depth for your exact anchor rather than a habit borrowed from another job.
Drill steadily, keep the bit straight, and do not force a wandering hole back into line — an oversized or angled hole can quietly ruin an expansion anchor’s grip. If a hole lands badly, in a joint or a shattered shell, the honest fix is to abandon it, repair as appropriate and reposition within your design’s limits, not to pack it and hope. Hope is not an anchor system.
Clean every hole as the anchor instructions direct, typically by blowing and brushing out the drilling dust, because dust left in a hole steals grip from expansion anchors and bond from adhesive ones alike. For adhesive systems, hole cleaning and curing time are not suggestions; they are the product working as designed, and rushing them is the same as not using them.
7. Setting the Anchors and the Board
With holes drilled and cleaned, the board goes up. Support it exactly on your line — with helpers, props or temporary supports — because a heavy ledger held by one tired arm drifts, and drift at this stage becomes stress in every fixing. Start the anchors as their instructions describe, whether that means setting the anchor through the board, bonding a rod and returning after curing, or through-bolting from the far side, and work along the board evenly rather than fully tightening one end while the other still floats.
Tighten fixings to the anchor manufacturer’s specified method — which may involve a stated torque for that product — using the correct tool, and never substitute enthusiasm for the specification: under-tightened anchors can slip, and over-tightened anchors can crack the block shell or strip their own hold, and both failures hide inside the wall. This guide deliberately gives no figures, because the right figure belongs to your exact anchor, printed on its instructions, and nowhere else.
Check level and line again as you go, not just at the end. A board can be pulled out of true by uneven tightening, and small corrections made while fixings are still being set are free, while the same corrections afterwards mean loosening structural work.
8. Flashing and Keeping Water Out
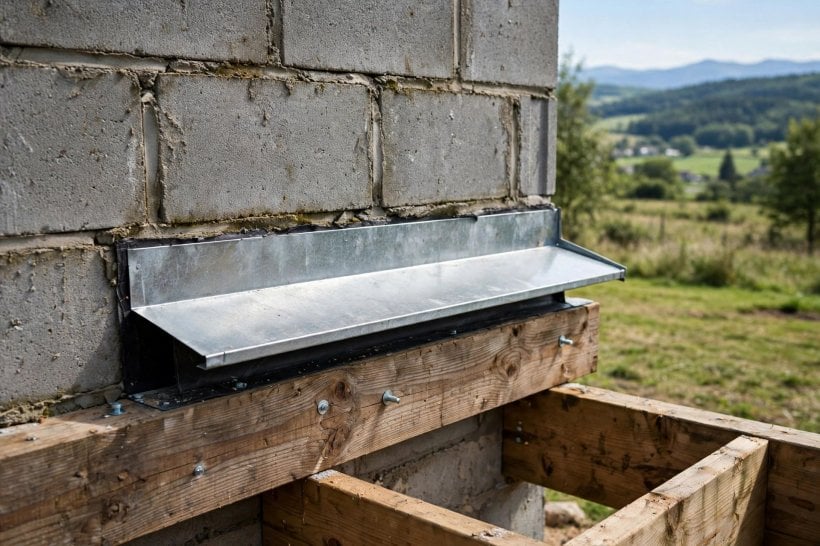
More ledgers fail from water than from weight. A ledger traps a horizontal line against the wall where rain collects, sits and slowly soaks into the board, the fixings and the blockwork behind, and rot in a ledger is hidden exactly where the structure can least afford it. The defence is flashing: a metal or approved flashing profile fitted over the top of the ledger and integrated with the wall’s weather surface so water is shed clear of the joint, installed as your local practice and code require.
Details decide whether flashing works. It must lap in the direction water flows, extend properly at ends and around any interruptions, and not be punctured by later fixings in the places that matter. Sealants support flashing; they never replace it, because a bead of sealant on a badly lapped joint is a countdown, not a cure. Where a design uses standoffs or a drainage gap behind the board, that gap must stay open and cleanable, not fill slowly with leaves and mortar droppings.
The same weather logic protects the whole wall: anyone maintaining a compact home, as in small home interior design ideas discussions of damp and ventilation, learns that water management is a system, and the ledger line is one of its most important details.
9. Fixing Patterns, Joists and What Comes Next
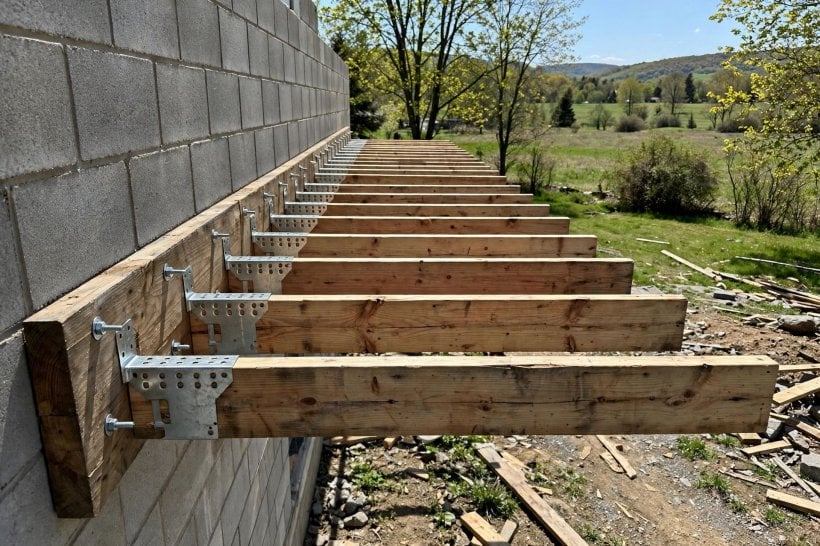
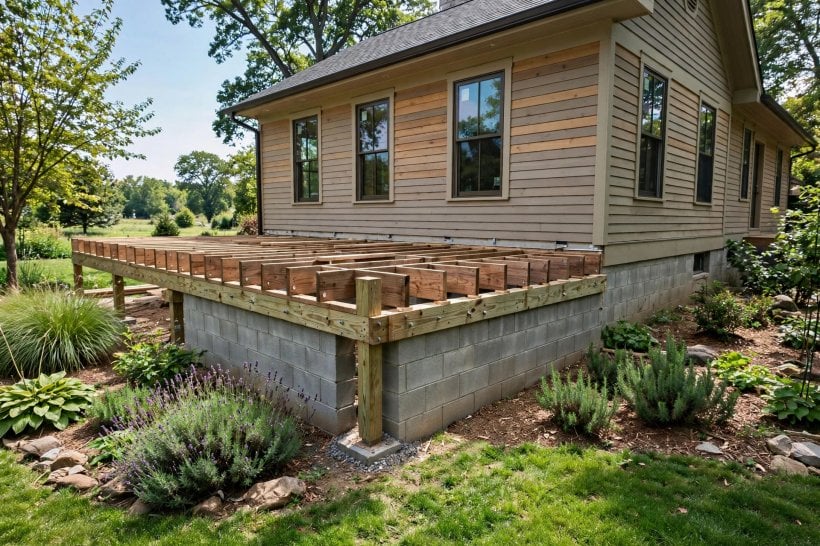
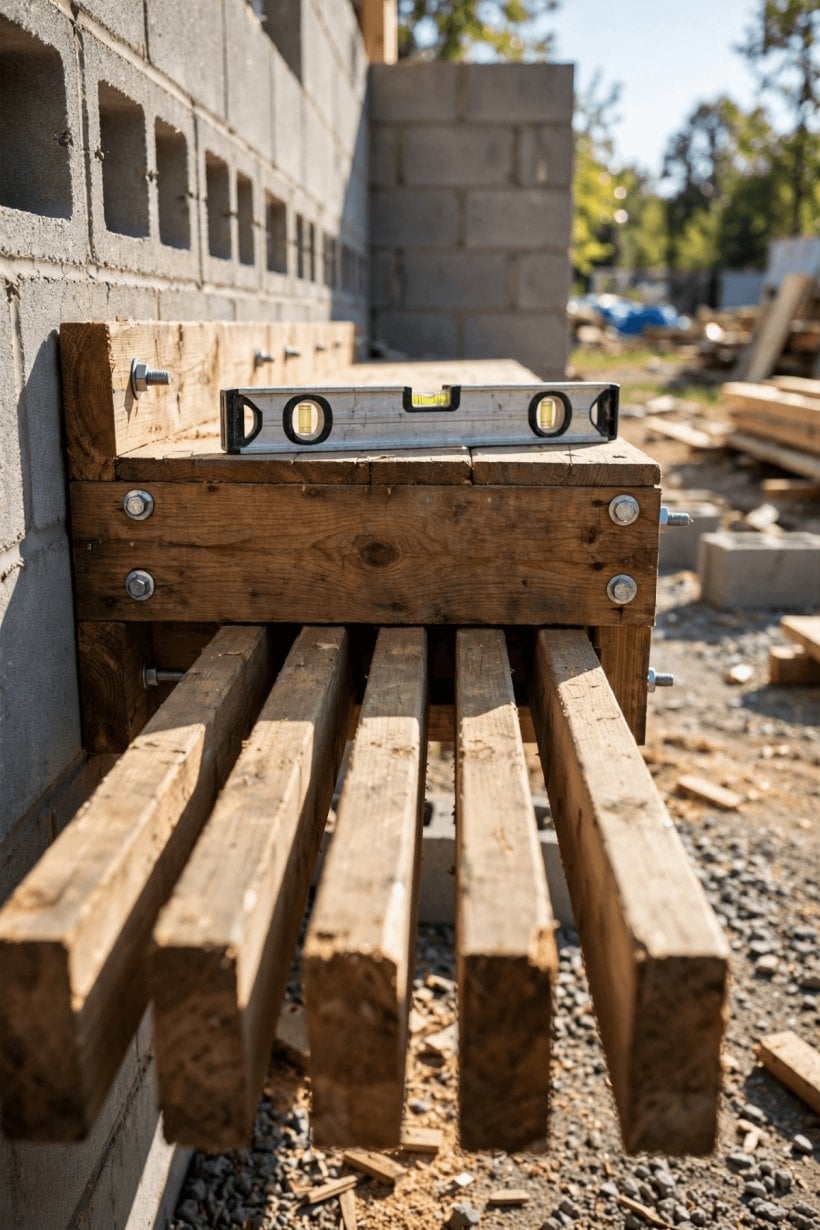
A ledger is a system, not a board. Its fixings work in a designed pattern — typically spaced along the board and staggered between its upper and lower portions so loads are shared and the board is held flat — with the joists or bearers that follow bearing correctly onto or into their hangers on the ledger. The pattern for your structure comes from your structural design, span information and local code, matched to the anchor manufacturer’s requirements; it is never copied from a photograph of somebody else’s deck.
Joist hangers and connectors, where the design uses them, must be the correct type for the joists, fixed with the connector manufacturer’s specified nails or screws — not whatever screws are in the pouch — because a hanger is only as strong as its complete fixing set. Cutting corners here is how sound ledgers end up carrying structures badly, a false economy as old as the ones catalogued in how to make a tiny house for cheap, where the lesson is to save money anywhere except the structure.
Work in a sane sequence: ledger checked, flashing complete, then joists, then the rest of the frame, checking square and level at each stage while corrections are still cheap and nothing is yet buried behind decking.
10. Final Safety Checks and When to Call a Professional
Before the structure is loaded, walk the whole fixing line with fresh eyes. Every anchor present and set as instructed; the board tight to the wall along its full length with no rocking or gaps that suggest a missed fixing; flashing continuous and shedding water the right way; no cracked shells, split board ends or fixings suspiciously close to edges and joints. Pull and lean on the board as a sanity check, understanding its limits: it verifies workmanship, it does not certify a design.
Know the professional line and respect it. Elevated decks, structures carrying a roof, hot tubs or crowds, walls of doubtful condition, and any project where permits or inspections apply belong with licensed professionals for design and, where required, for the work itself — the same judgement you would use before adding a pergola or solar shade later, a subject explored in how much are solar panels for a tiny house. Hiring expertise for the structural core and doing the simpler finishing yourself is not failure; it is how good projects are usually built.
Keep records as you would for any structural work, the habit praised in modern interior design ideas for renovations generally: which anchors, which instructions, what pattern, and photographs before the joists cover the evidence. Then re-inspect the ledger line periodically — after the first winter and then routinely — for rust staining, movement, damp or rot, while small findings are still small repairs.
Final Considerations
If you began by asking how do i attach a ledger board to concrete?, the complete answer is a process, not a trick: assess the wall, let a proper design set the pattern, choose anchors the manufacturer rates for block, drill and clean holes exactly as instructed, fix without guessing at tightness, flash the water away, and check everything twice.
None of that is beyond a careful, experienced builder working within their competence and their local code — and none of it should be stretched past either. A ledger fixed this way disappears quietly into decades of service, which is the finest compliment a structural board can ever be paid.




0 Comments