

A cabin that arrives as a stack of panels and stands weather-tight the same afternoon sounds like a compromise. It is not. Built around interlocking plastic panels, a reinforced roof and windows that vent as well as they glow, this little shelter promises a real room in the woods without a concrete truck, a framing crew or a season of weekends.
1. At a Glance: The Quite Lite Shelter in Brief
Start with the idea, not the catalogue. The shelter is a modular cabin system: flat, interlocking panels form the floor, walls and roof, so the whole building can be carried in pieces, assembled with basic hand tools, taken apart and built again somewhere new. That one decision drives everything else in this guide — foundation, layout, winter behaviour and cost. The table is the short version; the sections after it work through the detail.
| Attribute | What to know |
|---|---|
| Structure | Prefab interlocking panel system in durable ABS plastic; panels slot and lock to form floor, walls and roof |
| Roof | Panel roof reinforced with aluminium, intended to cope with snow load and heavy rain when correctly assembled and sealed |
| Windows and door | Shatterproof acrylic windows, vented for airflow, plus a fitted entry door, all installed as part of the basic build |
| Assembly | Designed for non-specialists: little more than a screwdriver, and with practice a build measured in hours, per the original guide |
| Layout | One configurable space that can be divided with modular partition walls and changed again with extension kits |
| Insulation | Thermal performance depends on the panel specification and how carefully joints are sealed; confirm the exact spec before ordering |
| Site needs | A flat, stable, cleared surface; simple bases such as pavers are described in the original guide |
| Best uses | Guest cabin, garden studio, camp shelter, homestead overflow and other small, single-space jobs |
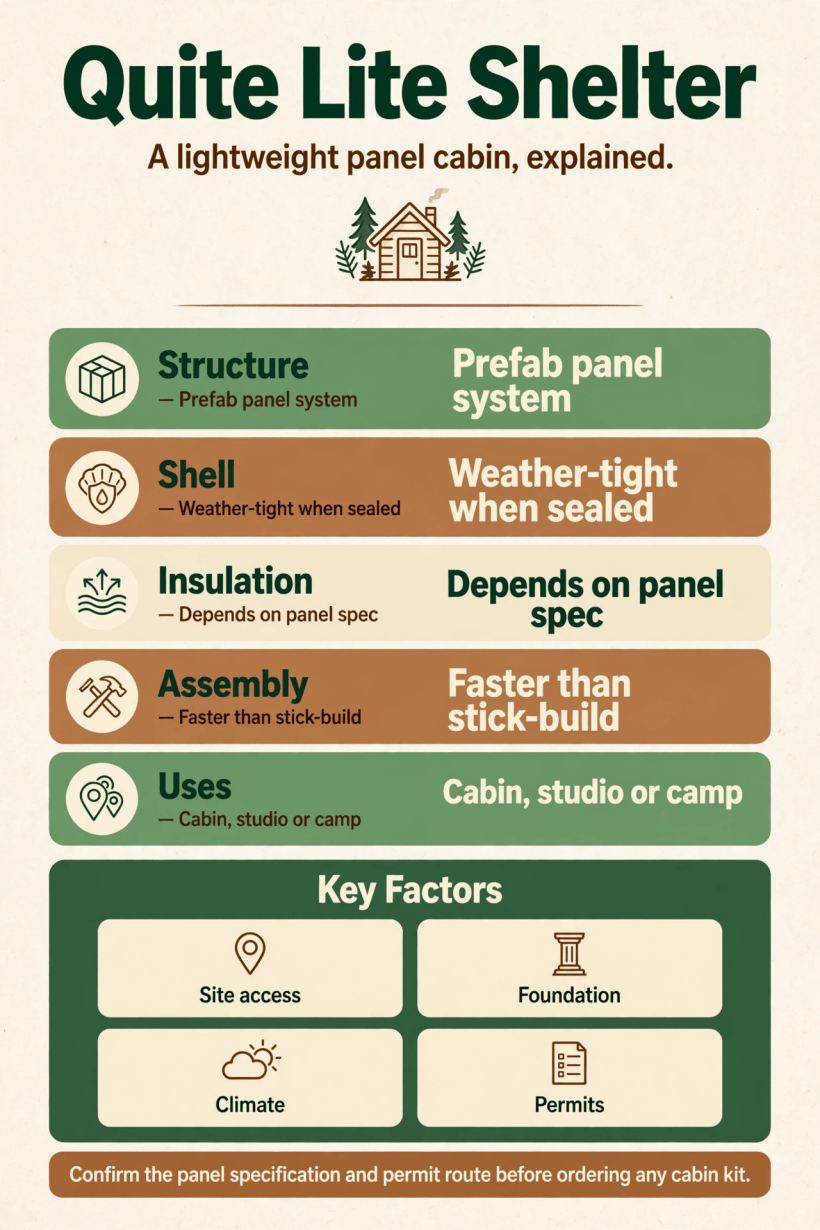
The panel structure, the sealed shell, the insulation question and the joining factors that decide whether this kind of cabin suits your site.
2. What a Quite Lite Shelter Is: Panel Cabin Basics
A panel cabin sits in a different family from both the tent and the timber cabin. Where a tent carries its shelter in fabric and poles, and a conventional cabin carries it in a frame of studs, joists and cladding, this system carries it in the panels themselves. Each moulded ABS panel is at once structure, wall finish and weather skin. Panels interlock edge to edge, so the wall you raise in the morning is the wall you sleep behind that night, with no separate cladding, lining or exterior paint system to add later.
That makes the building genuinely portable in a way a stick-built cabin is not: flat, manageable pieces travel without heavy equipment, cross ground a truck cannot reach, and rebuild if you move. The same shelter can serve a weekend plot now and a different site later, and extra kits can extend it rather than replace it.
Place the concept among its neighbours. At one end sit canvas and survival structures — see these primitive survival shelter designs. At the other sit design-led small buildings such as these dome cabin ideas. A panel cabin belongs between the two: more room-like, lockable and weather-resistant than fabric, far faster and lighter than a framed build, and honest about being a small single space rather than a miniature house.
3. Layout and Sleeping Capacity
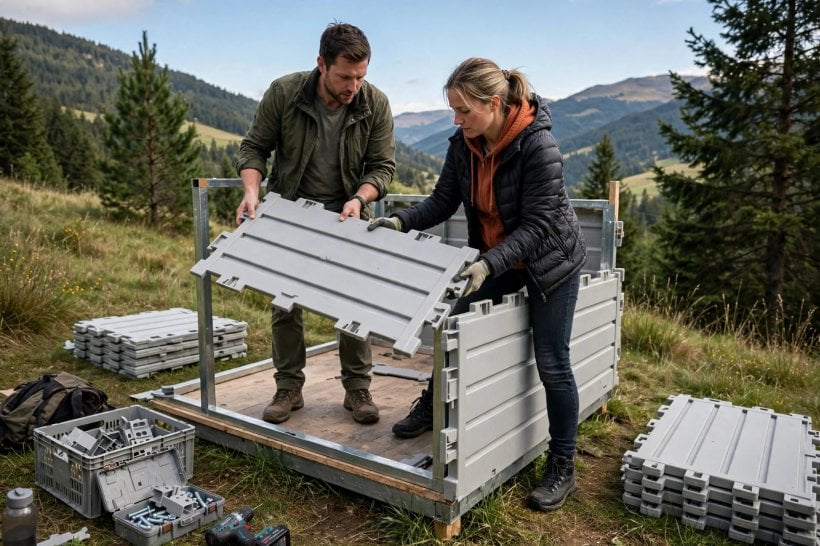
The honest starting point is that you get one room, and the room is small. There is no menu of fixed floor plans: wall panels can be configured to create differently sized rooms, the ceiling height can be adjusted for comfort, and modular partition walls carve the single volume into a sleeping end and a living end without building anything permanent. Treat the interior as a flexible shell first and a floor plan second.
Sleeping capacity is a furniture question before it is a floor-area question. One open space sleeps a couple in a proper bed, or a small group in bunks and fold-down berths, with modular furniture that stacks or moves aside by day. Extension kits are the pressure valve: the original guide describes using them to grow the living area or add defined spaces such as a small bathroom unit or storage room — what turns a sleeping shelter into a stay-for-a-week cabin.
Plan the layout on paper first: mark the door swing, keep a clear path from door to bed, put storage on the wall the door does not use, and leave the vented windows unobstructed. These compact timber frame cabin floor plans show the fixed-layout alternative at a similar scale — a useful contrast that confirms how much freedom the open panel shell gives you.
4. Panel Construction: Walls, Roof and Insulation
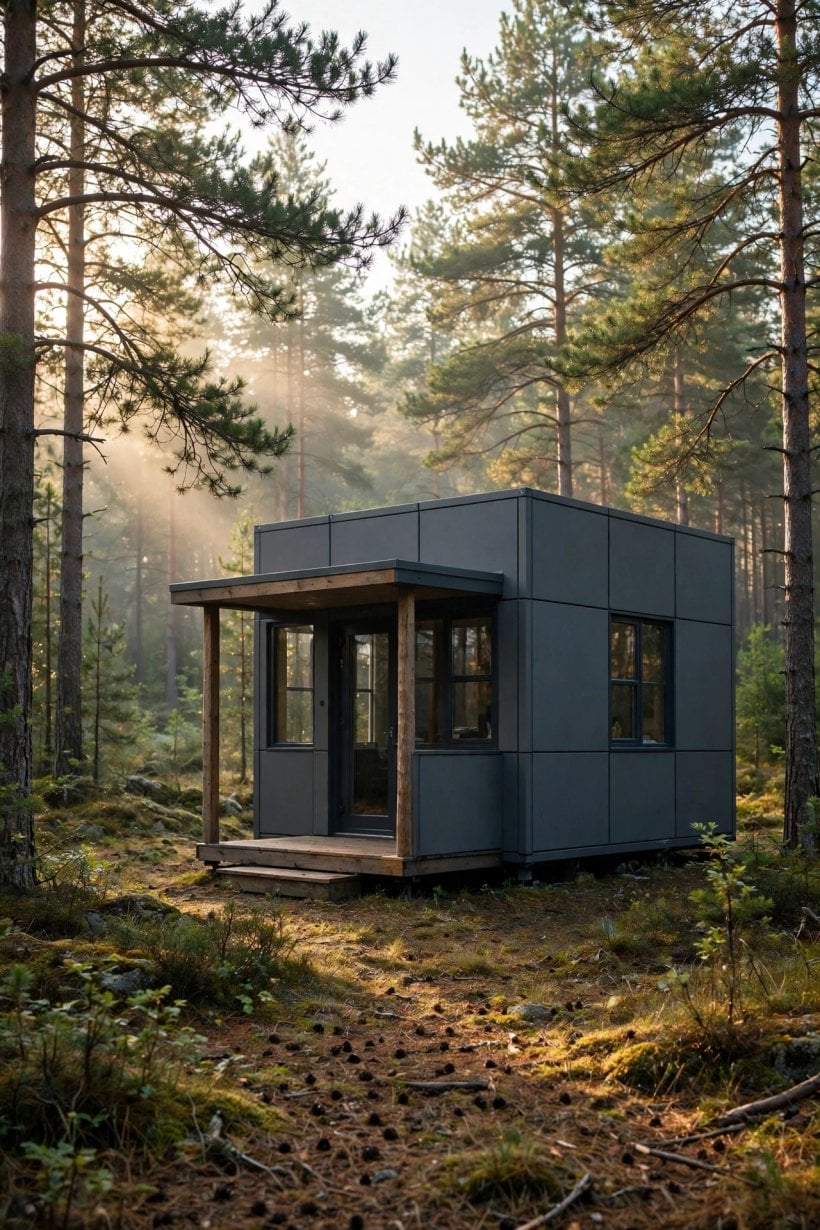
Construction quality in a panel cabin is decided at the joints. The walls are moulded ABS panels that slot and lock together; ABS is light for its size, does not rot, and — as the original guide notes — resists the mould and mildew that eat at fabric shelters and untreated timber. Locked together, floor, walls and roof behave as one stiff box, and that box effect is where the shelter’s surprising solidity comes from.
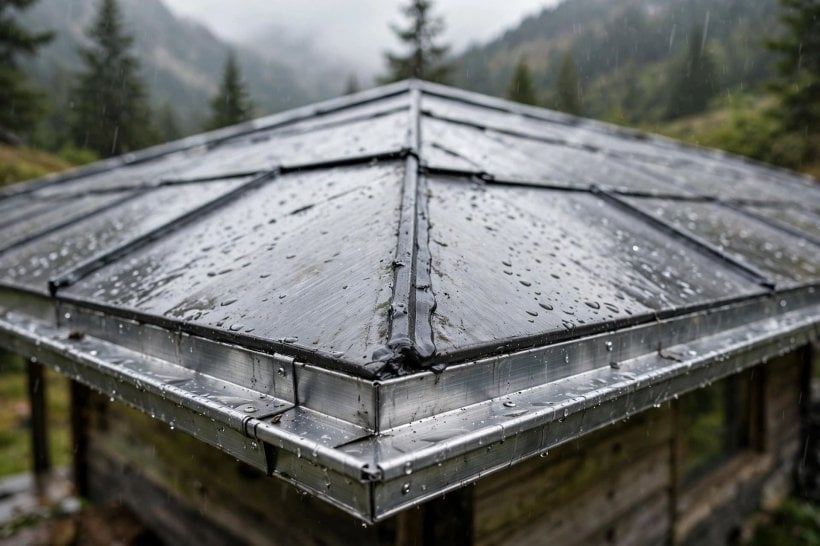
The roof carries the weather, so it deserves separate attention. The original guide describes a roof structure reinforced with aluminium, intended to handle snow loads and heavy rain. Two consequences follow. The reinforcing only works if every panel is fully seated and locked before the roof goes on; a half-engaged joint is a weak joint. And sealing matters as much as strength: wind-driven rain finds unsealed seams, so work slowly along every joint and re-check after the first storm.
Insulation is the attribute buyers most often over-assume. A single-skin panel is not an insulated stud wall, and thermal performance depends on the panel specification — construction, thickness and any insulating core are spec questions, not assumptions. Ask for the specification in writing before you order, and judge comfort as a system: sealed joints, controlled ventilation, a suitable heat source and sensible siting matter as much as the panel itself. A framed build adds insulation in layers this system does not have — see this budget timber frame cabin guide for that approach.
5. Site Prep and Foundations for Lightweight Cabins
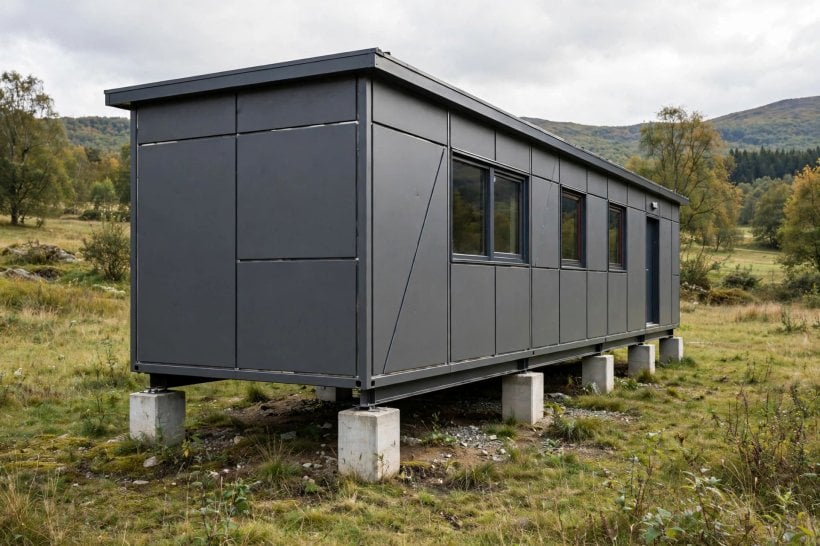
Lightweight is not the same as foundation-free. The original guide is clear that the shelter wants a flat, stable surface: clear the ground, remove sharp objects and debris that could damage the floor panels, and level the base before the first panel is laid. On uneven ground it suggests simple solutions such as pavers or a protective ground layer. That modest base keeps floor panels out of standing water, gives the interlocking joints a true plane to lock against, and stops one corner settling and twisting the box out of square.
Choose the spot with the care you would give a permanent cabin. Pick ground that drains away from the building, clear of frost-prone hollows, growing tree roots and the drip line of big branches. Think about access twice — for carrying panels in, and for your own daily route in wet weather. And check that you are entitled to build and stay on the site; the original guide’s land-use warning still applies, and local rules for small structures vary widely.
Services are the last site decision, and the simplest: the cabin is normally used without plumbed services — water carried in, light from lanterns, batteries or a small solar addition, sanitation handled outside. If your plans quietly assume a bathroom, plan an extension unit from the start rather than discovering the gap in the rain.
6. Assembly Sequence: From Panels to Weather-Tight Shell
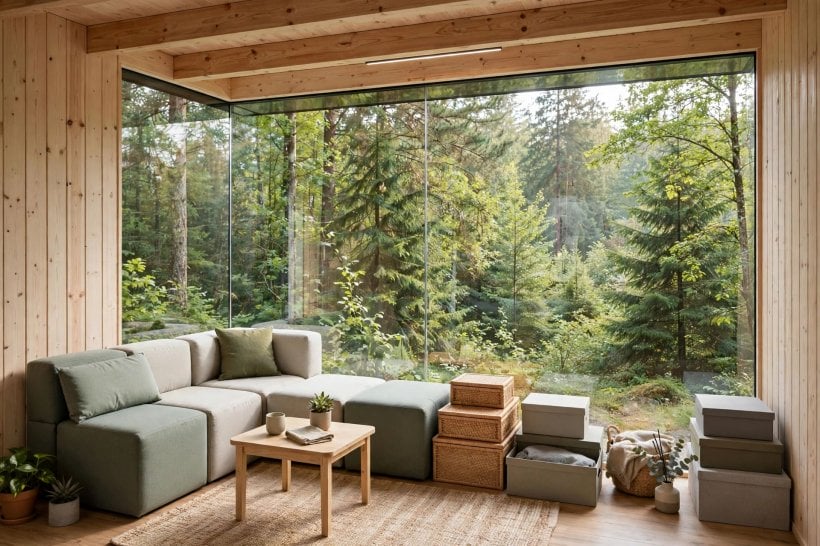
The assembly sequence in the original guide is refreshingly short; follow it in order rather than improvising. First, gather everything — all panels, fixings and tools laid out at the building area; the guide notes the tool requirement is usually little more than a screwdriver. Second, prepare the foundation as described above. Third, assemble from the bottom up, connecting the interlocking panels in the order shown in the assembly diagram, working side to side and top to bottom and confirming each panel is securely slotted. Fourth, fit the vented acrylic windows and the entry door. Fifth, complete the interior: partition walls, furnishings and gear.
Two habits separate a one-afternoon build from a frustrating one. Handle panels as finished surfaces, not raw lumber — they are the final wall, so use gloves and a clean ground sheet, and never drag them over gravel. And read the diagram twice before the first panel is locked; every unlocked joint costs more time than the reading would have.
The original guide states that, with practice, setup can take as little as one to two hours. Read that as a practised repeat build on a prepared base, not a first attempt out of the packaging — even doubled, the comparison with any framed cabin is stark. Disassembly for storage or a move follows the same sequence in reverse.
7. Heating, Ventilation and Year-Round Use
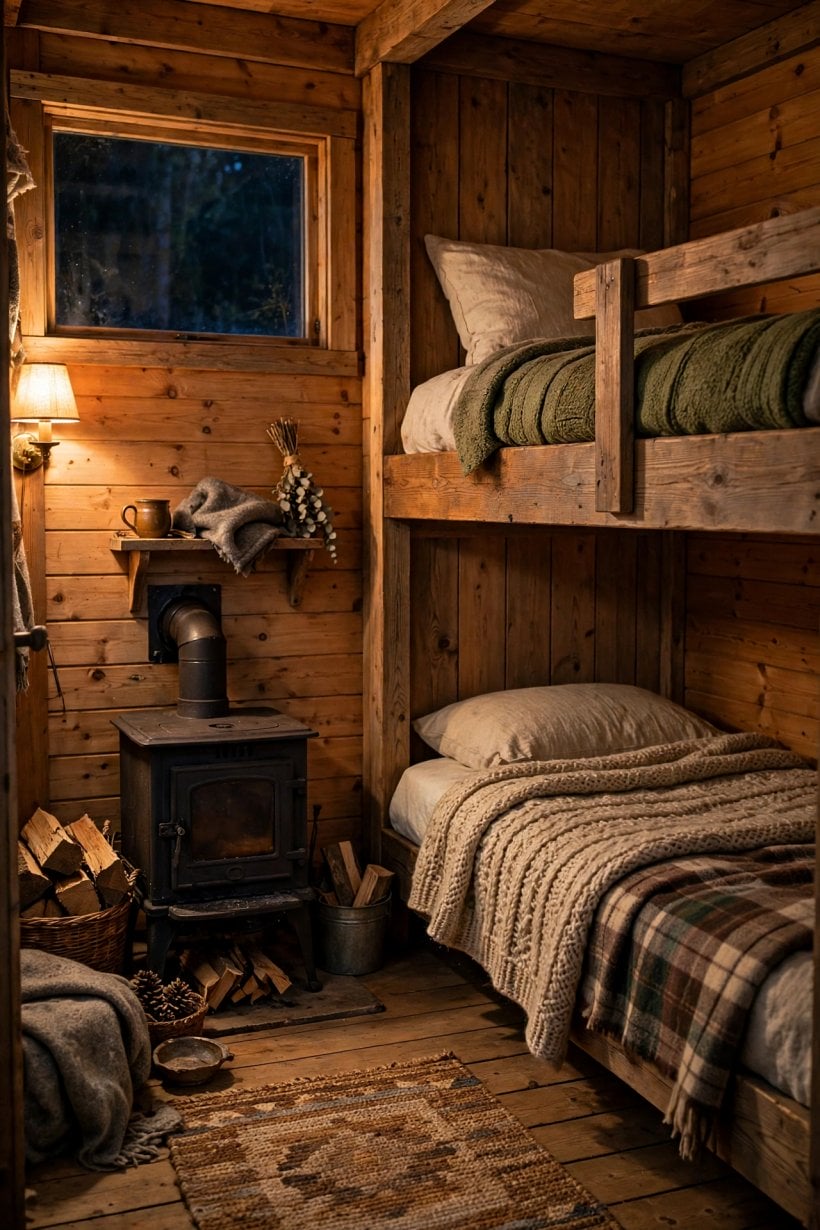
A small, single-skin space heats quickly and cools quickly; year-round use is mostly about managing that swing. The original guide points to a small stove as the classic addition for cold nights. A compact space needs controllable heat, a safe flue route, clearances from panel surfaces confirmed before installation, and a carbon monoxide alarm as a non-negotiable companion. Whatever the heat source, confirm its compatibility with a plastic panel structure with the supplier rather than assuming domestic clearances apply.
Ventilation is the other half of comfort, and the kit is designed for it: the acrylic windows are vented, giving controllable airflow without leaving the cabin open. Use it deliberately. Occupied small spaces generate surprising moisture from breathing and cooking, and condensation on cool panels is the predictable result of a sealed box with no air change. Crack a vent on the lee side, air the cabin after cooking, and never block vents with stored gear.
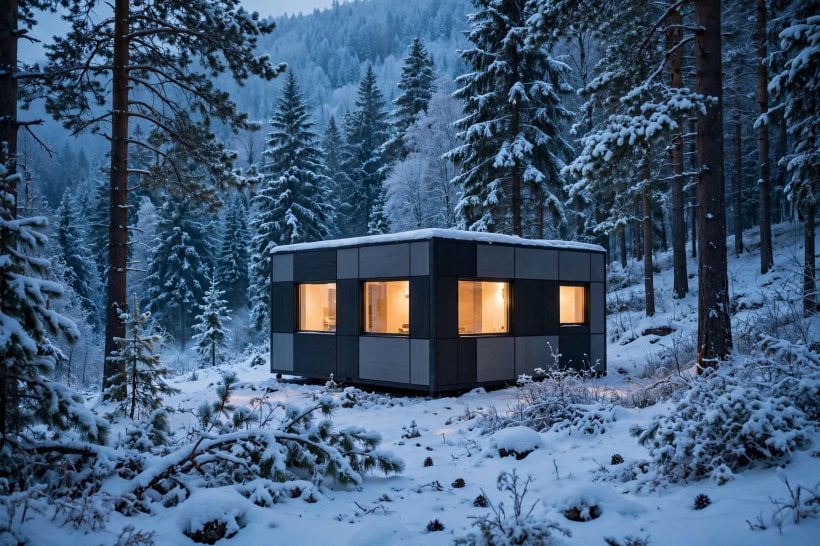
Season by season: spring and autumn are the shelter’s natural territory, summer comfort depends on shade, siting and those vents working hard, and deep-winter use is achievable but should be planned — sealed joints, a considered heat source, rated bedding and a site you can still reach in snow. Prudent owners still clear heavy snow rather than testing the roof’s rating, and inspect the whole shell after major storms, as the original guide advises.
8. Costs in Typical Ranges and What Drives Them
There is no honest single price for a cabin like this, and this guide will not invent one — the original post published no prices. The total is assembled from drivers you largely control: the size and configuration of kit, extension kits added now or later, and interior fit-out on one side of the ledger; delivery, foundation, heating, and any permit or inspection costs your area requires on the other.
Configuration is the biggest lever. A basic single-space kit is the entry point; every extension — extra room, bathroom unit, storage — adds panels, fixings and money, though extensions can be bought later precisely because the system is modular. Fit-out is the silent lever: modular furniture, a stove and flue, lighting and a small solar addition can together rival a basic kit, so price the finished cabin, not the box.
Ownership costs are where the panel system argues back. There is no cladding to repaint on a cycle, the material resists mould and mildew, cleaning is simple, and damage is usually a replacement panel rather than a repair trade. Set against that, budget for seal and fixing checks, stove servicing if fitted, and base maintenance. This breakdown of prefab versus DIY tiny house costs applies the same driver-by-driver logic at full tiny-house scale.
9. Who It Suits: Guest Cabin, Studio, Camp and Homestead Uses
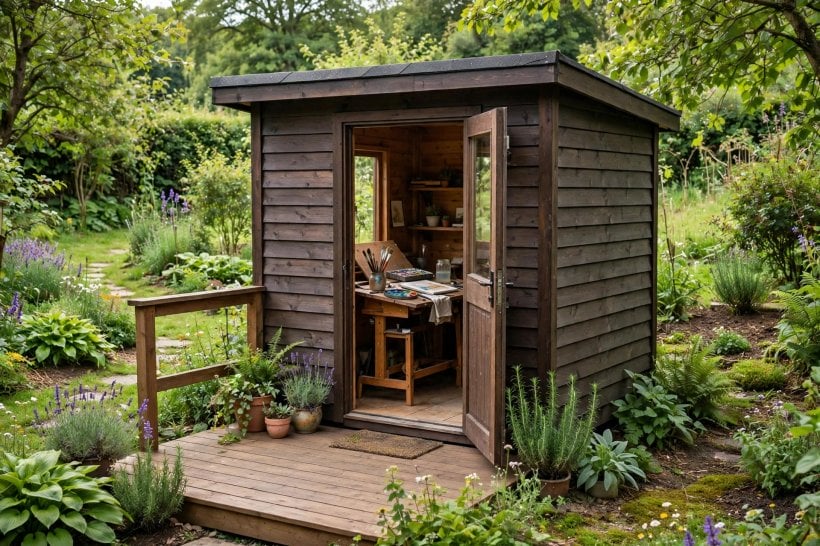
The strongest use case is the second small building: a guest cabin on land that already has a house, where visitors need a dry, lockable, private room and the plumbing question is answered by the main building a short walk away. The same logic makes it a natural garden studio or work room — the original guide imagines artists and home workers among its owners. If a studio is your plan, compare it with living and working in a converted shed to see which route your plot and budget favour.
Camp and homestead uses exploit the portability instead. As a seasonal camp shelter it replaces tent-and-tarp with a real room that can be struck, stored and rebuilt. On a homestead it serves as overflow sleeping, a gear store with a bed in it, or temporary accommodation while a main build is underway. At the design-conscious end it also earns a place in the conversation started by these luxury prefab homes: not a rival, but the fast, light extreme of the same factory-made idea.
Who should look elsewhere? Anyone needing a plumbed bathroom inside the basic shell, a building that must satisfy a full residential code as a permanent dwelling, or multi-room family living as the everyday case. Extensions soften each limit; they do not erase them, and the permit question belongs to your local rules, not to the kit.
10. Limitations and Mistakes to Avoid
Most disappointments with a panel cabin are expectation errors, not product failures. The first is assuming insulation the specification does not promise: confirm the panel spec, plan heating and ventilation as a system, and do not judge a summer shelter by a winter night. The second is treating the base casually — an unlevel, undrained pad twists joints, pools water and makes doors misbehave, and every fault gets blamed on the kit. The third is skipping the seal check: unseated panels and unsealed joints are where weather gets in, and both are free to fix on the day and tedious later.
Order-of-work mistakes follow. Do not fit the interior before the shell has survived its first rain; do not site the cabin where you have no right to place it; and do not let stored gear block the vents. Finally, do not skip the boring maintenance the original guide prescribes — regular checks for wear or damage, especially after storms, prompt cleaning, and damaged panels replaced rather than patched with hope.
None of these limitations is hidden. They are the price of a building that one or two people can carry in, raise in an afternoon and take away again — and for the jobs in the previous section, that trade is exactly the point.
Final Considerations
Judge this shelter by the job it was designed for: a real, lockable, weather-tight room that arrives flat, builds fast, adapts as your needs change and leaves quietly when its season ends. Confirm the panel specification and permit route, prepare a level, drained base, seal every joint as if the first storm were tonight — and it will repay the care, as a guest room, studio, camp base or first roof on new ground.


2 Comments