

A screw snaps, the head comes away in your hand, and a smooth, stubborn shank is left flush with the surface. It feels like the job has stopped cold.
It has not. Work patiently, start with the gentlest method, and protect the material around the break while you coax the old fixing out.
1. At a Glance: Answers Before You Start
| Question | Short answer |
|---|---|
| Can a screw with no head be removed at all? | Usually yes. If any shank is reachable, or a new slot or pilot hole can be made, you can normally turn it out without wrecking the workpiece. |
| What should I try first? | Grip. A pair of locking pliers on a proud shank is the fastest, least damaging place to begin. |
| What if the break is flush or below the surface? | Move to a cut slot, a friction aid, or careful drilling for an extractor, in that order. |
| Should I use force straight away? | No. Sudden force is what snapped the screw. Steady pressure, patience and lubrication work far better. |
| When is drilling the right choice? | When grip and slot methods have failed, and you can keep a small pilot hole centred on the shank. |
| What if the hole is torn afterwards? | Repair it before refitting: plug, fill or re-drill so the replacement screw has sound material to bite into. |
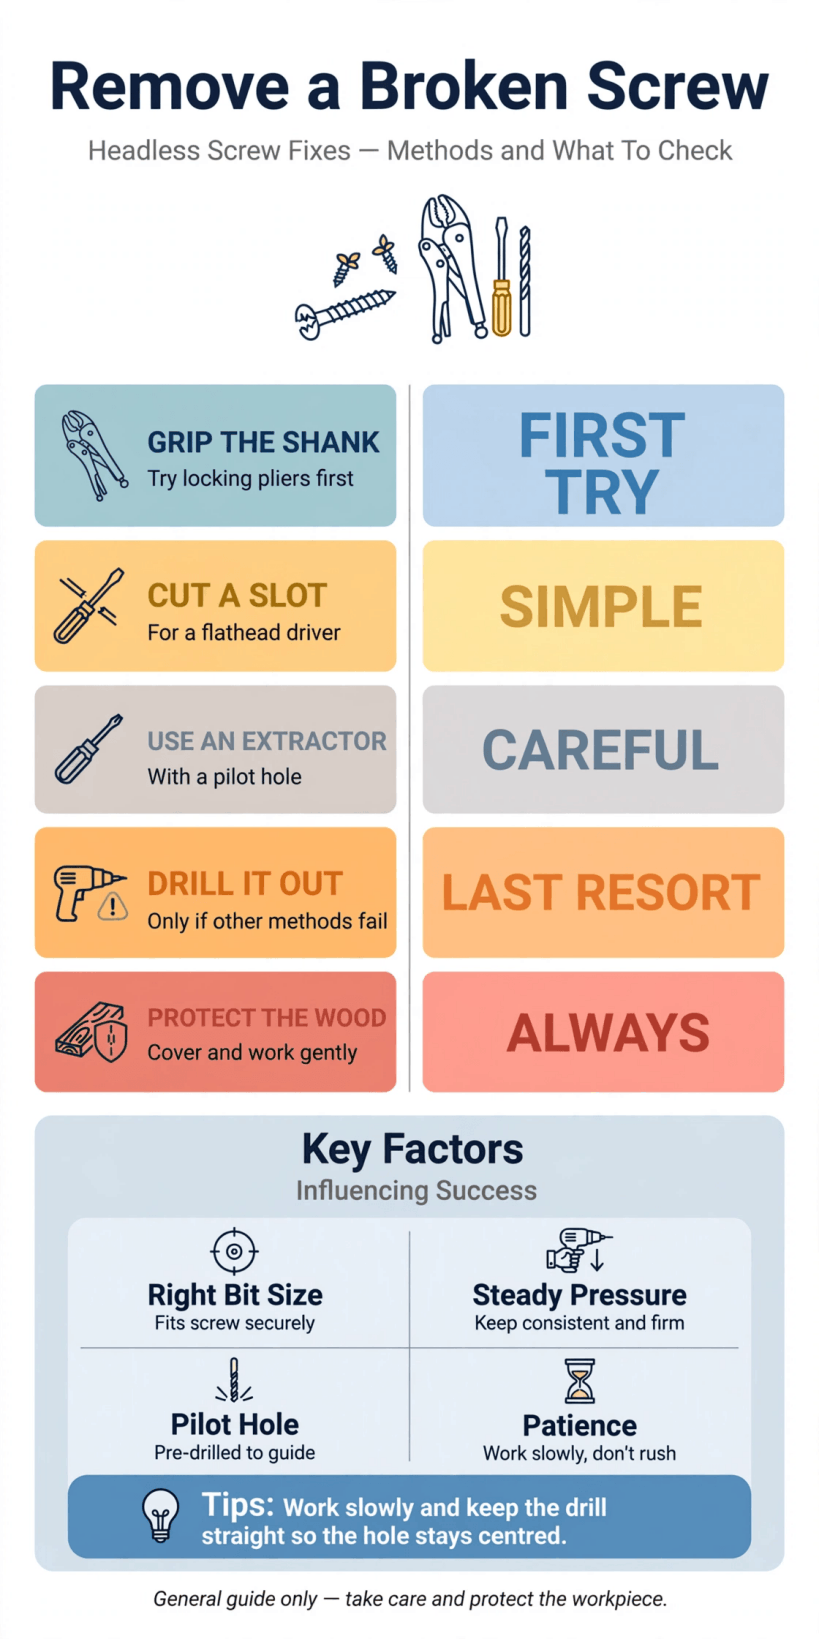
A step-by-step overview of the main removal methods, from simple grip to extractor, so you can choose the gentlest option that fits the break.
The order in that table matters more than any single trick. Every method in this guide removes a little more material or carries a little more risk than the one before it, so there is no prize for jumping straight to the drill. In a small home, where a hinge, a bracket or a length of framing may be hard to replace neatly, keeping the surrounding timber, board or metal intact is half the job. If you are new to this kind of repair, you may also enjoy reading about how to build your own tiny house, because small fixings and tight spaces are a theme throughout that kind of build. Take a photograph before you begin, note which way the threads were running, and lay out your tools so you are not hunting for a bit with one hand on a wobbling workpiece. A calm setup turns a frustrating break into a methodical fifteen minutes rather than an afternoon of damage.
2. Gather Tools and Protect the Workpiece
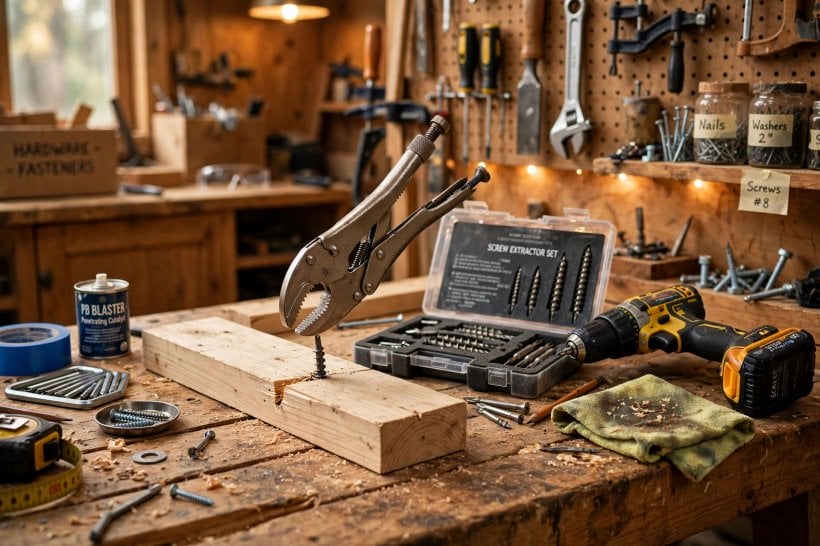
Before you touch the broken fixing, gather more than you think you need. Locking pliers, ordinary pliers, a flat screwdriver in a couple of widths, a rotary tool or fine hacksaw blade for slotting, a rubber band or a small piece of rubber sheet, a centre punch, a hammer for gentle taps, a drill with small sharp bits, a screw extractor set, penetrating oil, safety glasses and a brush for clearing dust will cover almost every variation you are likely to meet. You do not need to own all of it; borrow the extractor, because the rest is common in most tool rolls.
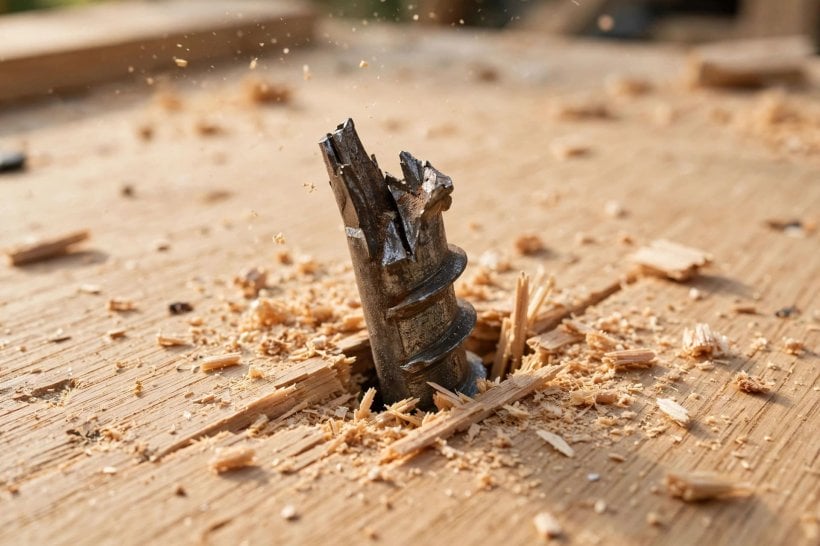
Protect everything that is not the screw. Tape around the break to guard a finished surface, clamp the workpiece so both hands are free, and clear away shavings and grit that hide what the shank is really doing. Good light matters: a low lamp from the side shows whether the break is proud, flush or sunk, and that single observation decides your first method when you need to remove screw broken head damage without making the hole worse. In timber framing, the same care you would take when learning how to frame a tiny house trailer applies here in miniature: measure, support, and never let a tool skate across a surface you want to keep.
Finally, clean the break itself. Wire-brush loose corrosion, wipe away oil and paint from the top of the shank, and check whether any thread is visible. A clean, visible target makes every later step more accurate, and it costs you nothing but a minute.
3. Try Grip First: Pliers on a Proud Shank
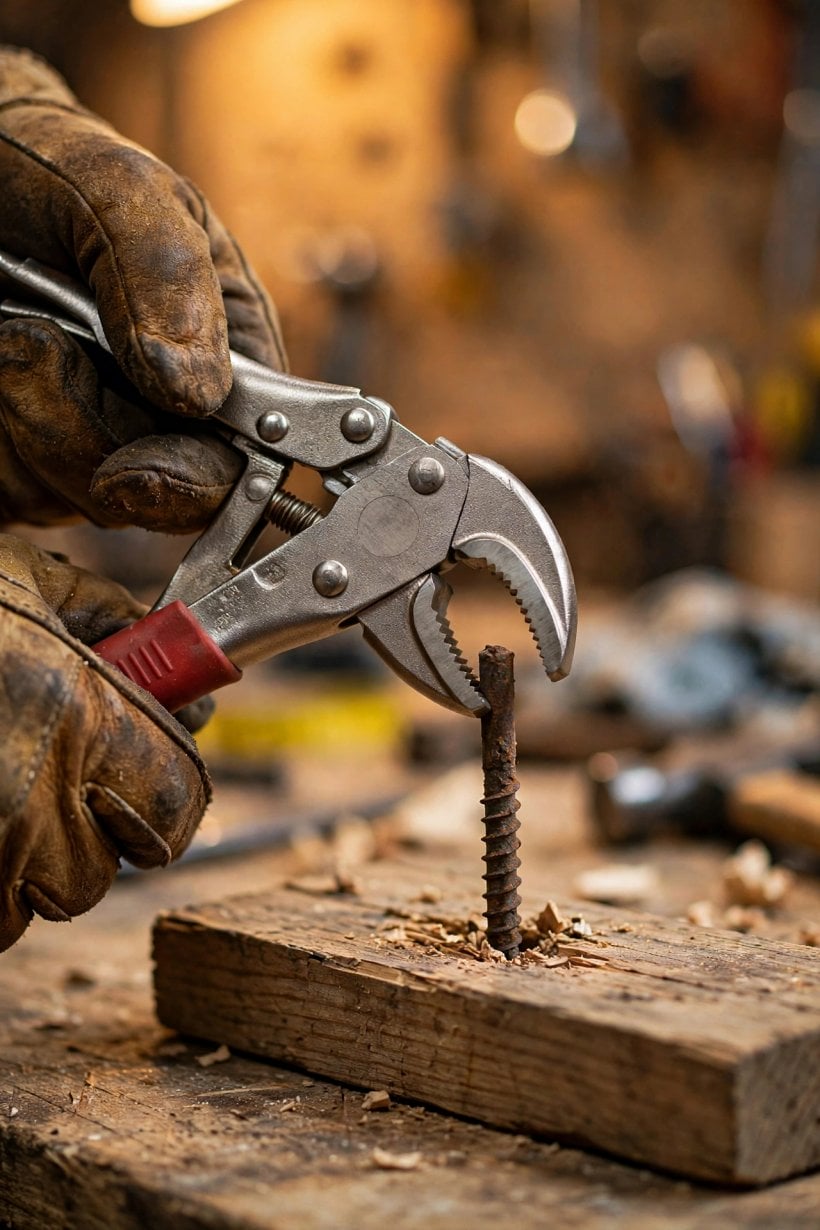
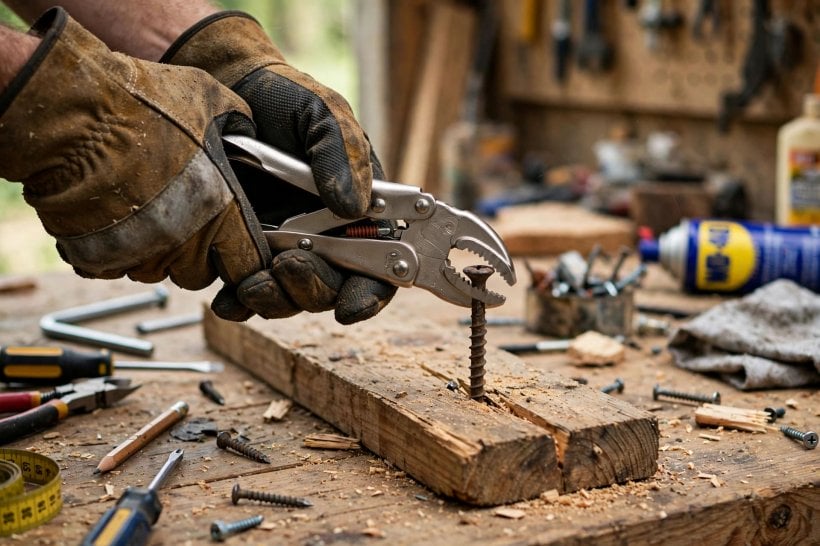
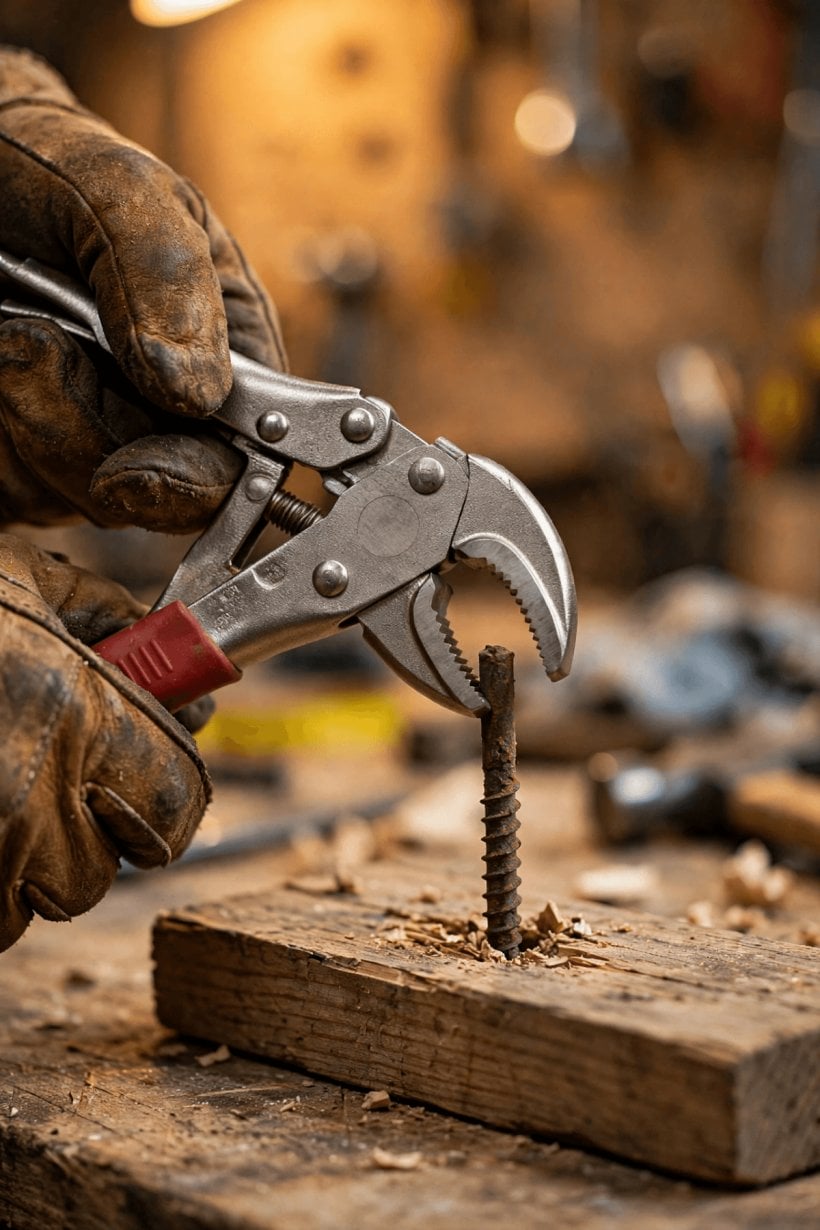
If even a small stub stands above the surface, grip is your best friend. Clamp locking pliers firmly onto the shank, as low and as straight as you can, then turn slowly anti-clockwise while keeping the pliers level. The temptation is to rock the shank from side to side, but rocking widens the hole and can snap the stub shorter, so resist it. Small, steady turns with pauses between them let the threads release their hold gradually, especially in hardwood where the fibres grip hard.
If the pliers slip, file or grind two tiny flat sides on the stub so the jaws have something honest to bite. Keep the flats parallel, take off only a whisper of metal, and try again. A drop of penetrating oil left to soak for a few minutes can also make the difference between slipping and turning, particularly on older fixings in a bathroom or kitchen where moisture has done its quiet work over the years. Readers fixing fittings in compact wet rooms may find our guide to bathroom interior design ideas for tiny houses useful when it comes to choosing replacement fittings that are easier to service later.
Once the shank begins to move, do not celebrate by speeding up. Back it out a quarter turn, run it in an eighth, and repeat. That gentle in-and-out rhythm clears debris from the threads and reduces the chance of a second snap just when success felt close.
4. Add a New Slot and Use a Flat Screwdriver
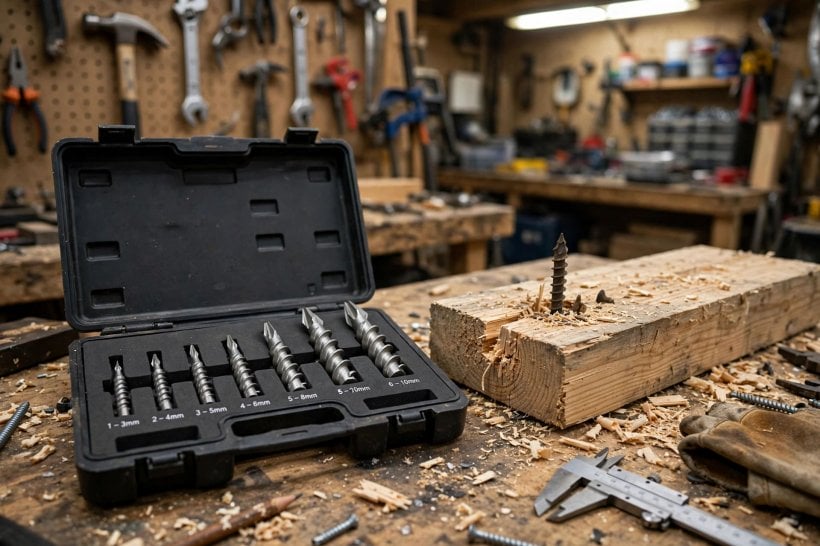
When the break is flush, you can often give the screw a new head of sorts: a single straight slot cut across its top. A rotary tool with a thin cutting disc is the neatest way to do this, though a fine hacksaw blade worked patiently by hand can do the same job in softer metals. Cut just deep enough for a flat screwdriver blade to sit securely, keep the slot centred, and stop the moment the disc threatens to wander into the surrounding material. Tape and a slow hand are your protection here.
Choose a screwdriver that fills the slot properly. A blade that is too narrow will chew the slot wider with every attempt, while a blade that fits snugly turns the whole shank. Press down firmly, turn slowly, and keep the driver vertical so it cannot cam out and gouge the surface. If the slot starts to deform, stop, deepen it very slightly, and try once more rather than forcing a failing cut.
This method suits screws in timber and softer board particularly well, and it is often the moment a repair in a fitted interior turns the corner. If the fixing belongs to joinery you are proud of, the same patient approach runs through our look at modern living room interior design ideas for tiny houses, where small details are what make a compact room feel finished rather than improvised.
5. Use Friction Aids When the Top Is Chewed
Sometimes a remnant of the original drive remains: a half-mangled cross, a worn hex, a slot that is nearly there. Before you cut or drill, try adding friction. Lay a wide rubber band, a piece of rubber glove or a small square of abrasive mesh over the top, press your driver through it, and turn slowly with firm downward pressure. The material fills the gaps between driver and damaged recess, and that extra bite is surprisingly often enough.
Work through the variations calmly. Try the next driver size up, then a flat blade across a damaged cross, then a manual impact approach with gentle taps if the fixing is large and the material around it is sound. What you must not do is spin a power driver at speed in a chewed recess; that simply polishes the damage smooth and removes options you still had a minute earlier. Hand tools, slow turns and honest pressure are the whole secret at this stage.
Friction methods are also the safest first experiment on visible furniture and cabinet work, because they leave almost no trace if they fail. In a fitted kitchen, for example, protecting a door front matters as much as extracting the screw, a balance explored in kitchen tiny house small space design, where every centimetre and every finish has to earn its place. If friction gives you even a quarter turn, keep going with that same setup rather than swapping to something more aggressive.
6. Tap, Turn and Coax: Shock and Penetrating Oil
Corrosion and old, dried fixings often hold a screw more tightly than its threads ever did. A light, controlled tap on the top of the shank with a punch can break that bond. Keep the taps modest, keep the punch centred, and remember the aim is to shock the bond loose, not to drive the screw deeper or mushroom its top so nothing will grip it afterwards. Follow the taps with penetrating oil, give it real time to creep down the threads, and then return to grip or slot methods with fresh optimism.
Patience is a genuine tool in this section. Oil applied and immediately attacked does very little; oil applied, left while you make tea and tidy the bench, and then attacked often does a great deal. Repeat the cycle once if the first attempt moves nothing. Heat from a hair dryer or gentle warming can help oil travel in some metal-to-metal joints, but keep any heat source well away from finished timber, plastics and sealants, and never use an open flame near oil, dust or a cluttered bench.
While you wait, plan the replacement. A new screw of the same gauge in a better material, fitted into a sound hole, is the quiet reward for all this care, and thinking ahead stops you rushing the last turn of the old one.
7. Drill a Pilot and Use a Screw Extractor
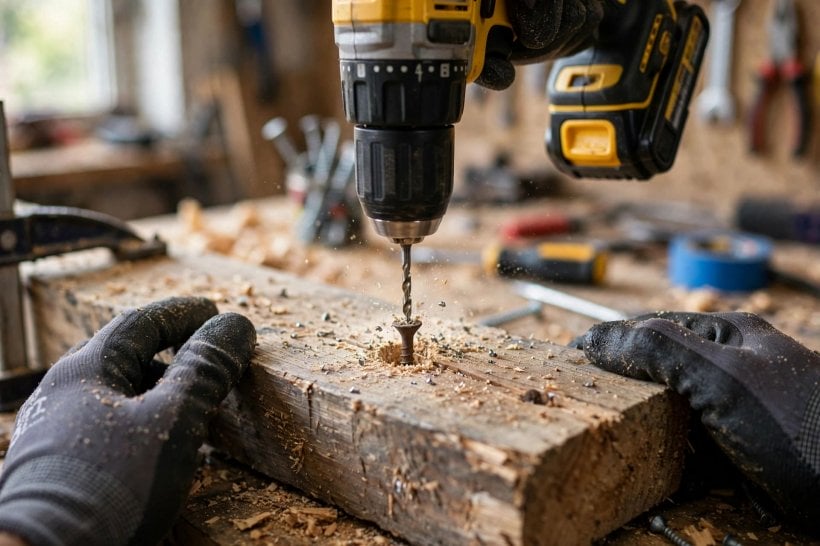
If grip, slot and friction have all failed, drilling is next, and it rewards accuracy above everything. Mark the exact centre of the shank with a centre punch, because a drill that wanders off-centre will bite into the surrounding material and can ruin the hole for any replacement. Start with the smallest sharp bit, drill slowly with light pressure, and keep the hole shallow and straight. Clear dust often so you can see what you are doing, and use a drop of suitable cutting lubricant on metal if you have it.
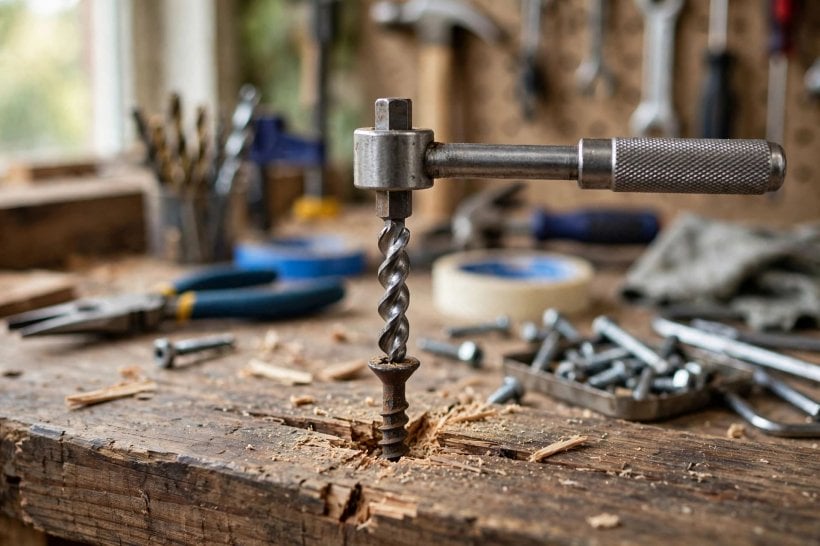
Into that pilot hole goes the extractor, a tapered tool with a reverse thread that bites harder the more you turn it anti-clockwise. Fit it by hand or with a tap wrench, turn slowly, and feel for the moment it grips. That moment calls for restraint: extractors are hard and therefore brittle, and snapping one inside the screw leaves you with a far harder problem than the one you started with. Steady, even torque is the technique; jerking is the enemy.
In compact builds this careful drilling is familiar territory, because services, brackets and joinery often share the same tight wall. Our overview of tiny house kitchen design shows how much hardware is packed into small runs of cabinetry, which is exactly why extracting cleanly, rather than tearing out and starting again, is a skill worth practising on scrap first if you have never used an extractor before.
8. Apply Heat and Work Around Delicate Materials
Some screws are locked by thread-locking compound, paint or years of corrosion rather than by thread friction alone, and gentle heat can loosen that bond in metal assemblies. Warm the area modestly, allow the heat to soak in, then try your best grip or slot method while things are still warm. Work in a ventilated space, keep heat away from timber, plastic, wiring and finished coatings, and let common sense overrule enthusiasm at every point. If you are in any doubt about what is hidden behind a panel or inside a wall, do not apply heat at all.
Delicate surroundings change the plan in other ways too. On veneered board, thin metal sheet or brittle plastic, drilling and extractors can crack or distort the very thing you are trying to save. In those cases, consider removing the whole fitting, working on the break at the bench where you can support the material properly, or accepting a different repair, such as repositioning a hinge slightly so a fresh fixing lands in sound material while the old shank stays harmlessly buried and covered. There is no shame in that choice; a neat, strong, slightly moved fitting beats a destroyed panel every time.
Knowing when to stop is part of craftsmanship. If each attempt is making the evidence worse, pause, photograph the state of play, and think. Many a repair has been saved by an overnight rest and a fresh idea in the morning.
9. If the Hole Is Damaged: Repair Before Refitting
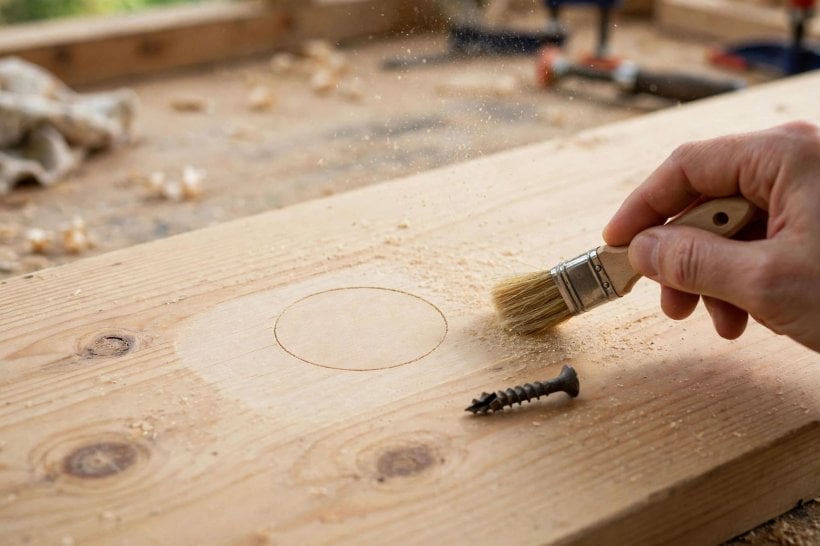
Extraction is only half the repair if the hole has been widened, torn or scorched along the way. A replacement screw dropped into a damaged hole will feel tight for a week and pull out under the first real load, so rebuild the hole honestly. In timber, the classic repair is a glued hardwood plug or a bundle of matchsticks and wood glue packed tightly, left to cure fully, trimmed flush and re-drilled with a small pilot hole. In board, a suitable filler or a larger plug may serve, while in metal a re-tapped thread or a modestly larger fixing may be the sound answer.
Give repairs their full curing time. Rushing glue or filler because the hinge is hanging off and dinner is approaching is understandable, but a pilot hole drilled into half-cured filler simply tears it out again. Mark the centre carefully, drill at the size the new screw needs, and drive the replacement by hand for the final turns so you can feel it bite rather than spin.
Good repairs disappear into the life of the home. The same is true of well-planned interiors, where thoughtful choices stop small problems becoming big ones, as you can see in modern interior design ideas for tiny houses. A sound hole, a sound screw and a fitting that sits true are a small, satisfying version of that same principle.
10. Prevent the Next Snap: Better Screws, Better Habits
Prevention is unglamorous and completely effective. Drill pilot holes in hardwood and near the ends of boards, because most snapped screws are simply screws that were asked to cut their own path through material that would not yield. Choose screws suited to the job and the environment, keep stainless or coated fixings for damp rooms, and retire screws whose heads or threads already look tired instead of driving them hopefully into important work.
Technique matters as much as hardware. Keep the driver bit fully seated, drive in line with the screw, ease off as the head approaches the surface, and finish the last turns by hand on delicate work. Lubricating a long screw’s threads with a touch of soap or wax on traditional work, backing a stiff screw out a quarter turn before continuing, and stopping the moment resistance changes character will together prevent most of the breaks this guide exists to fix. Store spare fixings sorted by size so the right screw is easy to reach; the wrong screw pressed into service at the end of a long day is a frequent culprit.
Finally, keep a small extraction kit with your main tools rather than buried at the back of a shed. When a break does happen, and one day it will, having pliers, a slot-cutting option and an extractor to hand turns a crisis into a routine.
Final Considerations
A broken screw with no head is a test of order and temperament more than of strength. Start with grip, earn your way through slot, friction and oil, and only remove screw broken head remnants by drilling when the gentler roads are honestly closed. Protect the surface, centre every cut and hole, and repair the hole properly before the new fixing goes in. Do that, and the finished job will show no sign of the afternoon it tried to ruin, which is exactly what good repair work is supposed to look like.




0 Comments