

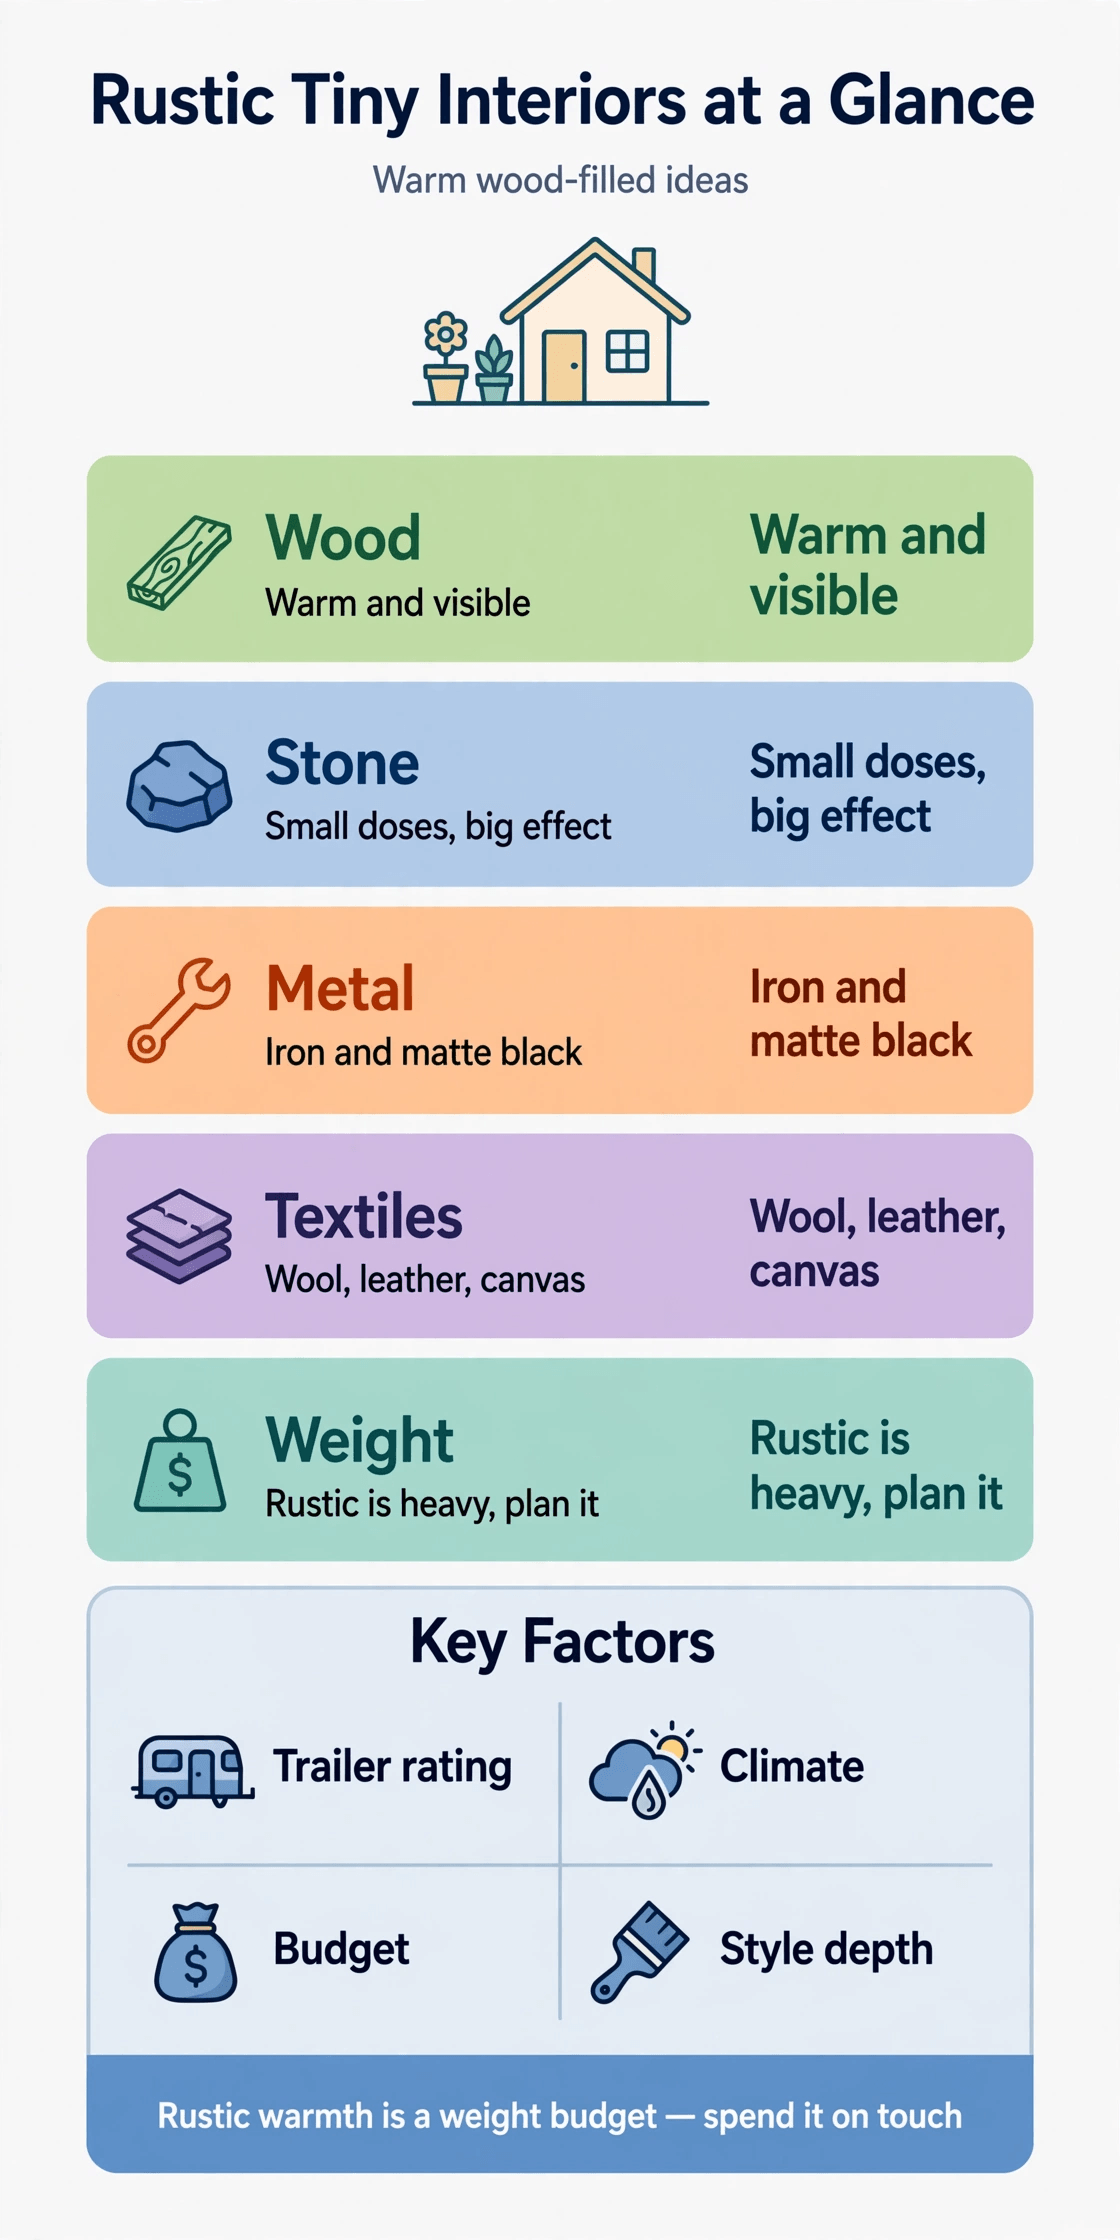
A rustic tiny house interior earns its warmth from honest materials used where you can see and touch them every day: warm wood on the walls and ceiling, a small dose of stone where heat or water demands it, iron and matte black metal for structure and detail, and wool, leather and canvas for softness. In a compact floor plan that palette is not decoration added at the end. It is the room itself, so every board, bracket and blanket has to earn its place, its weight and its upkeep.
This guide breaks the palette into 25 practical ideas, grouped from the shell inward: walls, floors and stairs first, then the kitchen, living area, sleeping loft, bathroom and storage. Each idea names the place it fits best, the material that carries it and the weight cost to watch, because solid rustic materials are heavier than the thin panels they often replace. Choose a few anchors, repeat them through the home, and a small space feels settled and cabin-warm instead of themed or cluttered.
Rustic Tiny House Interior Ideas at a Glance
The table below maps all 25 ideas before the detail that follows it, so you can shortlist by room, material and weight first, then read only the sections that match your build.
| # | Idea | Best place | Key material and weight note |
|---|---|---|---|
| 1 | Wood-clad feature walls | Living wall and loft end | Thin pine or cedar boards; light |
| 2 | Wood ceiling with simple beams | Main room ceiling | Thin boards, slim or hollow beams; light to medium |
| 3 | Whitewashed or mixed-tone wood | Small or low-light rooms | Limewash or mixed stains; light |
| 4 | Continuous wide-plank floor | Whole floor, one run | Engineered or solid planks; medium |
| 5 | Wood-tread storage stairs | Stair run to the loft | Thick treads over drawer boxes; medium |
| 6 | Butcher-block counter run | Kitchen, one section only | Sealed wood top; medium |
| 7 | Open wood shelves | Kitchen wall | Two shelves at most; light |
| 8 | Iron and matte black kitchen hardware | Cabinets and shelves | Small metal pieces; light |
| 9 | Thin stone veneer accent | Stove surround or one niche | Veneer, never full stone; keep the area small |
| 10 | Stone or stone-look splashback | Kitchen and bath splash zones | Tiles or panels; small area only |
| 11 | Iron loft railing | Loft edge | Slim iron balusters; light to medium |
| 12 | Matte black fixtures and hinges | Doors, bath and kitchen | Painted or iron metal; light |
| 13 | Wood-and-iron warm lighting | Walls and ceiling points | Small sconces, warm bulbs; light |
| 14 | Built-in wood bench with storage | Living wall | Board-built box bench; medium |
| 15 | One leather seat or leather cushions | Living corner | Single chair or pads; light to medium |
| 16 | Fold-down wood table | Wall by a window | Hinged top, iron brackets; light |
| 17 | Wool throws and blankets | Sofa, bench and loft | Wool layers; light |
| 18 | Canvas curtains and cushion covers | Windows and seating | Heavy cotton canvas; light |
| 19 | Woven zone rugs | Floor zones | Wool or jute, flat weave; light |
| 20 | Low wood sleeping platform | Loft or bedroom nook | Slatted frame; medium |
| 21 | Wood headboard wall | Bed wall | Offcut boards; light |
| 22 | Bedside ledge and reading light | Beside the bed | Small shelf, iron light; light |
| 23 | Sealed wood vanity and mirror frame | Bathroom | Sealed wood, small top; light to medium |
| 24 | Iron hook rail and shoe bench | Entry wall | Iron rail, wood bench; light |
| 25 | Vertical wood storage and crates | Walls and under-loft space | Cubbies and crates; light to medium |
1. Wood Walls and Ceilings: Building the Warm Shell
1. Clad the main walls in thin wood boards. Tongue-and-groove pine, cedar or reclaimed boards on the living wall and the loft end wall give the whole home its warm background in one move. Run boards horizontally to widen a narrow room visually, keep the finish matte, and compare weights and thicknesses first with our guide to lightweight interior wall finishes for tiny houses.
2. Carry wood onto the ceiling, with slim beams only. A boarded ceiling closes the cabin feeling overhead, and two or three simple beams add rhythm without a coffered build. Use hollow or slim solid beams rather than full timbers: the look is nearly the same from below, while the weight above your head stays modest and fixing stays simple.
3. Break up dark wood with whitewash or a second tone. All-dark boards can swallow light in a small room. Whitewashing one wall, choosing a paler stain for the ceiling, or mixing two close tones between wall and floor keeps the grain visible while the room stays bright. Test boards in daylight and lamplight before committing to a full wall.
2. Wood Floors, Stairs and Ladders: Warmth Underfoot
4. Lay one continuous wide-plank floor. A single wood floor run from entry to bathroom door, with no thresholds or material changes, makes a tiny plan read as one calm room. Wide planks mean fewer joints to look at and to clean. Engineered boards give the same surface with a thinner, lighter build than solid timber.
5. Build stairs with wood treads and storage inside. Where a loft stair replaces a ladder, thick wood treads over drawer or cupboard boxes turn dead run into shoe, linen and tool storage. Keep tread nosings simple and add a grippy finish, because socks on polished wood are slippery on a steep tiny-house stair.
3. The Rustic Tiny Kitchen: Wood, Iron and One Stone Moment
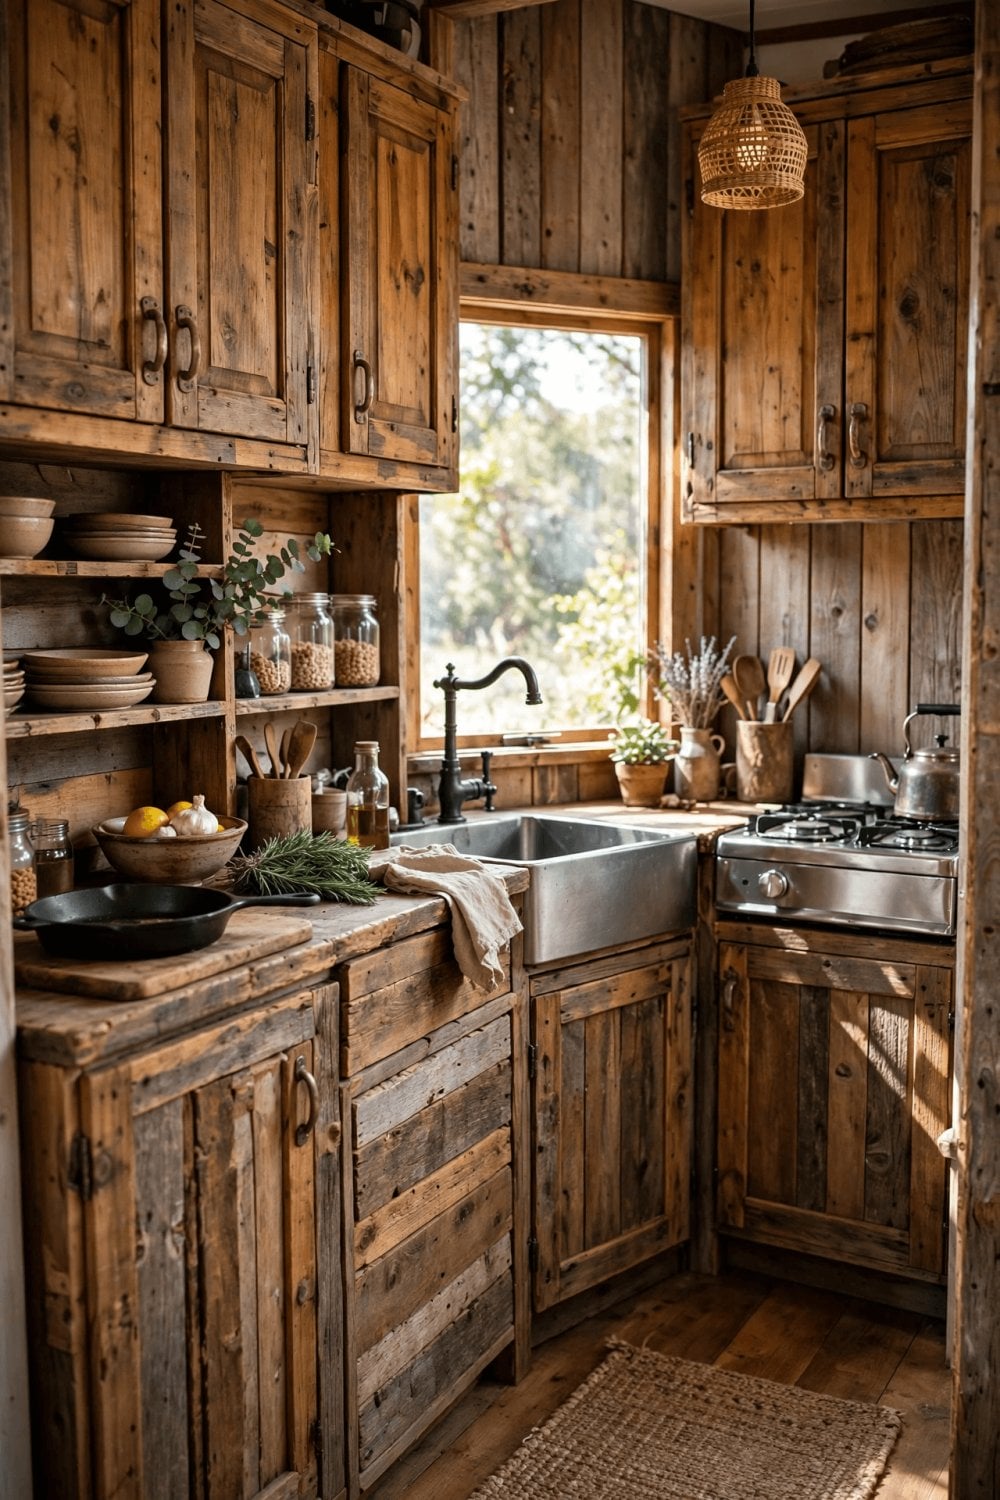
6. Use a butcher-block counter for one run only. A sealed wood worktop brings warmth exactly where hands work all day, but a full perimeter in solid timber adds weight and upkeep. Limit it to the main prep run, seal it thoroughly, and let the sink section use a harder, water-tolerant surface instead. Size the appliances around it with help from our roundup of the best compact kitchen appliances for tiny houses.
7. Replace upper cabinets with two open wood shelves. Open shelves keep a small kitchen airy, show everyday bowls and jars as part of the decor, and weigh far less than boxed cabinets. Two shelves are enough: more than that turns storage into clutter and dusting. Thick boards on iron brackets match the palette and hold daily pieces within reach.
8. Repeat matte black and iron in the small hardware. Cabinet pulls, shelf brackets, a rail for utensils and the tap in matte black or aged iron tie the kitchen to the rest of the home for very little weight. Consistency matters more than quantity: one metal finish, repeated in small pieces, reads intentional rather than collected by accident.
4. Stone in Small Doses: Veneer, Splashbacks and Heat Zones
9. Use thin stone veneer for one accent only. Stone is the heaviest material in this palette, so give it a single job: a stove surround, a small niche behind the sink, or a narrow strip at the entry. Thin veneer panels deliver the texture at a fraction of the load of full stone, and keeping the area small keeps both the weight and the visual coldness under control.
10. Limit stone splashbacks to the wettest, hottest zones. A short run of stone tiles or a stone-look panel behind the hob and sink protects wood where splashes and heat actually land. Everywhere else, sealed wood or a simple painted board is lighter and warmer. Think of stone as punctuation: a short, hard-working sentence, not the whole paragraph.
5. Iron and Matte Black Details: Structure, Fixtures and Light
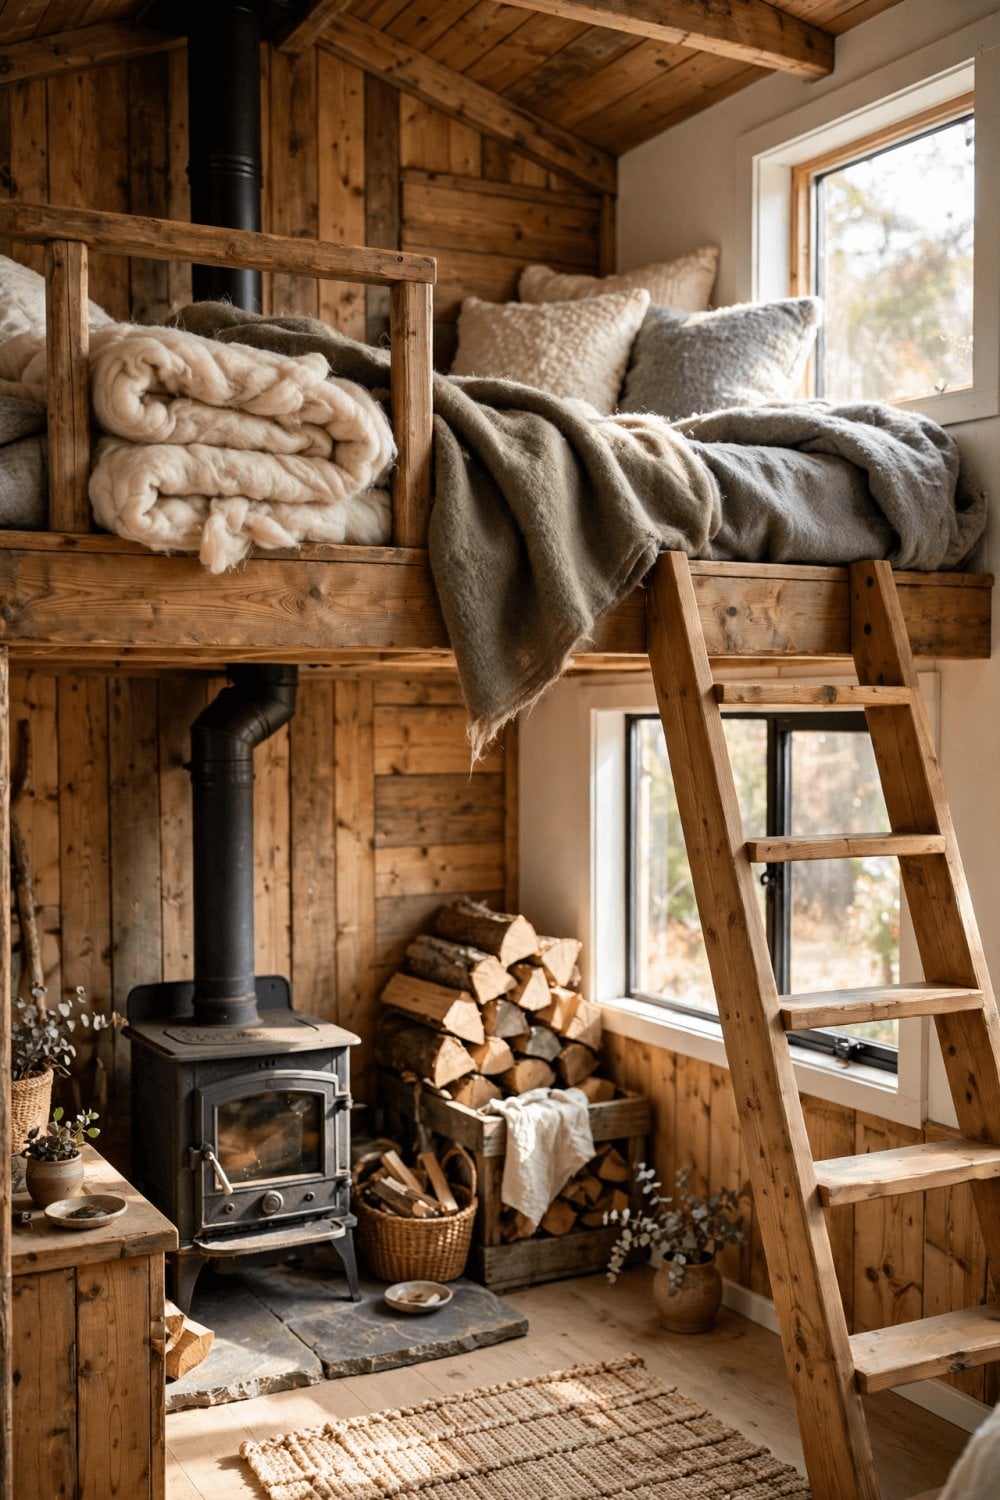
11. Guard the loft with a slim iron railing. Iron balusters or a flat iron rail at the loft edge protect the drop without the bulk of a solid wood balustrade, and sightlines stay open so the loft feels part of the room. Slim sections keep the weight low, and a wood handrail on top warms the one part hands actually touch.
12. Standardise on matte black fixtures and hinges. Door hinges, latches, bathroom fittings and hooks in one matte black finish quietly organise a rustic scheme, stopping mixed metals from looking accidental. The pieces are small and light, they are easy to replace one at a time, and the dark tone gives pale wood its contrast.
13. Choose small wood-and-iron lights with warm bulbs. Wall sconces that combine a wood backplate with an iron arm suit the palette better than large pendants in a low-ceilinged space. Warm-toned bulbs flatter wood grain and skin in the evening. Place light at the tasks — counter, reading corner, mirror — instead of one bright centre fitting.
6. The Living Area: Built-In Wood, Leather and a Table That Folds Away
14. Build in a wood bench that seats and stores. A board-built bench along the living wall gives seating, a spare bed base and a big storage box in one footprint, which is exactly the trade a tiny room needs. A hinged top, a firm cushion and wool blankets folded on top finish it. Our guide on how to build a rustic log cabin bench shows the same honest joinery at outdoor scale.
15. Add exactly one leather piece. A single leather chair, or leather cushions on the bench, brings the worn, warm tone that fabric alone cannot. One piece is enough in a small room: leather is visually heavy, and a second large piece would crowd the plan. Leather also wipes clean and ages well in hard daily use.
16. Hang a fold-down wood table by a window. A hinged wood top on iron brackets works as dining table, desk and extra prep surface, then folds flat so the floor clears for movement. Position it where daylight falls for meals and work, and size it for two settings plus a laptop rather than for guests you rarely host.
7. Wool, Leather and Canvas: The Soft Layer
17. Layer wool throws where people actually sit and sleep. Wool blankets over the bench, chair and loft bed add colour, pattern and real warmth without any build at all. Natural wool regulates temperature in both seasons and wears slowly, so two or three good pieces rotated through the year beat a cupboard of thin throws.
18. Use canvas for curtains and cushion covers. Heavy cotton canvas hangs straight, blocks drafts at single-glazed windows, and shrugs off the scuffs of small-space life. Its matte, slightly coarse texture sits naturally beside rough wood. Choose washable covers and curtains you can take down easily, because dust shows quickly in a compact home.
19. Define zones with flat woven rugs. A flat-weave wool or jute rug under the living bench and another by the bed mark out rooms within the room without walls or level changes. Flat weaves stay safe on ladders and stairs, trap grit at the door zone, and roll up for a proper floor clean.
8. The Sleeping Loft: Low Wood, Warm Bedding and a Small Ledge
20. Keep the bed on a low slatted wood platform. A low platform suits loft headroom, lets air move under the mattress, and avoids the weight of a full bed frame. Slats from offcuts work well. Leave a clear step-down zone at the ladder or stair head so night-time exits stay safe and unhurried.
21. Panel the bed wall with offcut boards. The wall behind the bed is the first thing seen from below and the backdrop to every morning, so a simple headboard wall of vertical or herringbone offcuts gives the loft its own identity. It uses leftover boards from the main walls, adding texture for almost no extra weight or cost in materials.
22. Fit a narrow ledge and an iron reading light. A slim wood ledge holds a book, glasses and a water glass where a bedside table cannot fit, and a small iron reading light fixed to the wall keeps the ledge clear. In a loft, every surface earns its keep, and this pairing replaces a whole piece of furniture.
9. Bathroom and Entry: Sealed Wood and Hard-Working Hooks
23. Use sealed wood at the vanity, and nowhere wet beyond it. A small sealed wood vanity top and a wood mirror frame carry the rustic thread into the bathroom without risking swollen boards. Keep wood clear of the shower zone, seal every edge and end grain, and plan pipe runs first using our tiny house plumbing layout guide so fittings land where the woodwork expects them.
24. Give the entry an iron hook rail and a shoe bench. Coats, hats and bags land in the first metre of a tiny home, so an iron rail on a wood backboard plus a low bench with shoe space underneath stops the pile-up. A small natural detail, like the pieces in these tree bark crafts and rustic art projects, warms the wall without adding furniture.
10. Storage and the Rustic Weight Budget for Trailers
25. Store vertically in wood cubbies and crates. Wall cubbies above doors, crates stacked in the under-loft void and shelves in every gable end turn height into storage while the floor stays clear. Wood storage matches the shell, can be built from project offcuts, and moves easily when the layout changes. Label or zone each crate so small items stay findable.
Respect the weight budget before the beauty budget. Rustic materials add up: stone veneer, solid counters, thick treads and boarded walls all weigh more than the lightweight panels they replace. For a home on a trailer, list each material, estimate its weight honestly, spread heavy items low and between the axles rather than at the ends, and check the running total against the trailer’s rated capacity before you buy, not after you build. Where weight is tight, swap down a grade — thinner boards, veneer instead of stone, hollow beams — and borrow the other weight-saving ideas in our explainer on vacuum insulated panels for tiny houses, which frees capacity for the wood you really want to see.
Final Considerations
A warm rustic tiny home is an exercise in editing. Let wood lead on the big surfaces, give stone one or two small jobs, repeat iron and matte black in the details, and soften everything with wool, leather and canvas. Seal wood carefully in the kitchen and bathroom, ventilate the loft, and re-oil worktops before they dry out; if you are using reclaimed timber, our guide on how to cure and dry wood logs explains how to stop cracks and rot before the boards ever reach the wall. Start with three anchor ideas from the table, live with them, and add the rest only where the room still asks for it.


0 Comments