

Imagine R-30 in the thickness of a paperback book. A panel barely an inch thick can hold five to eight times the insulation of fiberglass, which sounds like science fiction until you hold one in your hands. In a tiny house, where every inch of wall is stolen from living space, that thinness is pure gold — provided you handle the panel right.
Vacuum Insulated Panels: At a Glance
This guide explains vacuum insulated panels without the hype: how an evacuated core defeats heat transfer, where these panels earn their premium in micro-living, the puncture risk nobody mentions, and the detailing that protects the investment. The technology borrows the thermos principle — a microporous core sealed inside a gas-tight envelope under near-vacuum — to deliver R-25 to R-40 per inch. Physics, applications, costs and handling rules — covered in the order you will actually meet them on a build. The ten sections below follow the decision in build order: the physics first, then why tiny houses suit the material so well, where to place panels surgically, what they honestly cost, how they fail, and how to install, hybridize and — where flexibility matters more — substitute aerogel instead. Thin walls, serious performance: by the end you will know exactly where the exotic inch pays and where ordinary insulation is the smarter buy.
| Topic | What It Covers | Key Fact or Figure |
|---|---|---|
| 1. The Thermos Principle | How the evacuated core defeats heat transfer | R-25 to R-40 per inch |
| 2. Why Tiny Houses Win | Width, height, weight and the energy cascade | R-25 bought in the space of R-6 |
| 3. Strategic Placement | Walls, roof, floor and thermal bridges | A 1/2″ layer over studs breaks every bridge |
| 4. The Cost Trade-Off | What the exotic inch charges per square foot | $15–30/sq ft vs $1–2 for polyiso |
| 5. Fragility and Aging | Puncture risk, factory sizing, slow vacuum loss | One puncture: R-40 falls to R-5 |
| 6. Design and Protection | Layout to panel sizes, the protective sandwich | Adhesive or friction-fit — never fasteners |
| 7. Seams and Penetrations | Taped joints, routed services, drill warnings | The taped layer doubles as the air barrier |
| 8. Hybrid Assemblies | Pairing panels with fiberglass and foam | R-34 inside a 3.5″ 2×4 wall |
| 9. Aerogel and Alternatives | The cuttable exotics on the shelf | Aerogel: R-10 per inch, cuttable on site |
| 10. The Verdict | Where the exotic inch earns its premium | Surgical use where thickness is the constraint |
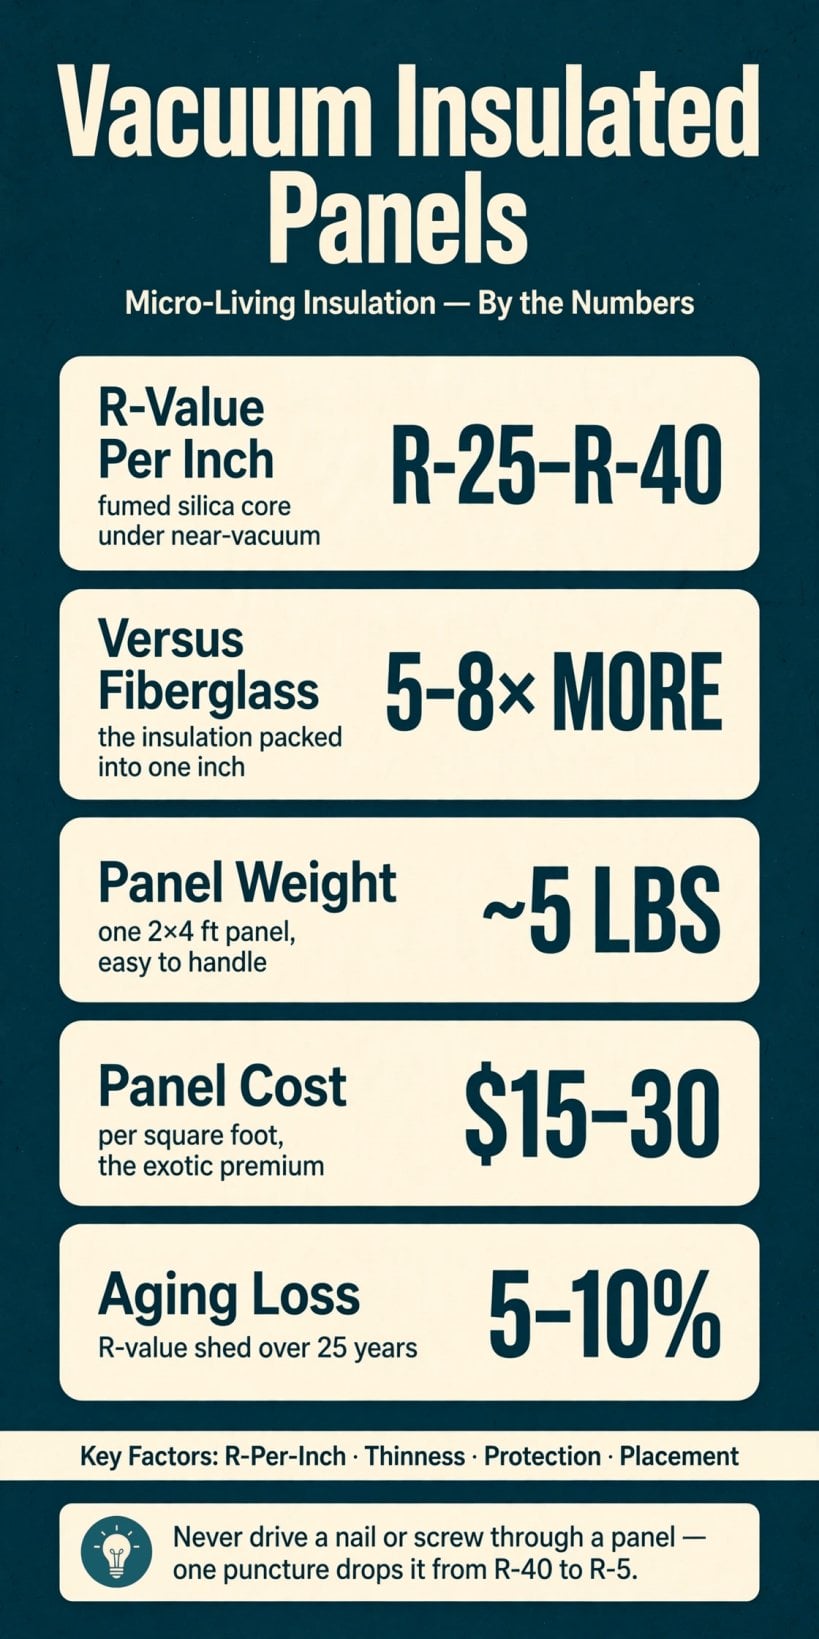
The panels by the numbers: R-25 to R-40 in a single inch, five to eight times fiberglass, about five pounds a panel — at $15–30 per square foot, with only 5–10% of R-value lost over 25 years.
1. How VIPs Work: The Thermos Principle
Vacuum insulated panels (VIPs) work because they attack heat transfer on all three of its routes at once. Heat moves by conduction, convection and radiation, and an ordinary batt only slows the first two. A VIP starts with a microporous core of fumed silica — the same material found in high-end insulation — and evacuates it to a near-vacuum, so with almost no air inside there is almost no conduction or convection left to carry heat across. That core sits inside a gas-tight metallized envelope, which blocks radiation and, just as importantly, holds the vacuum in.
The result is R-25 to R-40 per inch. Set that beside R-3.5 for fiberglass batts and R-6.5 for polyiso and the panel is simply in another league. The easiest mental model is a thermos bottle flattened into a panel: the same vacuum that keeps coffee hot all morning keeps a house warm all winter. Panels are typically 1″ thick and rated R-25+, and they combine happily with conventional material — a 2×4 wall holding a 1″ VIP plus 2.5″ of conventional insulation reaches R-30+ inside a 3.5″ cavity. For scale, reaching that same R-30 with fiberglass at R-3.5 per inch would take more than eight inches of batt — depth a tiny house wall simply does not have to give.
2. Why Tiny Houses Are the Perfect Application
Every constraint that defines a tiny house is an argument for insulation measured in fractions of an inch. Start with width: the 8’6″ exterior limit means interior width is precious, and every inch of wall insulation is an inch of living space surrendered. A VIP buys R-25 in roughly the thickness that would otherwise hold R-6. Height argues the same way — under the 13’6″ total limit, roof insulation competes directly with loft headroom, and a 1″ layer under the roof deck buys real R-value without stealing a single inch of sitting room.

Weight helps too: the panels are light — a fumed silica core in a foil envelope, a 2×4 panel at roughly 5 lbs — so the upgrade adds almost nothing to the trailer’s load. The deepest benefit, though, is the energy math. A super-insulated tiny house at R-30+ walls needs a fraction of the heating of a conventionally insulated one, and that cascades through every system: a smaller unit chosen from the options in our guide to installing a mini-split in a tiny house, and a smaller array and battery bank from our roundup of solar panel kits for tiny homes. The insulation upgrade quietly shrinks everything downstream of it — and every pound not spent on thick wall build-ups stays available for the things the house actually carries.
3. Where to Use Them: Strategic Placement
VIPs are expensive, so the placement rule is surgical: spend them only where thickness is the binding constraint. The prime targets are the long walls, where width matters most — a 1″ panel inside the sheathing buys R-25 without thickening the wall at all. The roof and ceiling come next, under the deck, delivering maximum R per inch exactly where headroom is tightest. The floor earns a look as well: laid over the trailer — chosen with the help of our tiny house trailer buying guide — the thin profile keeps deck height low, and every inch saved there is an inch kept out of the overall 13’6″ height budget.
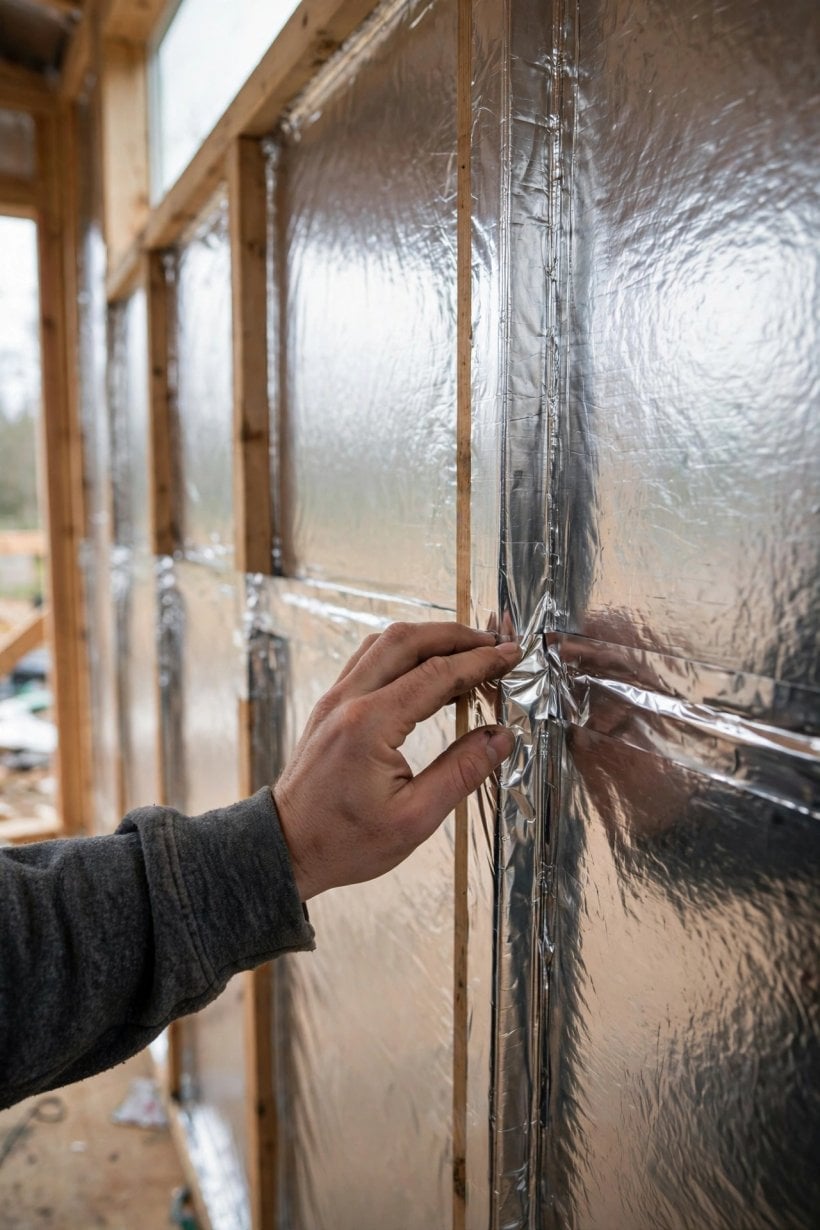
The highest-value application of all is the thermal bridge. A continuous 1/2″ VIP layer over the framing breaks every stud’s thermal bridge at once, lifting the whole wall’s performance rather than one cavity at a time. Just as important is where not to use them: anywhere thickness is free. A foundation wall with room for 4″ of foam does not need panels at all — conventional insulation delivers the same R there for roughly a tenth of the cost per R.
4. The Honest Trade-Offs: The Price of Thin
There is no softening the headline number: VIPs run $15–30 per square foot, against $1–2 for polyiso. Per unit of R, the panel costs ten to twenty times more than the conventional alternative, and the bill is real even at tiny house scale — the walls of one small home might need $2,000–4,000 in panels alone. That is the trade in its purest form: you are not buying insulation, you are buying back inches, and inches inside an 8’6″ wide house are worth money in a way they never are in a conventional build.
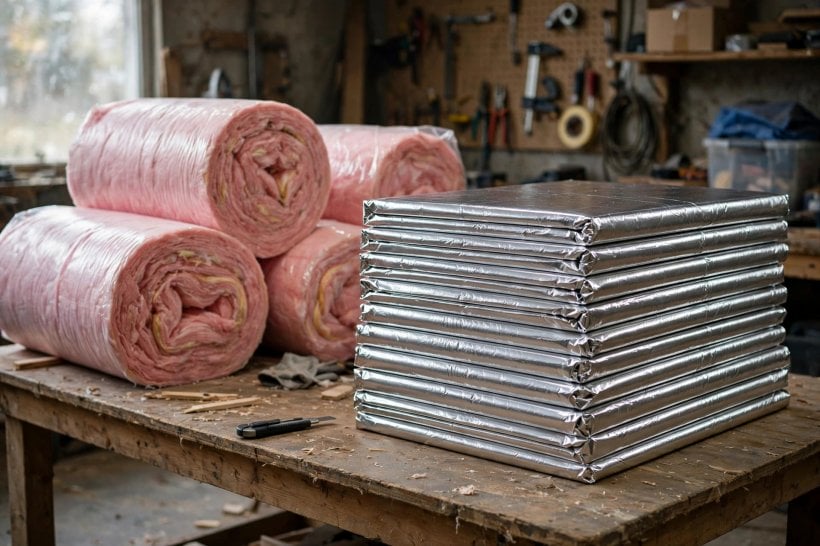
This is why the surgical rule from the previous section matters so much. Blanketing a whole house in panels because the R-per-inch is seductive is how the budget breaks; targeting the walls, roof spots and thermal bridges where an inch genuinely converts into living space is how the same money performs. Priced honestly and placed sparingly, the premium is a deliberate purchase of room — priced carelessly, it is the most expensive insulation decision in the build. A useful way to frame the purchase: conventional insulation is bought by the R, while panels are bought by the inch — and only the inches that convert into room are worth the rate.
5. Fragility, Aging and Edge Losses
The panel’s superpower is also its weakness: everything depends on the vacuum, and the vacuum depends on an intact envelope. Puncture that envelope and the performance collapses — R-40 becomes R-5 in the moment air rushes in. The practical consequences shape the whole install: no nails, no screws, nothing driven through a panel, ever, and the attachment method has to be planned around that fact from the start.
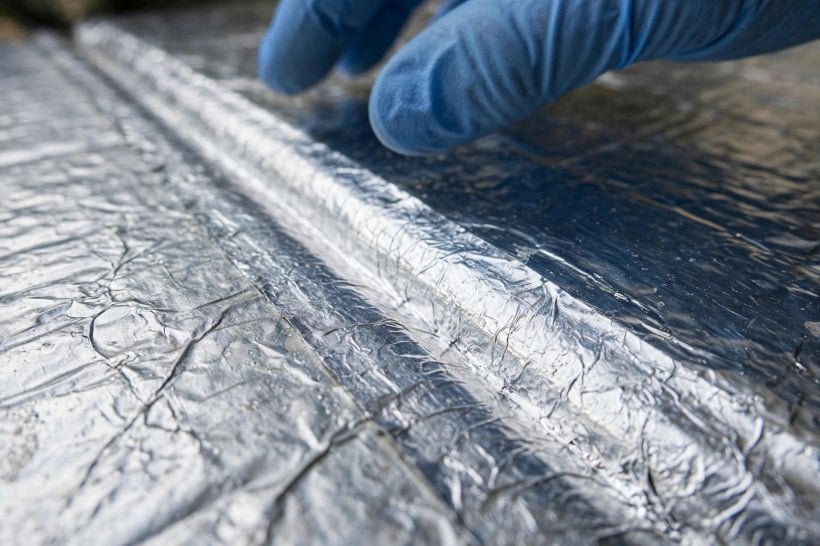
Panels also cannot be cut on site — cutting destroys the vacuum — so they arrive factory-sized and the layout must be designed to panel sizes, the way you would plan tile. That also means a measuring mistake cannot be rescued with a knife on site — the layout drawing is the last chance to catch it, which is why the design stage in the next section carries so much weight. Aging is gentler but real: the vacuum degrades slowly as gas permeates the envelope, and quality panels lose 5–10% of their R-value over 25 years, which is still excellent but not permanent. Finally, the edges leak heat: the envelope itself conducts, so panel edges act as small thermal bridges. Butt panels tight together and tape every seam with metallized tape to keep those losses at the minimum.
6. Installation: Design, Protection and Attachment
Installation starts on paper, not on the wall. Because field-cutting is not an option, the wall is laid out to the panel sizes — typically 2×4 ft — and the panels are ordered to fit the drawing. Every later decision follows from that layout: where panels run, where conventional zones sit, and where services will pass.
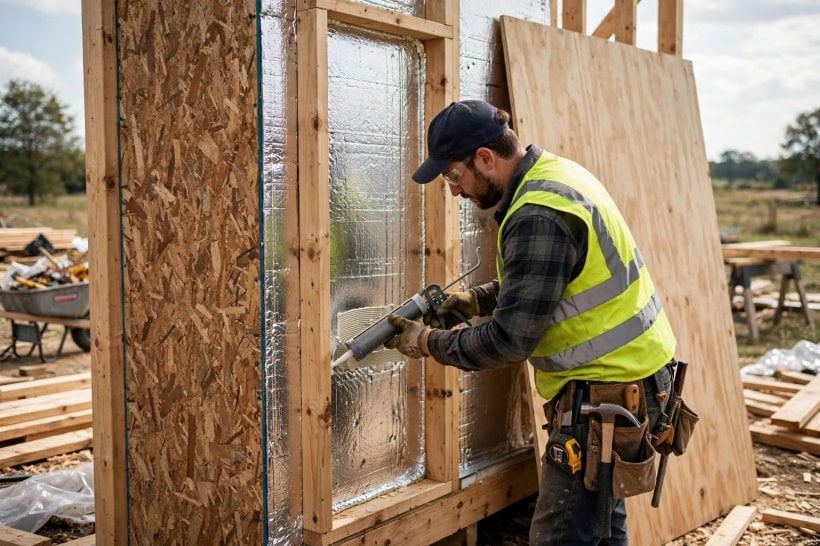
Protection is the second rule. Panels are never left exposed; they live between protective layers, sheathing on the outside and drywall or plywood on the inside, and that sandwich is what stands between the fragile envelope and every future knock, scrape and picture hook. Attachment follows from the no-puncture rule: panels are held with adhesive or friction-fit, framed around and glued in, with no mechanical fasteners passing through them at any point. Treat the panel like glass, not lumber, and the install goes the way it should. The sandwich does one more quiet favour: insulation hidden behind sheathing and board is insulation nobody casually drills into — though the labelling step in the next section makes sure of it anyway.
7. Installation: Seams, Penetrations and Labels
With panels set, every joint gets metallized tape. The taped seams are the air and vapor seal of the assembly — the taped panel layer doubles as the air barrier — so this step rewards the same patience as the layered joint work in our guide to sealing tiny house sill plates and corners. A seam skipped is a leak in both the thermal envelope and the air barrier at once.
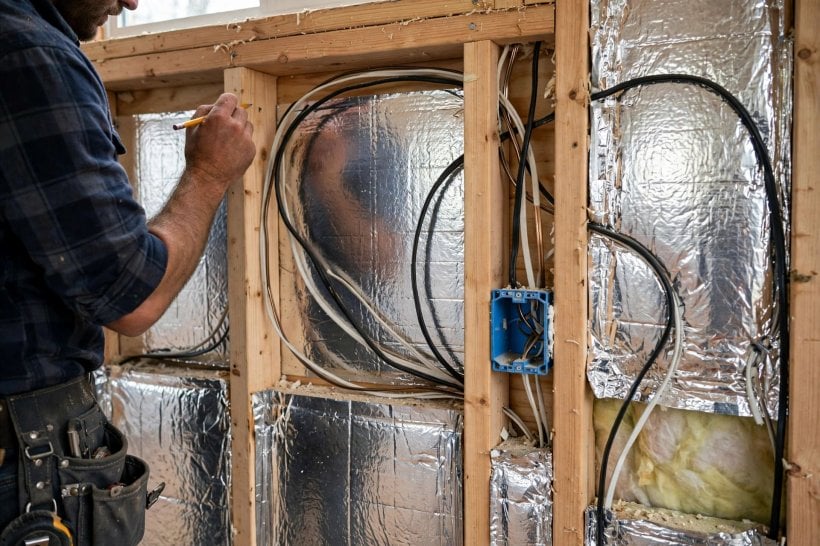
Penetrations are planned around the panels, never through them. Electrical boxes and plumbing runs are routed through the conventional insulation zones the layout deliberately left open, which is another reason the design stage decides so much. The last step protects the future: mark the panel locations on the framing. The next person to hang a picture in that room needs to know exactly where not to drill — a pencil note today is the cheapest insurance the panels will ever get.
8. Hybrid Assemblies: VIPs + Conventional
The smart money rarely goes all-in on panels; it mixes. The budget super-wall pairs a 1″ VIP (R-25) with 2.5″ of fiberglass (R-9) inside a 2×4 wall for R-34 in a 3.5″ cavity. The bulletproof version pairs the same 1″ panel with 2″ of closed-cell spray foam — the foam air-seals the assembly and armours the panel behind it — for R-38 total; the foam’s behaviour is compared in our guide to how to insulate a tiny house.
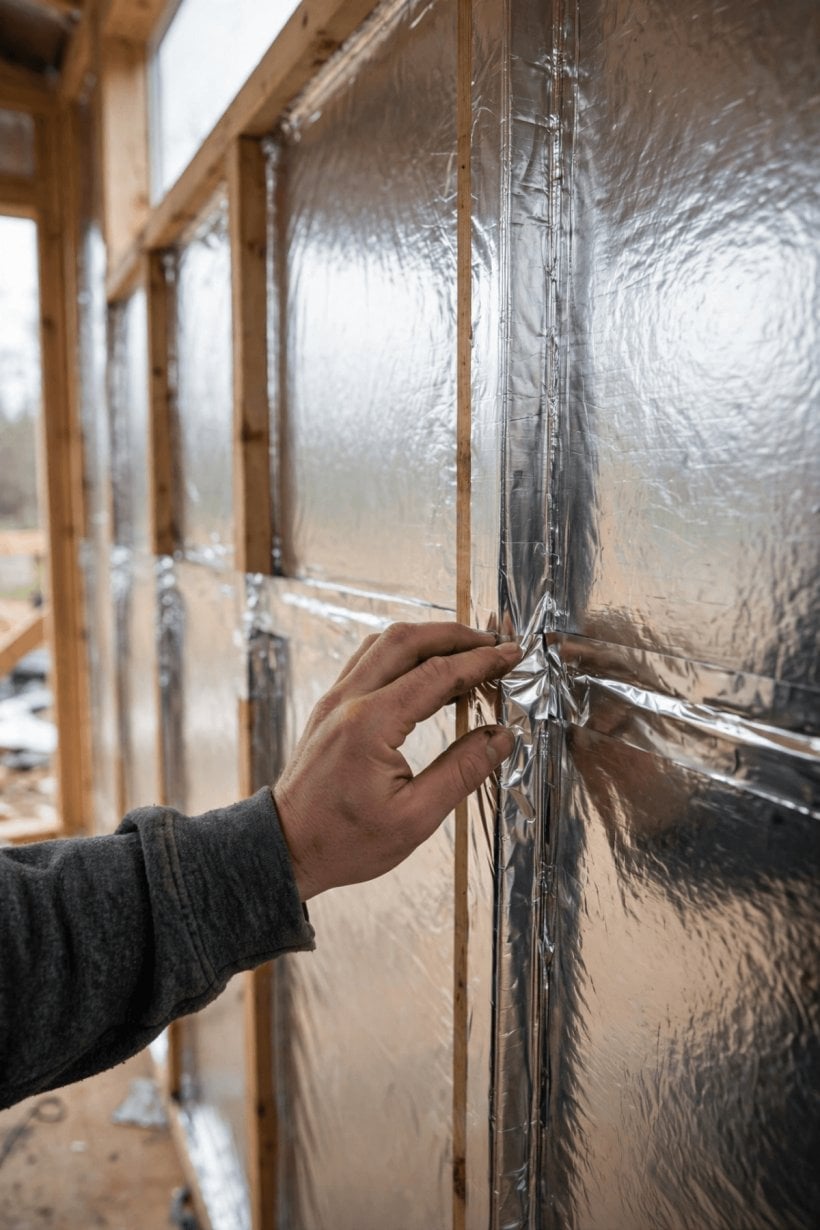
The third hybrid uses the panel purely as a thermal break: a 1/2″ VIP layer over the exterior sheathing, under the siding, runs continuously across every stud, and the wall’s effective R jumps 30–40% from that layer alone. It is also the one hybrid that improves every cavity at once rather than upgrading them one at a time. The principle behind all three is the same — panels supply the R-per-inch where it counts, conventional insulation supplies the bulk — and it delivers roughly half the cost of a full-VIP wall with about 90% of the performance.
9. Alternatives: Aerogel and the Exotic Shelf
VIPs are not the only exotic on the shelf. Aerogel blankets deliver R-10 per inch in a flexible blanket that can be cut on site, at $8–15 per square foot. That is less R than a panel, but the blanket is far more forgiving — it bends around awkward geometry and survives the trimming a panel never could — which makes it the practical exotic, the “VIP-lite” for thermal bridges and tricky spots. Phenolic foam is the other contender: R-8 per inch in a rigid, cuttable board, the best of the conventional rigid foams, though availability is niche.
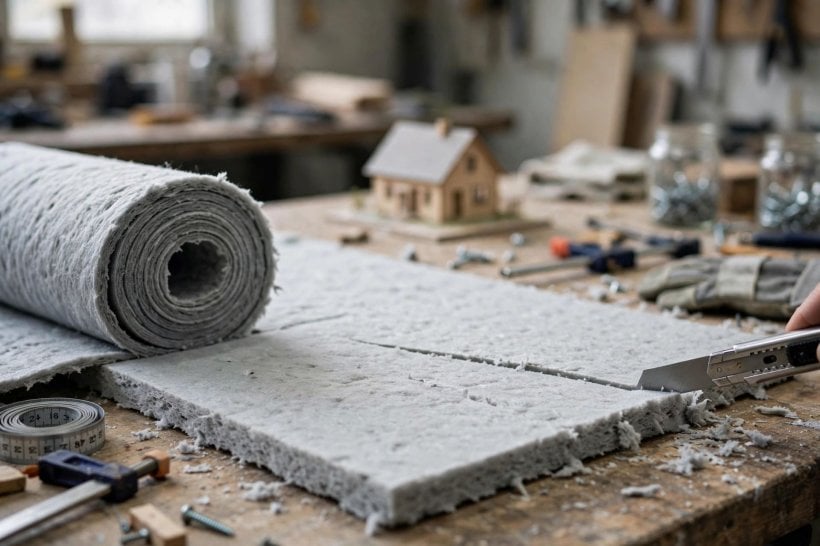
The verdict between them is about forgiveness versus peak performance. Aerogel is the sensible exotic — cuttable, flexible, still three times fiberglass — while panels remain the maximum-performance exotic, reserved for the places where every fraction of an inch counts. For most tiny houses, the honest recommendation leans aerogel at the thermal bridges with excellent conventional insulation everywhere else, and panels held back for the few spots where nothing else fits the space. There is a handling gap behind that verdict, too: a blanket forgives a dropped corner or an awkward trim in ways a vacuum envelope never will, and on a real building site that forgiveness has a cash value of its own.
10. The Verdict: Spending the Exotic Inch Wisely
Brought together, the decision is a placement decision. The panel earns its premium in the long walls, under the roof deck, over the trailer floor and across the studs as a thermal break — the spots where thickness is a genuine constraint and every recovered inch becomes living space or headroom. In cold-weather builds the stakes climb further, since wall performance decides heating loads all winter; the builds in our roundup of tiny house plans for cold climates and the lived experience in our guide to tiny house living in cold climates show how hard those walls have to work.
Everywhere thickness is free, spend on conventional insulation and keep the change. Where flexibility matters more than peak R, reach for aerogel. The exotic inch is a scalpel, not a blanket — used surgically, protected carefully and hybridized sensibly, it gives a tiny house wall performance its dimensions should not allow. The discipline is the same one the install itself demands: decide where panels earn their keep before ordering, because a factory-sized, uncuttable product punishes improvisation.
Final Considerations
VIPs deliver unmatched R-per-inch for the walls, roof and floors where thickness is the constraint — but they are expensive, fragile and uncuttable. Use them surgically, at thermal breaks and tight cavities; protect them inside a sandwich; hybridize them with conventional insulation; and consider aerogel wherever flexibility matters more than the last few R. Insulation is the only building component that pays you back every single day, in smaller heating bills and bigger-feeling rooms — and in a tiny house, the exotic inch is worth more than anywhere else.




3 Comments