

Pick the wrong grout and a beautiful tile job can crack, scratch or look tired far too soon. Pick the right one and the whole surface feels solid, smooth and easy to live with.
This simple guide walks through the choice step by step, so you can match the mix to your joints, your tile and your room with confidence.
1. The Quick Answer: Which Grout Does Your Tile Need?
If you only read one section, make it this one. The comparison of sanded vs unsanded grout really comes down to three things: how wide your joints are, how delicate your tile surface is, and where the tile will live. Wide joints need the extra body that sand gives a mix. Narrow joints need a smooth mix that can squeeze into a tight gap without scratching anything on the way in. Everything else in this guide is detail that helps you fine-tune that first decision, check your own project against it, and avoid the handful of mistakes that cause most grout problems in kitchens, bathrooms and compact homes.
| Question | Answer |
|---|---|
| Which mix suits wider joints? | The sanded option is usually the better fit, because the sand helps the mix hold its shape, resist shrinking and stay put in a broader gap. |
| Which mix suits very narrow joints? | The smooth, unsanded option is usually preferred, because it can flow into a tight line without forcing or packing. |
| What about polished or glossy tile? | Choose the smooth option and work gently, since gritty mixes can dull or scratch delicate faces. Always test in a hidden corner first. |
| What about floors that take heavy use? | The sanded option is a common choice for sturdy floor tile, where strength and grip matter more than a silky finish. |
| Can I swap one for the other? | Only with care. A gritty mix may scratch soft tile, and a smooth mix may shrink or crack in a wide joint, so match the mix to the job. |
| How do I confirm the right choice? | Read the directions on the bag, check the tile maker’s guidance, and when in doubt ask the supplier to confirm for your exact tile and joint width. |
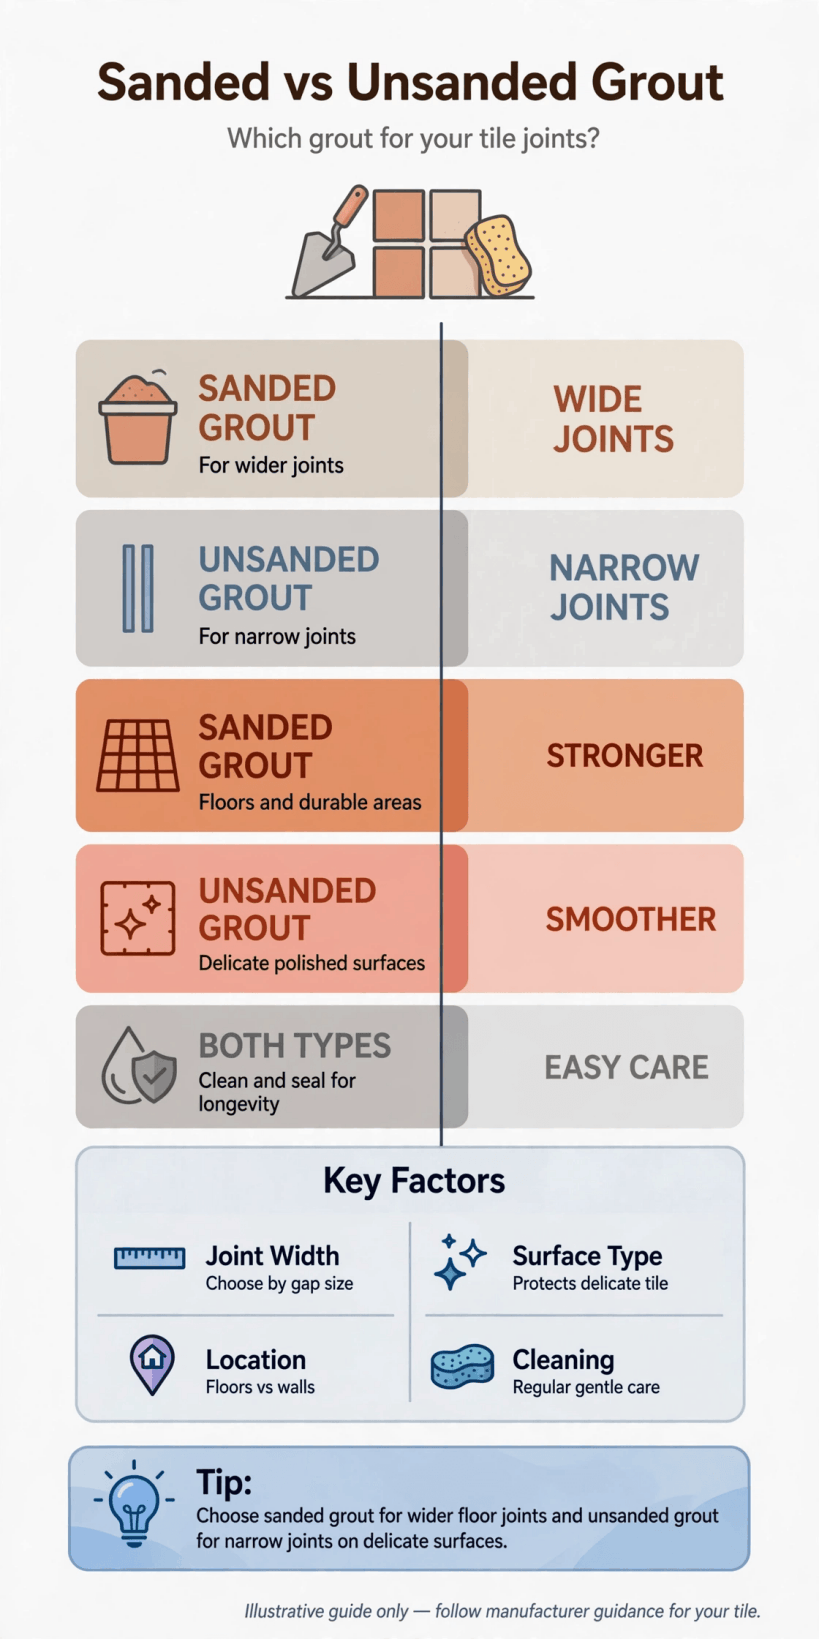
A quick visual summary of the two grout types, where each one works best, and the checks to make before you start mixing.
Those quick answers cover most everyday projects, from a small splashback to a full bathroom floor. The sections that follow explain the reasoning in plain language, so you understand why a recommendation exists rather than simply following it blindly. That understanding matters when your project does not fit the standard pattern — an older floor with uneven joints, a handmade tile with wavy edges, or a tiny-house bathroom where every surface has to work hard in a small footprint.
2. Start With the Joint: Width Decides More Than Anything Else
The single most useful measurement on a tiling job is the width of the gap between tiles. As a general rule of thumb shared by many tilers, broader joints are paired with sanded mixes and hairline joints with smooth ones, but treat that as a starting point rather than a law. The directions that come with your product and the guidance from your tile maker always win, because modern mixes vary and some newer products are made to cover a wider range of joint sizes than older ones.
Why does width matter so much? A grout joint is not just a decorative line. It cushions slight movement, helps tiles sit as one surface, and keeps everyday moisture and crumbs from finding their way underneath. Fill a wide joint with a mix that shrinks as it dries and you can end up with dips, pinholes or fine cracks along the line. Force a gritty mix into a joint that is too narrow and the sand grains bridge across the opening instead of packing down, leaving hidden voids that weaken the joint and let water linger where it should not.
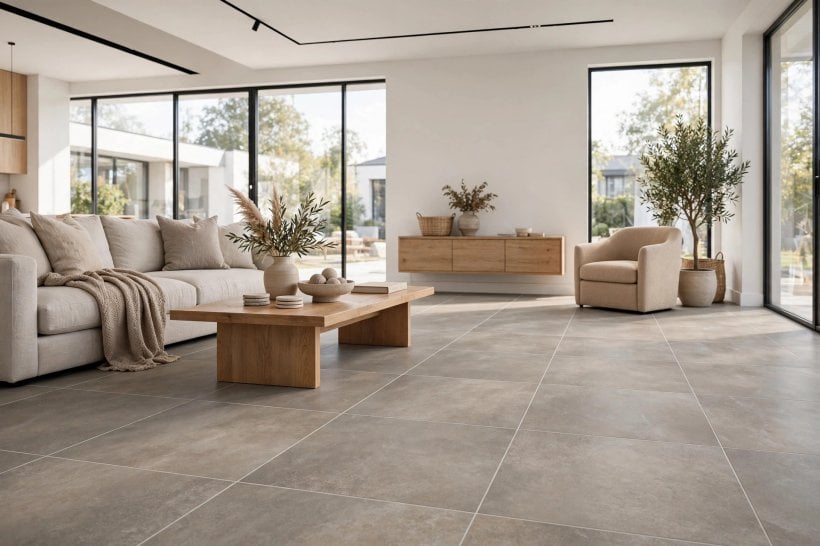
Measure in a few places, not just one. Joints on real projects are rarely perfect, especially with rustic or handmade tiles, and the widest and narrowest points both influence your choice. If your joints straddle the borderline, talk to your supplier, consider a test area, and think about which risk matters more for your surface: scratching a delicate face, or shrinkage in a generous gap. In a hard-working kitchen, the practical thinking behind kitchen design ideas for tiny houses and small spaces applies here too — choose the option that will still look good after years of daily use, not just on the day it is finished.
3. Where the Sanded Option Earns Its Keep
Sanded mixes are the workhorses of the tiling world. The added sand gives the cured joint more body, which helps on floors where shoes, chair legs, pet claws and dropped pans all test the surface. On a floor, joints are walked on, swept, mopped and scrubbed, and a joint that keeps its shape under that treatment keeps the whole floor feeling firm instead of crumbly at the edges.
This is also the mix many people reach for with rougher, more forgiving tile faces — think of sturdy ceramics and textured finishes where a little grit in the mix is no threat to the surface. Outdoor steps, entryways and utility areas often fall into this camp, as do larger tiles laid with more generous spacing. The slightly textured finish can even be a small advantage underfoot, adding a touch of grip along the joint lines in areas that sometimes get wet.
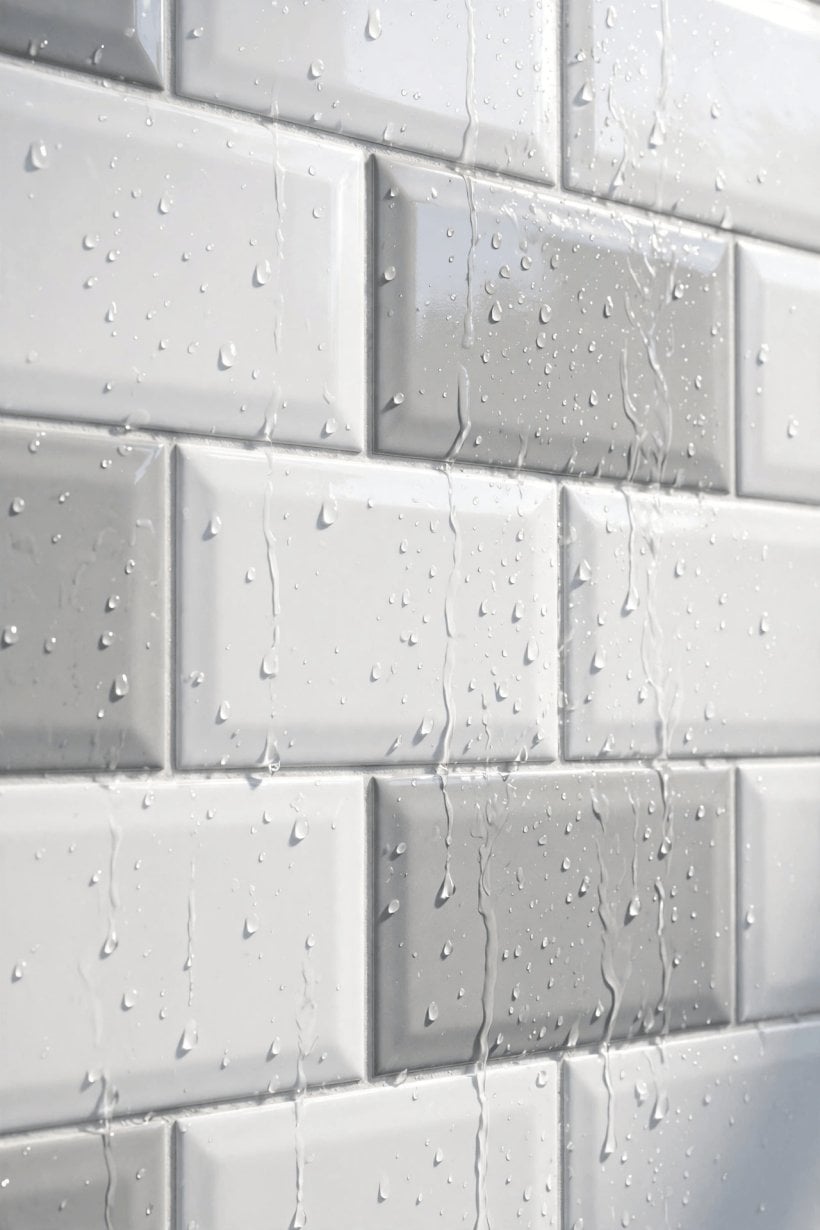
There are trade-offs to respect. A gritty mix takes a little more effort to pack neatly, and it is not the friend of polished, glossy or easily marked surfaces. Cleaning is also a touch more involved, because a textured joint can hold onto dirt more readily than a smooth one, so a regular gentle scrub matters. If you are planning a full room from scratch, the planning mindset in how to build your own tiny house is worth borrowing: decide your floor finish and your grout together, on paper, before anything is ordered or mixed.
4. Where the Smooth Option Earns Its Keep
Unsanded mixes are the gentle specialists. Without grit, the paste is smooth, creamy and able to slip into narrow joints and fine detail work where a coarser mix simply cannot follow. That makes it a natural partner for wall tiles with tight spacing, delicate mosaics, and the neat, close lines that give a shower wall or splashback its crisp, tailored look.
Vertical work is another strong point. A smooth mix tends to be pleasant to apply on walls, and because there is no sand to drag across the tile face, it is kinder to surfaces that show every mark. In a small bathroom or a compact kitchen, where you see the tile up close every single day, that kindness shows. Fine joints also read as more refined, which is why designers often pair narrow lines with smooth grout in calm, minimal schemes like those explored in tiny house and small-space interior design ideas.
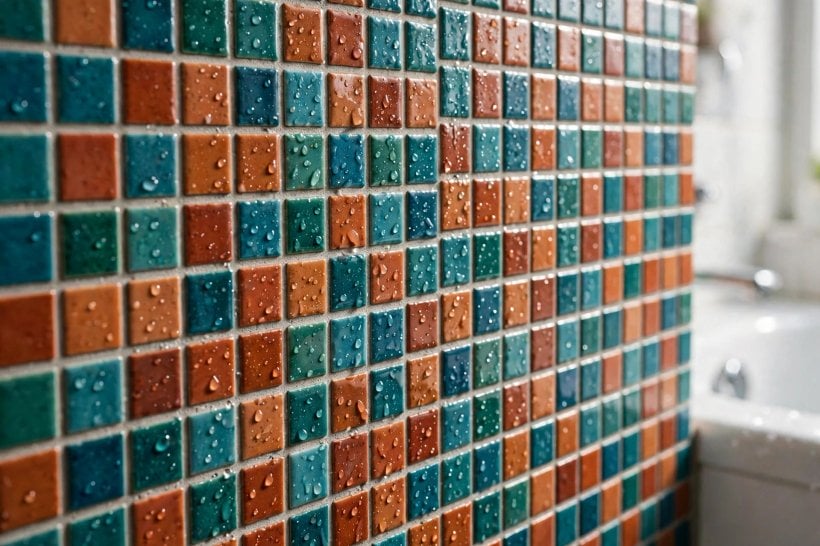
The limits are just as clear. In a wide joint, a smooth mix can shrink back as it cures, sink below the tile edges, or develop fine cracking over time. It is also not usually the first choice for heavy floor traffic in broad joints. None of that makes it a lesser product — it simply has a home territory, and the happiest results come from keeping each mix in the territory where it performs best. If your heart is set on wide joints and a smooth finish, ask your supplier what modern options exist rather than forcing a standard smooth mix to do a job it was not made for.
5. Delicate Surfaces: Stone, Glass and Polished Finishes
Some tiles ask for extra gentleness, and polished stone is top of that list. A glossy marble or a highly polished porcelain can pick up fine scratches from a gritty mix dragged across its face, and those marks are hard to forgive once the light catches them. Glass tiles and soft glazes deserve the same caution. When in doubt, the smooth mix, a soft float, and a patient hand are the safer combination.
Testing is your best friend here. Mix a small amount, grout a few joints in the least visible corner — behind a bath panel, inside a cupboard run, or on spare tiles laid out on a board — and let it cure before you judge it. Look at the tile face in daylight and under your room lighting, because fine scratching sometimes only appears at certain angles. That half hour of testing can protect an entire room of expensive material.
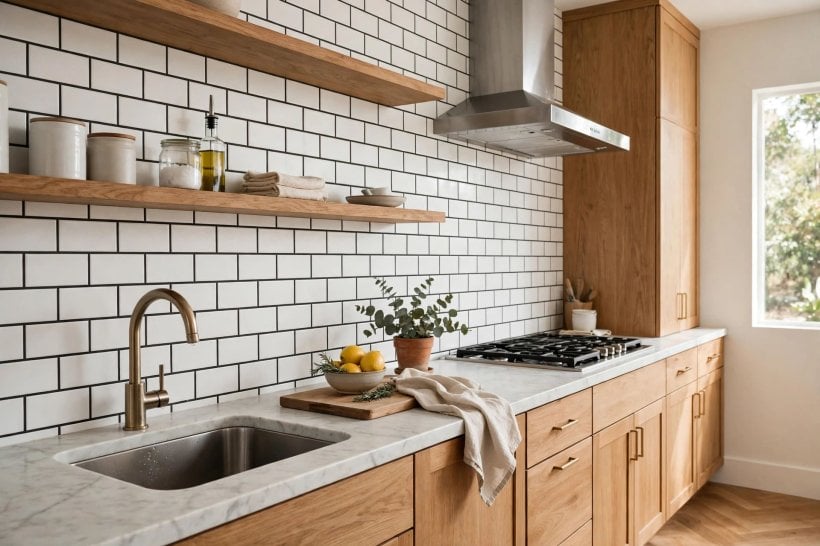
Sealing is the other conversation to have with delicate stone. Some natural materials benefit from sealing before grouting so pigment does not settle into the surface, and some benefit from sealing afterwards as well. Products and timings vary a lot, so follow the stone supplier’s written guidance for your exact material rather than general advice. The colour thinking in tiny house interior paint colors is a useful reminder here: surfaces in a room influence each other, and a grout tone that looks perfect on a sample card can read quite differently against real stone in real light.
6. Strength, Wear and Everyday Cleaning
Once the job is done, grout leads a busy life. It gets steamed in showers, splashed in kitchens, scrubbed around cookers and tracked over by muddy boots at the door. Both grout families can serve well for years when they are matched to the right joint and mixed and cured properly. Most early failures trace back not to the type on the bag, but to a mismatch — the wrong mix for the width, too much water in the bucket, or cleaning that started before the joint had gained its strength.
For daily care, gentle and regular beats harsh and occasional. Sweep or vacuum grit away before mopping so you are not grinding dirt into the joint lines. Use cleaners that suit your tile and grout, rinse well, and avoid flooding the surface with strong chemicals in the hope of a shortcut. In wet rooms, ventilation quietly does more for grout than any scrubbing routine, because joints that dry out between uses stay fresher for longer.
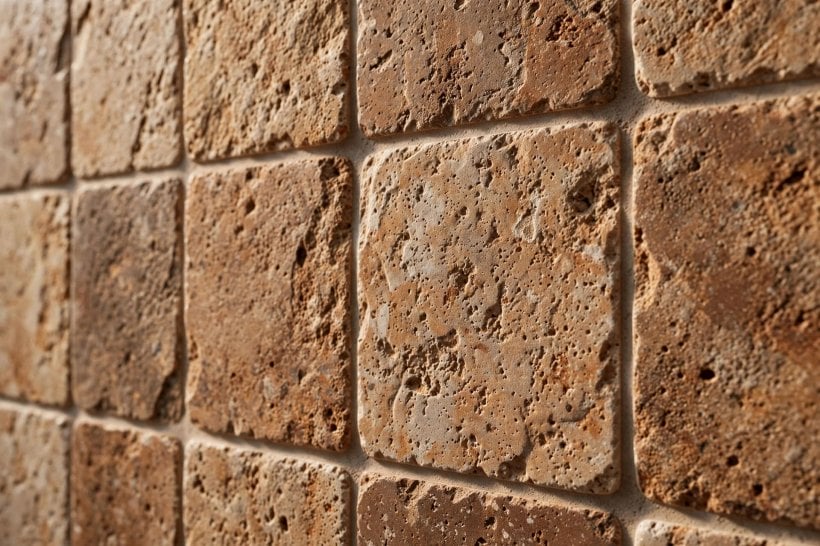
If a joint does crack or crumble in one small area, do not panic and do not simply smear fresh grout over the top and hope. Rake out the failed material in that spot, find the cause if you can — movement, moisture, a void underneath — and make a proper local repair. Kitchens reward this kind of steady upkeep, and the practical layouts in tiny house kitchen design ideas show how much daily life happens within a few steps of the tiled splashback and floor.
7. Mixing, Working Time and Application Tips
Good grouting is mostly unhurried preparation. Mix small batches you can use comfortably, follow the water guidance on the bag rather than guessing, and let the mix rest briefly if the directions say to, then stir again before you start. A mix that is too wet may look easy to spread, but it can cure weaker and paler, and it is more likely to shrink. A mix that is too dry will not pack into the joint properly. Aim for a smooth, paste-like consistency that holds on the float without slumping.
Work in manageable sections. Press the mix across the joints at an angle with a grout float, pushing it down into each gap rather than skimming over the top, then scrape the excess off the tile faces while the mix is still workable. Shape and clean the joints with a well-wrung sponge, rinsing it constantly in clean water. Cloudy water smears residue across the tiles, and dried haze is much harder to remove later than fresh residue is now.
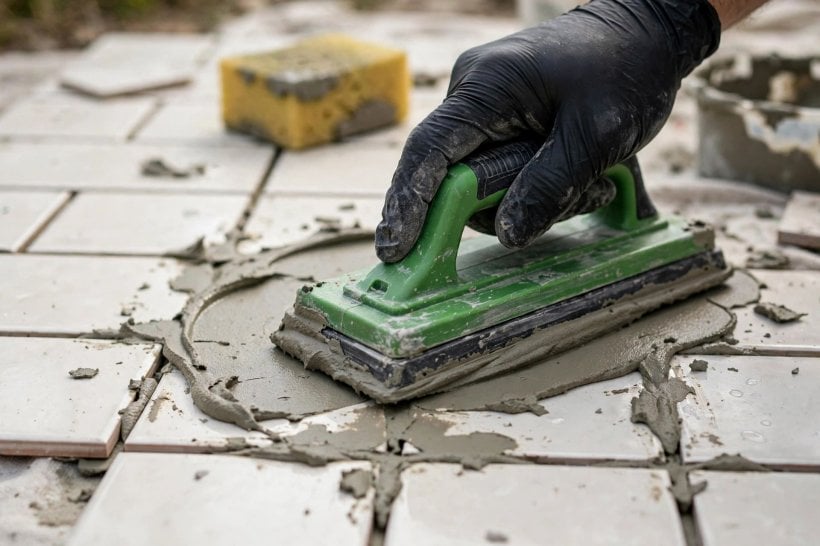
Protect the fresh work afterwards. Keep heavy traffic, soaking and harsh cleaning away for as long as the product directions require, and be realistic about room temperature and drying times in cooler or more humid weather. In a tiny home, plan the order of jobs so you are not forced to walk across a fresh bathroom floor to reach the only toilet — a small logistical detail that saves a lot of stress, much like the sequencing advice in many small-space projects such as blue and white interior design ideas for tiny houses, where calm results come from calm planning.
8. Colour, Texture and the Finished Look
Grout is a design choice as much as a practical one. A joint colour close to your tile colour creates a calm, unified surface where the tile itself is the star. A contrasting colour draws a grid across the room, celebrates the tile shape, and can make even a simple, affordable tile look deliberate and graphic. Neither is better — they simply tell different stories, and in a small room the story is told loudly, because you are never far from the surface.
Texture plays its part too. A sanded joint has a slightly matte, grainy character that suits rustic, earthy and hard-wearing schemes. A smooth joint looks finer and more polished, which flatters contemporary tiles and spa-like bathrooms. Stand back and consider the whole room — floor, walls, fittings, light — rather than judging a grout colour from a tiny sample stick held in one hand at the shop.
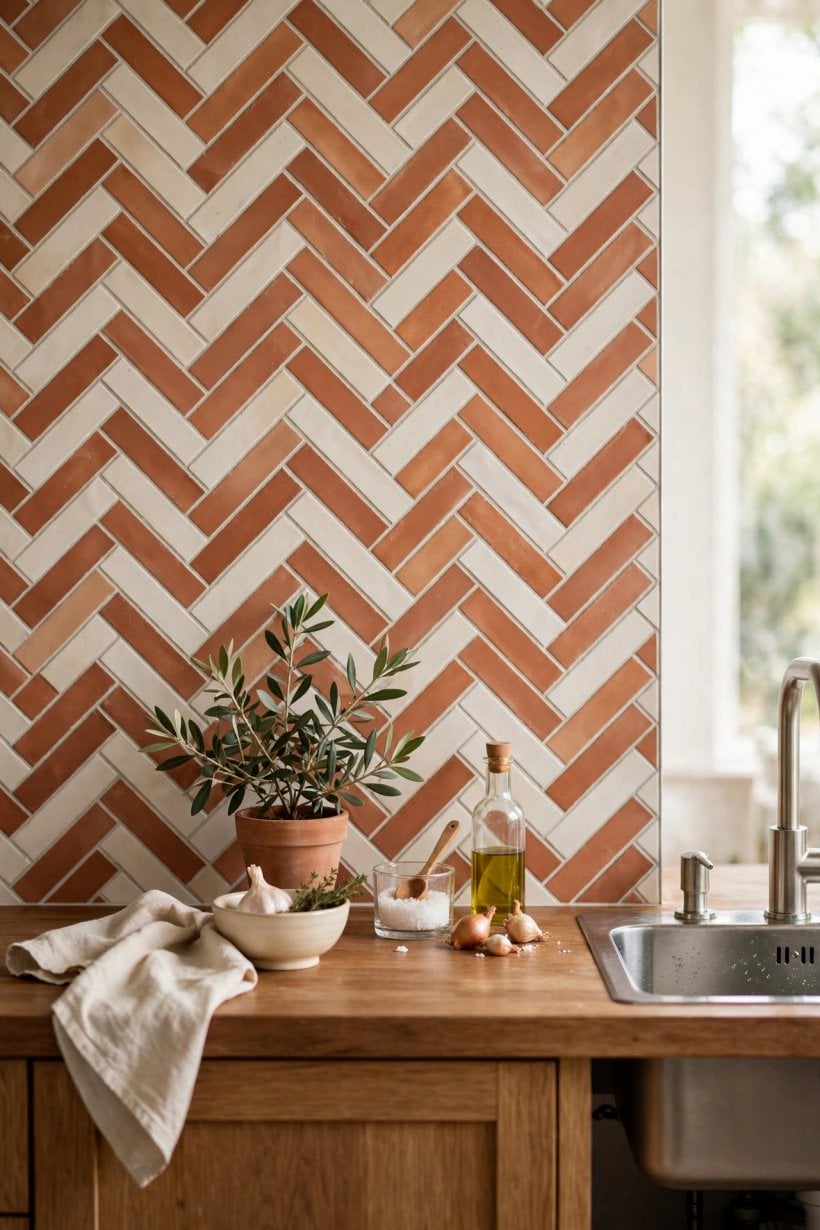
Always judge colour from a cured sample, not from the wet mix in the bucket, because grout typically dries lighter than it looks when mixed. If you can, grout a small test board with your actual tile and both candidate colours, live with it for a day, and view it morning and evening. That simple step prevents the most common disappointment in tiling, which is not cracking or staining at all — it is simply wishing, a week later, that the lines were one shade softer or one shade bolder.
9. Quantities, Costs and Buying Without Waste
Price talk for grout is best kept simple: it is usually a modest part of a tiling budget compared with the tile itself, the preparation and your time, so choosing purely on price is rarely a saving. A cheap bag that fails early costs far more in repairs than a suitable bag bought once. Buy the mix that matches your joint width and tile surface, from a supplier who can advise you, and keep the receipt and the batch details until the job is finished and cured.
Quantity is the other place people overspend or underspend. Coverage depends on tile size, joint width and joint depth, and the bag or the supplier’s coverage guide is the honest place to check your numbers. Smaller tiles with many joints use noticeably more grout than large tiles with few joints, and deeper joints use more than shallow ones. Work your figures out on paper, then buy a sensible margin for mistakes, repairs and the test board, without stocking a spare room full of bags you will never open.
Store unopened bags dry and off the floor, and once a bag is opened, use it within the maker’s guidance rather than keeping it for a future project months later. Keep a small labelled sample of your cured grout colour, and note the product name somewhere safe. If you ever need a repair, that note turns a morning of guessing in a tile shop into a five-minute purchase, and your repaired joint stands a far better chance of blending in quietly.
10. Common Mistakes and How to Avoid Them
The first classic mistake is choosing by habit — using whatever is already in the shed. Grout is not interchangeable paint; the joint width and tile face in front of you should make the decision, every time. The second is adding extra water to revive a mix that has started to stiffen. That weakens the cure, so mix smaller batches instead and discard material that has gone off rather than trying to rescue it.
The third is rushing the clean-up, either wiping joints while they are far too wet and pulling the mix out of the gaps, or leaving residue so long that a stubborn haze forms on the tile faces. The fourth is sealing too early, or sealing when your particular product and tile do not call for it — sealing advice is product-specific, so check the bag and the tile guidance instead of following a general rule from the internet. The fifth is forgetting movement: corners and changes of plane usually need a flexible sealant joint rather than rigid grout, and your tiler or supplier can confirm exactly where those joints belong on your project.
Finally, do not skip the boring checks. Confirm the product is suitable for wet areas if it is going in a shower. Confirm it suits floors if it is going underfoot. Confirm the colour on a cured sample. None of these checks take long, and together they are the difference between grout you forget about for years — the highest compliment grout can earn — and grout that reminds you of itself every single week.
Final Considerations
There is no winner in this comparison, only a right fit for the tile in front of you. Let the joint width lead, respect delicate surfaces, mix carefully, and give the work time to cure before life resumes on it. Do that, and either grout family will reward you with a finish that looks intentional and lasts. Keep your product notes, keep a little leftover material for repairs if the maker allows, and enjoy the quiet satisfaction of lines that are crisp, even and built to be forgotten about — exactly as good grout should be.



0 Comments