

Grout does a quiet, thankless job: it fills the gaps between tiles and takes the daily wear so the tiles do not have to. Left unprotected, though, those lines soak up water and grime. This guide explains how to seal grout properly: whether your grout needs it, which type of sealer suits it, and the simple steps that make the protection last.
1. At a Glance
Most questions about sealing grout come down to the same handful of worries: is it necessary, which product should I buy, and how long it all takes. Here are the short answers before the detail.
| Question | Short answer |
| Does grout need sealing at all? | Cement-based grout is porous, so in wet or busy areas it usually benefits from sealing. Some modern grouts are sold as stain-resistant and may not need it, so check what was installed. |
| Does the tile need sealing too? | Usually not. Glazed tiles are generally non-porous, and the sealer is for the grout lines. Natural stone is a separate case, with its own products and its own job. |
| What does a sealer actually do? | It slows how quickly water and dirt soak into the grout, buying you time to wipe up spills before they stain. It does not make the grout waterproof. |
| Which type of sealer should I choose? | Penetrating sealers soak in and leave the surface looking natural; film-forming sealers sit on top and can add sheen. Penetrating types are the common choice for showers and floors. |
| How soon can the area be used again? | Follow the product label. Drying and full curing are different stages, the times vary between products, and the label is the only safe authority. |
| How often does sealing need redoing? | There is no single calendar answer. Test occasionally: if water darkens the grout quickly instead of sitting on it, the protection has faded and it is time to reseal. |
| Can I seal old grout? | Yes, provided it is clean, dry and sound. Sealer locks in whatever is there, so cleaning comes first, and cracked or crumbling lines need repair before sealing. |
| Will sealer fix cracked or mouldy grout? | No. Sealer protects sound grout; it cannot repair cracks, and sealing over mould only traps the problem. Fix the cause first, then seal. |
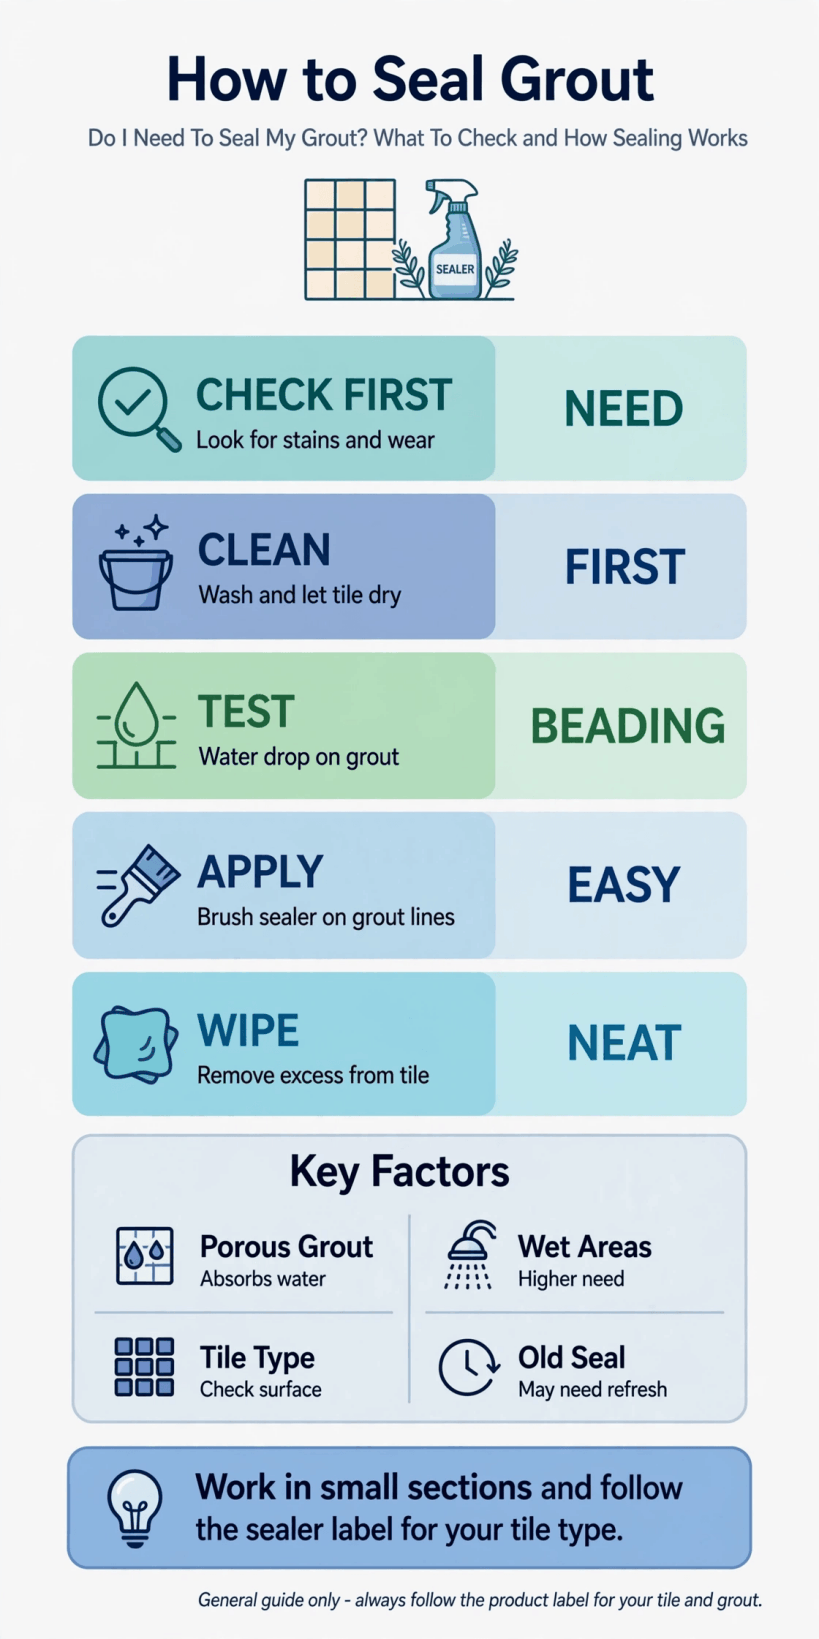
Sealing at a glance: clean first, choose the right type, apply carefully, and let the label set the timetable.
2. What a Sealer Does, and What It Cannot Do
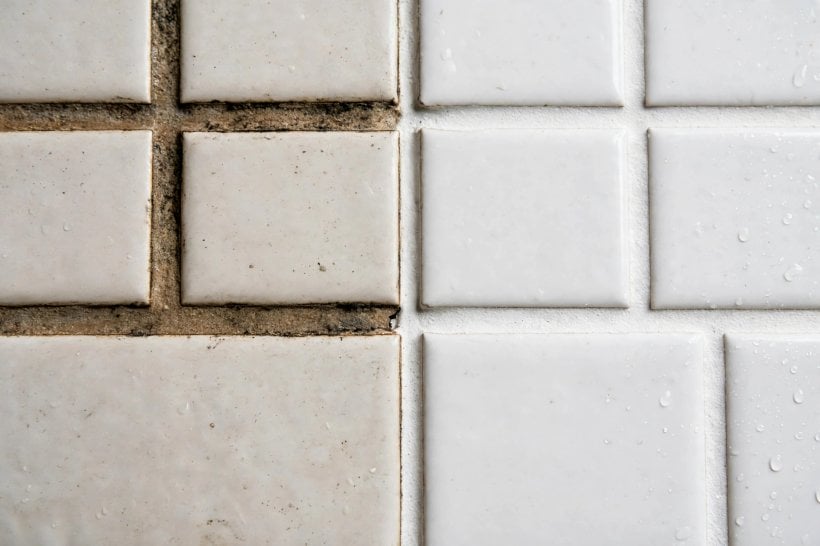
A grout sealer is not a coating that waterproofs your tiling, and it helps to be clear about that from the start. Most sealers work by soaking into the pores of cement-based grout and lining them, so water and the dirt it carries are absorbed much more slowly. A spill that would once have soaked straight in and left a mark now sits on the surface for a while, giving you time to wipe it up. In a shower or around a bath, that slower absorption is also what makes routine cleaning easier, because soap and shampoo residue have less grip on the surface.
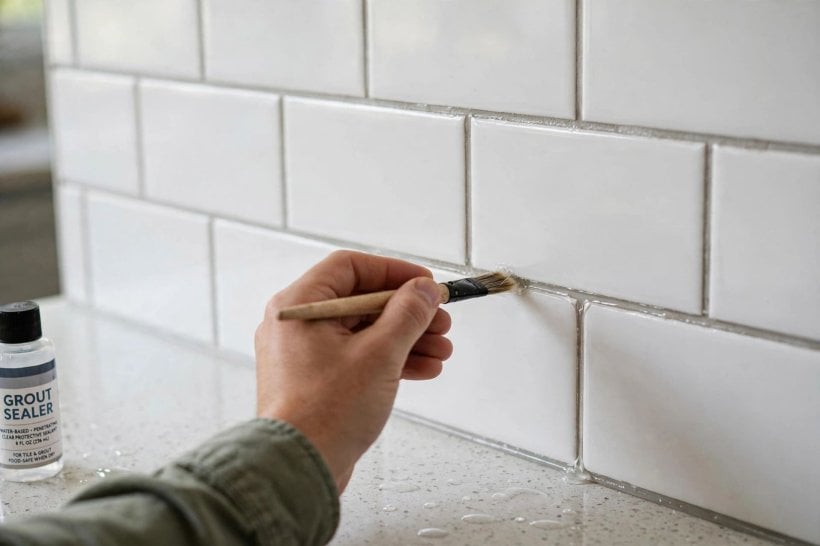
What a sealer cannot do is just as important. It will not stop water that gets behind tiles through cracks or failed joints, it will not rescue grout that is already crumbling, and it does not turn a shower into a tanked wet room. Think of it as protection for sound grout in good condition, which is why it earns its place in well-planned rooms like the ones in these bathroom design ideas for tiny houses, where every surface has to work hard. In short, sealer buys time and makes cleaning easier; it is maintenance, not armour.
3. Which Grout Needs Sealing, and Which Does Not
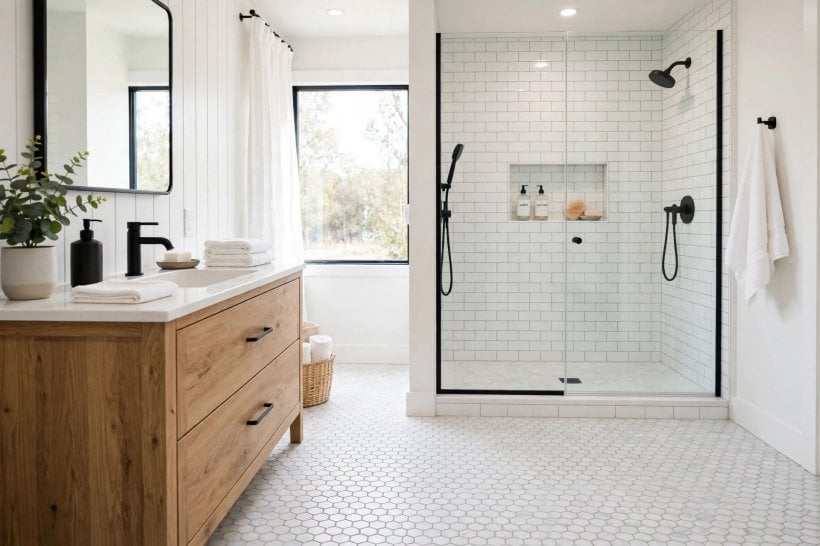
The grout between most ceramic and porcelain tiles is cement-based, and cement grout is naturally porous, rather like a hard sponge. It is this type that benefits from sealing, especially anywhere it meets water regularly: shower walls and floors, bath surrounds, kitchen splashbacks and busy floors, the hardworking surfaces that dominate small homes, as these tiny house design ideas show. The wider the line and the rougher its finish, the more it tends to drink in.
There are exceptions. Some grouts are formulated to resist staining and are sold as not needing a sealer at all, and resin-based grouts are generally far less absorbent than cement ones. If you know what was installed, the packaging or the installer can confirm which camp yours falls into. And where you are simply unsure, try the water-drop test described later in this guide: if a drop darkens the line quickly, the grout is absorbent and a sealer will help.
4. The Main Types of Sealer, in Plain Terms
Sealer labels can be confusing, but nearly every product falls into one of two families. Penetrating sealers soak into the grout itself and cure inside it. Because nothing sits on the surface, the grout keeps its natural colour and matt finish, and there is no film to peel or wear away in patches. This is the family most often chosen for showers and floors.
Film-forming sealers, sometimes called surface or topical sealers, dry as a thin coat over the line. They can deepen the colour and add a slight sheen, which some people like on rustic stone-effect tiles, but the coat itself can wear unevenly in heavy traffic and may change how a smooth floor feels underfoot. Within both families you will find water-based and solvent-based versions; in plain terms, water-based products tend to smell less while you use them and clean up more easily. When in doubt, a penetrating sealer is the straightforward, forgiving choice for most homes.
5. Tools and Materials To Gather
You do not need much equipment, and gathering it first saves the stop-start trips that lead to rushed work. The essentials are the sealer itself, a way of applying it neatly — a small brush, a bottle with a brush or wheel applicator, or a foam pad all work — plus a grout cleaner, a stiff scrub brush, clean lint-free cloths, and painter’s tape for edges you want to protect.
Add rubber gloves, something comfortable to kneel on for floor work, and a bucket of clean water for rinsing cloths. Good ventilation helps any product behave as its maker intended, so open a window or run the extractor fan. If you are sealing as part of a bigger project, the preparation habits here match the ones that run through building your own tiny house: clean surfaces, patience, and everything within reach before you start. Finally, read the whole label before you open the bottle; the middle of a job is the worst time to discover a step you have missed.
6. Preparing the Grout: Clean, Dry and Sound
Sealer preserves whatever it touches, including the dirt, so cleaning is the step that decides whether the finished job looks good. Scrub the lines with a grout cleaner and a stiff brush, working methodically along every joint rather than scrubbing at random, then rinse away the residue and let everything dry thoroughly. Change your rinse water when it clouds, because dirty water simply moves the grime around. Sealing damp grout traps moisture and weakens the result, so give the room proper drying time, longer after a deep clean, and always in line with what the label asks for.
While the grout dries, inspect it honestly. Hairline cracks, pinholes and crumbly patches need repair first, because sealer cannot bridge them; rake out and re-grout small failed sections, and let new grout cure fully before sealing, following the grout maker’s guidance. Run painter’s tape along anything porous next to the lines, such as natural stone edges, and you are ready to apply. This unglamorous preparation is most of the job; the sealing itself is the quick part.
7. Step by Step: Applying the Sealer
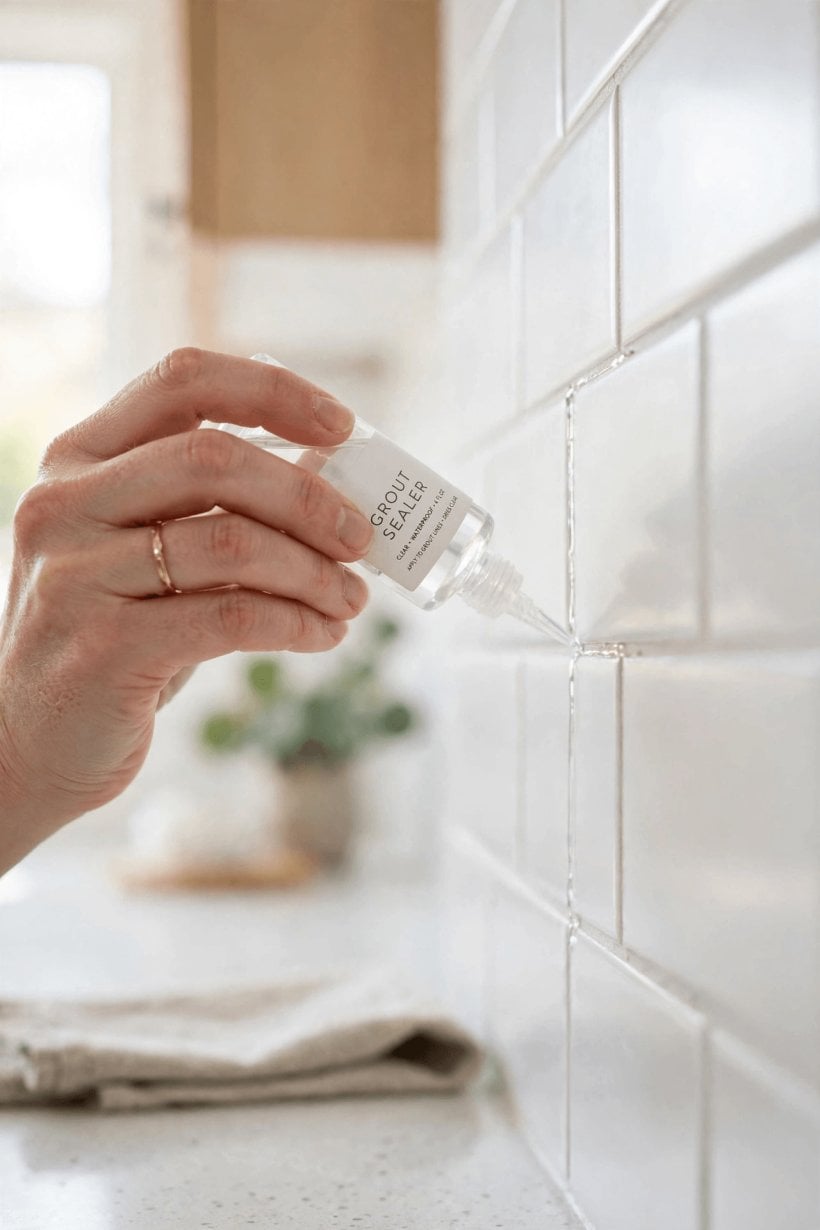
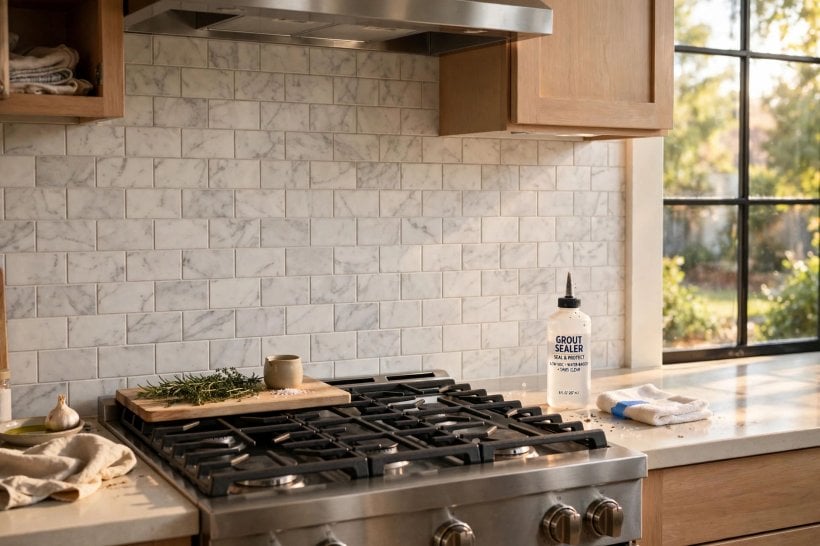
Work in a small area at a time so nothing dries before you can tidy it. Apply the sealer along each line with your brush or applicator, keeping it on the grout rather than flooding the tile faces, and aim for an even, thorough wetting of the joint. Move steadily, and keep a cloth in your other hand — a habit that matters just as much on a kitchen splashback, a surface that works hard in the compact layouts shown in these tiny house kitchen designs.
Wipe any excess off the tile faces promptly, before it can dry into a hazy film that is tedious to remove. If the label calls for a second coat, apply it in the same way once the first has dried as directed. Then stand back and check the lines in good light: missed patches are easy to touch in now, and much harder to spot later.
8. Drying, Curing and Using the Room Again
Drying and curing are not the same thing, and confusing them is where many good jobs quietly fail. A sealer may feel dry to the touch quite quickly, yet still need considerably longer to cure fully and reach its intended resistance to water. Throughout this guide the advice is the same, because it is the only safe version: follow the product label. The maker sets the times for that formula, and no general guide can overrule them.
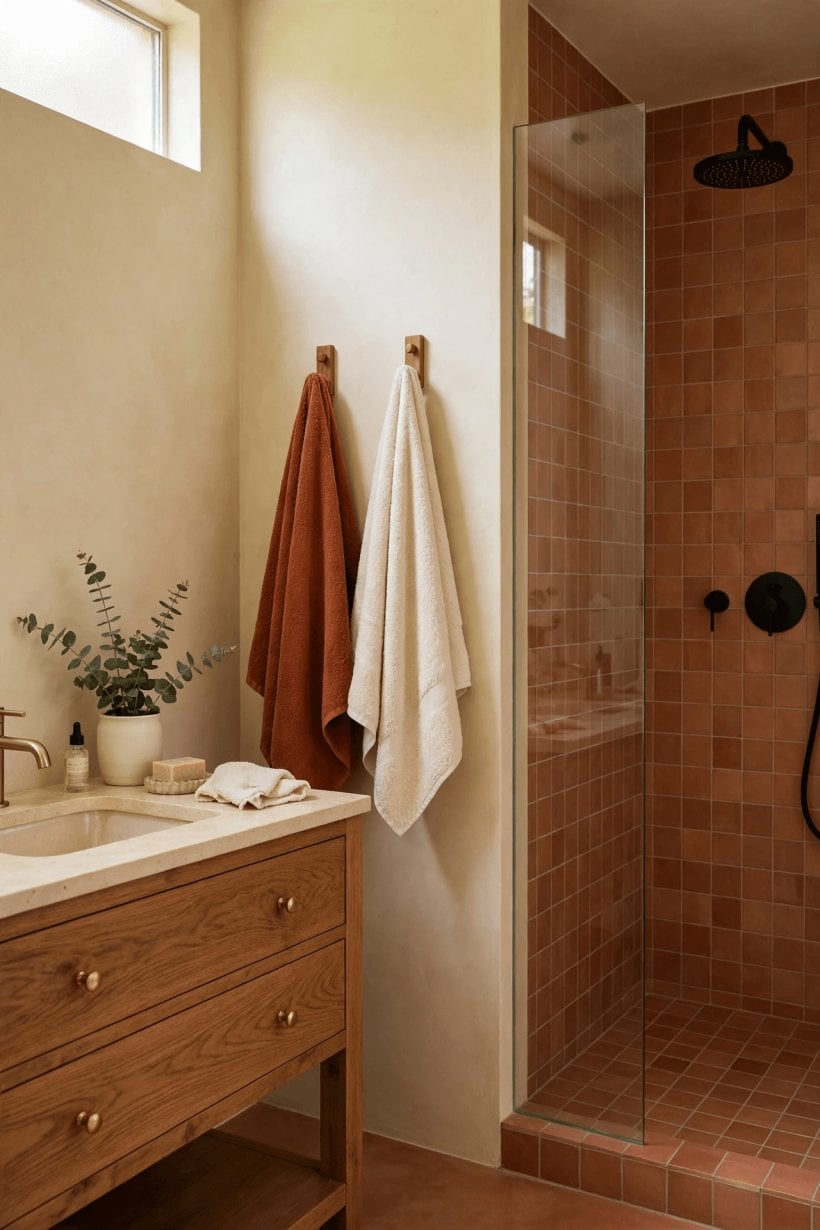
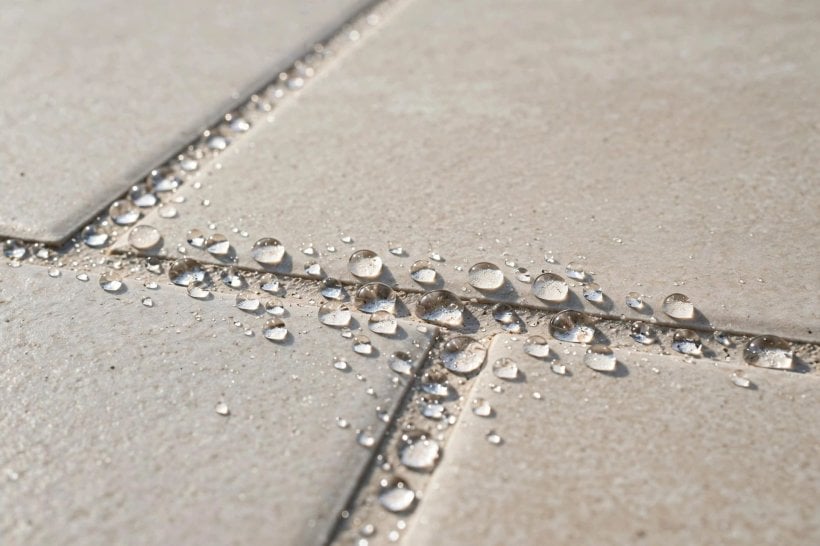
Until the label says the area is ready, keep water away from the lines: no showers, no wet mopping, no splashing at the sink. Keep the room ventilated, and afterwards test your work with a few drops of water. On well-sealed grout the drops should sit on the surface rather than darkening it straight away. If one area drinks the water in, it needs another coat once everything is dry again.
9. Common Mistakes That Spoil the Result
Most disappointing results trace back to a handful of avoidable mistakes. Sealing grout that is dirty, damp or cracked simply preserves the problem. Flooding sealer across glazed tile faces and leaving it to dry leaves a stubborn haze. Using a film-forming product where feet and water will wear it unevenly invites a patchy finish, and reaching for the shower before the cure is complete can undo the whole job in one morning.
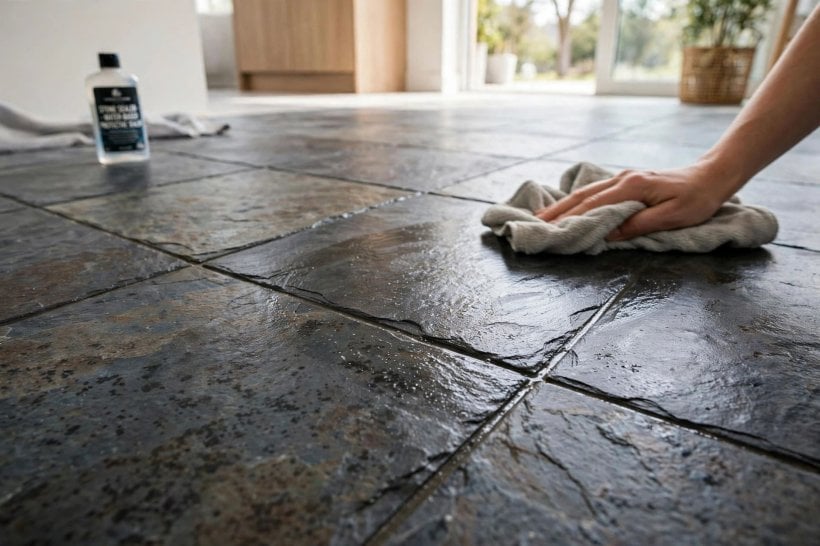
Two quieter mistakes deserve mention. The first is expecting sealer to compensate for failed joints or movement cracks elsewhere; it cannot, and the leak will continue behind the scenes. The second is skipping the label because they are all the same; they are not, and the differences matter most in wet areas like the efficient bathrooms and kitchens in this tiny house kitchen design guide, where every joint earns its keep.
10. Living With Sealed Grout: Cleaning and Resealing
Sealed grout asks for gentler treatment than you might expect. Day to day, warm water and a mild cleaner are enough for most lines; save strong or acidic cleaners for problems, and use them cautiously on cement-based grout, which acid can slowly eat into. A quick squeegee or wipe-down after showers keeps residue from building up in the first place, the same low-effort habit that keeps the small bathrooms in these tiny house bathroom ideas looking fresh.
Resealing is a when, not an if. There is no fixed calendar for it, because a guest-bathroom wall and a family shower floor live very different lives. Use the water-drop test every so often: drops that sit proudly on the line mean the protection is holding, while drops that darken it quickly mean it is time. Spot-resealing worn stretches is perfectly acceptable; you do not have to redo the whole room at once.
Final Considerations
Sealing grout is one of the smallest jobs in a bathroom or kitchen, and one of the most worthwhile. It asks for no special talent, only clean, sound, dry grout, a suitable product, and the patience to let that product cure on its maker’s terms. Learn how to seal grout properly once, and the routine becomes second nature: test with water, clean honestly, apply carefully, and respect the label. Do that, and the lines between your tiles will stay brighter, clean more easily, and ask far less of you for a long while to come.




0 Comments