

Flat-pack kitchen cabinets can save money and suit small homes beautifully, but only if you check the details before ordering. This guide walks through measurements, materials, hardware and delivery, step by step.
1. At a Glance: Quick Questions, Straight Answers
| Question | What to check |
|---|---|
| What does ready-to-assemble actually mean? | The cabinets arrive flat-packed as panels, doors and hardware. You build each box yourself, then install the boxes like any other kitchen cabinets. |
| Are rta cabinets strong enough for daily use? | They can be, when boxes use sturdy panels, solid joinery and proper wall fixing. Strength comes from materials and assembly care, not from the flat-pack format itself. |
| What should I measure first? | Measure the room three times, note windows, doors, sockets and pipes, and sketch a simple plan. Small errors grow quickly in a compact kitchen. |
| Which parts wear out first? | Hinges, drawer runners and door edges usually show wear before boxes do. Check that replacements are standard sizes you can source later. |
| How long does assembly take? | A first box is slow while you learn the system. Later boxes go faster. Allow unhurried time rather than rushing a whole kitchen in one evening. |
| What is the biggest buying mistake? | Ordering before confirming what is included. Toe-kicks, fillers, handles and end panels are sometimes separate, and missing parts stall the whole install. |
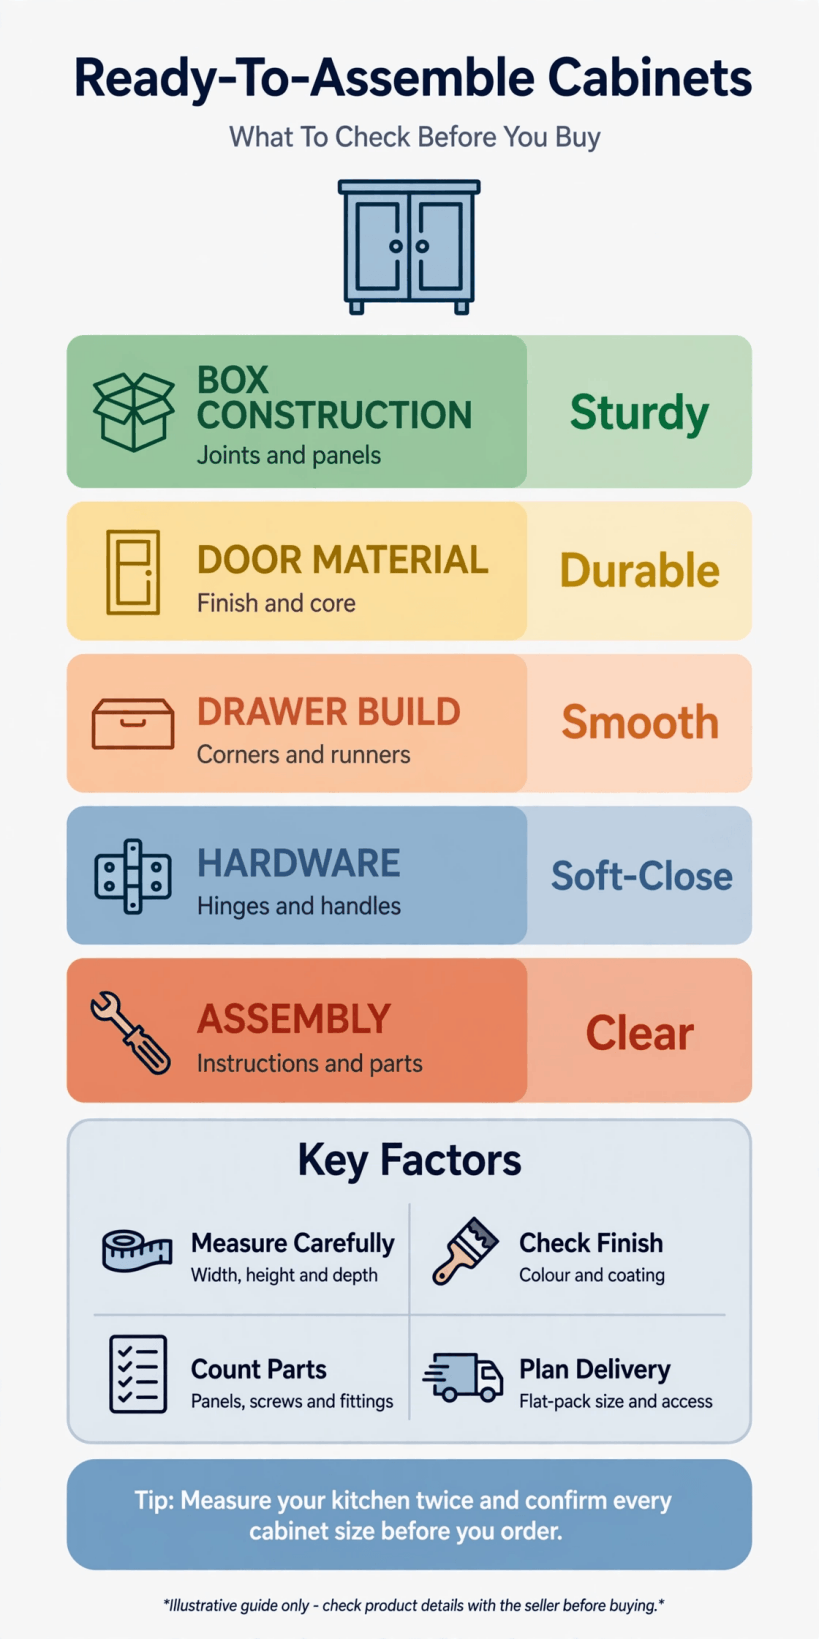
A quick visual summary of the checks that matter most before you order flat-pack cabinets for a small kitchen.
Keep this table beside you while you shop. If a listing cannot answer these basic questions clearly, treat that as useful information in itself. Good listings describe panel materials, hardware type and pack contents in plain language. Vague listings push all the risk onto you. For wider small-space planning, our guide to kitchen design for tiny houses shows how cabinet choices affect the whole room, while the ideas in modern living room design for tiny houses help open-plan layouts feel joined up rather than pieced together.
2. Measure the Room Before You Order Anything
Start with the room, not the catalogue. Measure wall lengths at floor level and again at worktop height, because walls in older homes are rarely perfectly straight. Note the ceiling height in several places, especially if you plan tall units. Mark every window, door swing, radiator, socket and pipe on a simple sketch. In a small kitchen, a few centimetres decide whether a drawer clears a handle or a door opens fully. Photograph corners and plumbing so you can check details later without guessing.
Next, think about how you move while cooking. Leave comfortable space between facing units where you can, and check that fridge and oven doors can open without blocking drawers. List the large items that must live in cabinets, from pans to recycling bins, and match them to unit widths on your plan. This early honesty prevents the classic problem of beautiful cabinets with nowhere to put the things you use daily. If your project extends beyond the kitchen, the storage thinking in tiny house library and office ideas translates surprisingly well to kitchen planning.
3. Check Box Construction and Panel Materials
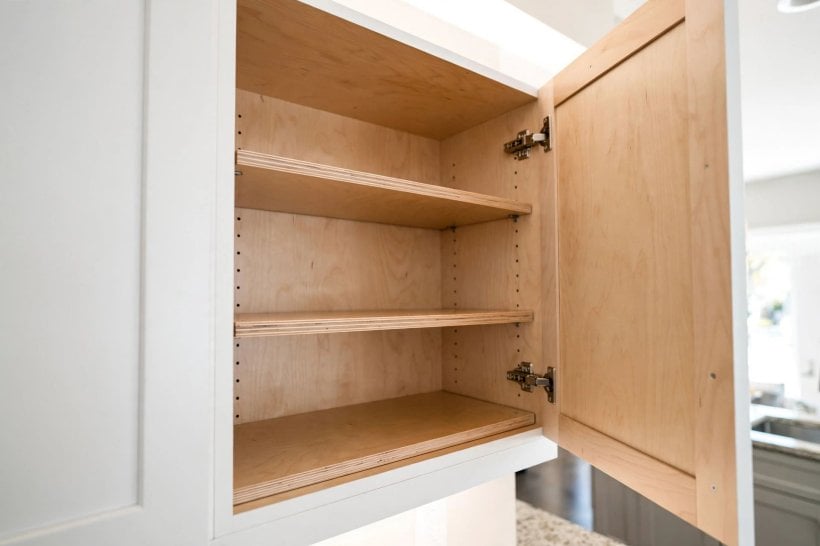
The box is the cabinet. Doors get the attention, but panels carry the weight of worktops, sinks and stored goods. Look for clear information about panel material and thickness, and about how corners are joined. Cam locks, dowels, screws and glue each have a place, and the best systems explain their method simply. A back panel that adds rigidity is worth more than a thin sheet that only keeps dust out. Shelves should feel substantial, with supports that will not bend under jars and dishes.
Check edges carefully. Sealed edges resist moisture from steam and splashes far better than raw, unfinished edges. Inside a small home, where cooking steam reaches everything, this matters. Ask how shelves adjust, whether shelf holes are evenly drilled, and whether you can buy extra shelves later. Avoid inventing expectations: if a listing does not state a material, do not assume it. Write down what is confirmed, what is unclear and what you still need to ask. That simple list will guide every later decision and stop a low headline price distracting you from a weak box.
4. Inspect Door and Drawer Front Quality
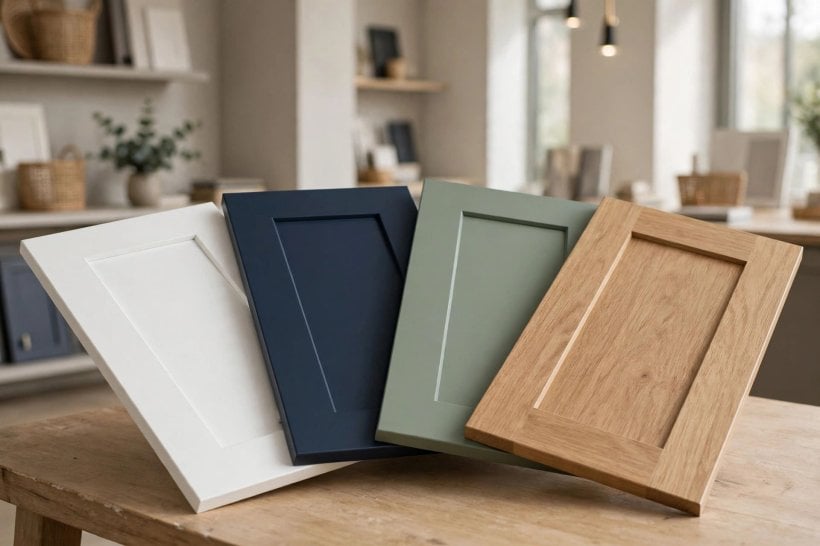
Doors and drawer fronts are what you see and touch every day. Look for consistent colour and finish across fronts, clean edges and a surface that can be wiped without special products. In a compact kitchen, fingerprints and cooking splashes show quickly, so a forgiving, easy-clean finish is a practical kindness. Check whether fronts arrive drilled for hinges, and whether hinge positions suit both left and right hanging where you need flexibility.
Drawers deserve special attention because they work hardest. Deep drawers suit pans and containers, while shallow drawers keep cutlery and utensils orderly. Check that drawer boxes feel rigid when assembled and that fronts align evenly, with adjustment available to fine-tune gaps. Small misalignments are very visible in a small room where you are always close to the cabinets. If you are planning the surrounding rooms at the same time, the calm, coordinated approach in bathroom design ideas for tiny houses is a useful reminder that finishes should work together across a small home, not compete with each other.
5. Look Closely at Hardware and Joinery
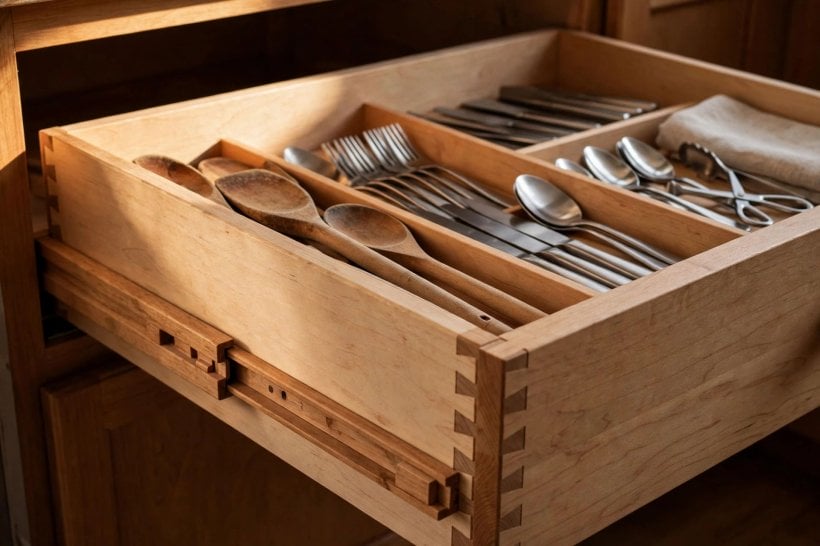
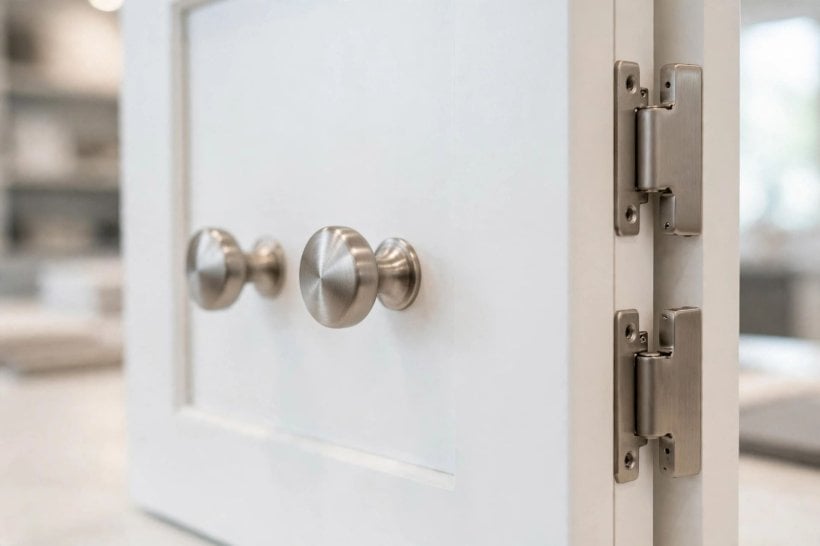
Hardware is small, cheap-looking and absolutely decisive. Hinges should open smoothly, hold adjustment and feel free of wobble. Soft-close action is pleasant, but a well-made standard hinge that you can replace easily is better than a fancy mechanism in an unusual size. Drawer runners should extend far enough that you can reach the back of the drawer, and they should carry the weight of full pans without sagging or sticking.
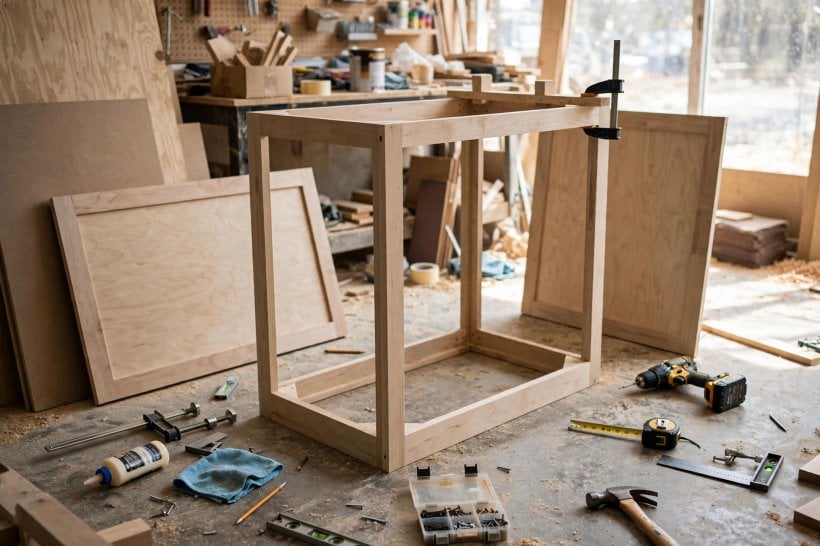
During assembly, dry-fit parts before tightening anything fully. This habit, borrowed from furniture making, lets you correct small twists before they become permanent. Tighten fixings gradually, working around the box, and check for square by measuring diagonals: equal diagonals mean a true box. Take the same care with wall fixing. Cabinets must be secured into solid structure, level and supported, following the instructions supplied with the product and sensible building practice for your home. If you feel unsure about wall fixing, especially with heavy wall units, getting a qualified installer for that stage is money well spent. Good joinery rewards patience; rushed joinery announces itself every time a door hangs slightly crooked.
6. Confirm What Is Included — and What Is Not
Before paying, make a written list of everything your plan needs, then check it line by line against the pack contents. Cabinets are the start, not the whole story. Toe-kicks, end panels, filler pieces, cornice, handles, screws for wall fixing and touch-up materials may or may not be included. Worktops, sinks and appliances almost always sit outside the cabinet price. None of this is a problem when you know in advance; all of it is a problem when a half-built kitchen is waiting on a small missing part.
Fillers deserve a special mention in small kitchens. Few rooms are an exact multiple of standard unit widths, so filler pieces close the gaps neatly and give a fitted look. Plan them from the start rather than bodging leftovers at the end. Also confirm you can order individual extra cabinets or replacement fronts later, in case you damage a door or extend the kitchen. Continuity matters in a tiny home, where the kitchen is visible from everywhere. Our beachy interior ideas for tiny houses show how a consistent finish palette makes even a practical kitchen feel calm and intentional.
7. Understand Assembly Time, Tools and Skill
Honesty about assembly saves weekends. Building cabinets is not difficult, but it is methodical: sorting panels, following sequences, keeping fixings organised and checking square as you go. The first unit teaches you the system and always takes longest. After that, a steady rhythm develops. Allow more time than you hope, in daylight if possible, and keep the instructions open rather than relying on memory. A second pair of hands transforms the job, especially when lifting wall units into place.
Tool needs are usually modest: a drill-driver, screwdrivers, a spirit level, tape measure, square and clamps will cover most steps, with a saw needed only if fillers or toe-kicks must be cut. Protect finished surfaces while you work by building on a blanket or cardboard, and keep small hardware in labelled pots so screws for one cabinet never wander into another. If you enjoy this kind of project work, you may also like the practical spirit of our tiny house home office ideas, where careful built-in furniture makes a small footprint work much harder without feeling cramped.
8. Plan Delivery, Storage and Damage Checks
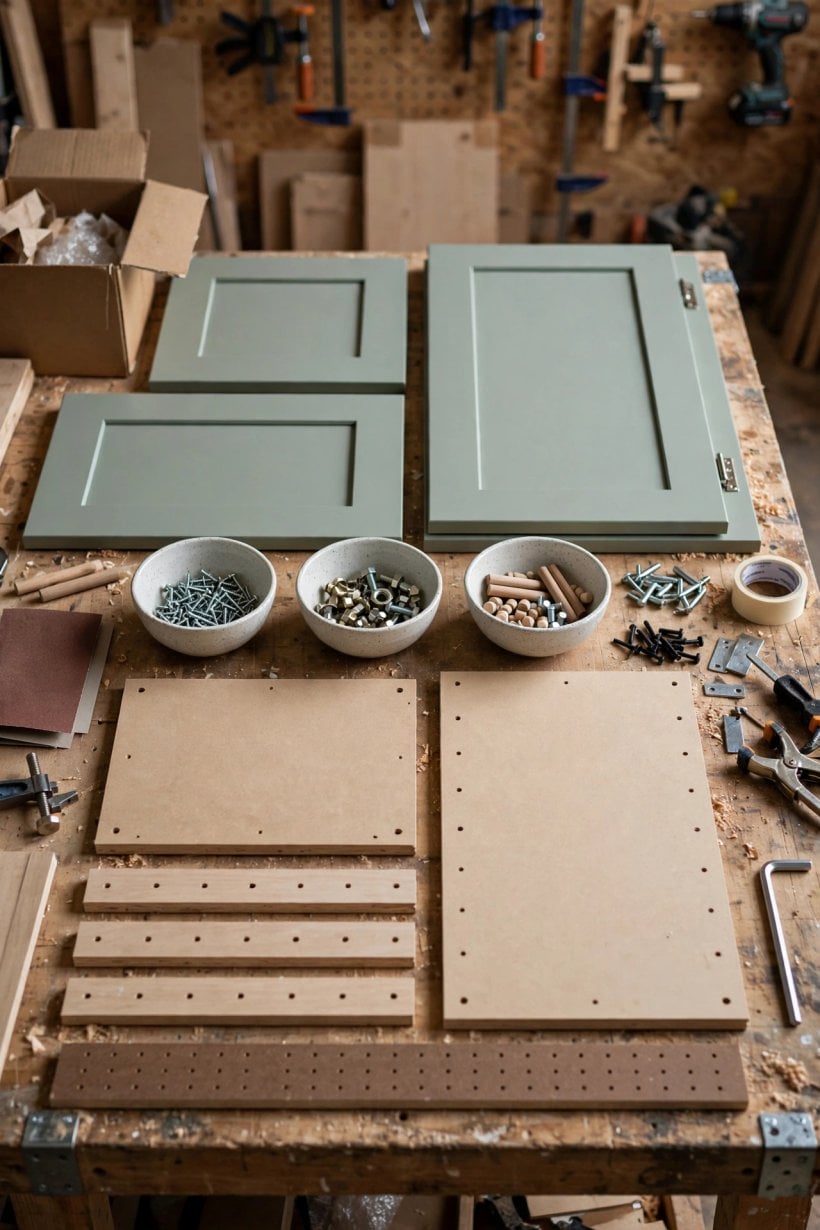
Flat packs are heavy, awkward and easy to damage before you even begin. Plan where the delivery will go: a dry, flat space where boxes can lie supported and out of walkways. In a tiny house, that may mean assembling promptly or storing packs in another room for a short, planned period rather than improvising around them for weeks. Check access, too. Long panels need turning space on stairs and through doors, so walk the route with a tape measure before delivery day.
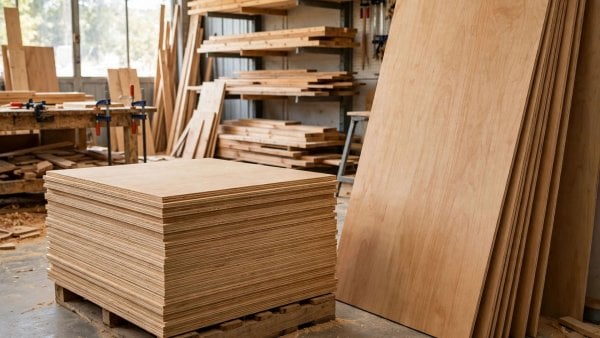
Open every box soon after arrival and check panels against the parts list while replacement is still straightforward. Look for crushed corners, scratched fronts and missing hardware bags, and photograph anything wrong before assembly. Keep panels flat and dry while stored, because a warped panel never builds into a square box. Keep pets, dust and damp away from unfinished edges. This unglamorous stage decides how smooth assembly feels. Kitchens in small homes ask a lot of every component, and starting with sound, complete parts is the simplest favour you can do for yourself and for the finished room.
9. Think About Finish, Care and Touch-Ups
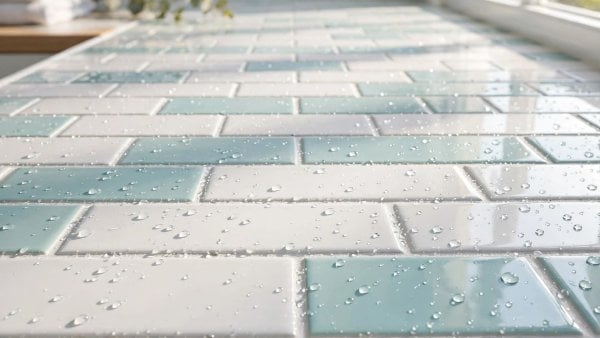
A kitchen finish leads a hard life. Steam, heat, splashes and daily wiping all test the surface, so choose with your real habits in mind. Smooth finishes wipe clean quickly. Deeply textured or heavily detailed fronts look lovely but hold grime in their grooves. Light colours brighten a small kitchen and show fewer water marks, while darker colours can feel calm and hide scuffs, though they may show dust. There is no single right answer, only the answer that suits your light, your cooking and your tolerance for cleaning.
Ask about touch-up options before you buy. A small pot or pen matched to the finish turns an inevitable knock from a disaster into a two-minute fix. Keep spare hinges, runners and shelf supports if they are offered cheaply; storing a small spares box costs little and saves a hunt years later. Clean with mild products, dry edges after heavy splashes and tighten hinge screws occasionally as part of normal home care. For colour confidence across an open-plan space, the guidance in living room paint ideas for tiny houses helps you coordinate cabinet colour with walls and soft furnishings.
10. Match Cabinets to How the Kitchen Will Be Used
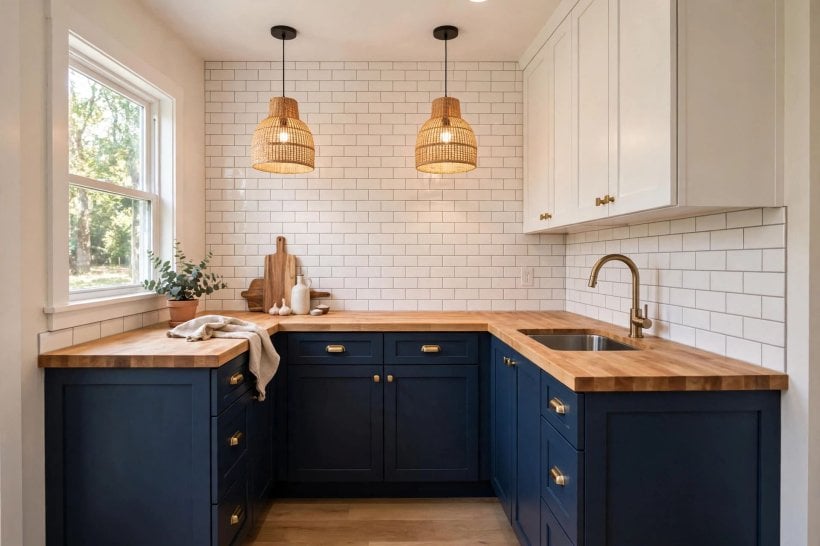
Finally, step back from components and picture real life. Who cooks here, how often, and in what style? A keen cook needs heat-safe worktop space beside the hob, deep drawers for pans and ventilation that clears steam quickly. A light-use kitchen in a holiday tiny home can trade some storage for a slimmer, simpler run of units. Households that batch-cook need freezer space and worktop room for containers; households that eat out often may prefer a beautiful breakfast bar and fewer wall units.
Think vertically as well as horizontally. In a small footprint, tall units and well-planned wall cabinets reclaim air space that would otherwise go to waste, but balance them so the room does not feel boxed in. Keep everyday items between waist and eye level, rarely used items higher, and heavy items low. If your home includes lower-level living space, the layout lessons in basement design ideas for tiny houses reinforce the same principle: storage planned around real routines always beats storage added as an afterthought. When cabinets match daily life, a small kitchen stops feeling like a compromise and starts feeling deliberately, comfortably designed.
Final Considerations
Buying flat-pack cabinets well is mostly about slowing down at the right moments: measure carefully, read what is actually included, value honest materials and hardware over showroom sparkle, and allow unhurried time for assembly. This is the second time the phrase rta cabinets appears in this guide, and deliberately so — the label matters far less than the checks behind it. Keep your measurements, parts lists and receipts together, build one cabinet completely before batch-building the rest, and check each box for square as you go.
Done with care, ready-to-assemble cabinets can give a tiny kitchen the fitted, purposeful feel of a bespoke install while keeping the project manageable and affordable in spirit. Start with the room you actually have, choose components you can maintain and replace, and let daily use — not a catalogue photo — be the final judge of every decision.


0 Comments