

Few finishes change a room as completely as boards with a shadow gap. Shiplap brings rhythm, texture and a hand-made warmth that flat paint simply cannot imitate.
These 75 ideas are organised by room, then by colour and finish, with practical fitting notes woven through, so you can pick a look that suits your wall, your budget of effort and the way you actually live.
1. Start With the Right Wall
Shiplap rewards choosing before cladding. One feature wall usually beats four, because the eye needs somewhere to rest and the boards need a wall worth celebrating: the one behind the sofa, the bed, the bath or the dining table. Check the wall itself first. It should be reasonably sound and dry; boards can forgive minor unevenness, but they telegraph serious bumps and they should never be asked to hide a damp problem. Decide direction early too, because horizontal lines widen a room, vertical lines heighten it, and that single choice changes how the whole space feels. When people browse shiplap wall ideas, the projects that work share this discipline: right wall, right direction, right finish, chosen in that order.
| Where it works hardest | Why it works | Finish to consider |
|---|---|---|
| Behind the bed | Instant headboard wall with warmth and texture | Soft white or warm neutral, low sheen |
| Living room feature wall | Anchors seating and gives art a textured backdrop | Painted colour or natural timber stain |
| Bathroom splash zones | Cottage character where tiles feel too cold | Only with products and sealing suited to moisture; check maker guidance |
| Hallway lower half | Takes knocks that plaster cannot, wainscot style | Hard-wearing paint in a deeper tone |
| Ceiling | Draws the eye up and makes plain rooms feel built | Pale colours to keep the room bright |
| Small rooms and tiny homes | One clad wall adds architecture without furniture | Light tones and consistent direction |
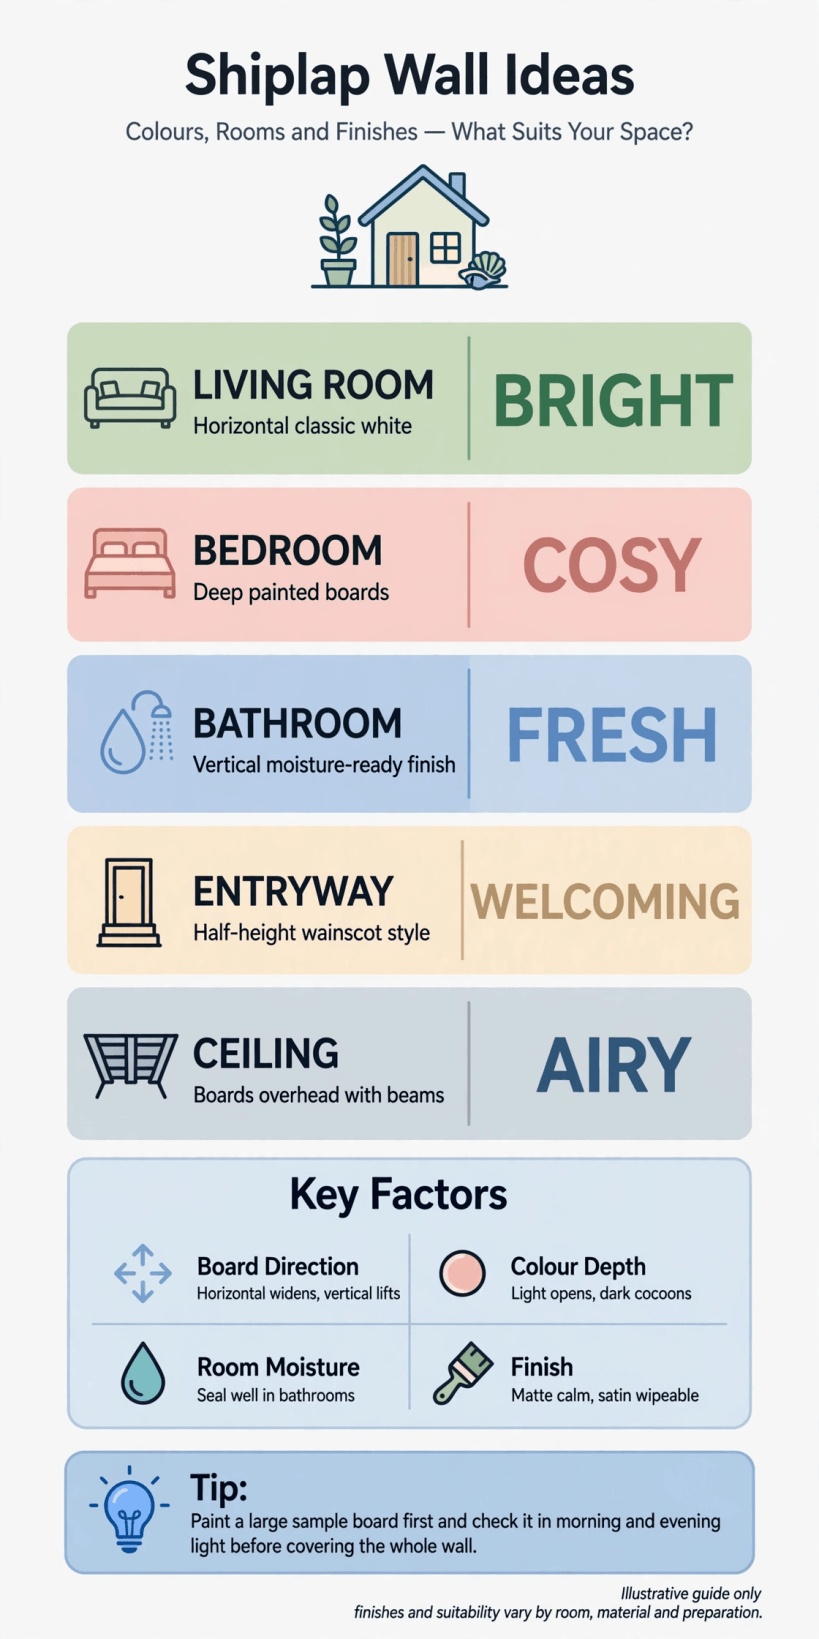
The at-a-glance guide: where shiplap works hardest, why, and which finishes suit each spot.
A quick word on materials before the ideas begin. Real timber boards, engineered boards and PVC-style products all exist, and they behave differently around moisture, weight and cost. This guide stays deliberately general: compare products in store, read the maker’s fitting and care guidance for the exact boards you choose, and take local advice for bathrooms, behind stoves and other demanding spots. Good shiplap is a system, not just a surface, and the ideas below assume sound fixing into a prepared wall.
2. Living Room Shiplap Ideas
The living room is where shiplap earns its reputation. One clad wall gives sofas and artwork a backdrop with genuine texture, warms rooms that feel boxy, and suits both cottages and clean modern schemes depending on finish. Our new interior design ideas for tiny houses make the same point in small spaces: one strong surface, calmly done, beats five competing features every time.
- Classic white feature wall. Horizontal boards behind the sofa in soft white, with cushions bringing the colour.
- Full-height bookend walls. Clad the two short end walls and leave the long walls plain for balance.
- Half-height wainscot. Boards to chair-rail height with a ledge cap, painted a shade deeper than above.
- Corner wrap. Carry the cladding around one corner to zone a reading chair and lamp.
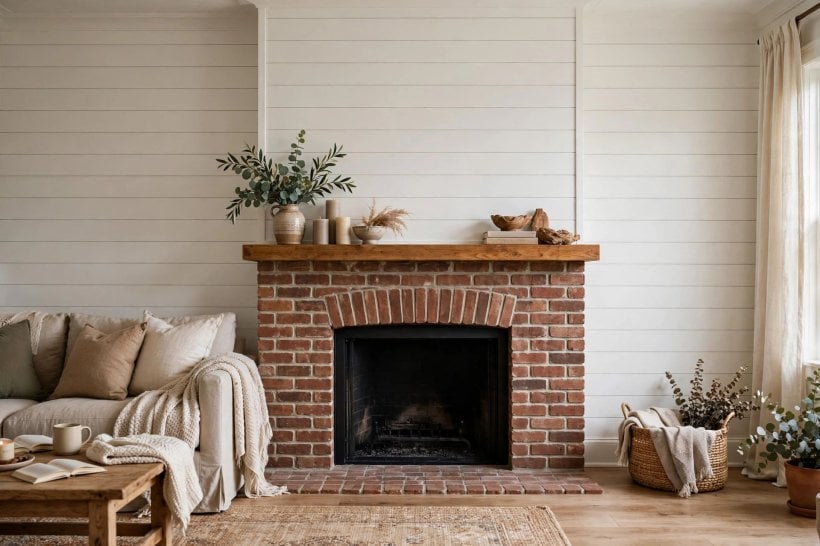
- Alcove lining. Line fireplace alcoves or shelving recesses so they feel built-in and intentional.
- Ceiling fifth wall. Clad the ceiling and keep walls plain, a beach-house trick that adds height visually.
- Dark and dramatic. Deep green or charcoal boards behind pale furniture for a cocooning evening room.
- Natural timber warmth. Lightly stained boards with the grain showing, sealed for a soft sheen.
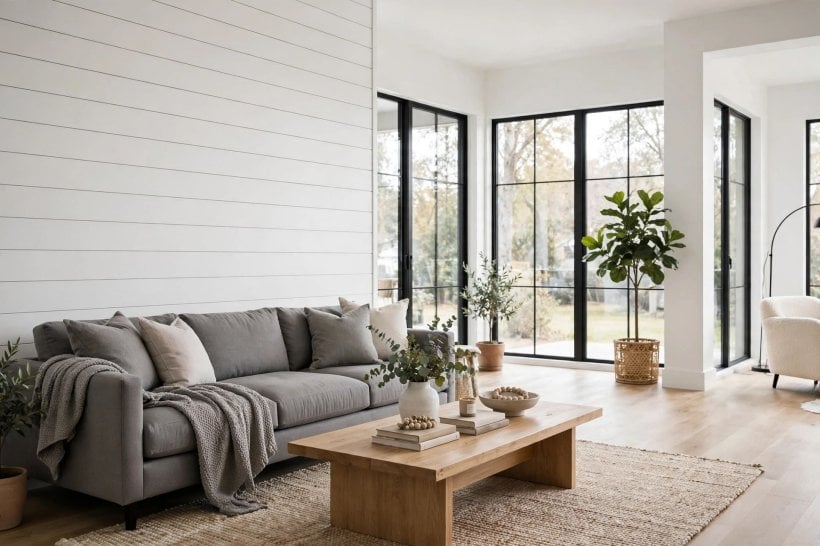
Keep living room schemes disciplined: let the boards be the texture, and resist adding busy wallpaper or competing panelling nearby. Texture, like colour, needs a supporting cast that knows when to be quiet.
3. Behind the TV and Around the Fireplace
Feature walls often carry the room’s hardware, so plan the television, sound and fire before the boards go on. Cables disappear beautifully behind cladding if you plan chases and access first, and much less beautifully if you remember afterwards. Around stoves and open fires, always check clearances and suitable materials with the stove installer and local guidance; beauty never outranks safety.
- TV backdrop wall. Dark-painted boards that swallow screen glare and make film nights feel cinematic.
- Floating unit partner. A low media unit against cladding, with hidden cable routes planned in advance.
- Fireplace surround frame. Boards framing a stove or fire opening, detailed to the installer’s clearances.
- Chimney breast cladding. Clad the breast only, leaving alcoves plain, for a strong central feature.
- Log store nook. A boarded recess beside the fire stacked with logs, texture you refill weekly.
- Sound-softening wall. Boards plus soft furnishings to calm echo in hard-surfaced rooms.
- Gallery wall base. Art hung on cladding gains a subtle grid that makes frames look curated.
- Projector wall alternative. Smooth-filled, pale boards giving a textured screen wall in media rooms.
If you take one lesson from this section, let it be sequencing: first fix where screens, brackets and heat sources go, then clad. Ten minutes with a pencil on the wall saves a weekend of regret.
4. Bedroom and Headboard Walls
Bedrooms suit shiplap’s calm rhythm especially well, because the wall behind the bed is seen every morning and felt, psychologically, every night. Boards there act as an oversized headboard, add insulation of the visual kind against cold-feeling walls, and partner beautifully with linen, wool and timber. The styling in our modern tiny house bedroom ideas and the softer looks in our tiny house bedroom ideas both lean on exactly this kind of textured backdrop.
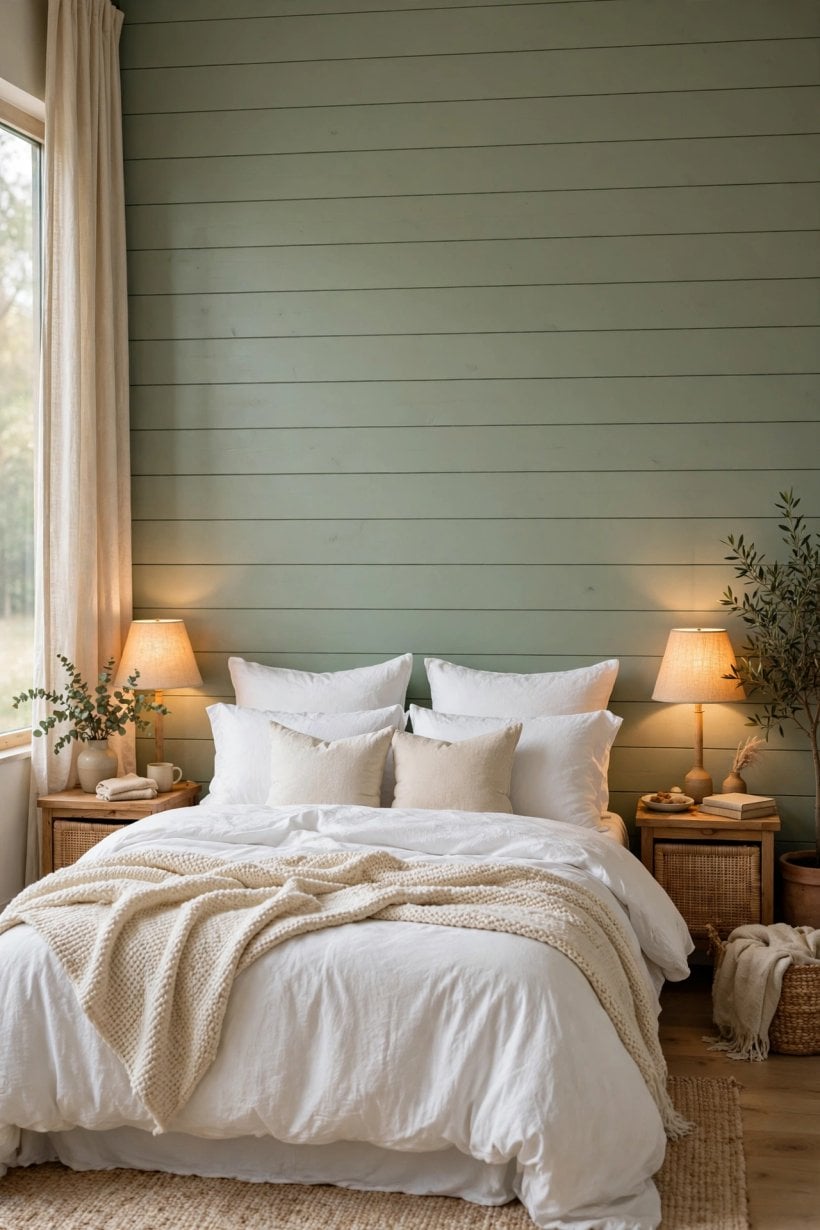
- Full headboard wall. Boards wall to wall behind the bed, painted to match for a serene, built-in feel.
- Half-height headboard. Cladding to just above pillow height with a shelf cap for books and a lamp.
- Vertical lift. Vertical boards in low-ceiling bedrooms to draw the eye upward.
- Two-tone scheme. Deeper colour below the dado line, pale boards above, or the reverse.
- Guest room welcome. White boards, iron bedstead and layered quilts for instant cottage charm.
- Children’s room durability. Hard-wearing painted boards on the wall that takes the knocks and the artwork.
- Loft bed backdrop. Cladding inside a sleeping loft or alcove to make it feel like a cabin bunk.
- Wardrobe wall disguise. Board the wall of fitted wardrobes so doors read as panelling.
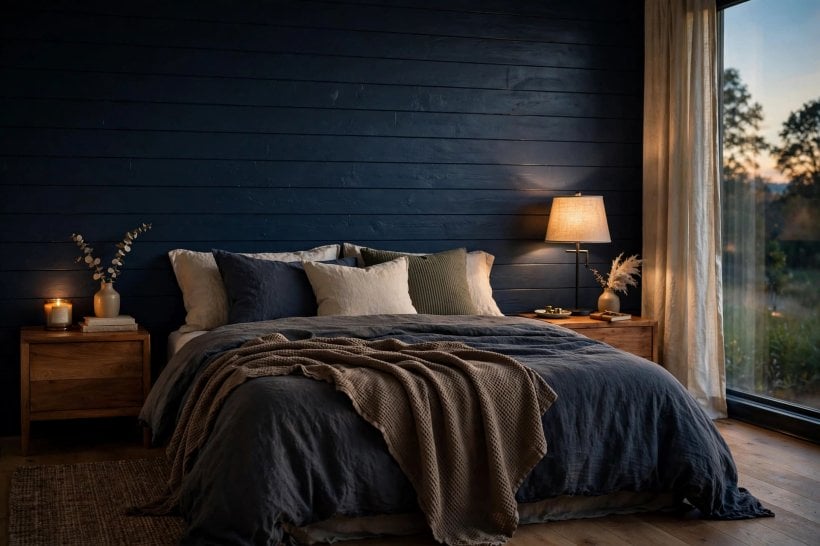
Choose bedroom colours at dusk as well as dawn if you can, with a painted sample board propped behind the pillows. The wall you fall asleep against should be tested in lamplight, not just daylight.
5. Bathroom and Laundry Shiplap
Bathrooms are where enthusiasm must shake hands with caution. Shiplap looks wonderful in bathrooms, but real timber and water need the right product, the right sealing and honest ventilation. Choose boards specifically sold as suitable for the conditions, follow the maker’s guidance to the letter, keep direct splash zones for tile or other fully waterproof finishes where advised, and ventilate like you mean it.
- Vanity backdrop. Boards behind a basin and mirror, finished for the conditions and easy to wipe.
- Bath panel partnership. A boarded bath panel echoing the wall cladding for a fitted, cottage feel.
- Half-wall with tile above. Boards low, simple tile in the wettest area, each doing its best job.
- Cloakroom character. A tiny downstairs loo transformed by one dark, moody clad wall.
- Laundry room lining. Practical boards behind machines and a deep sink, painted in a cheerful colour.
- Ceiling boards. A clad bathroom ceiling where walls stay tiled, adding warmth overhead.
- Towel wall. Hooks and rails on cladding by the bath, planned so fixings land solidly.
- Coastal washroom. Pale blue-grey boards, white sanitaryware and rope-and-timber accessories.
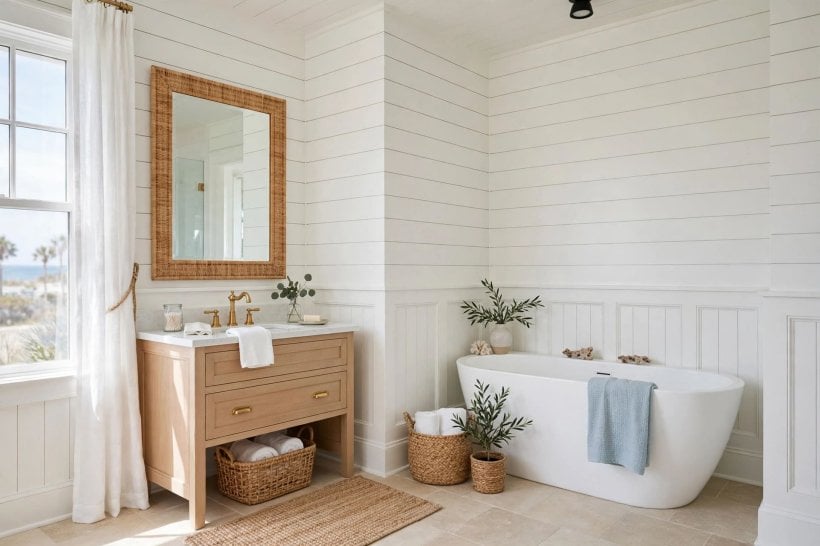
If a bathroom idea on this list tempts you, treat ventilation as part of the design, not an afterthought: an effective extractor and a window you actually open keep boarded bathrooms fresh for years.
6. Kitchen and Dining Ideas
Kitchens use shiplap two ways: as a full character wall behind open shelves or a range, and as a unifying skin on islands, peninsulas and breakfast bars. Dining spaces borrow it for warmth, because boards soften the clatter of plates and make even Tuesday suppers feel like an occasion. The layout wisdom in our tiny house kitchen design ideas pairs naturally with these finishes.
- Range wall backdrop. Boards behind open shelves flanking a cooker, with heat guidance checked first.
- Island cladding. The back and ends of an island boarded and painted to match or contrast cabinetry.
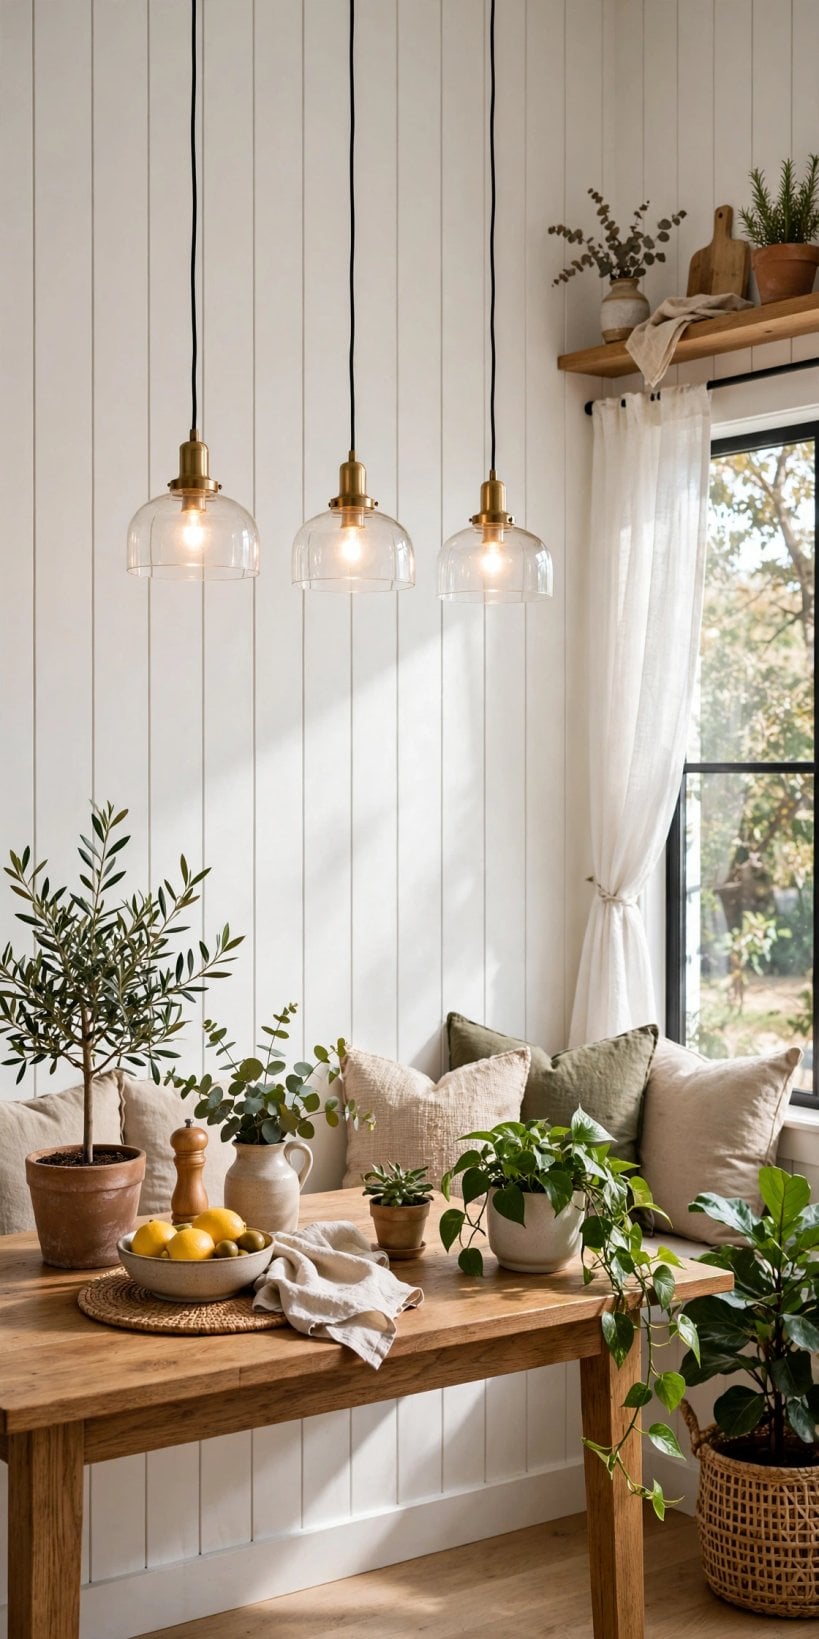
- Breakfast bar front. Vertical boards on a peninsular front, echoing farmhouse stools and pendants.
- Pantry interior. Clad inside a walk-in pantry for a cool, larder feel on shelves and walls.
- Dining feature wall. Horizontal boards behind a banquette, with cushions in ticking stripes.
- Butler’s pantry charm. A small serving space fully lined, painted deep green or ink blue.
- Coffee corner. A boarded nook for the kettle and machine, with hooks for cups beneath a shelf.
- Ceiling beams partner. Pale boarded ceiling between dark beams in a country-style kitchen.
Kitchens punish finishes that cannot be cleaned, so choose paints and sealers sold for the job, and keep a small pot of the colour for the inevitable touch-ups around bins, chairs and busy corners.
7. Hallways, Entries and Stair Walls
Transitional spaces are shiplap’s home turf. Hallways take knocks, scuffs and wet coats that defeat flat plaster, while stairs offer a long diagonal wall crying out for rhythm. Lower-half cladding with a cap ledge is the classic hallway treatment for good reason: it protects, it wipes clean, and it makes a narrow passage feel deliberately designed rather than merely passed through.
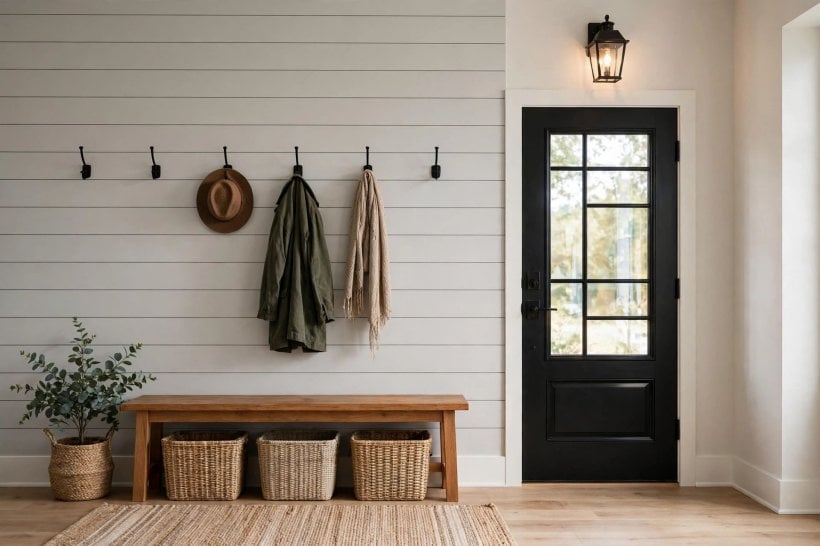
- Hallway wainscot. Boards to waist height with a chunky cap, hooks above for coats and hats.
- Boot room lining. Full-height boards behind benches and boot racks, painted a forgiving mid-tone.
- Stair wall sweep. Cladding following the stair angle, or level-topped with a stepped silhouette.
- Under-stair cupboard front. Board the doors under the stairs so storage disappears into the wall.
- Porch interior. A small glazed porch lined in boards, bridging garden and home.
- Landing pause point. One clad wall on the landing with a chair and picture, a room in miniature.
- Cottage entry. Boards, a peg rail and a bench by the front door for instant welcome.
- Long corridor rhythm. Vertical boards breaking a long hall into bays with art and sconces.
Fit hallway boards with the household’s real life in mind: school bags, dog leads, delivery boxes and bicycles all pass this way, and a finish chosen for beauty alone will show it within a month.
8. Colour Ideas: Whites, Greys and Beyond
Colour decides whether shiplap reads as beach house, farmhouse, cabin or contemporary texture, and the grooves themselves are part of the palette: every board throws a shadow line that deepens any colour you choose. Paint a generous sample board and live with it through a full day of changing light before committing, the same discipline our tiny house interior paint colors guide recommends for small rooms where colour has nowhere to hide.
- Warm white. The classic: bright without glare, friendly to timber floors and linen.
- Soft greige. A grey-beige bridge colour that flatters north-facing rooms.
- Sage green. Calm, botanical and beautiful with brass, black and natural wood.
- Ink navy. Deep blue boards for dining rooms and studies that glow by lamplight.
- Charcoal drama. Near-black cladding behind pale sofas, art and fireplace metals.
- Clay and terracotta. Earthy warmth for hallways and kitchens with cream above.
- Coastal blue-grey. Weathered seaside colour with white ceilings and rope textures.
- Natural stain. Skipping paint entirely, with a clear or honey finish that shows the grain.
Remember the ceiling when choosing. A coloured wall of boards under a bright white ceiling looks crisp; carrying the colour over the ceiling too creates a cocoon. Both work, but they are different rooms, so decide which one you want.
9. Finishes, Direction and Texture
Beyond colour lie the quieter decisions that separate a good installation from a great one: which way the boards run, how wide they are, how deep the shadow gap reads, and what sheen the finish carries. The small-space lessons in our tiny house and small-space interior design ideas apply again: consistent direction and restrained sheen make compact rooms feel calm and larger.
- Horizontal classic. The default for good reason, widening rooms and echoing traditional cladding.
- Vertical modern. Boards running up for height, formality and a contemporary panelled feel.
- Diagonal accent. A single diagonal section, on a porch or nook, used sparingly for energy.
- Herringbone feature. Short boards in a woven pattern for a small, high-impact area.
- Wide-board calm. Broader boards with fewer lines for serene bedrooms and modern schemes.
- Narrow-board texture. Slimmer boards and busier rhythm for cottages and small rooms.
- Matte and chalky. Low-sheen finishes that read soft and hide minor imperfections kindly.
- Satin practical. A gentle sheen in halls and kitchens where walls get wiped often.
- Whitewashed grain. Diluted paint letting timber show through for a weathered, coastal texture.
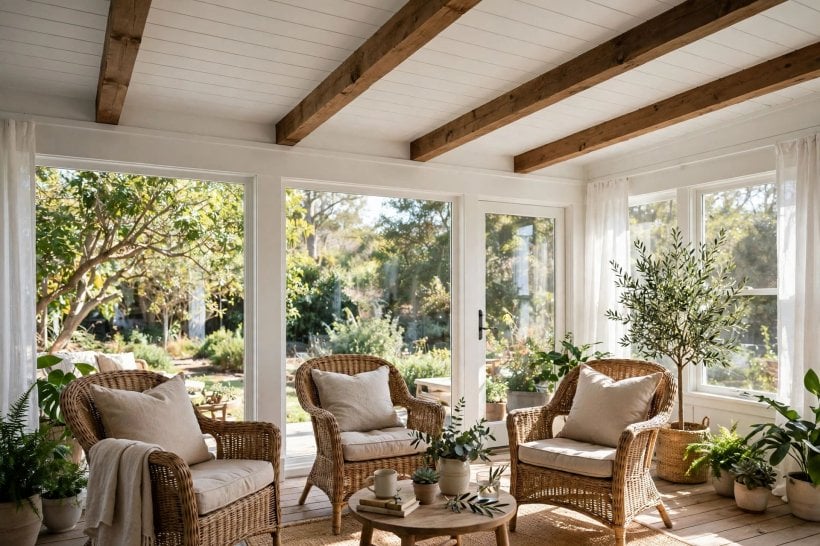
Whichever direction you choose, keep it consistent across adjoining sight lines. A hallway running horizontal meeting a stair wall running vertical can work as a deliberate contrast, but accidental changes just look like two different projects.
10. Fitting, Cost and Care Checks
The last ten items are the homework that protects all the others. Costs vary widely with material, wall condition and whether you fit boards yourself or bring in a carpenter, so keep money talk qualitative, gather real local quotes, and remember the boards themselves are often the smallest line in the budget once preparation, trims and finishing are counted, a pattern anyone who has read our how to build your own tiny house guide will recognise from every part of a home project.
- Find the structure. Plan fixings into studs or a sound substrate, not hope and adhesive alone.
- Acclimatise boards. Let timber rest in the room as the maker advises before fitting.
- Start level. The first board sets the truth for every board after it; check it twice.
- Plan around sockets. Mark electrics before cladding and use a qualified electrician for alterations.
- Mind the gaps. Allow for natural movement at edges as the product guidance directs.
- Finish the edges. Trims, caps and corner details are what make cladding look built-in.
- Paint smart. Prime and paint cut ends and grooves as advised, ideally before boards go up.
- Keep spare boards. Store a few from the same batch for future repairs and additions.
- Clean gently. Dust grooves regularly and wash painted boards with mild solutions only.
- Inspect yearly. A quick annual look at bathrooms and hallways catches small issues early.
Take photographs before, during and after fitting, especially of anything hidden behind the boards: studs, cables, pipes and insulation. Like the container builders and tiny-house owners elsewhere on this site, you are creating a layer of the home that later work will need to understand, and a photo album is the cheapest documentation there is.
Final Considerations
Shiplap endures because it does several jobs at once: it textures a plain wall, protects a busy one, warms a cold-feeling room and gives even a brand-new house a sense of having been made by hand. Choose the right wall, commit to one direction and one finish, prepare properly and fit carefully, and it will look inevitable rather than applied.
Use these 75 ideas the way designers do, as a filter rather than a shopping list. The two or three that fit your room, your light and your life will do more than a dozen borrowed from other people’s houses. Start with a sample board, live with it for a week, and then clad with confidence.


0 Comments