

A good art studio is not measured in square metres — it is measured in whether you can start work in two minutes, see your colours honestly, and put everything away without a fight. A corner, a garage bay, or half a spare room can do all three if the layout, light and storage are planned before the first canvas arrives.
These 25 ideas work through a small studio in the order it gets built: choosing the spot, placing the work, fixing the light, and storing a growing pile of materials.
1. Small Art Studio Ideas at a Glance
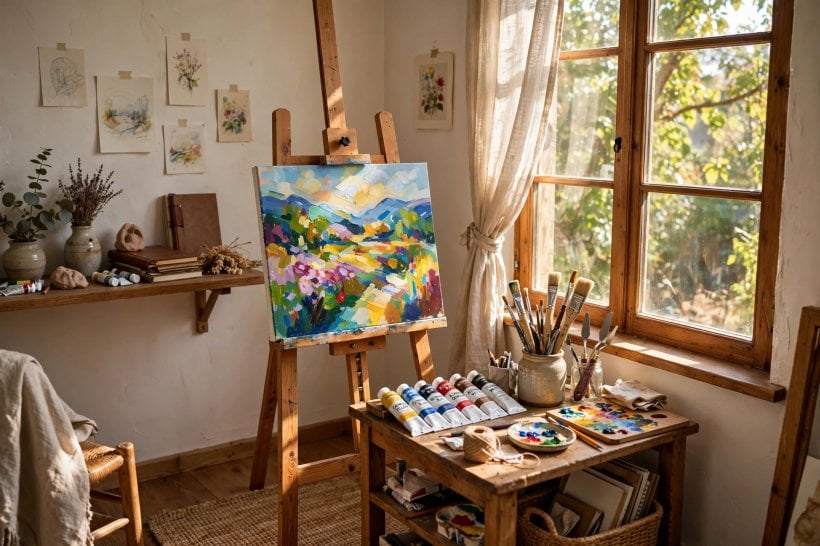
Small art studios succeed on systems, not size. The pattern that repeats in the studios people actually keep using is simple: one clear work surface, light you can trust, storage that runs up the walls instead of across the floor, a place for wet and finished work to rest undisturbed, and a wash-up point close enough that cleaning brushes never becomes a reason to stop early. Get those five things right and almost any spare corner of a home can hold a serious, regular art practice.
| Where can a small studio go? | Almost anywhere with daylight and a door or boundary: a spare-room corner, one garage bay, a converted closet, a garden room, or the end of a studio apartment. |
| What light is best for art? | Steady, indirect daylight is the classic choice — north-facing light in the northern hemisphere changes least through the day — backed up by a daylight-balanced lamp for evenings. |
| What is the most important piece of furniture? | The worktable or easel you will use daily. Everything else — storage, seating, display — should be arranged around that one working position. |
| How do you store materials in a tiny studio? | Vertically and visibly: pegboard, narrow shelves, upright brush pots, flat files for paper and divided racks that hold canvases on edge like books. |
| Can a studio share a room with daily life? | Yes, if it is designed to fold away — a drop-leaf table, lidded boxes, a screen or curtain, and a strict rule that work in progress has one safe resting place. |
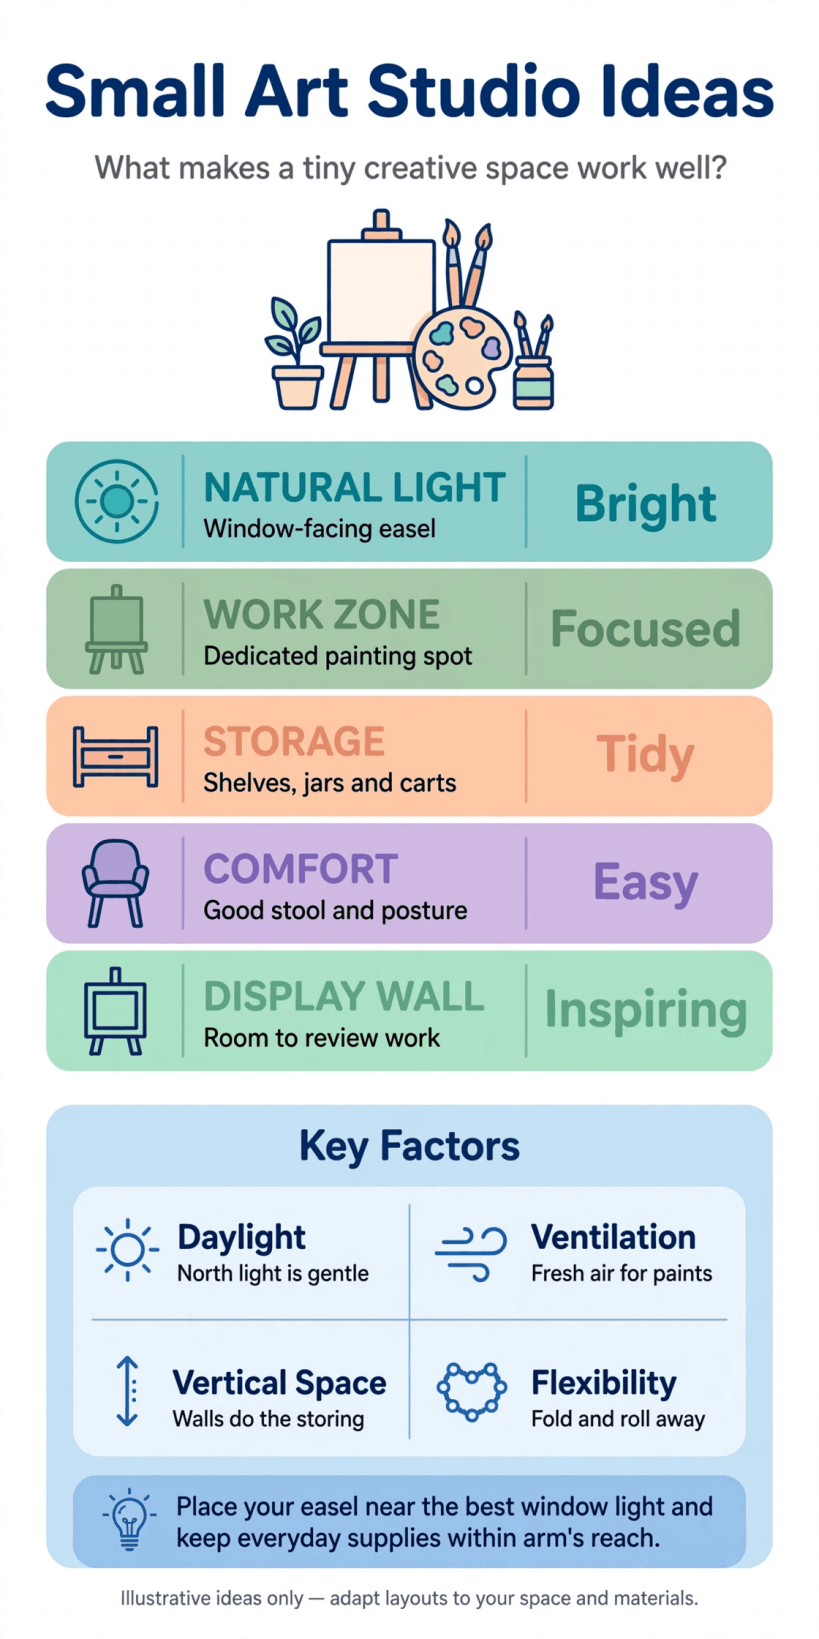
At a glance: pick the spot for its light, build around one work surface, store vertically, and give wet work and finished work a home of their own.
2. Choosing the Spot: Corners, Garages and Spare Rooms
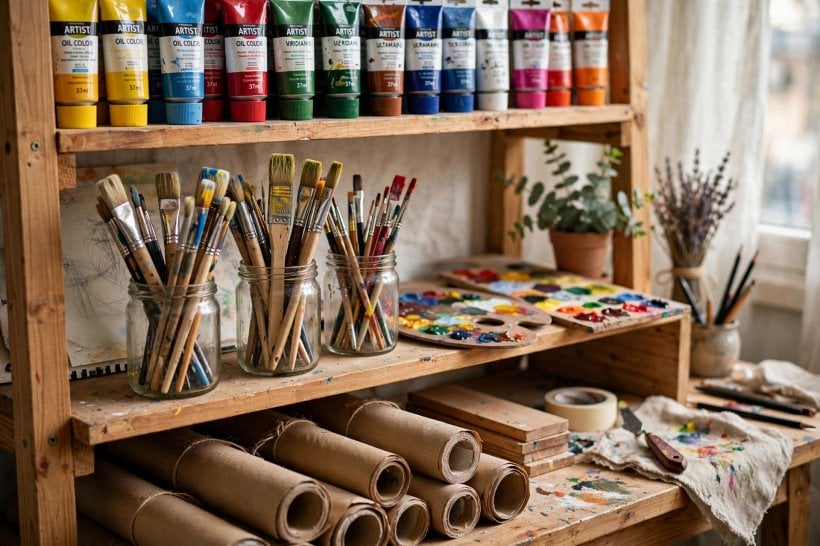
Start by walking your home the way an artist would: where does the light stay steady, where can a door close or a curtain fall, and where will a half-finished piece be safe from passing elbows, pets and laundry baskets? The best spot is rarely the biggest one — it is the one nobody else needs to cross. The thinking behind compact work zones in our home office design ideas applies here too, with messier materials and better light at the top of the list.
1. Claim a Single Bright Corner
One corner beside a window, roughly the footprint of a large rug, is enough for an easel, a small table and a storage cart. Define it properly rather than drifting into it: a washable mat or offcut of flooring underfoot, a low shelf or rail marking the boundary, and everything for the practice kept inside that line. A defined corner changes how the household treats the space — work left out inside it reads as a studio in use, not as clutter spreading across the room.
2. Convert One Garage Bay
A garage gives a small studio its two rarest luxuries: a floor that forgives spills and a door that closes on fumes and dust. Take the bay nearest a window or side door rather than the darkest end, seal the concrete or lay interlocking mats where you stand, and hang a curtain or build a simple stud partition if cars and storage share the rest of the space. Plan for the seasons as well — a small heater in winter and shade in summer matter more than extra shelving.
3. Use a Garden Room or Shed with Care
A garden room, summerhouse or sturdy shed can make an excellent studio because the short walk to it creates a genuine start and finish to a session. The conditions to check are damp, insulation and security: paper, canvas and adhesives all suffer in a cold, wet building, so line and insulate before moving materials in, vent condensation, and keep valuable work in the house until the building has proved itself dry through a full wet season.
3. Layouts That Put the Work Within Reach
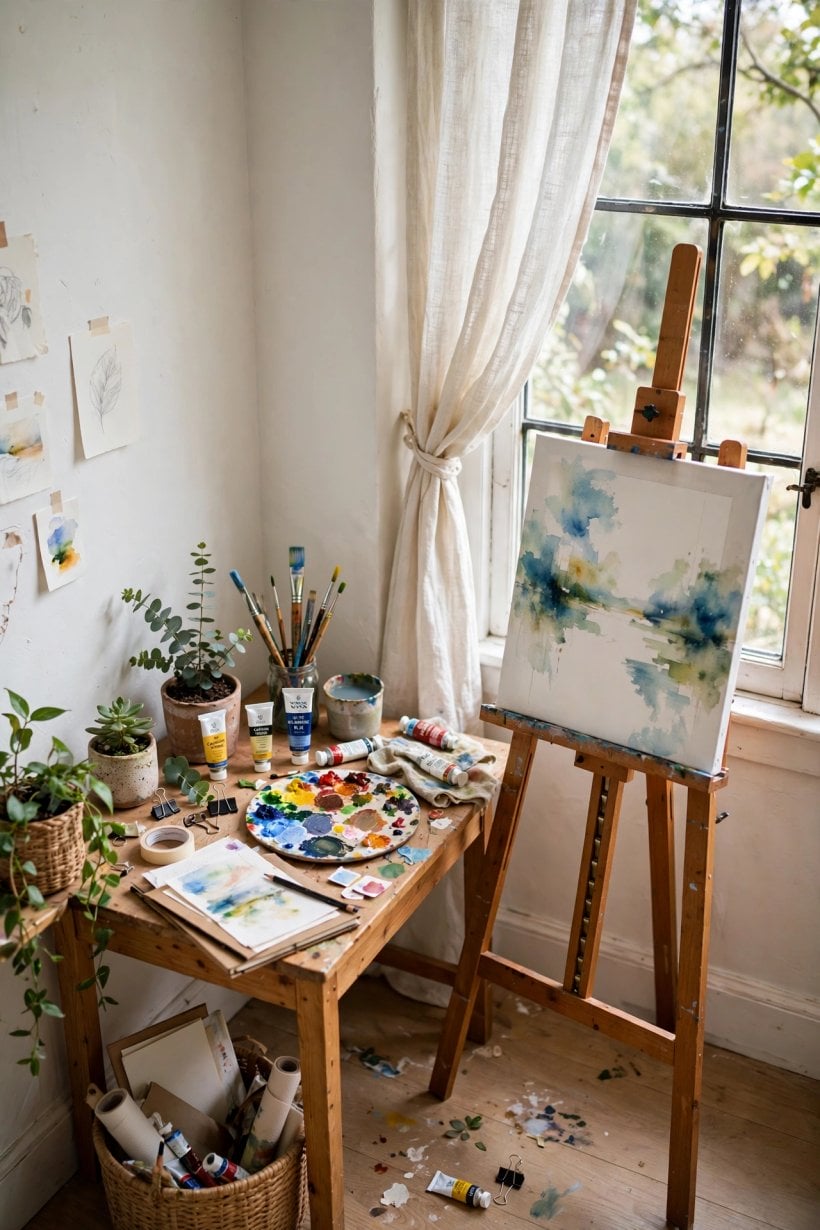
Layout in a small studio is about reach and retreat: everything for the current piece should be within an arm’s length or one step, and there should still be a clear path backwards so you can step away and judge the work from a distance. Arrange the room once, on paper or with tape on the floor, before furniture goes in — a layout that forces you to squeeze sideways past a table will quietly shorten every session you spend in it.
4. Centre the Worktable, Keep the Walls for Storage
In a room that is wholly a studio, placing the main table in the middle rather than against a wall gives you working access from two or three sides and turns every wall into storage or display. It suits collage, model-making, print work and anything assembled flat. Keep the table no deeper than you can comfortably reach across, and let light fall across it from the side, so your own body does not shadow the surface you are working on.
5. Use an L-Shaped Layout for Two Mediums
If you draw and paint, sew and sketch, or mix any two processes, an L-shape along two walls keeps them separate without needing two rooms. One leg of the L holds the clean, dry work — drawing, mounting, paperwork — and the other holds the wet or dusty process, with the corner between them for shared tools and reference books. The division protects finished paper from wet media and gives each process a surface that is always set up and ready.
6. Keep a Clear Path for Stepping Back
Judging a piece honestly means seeing it from further away than arm’s length, so protect a straight, unobstructed line from your easel or table to the far wall. In practice that means no storage creeping into the middle of the floor, a stool that tucks under the table, and cables routed along walls. If the room is too small for distance, hang a small mirror opposite the easel — checking the work reversed in a mirror is an old studio trick that reveals drawing errors immediately.
4. Light First: Daylight, Desklamps and Honest Colour
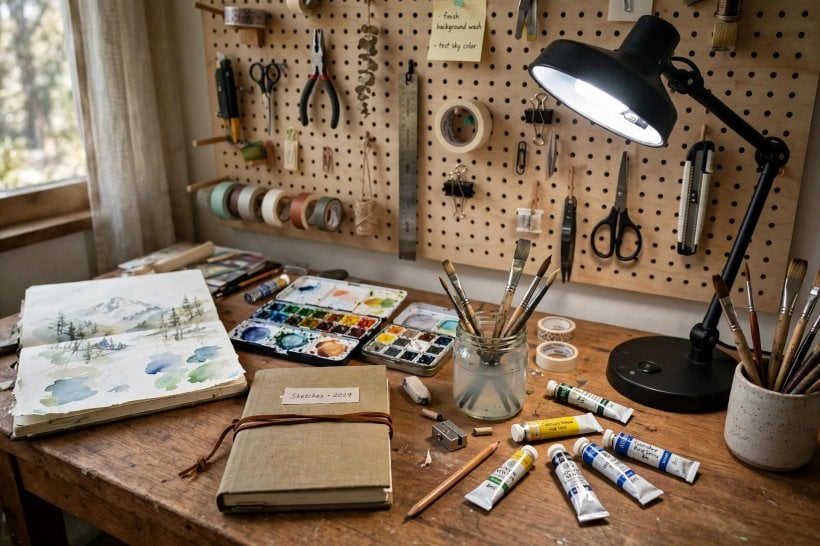
Light decides more of a studio’s quality than any furniture you can buy. Colours mixed under warm, dim or fast-changing light will look different everywhere else, which is why painters have chased steady daylight for centuries. The layouts in our guide to clerestory window tiny house layouts show the guiding principle at work — high glass pulling steady daylight deep into a small room while leaving the walls free — and artificial light should imitate good daylight as closely as your budget allows rather than fight against it.
7. Chase Soft, Indirect Daylight
The classic studio light is bright but indirect: in the northern hemisphere a north-facing window gives the steadiest light through the day, while in the southern hemisphere the equivalent is south-facing. If your window faces the sun’s path instead, soften it with a sheer curtain, a translucent blind or a sheet of diffusion material so direct sun never falls on the work itself — moving patches of sunlight change both the colours you see and the way paint dries as you lay it down.
8. Add a Daylight-Balanced Lamp for Evenings
A daylight-balanced lamp, sold for art, craft and photography work, keeps evening sessions honest. Look for a lamp described as daylight or full-spectrum, with a colour temperature in the general daylight range, and position it so it lights the work surface rather than your eyes. Test the lamp against a piece you know well in daylight: if familiar colours shift noticeably under it, that lamp belongs over a desk elsewhere in the house, not over your mixing area.
9. Light the Work, Not Just the Room
A single ceiling light leaves the most important surface in the room — your work — in your own shadow. Layer the lighting instead: general room light for moving around safely, a strong task light aimed at the table or easel, and, if you photograph finished pieces, a second lamp that can be paired with the first to light a wall evenly. Clip lights and articulated arms suit small rooms because they mount to shelves and table edges and take up no floor at all.
5. Easels, Worktables and the Surfaces That Earn Their Space
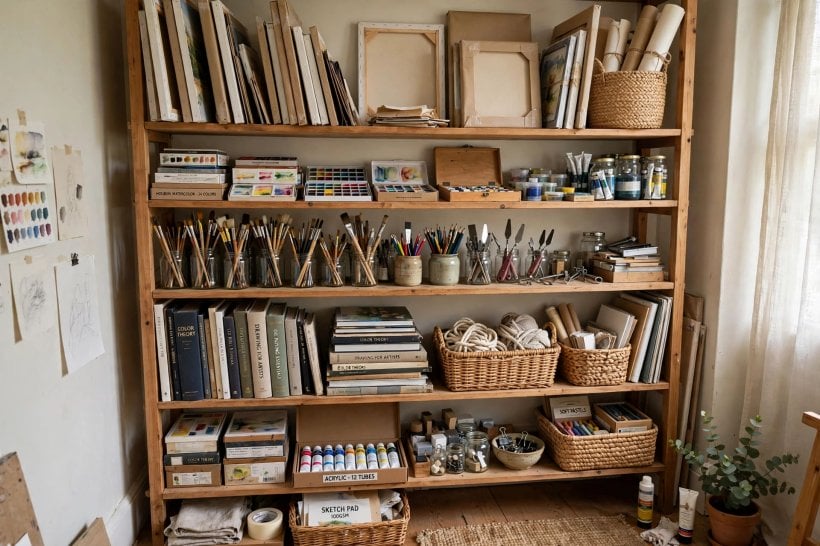
Every surface in a small studio has to earn its footprint twice: once for the work it holds and once for what it does when the session ends. Choose furniture that folds, rolls, nests or doubles as storage, and be honest about your main medium before buying — a watercolourist needs a reliably flat, washable table, while an oil painter needs an easel and standing room. Many of the space-saving setups in our roundup of the best tiny home office setups transfer directly to studio tables and benches.
10. Choose an Easel That Fits the Room, Not the Fantasy
A large studio easel is a beautiful object and, in a small room, often a permanent obstacle. A-frame and tripod easels fold flat against a wall, table easels turn any worktable into a painting station, and a simple wall-mounted rail or ledge can hold a canvas at working height with no floor footprint at all. Match the easel to the largest canvas you genuinely paint — most artists work smaller than they imagine — and let anything bigger be an occasional, borrowed-space event.
11. Pick One Worktable at a Comfortable Height
One sturdy table, large enough for your biggest regular format plus a palette and a water pot, will serve better than two cramped ones. Think about height in relation to how you work: seated drawing wants a standard desk height, while standing work in collage, cutting or printmaking is kinder on the back at a slightly higher surface. A second-hand kitchen table, a door slab on trestles, or a folding utility table all work — stability matters far more than appearance, because a wobbling table ruins fine work.
12. Roll a Taboret Beside Your Working Hand
The traditional painter’s taboret — a small rolling cabinet or cart beside the easel — is the hardest-working piece of furniture in a small studio. A kitchen trolley or drawer cart does the same job: palette, mediums, brushes and rags live on it within reach, it parks against the wall between sessions, and it can follow you if the easel moves. Keeping the active materials on the cart also keeps them off the worktable, which stays clear for the piece itself.
6. Vertical Storage: Walls That Work as Hard as the Floor
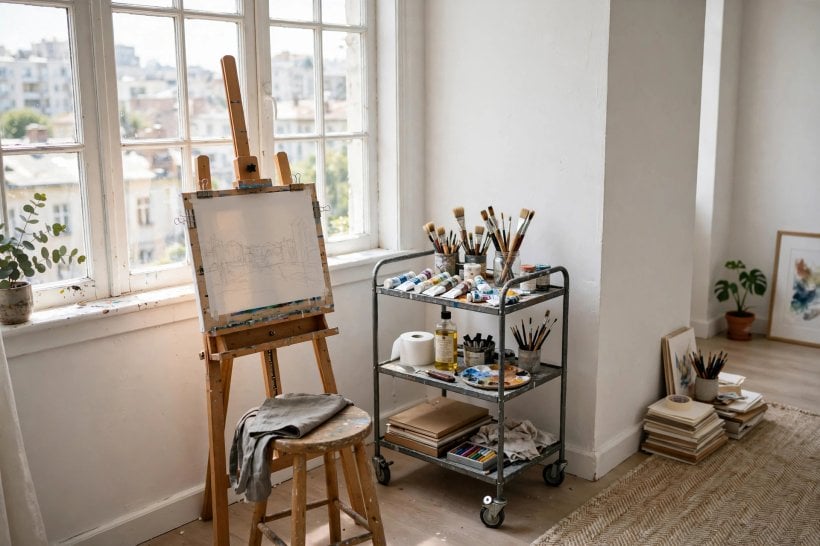
Floor space runs out fast; wall space usually does not. Vertical storage is what separates a studio that feels generous from one that feels like a cupboard, and it has a second advantage: supplies you can see are supplies you use, while supplies buried in boxes quietly get bought twice. The broader approach in our guide to tiny house plans with hidden storage is a useful companion here — the studio simply applies it to smaller, messier, more numerous objects.
13. Hang Pegboard for the Tools You Reach For Daily
A panel of pegboard or a slatted rail above the worktable holds scissors, rulers, tape, clamps, pliers and brushes on hooks, visible at a glance and returned in seconds. Outline each tool’s place with a marker line or a labelled hook if you share the space — the outline makes tidying automatic and shows instantly what is missing. Keep the board for daily tools only; once it becomes general storage it stops being a tool and becomes another wall of clutter.
14. Use Narrow Shelves for Paints, Jars and Bottles
Paints and mediums store best on shelves only one bottle deep, so nothing hides behind anything else. Picture ledges, spice-rack shelves and shallow wall cabinets all suit this — labels face out, colours group together, and the shelf itself stops tubes migrating across the room. Put the heaviest jars at waist height rather than overhead, group by medium rather than by colour if you work across media, and keep a small tray under oils and solvents so a slow leak never reaches the shelf board.
15. Store Brushes Upright, Open and Sorted by Job
Brushes last longest stored bristles-up in jars or pots once fully dry, sorted roughly by job — one pot for fine work, one for broad, one for glue, varnish or anything that should never touch a good brush. A brush roll suits a studio that packs away after each session, and a hanging organiser on the back of a door works where wall space is gone. What matters is the habit: brushes never live bristle-down in water, and never loose in a drawer where ferrules bend and tips splay.
7. Flat Files, Canvas Racks and Caring for Finished Work
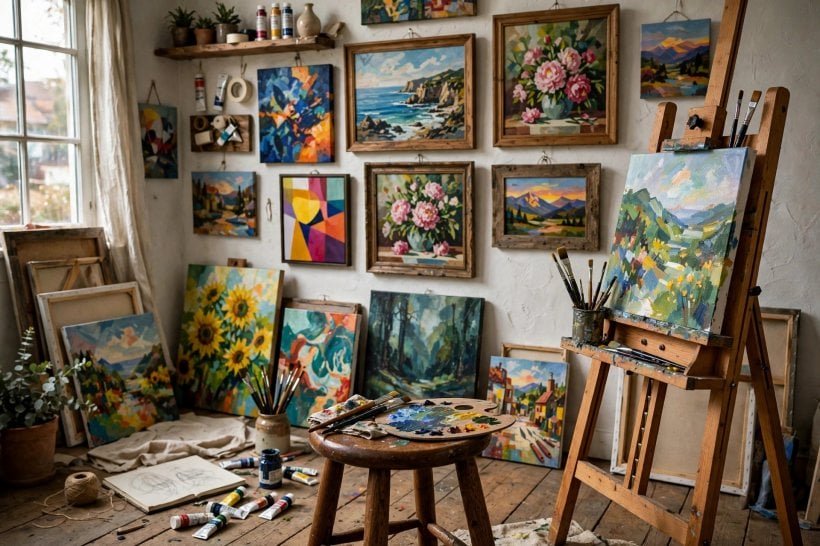
Making work is only half the storage problem — the other half is what happens to paper, boards and canvases before, during and after a piece. Flat work warps and tears when it leans in piles, and finished canvases pick up dents and dust leaning face-to-face in a corner. A small studio needs a deliberate system for all three states of work: blank stock, work in progress and finished pieces waiting to be framed, sold, given away or simply kept.
16. Slide Canvases into a Divided Rack
Canvases and boards store best on edge, like books on a shelf, separated so faces never rub. A divided rack can be as simple as vertical slots built from two boards and dowels, a repurposed plate rack, or a crate with cardboard dividers; what matters is that each piece slides in and out without dragging against its neighbour. Store the largest pieces at the back or in the widest slot, keep wet canvases in the rack only once touch-dry, and never lean a fresh canvas face against anything at all.
17. Keep Paper Flat in Shallow Drawers or a Portfolio
Paper wants to be flat, dry and unhurried. A small flat file — the wide, shallow drawers used for plans and prints — is the ideal home, but a portfolio case slid under a bed or behind the worktable, or a stack of shallow archival boxes, achieves the same protection. Separate finished drawings with a sheet of plain paper between them, keep sketchbooks standing on a shelf rather than under a pile, and store blank stock away from the dampest wall in the room.
18. Give Work in Progress a Safe Resting Place
More small-studio damage happens between sessions than during them: a wet canvas knocked by a chair, a collage buried under tomorrow’s post. Designate one protected resting place — a drying rack, a high shelf, a slotted stand on top of the flat file — where unfinished work goes the moment you pause, and defend it from general use. A piece that always returns to the same safe place survives a small room; a piece that rests wherever there is space eventually rests under something heavy.
8. Wash-Up, Air and Floors That Forgive
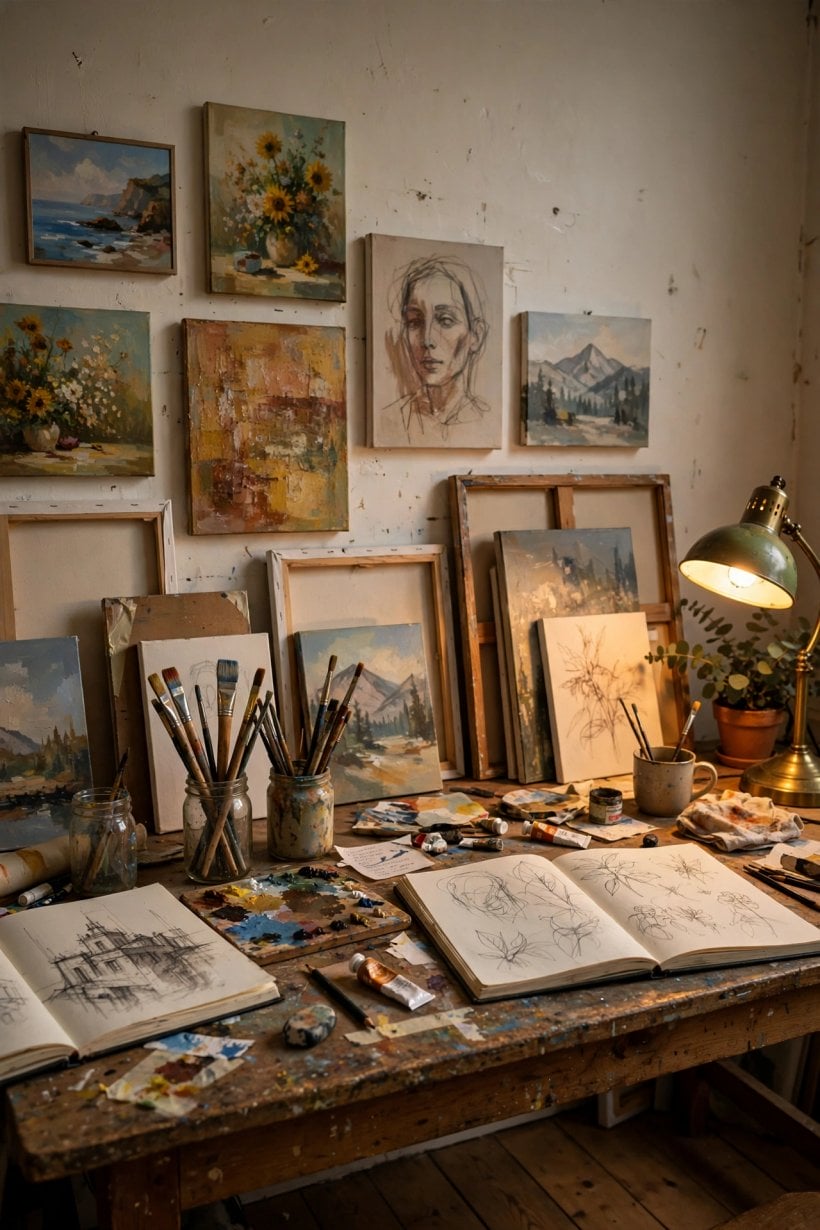
The unglamorous corner of the studio is the one that decides whether the room stays pleasant to work in. Water for brushes, somewhere for rinse jars and rags, fresh air when paints and solvents are open, and a floor that treats a spill as a wipe rather than a disaster — plan these before the pretty storage, because retrofitting a wash-up point into a finished studio is far harder than choosing forgiving surfaces from the start.
19. Create a Small Wash-Up Corner
If the studio has no sink, build the habit around a wash-up station instead: a sturdy tray holding two jars of water — one for the first rinse, one for the cleaner second rinse — a lidded settling jar for painty water, soap, and a rag that lives there permanently. Settle and strain rinse water rather than pouring paint solids down a household drain, wipe brushes on the rag before they meet water, and keep the whole station on a waterproof base so drips never reach the floor or the table edge.
20. Ventilate Whenever Paints and Solvents Are Open
Fresh air is a working material in any studio that uses oils, solvents, sprays or strong adhesives. Open a window or run a small extractor fan while those products are open, keep lids on jars between uses — which also slows evaporation and keeps mediums clean — and store solvent-soaked rags in a lidded metal container, never in an open bin. Choose lower-odour and water-based alternatives where your process allows, read the safety guidance on every product you use, and treat ventilation as part of setting up, not an afterthought.
21. Lay a Floor You Can Wipe, Not Worry About
The right studio floor is smooth, washable and already forgiven: vinyl, sealed concrete, painted boards or washable interlocking mats over carpet all work, with a washable rug or mat only in the standing zone where your feet — not the paint — land. Avoid deep-pile carpet under the working area and precious pale flooring anywhere near it. Keep a small kit within reach for the inevitable: paper towels, a scraper for dried drips, and a lidded bin for wipes, so a spill costs thirty seconds rather than a session.
9. Display Walls and Studios That Share a Room
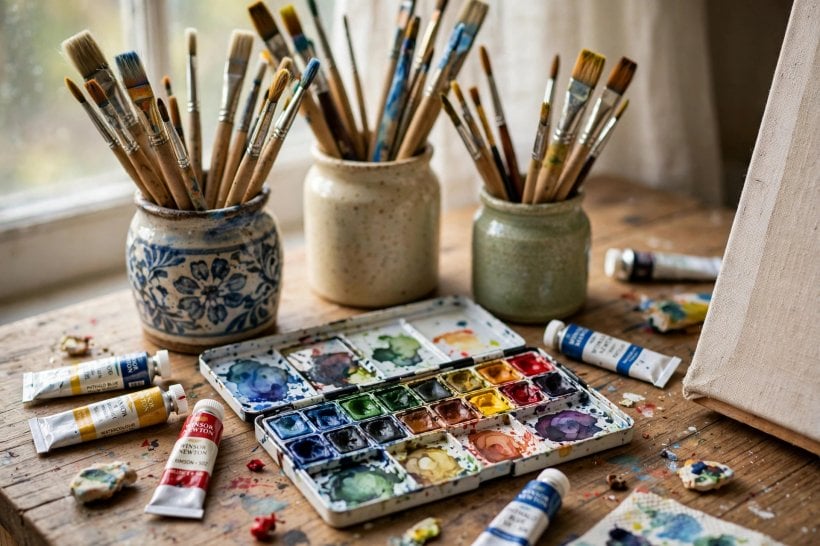
Many small studios share their room with a bed, a sofa or a dining table, and the studios that work are the ones designed for both lives from the start. Living with your own work on the walls is also genuinely useful — pieces you see daily keep teaching — so display and fold-away planning belong together. The ideas in our guide to apartment interior design for tiny houses show how a single room can hold distinct zones without walls, and the same zoning serves a studio corner in any shared room.
22. Turn One Wall into a Rotating Display
Reserve one wall — or one picture ledge, wire or rail — as the studio’s gallery, and rotate what hangs there. Living with a finished piece for a few weeks tells you whether it is truly done, a row of current work shows a series developing, and reference images pinned nearby stay visible without covering every surface. A ledge or rail beats individual fixings in a small or rented room: pieces swap in seconds, nothing new is drilled, and work waiting to be photographed or framed has a dignified place to wait.
23. Make the Whole Studio Fold Away
For a studio that shares a room, design the closed state as carefully as the open one: a drop-leaf or folding table, a lidded box or trunk for materials, the easel folded flat, and a screen, curtain or bookcase edge that signals the studio is shut. Purpose-built solutions exist at every scale — our guide to tiny house closet design ideas shows how much careful planning fits inside a cupboard-sized space — and a closet planned that tightly can open into a complete work zone and close into a blank door. The test is time: if closing the studio takes more than five minutes, it will not happen, and the room will feel like a studio permanently.
10. Final Checks and the Last Two Ideas
Before you buy another shelf, run the studio through two last checks. They cost nothing, they apply to a corner studio and a garden room alike, and they are the difference between a room full of art equipment and a room where art reliably gets made.
24. Test the Setup with One Real Project Before You Buy More
Work one complete piece — start to finished — in the studio exactly as arranged, and note every friction honestly: the light that failed at seven in the evening, the drawer you opened eleven times, the canvas that had nowhere safe to dry. Fix only what the project proved was broken. Studios stocked by imagination fill with organisers for problems their owners never had; studios stocked by evidence stay small, cheap and precisely fitted to the work they hold.
25. Leave One Surface Empty on Purpose
The last idea is a discipline, not a purchase: keep one surface — a shelf, half the table, the top of the flat file — deliberately empty. An empty surface is where the next piece gets laid out, photographed, framed or simply considered, and it is the studio’s buffer against chaos: the moment every surface is full, work starts landing on the floor and the room begins to feel smaller than it is. Guard the empty space as firmly as any tool you own.
Final Considerations
A small studio works when its systems agree with each other: the spot chosen for steady light, the layout built around one honest work surface, storage that climbs the walls, flat and upright homes for paper and canvas, a wash-up corner that makes cleaning easy, air that stays fresh, and a floor that forgives. None of that needs a big room, a big budget or a dedicated building — it needs the decisions made in the right order, and made once.
Start with the corner or bay you already have, run one real project through it, and let the evidence — not the catalogue — tell you what to add next. A studio that is used every week at a small scale beats a grand one that is always nearly ready, and the work itself will quickly become the best argument for every inch the studio occupies.


0 Comments