

Most dining tables live two lives: cosy for the household most days, then suddenly too small when family, friends and extra chairs arrive. A well-made extension leaf bridges those two lives, giving the table a second size without giving the room a second table.
This guide walks through the whole job in order: understanding your table, measuring it, building the leaf and finishing it to blend in.
1. Table Leaves at a Glance: The Quick Answers
A table leaf is a removable section that sits in the middle of a table that pulls apart, widening the top so more people can sit down comfortably. Some tables store their leaves inside the frame, many older tables keep them elsewhere, and plenty of tables were made with a gap and no leaf at all, which is exactly the gap this project fills.
| Question | Short Answer |
|---|---|
| What is a leaf for? | It extends the table only when you need the extra places, then comes out again so the room keeps its everyday space. |
| What should I measure first? | The width of the opening with the table fully pulled apart, the thickness of the top, and the exact shape of its edges. |
| Which material should the leaf be? | The same species and construction as the top wherever possible, so grain, weight and movement behave in the same way. |
| How does the leaf stay in place? | Alignment pins or dowels locate it, the closed table holds it snugly, and on many tables small locks underneath pull the joint tight. |
| Can a new leaf match an old table? | Usually, closely. Grain choice, careful colour work and matching the edge profile matter more than anything else. |
| Where should a leaf live when not in use? | Stored flat, indoors, in a dry place with a steady temperature, protected from knocks and from leaning. |
| What if my table does not pull apart? | Then a mid-table leaf is not the right route; a separate folding or extending piece of furniture may serve the same guests better. |
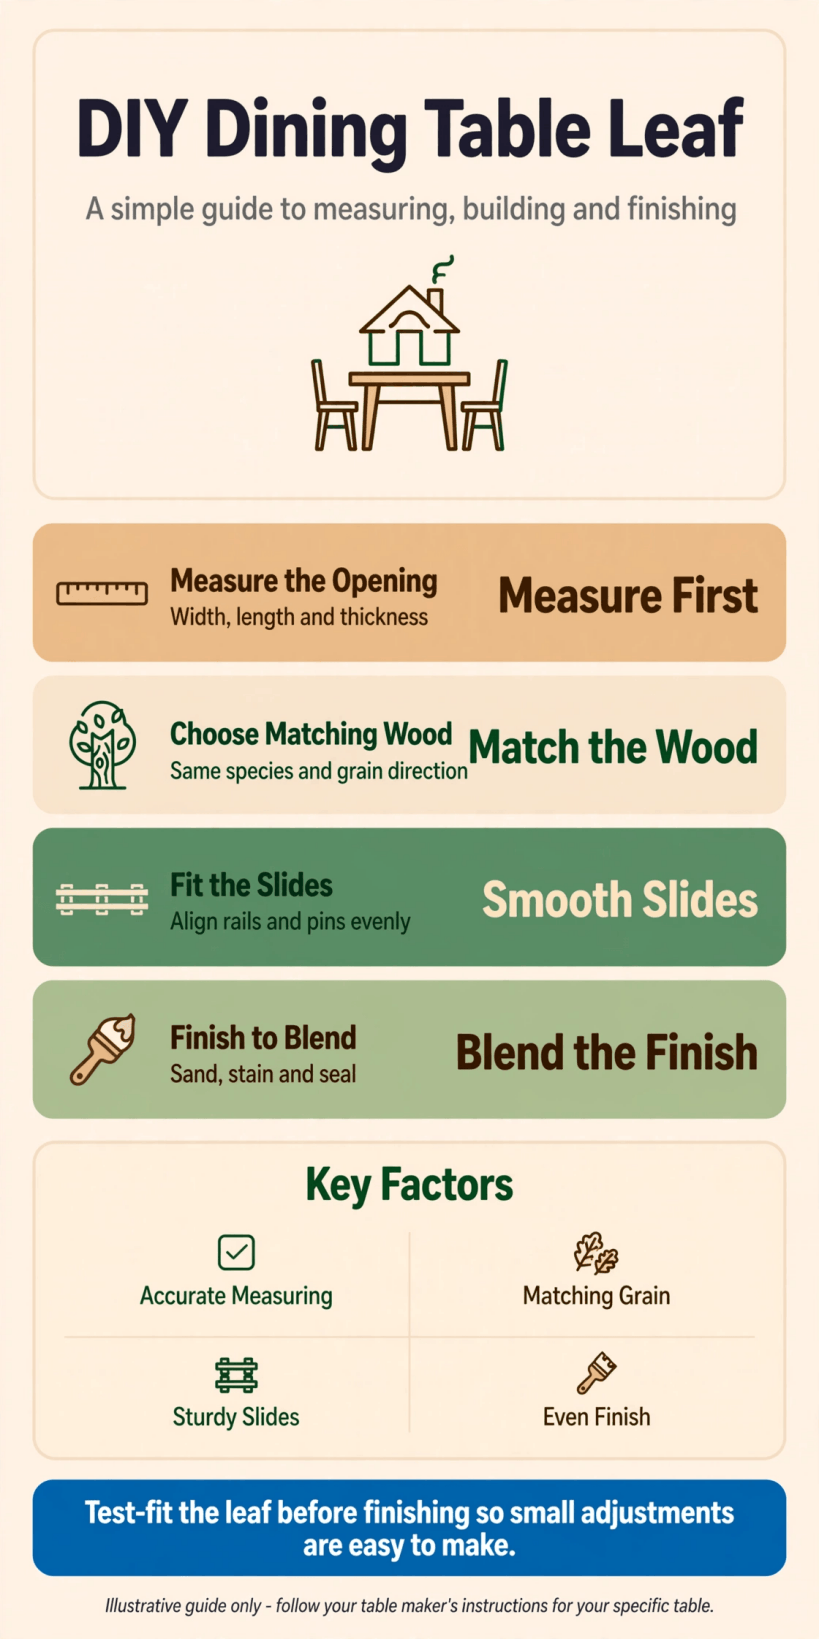
Measuring, building and finishing a leaf, step by step, from first measurement to final fitting.
The order of work matters more than any single skill in this project. Measure before you buy timber, build before you finish, and test the fit before the finish goes on, because adjusting a finished leaf risks the very surface you worked to blend in. Follow the sections in order and each stage sets up the next.
Extending the table is often kinder to a small dining space than replacing it, since the room keeps its breathing space between gatherings. The arrangements in these tiny house kitchen design ideas make the same point in miniature: furniture that adapts earns its place in a compact home far longer than furniture that only does one thing.
2. Understanding Your Table: Aprons, Rails and How Leaves Fit
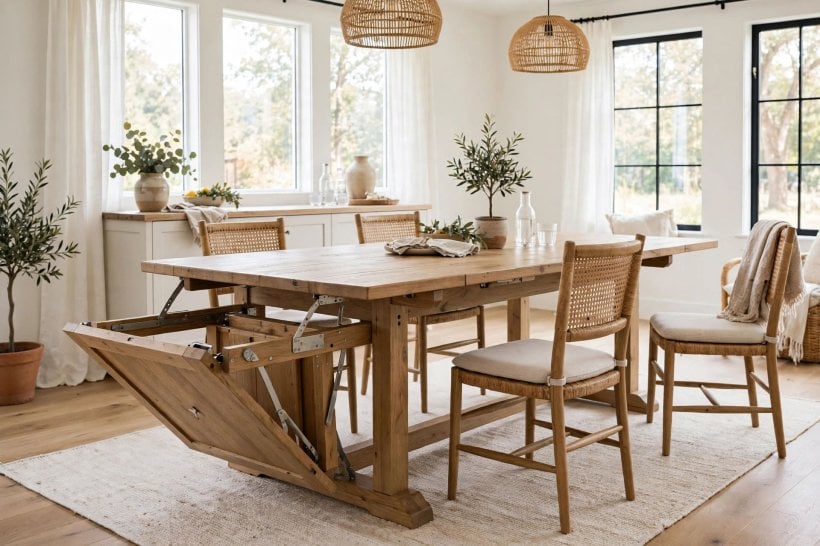
Before any measuring, get underneath your table and learn how it works. Most extending tables have two halves of top that ride on rails or runners fixed to the apron, the frame that runs around beneath the top. Pulling the halves apart opens the gap the leaf bridges, and the runners carry the weight while the top edges meet.
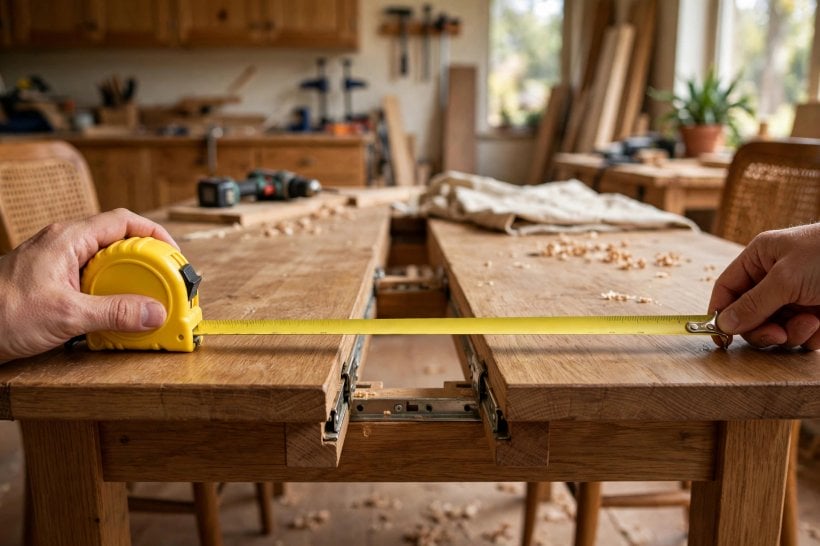
Look for the locating system your table already uses. Many tops have small holes along the meeting edges where alignment pins or dowels sit, and your new leaf will need matching holes and pins in corresponding positions so the three sections line up as one surface. Note whether the pins live in the table halves or are loose, and copy the arrangement you find.
Check the underside for anything that will cross the opening: cross rails, folding mechanisms, brackets or a stored mechanism that might collide with a leaf’s edge or its hardware. If the original maker left a shallow recess or ledge to support a leaf, measure that too. Ten minutes of looking now prevents the classic disappointment of a beautifully built leaf that meets a bracket halfway in.
3. Measuring the Table and the Opening
Pull the table fully open and measure the gap in several places, front, middle and back, because old tables are rarely perfectly parallel. Record the smallest reading for the width your leaf must span, and note how the meeting edges are shaped: some are simple square edges, others have a tongue, a bevel or a decorative step that your leaf should mirror to sit neatly.
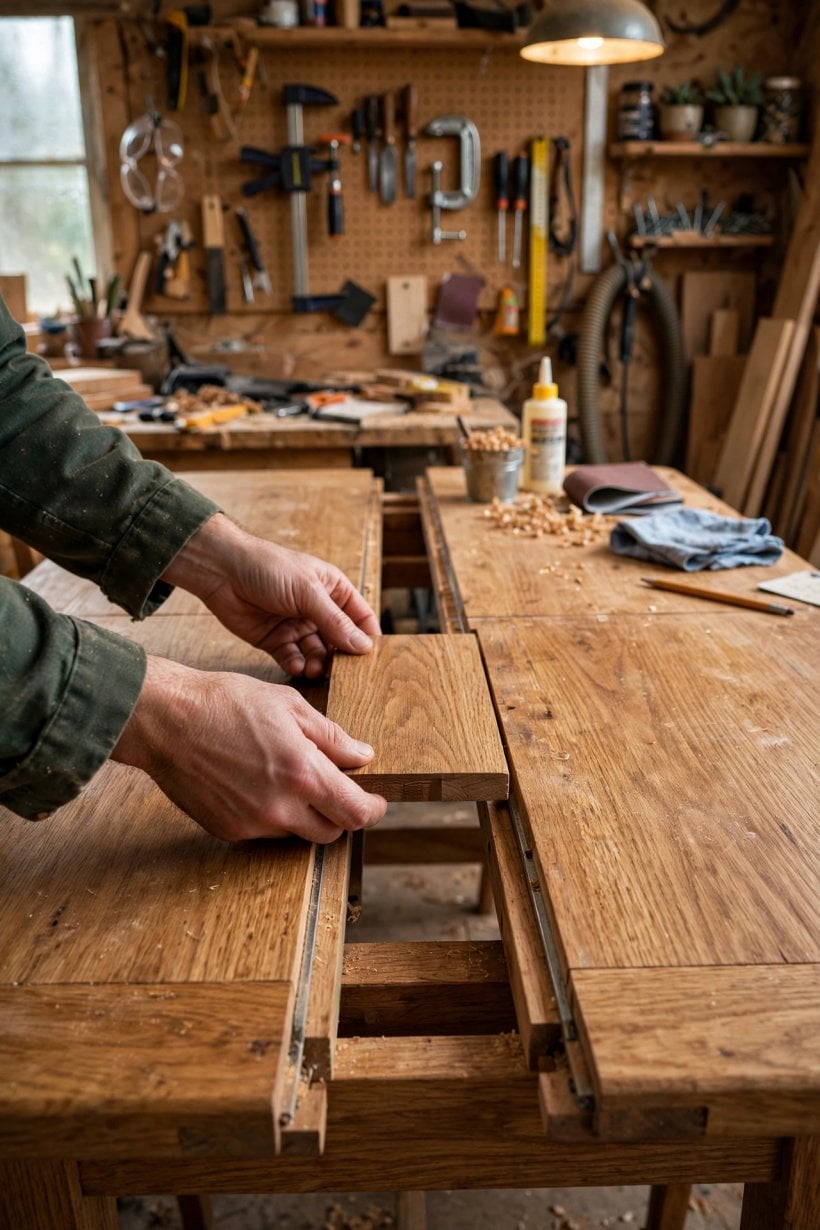
Measure the top’s thickness precisely, in several spots along both meeting edges, and write down the figure you will build to. A leaf that is a fraction thicker or thinner than the top will announce itself every time a glass slides across the joint, so this measurement deserves more care than any other in the project.
Measure the table’s full width across the top as well, since that becomes the leaf’s length, and check whether the outer edges of the top carry a shaped profile your leaf’s long edges should continue. Finally, stand back and check the whole arrangement against the room: the extended table still needs walking space around it, a point the small-space layouts in these home interior design ideas for tiny houses and small spaces handle with care.
4. Choosing Timber and Matching the Grain
Timber choice decides how invisible your leaf can become. Match the species of the existing top wherever you can identify it, judging by grain pattern, pore structure and weight as much as by colour, because colour can be adjusted at the finishing stage while grain cannot be faked for long under close inspection and daily light.
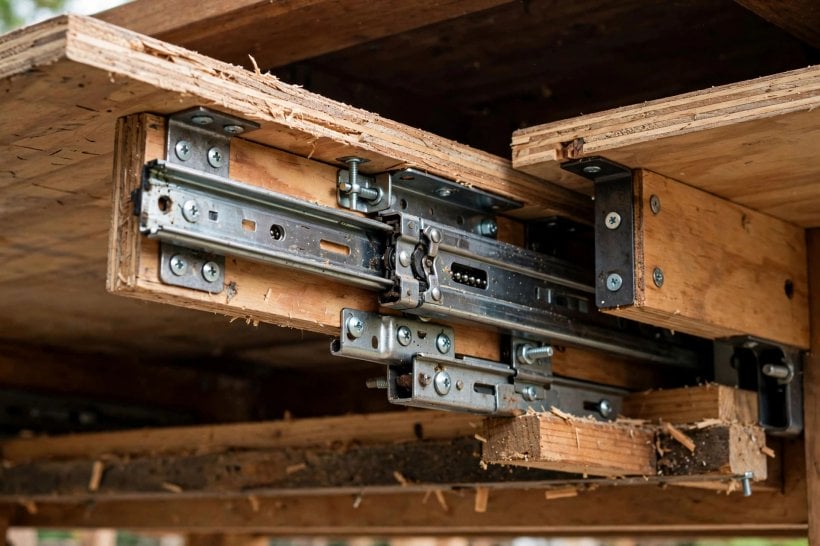
Choose boards with grain that runs in the same direction as the grain on the tabletop, and look for figure that resembles what is already there: quiet, straight grain to sit beside a quiet top, or something with similar character if the table is bold. Lay candidate boards across the closed table in daylight before committing, and view them from the height and distance of a seated guest.
Construction matters too. If the top is solid timber, build solid; if it is veneered board, a matching veneered leaf will behave more like its neighbours through the seasons. The joinery habits in these tiny house building design ideas apply just as well at furniture scale: honest materials, joined to move the way the original piece moves, outlast clever shortcuts.
5. Cutting and Sizing the Leaf Board
With measurements recorded, make up the leaf slightly oversize in width, then bring it down to its final fit gradually, testing against the opening as you go. Timber comes off far more easily than it goes back on, and the last small amount of fitting, done by hand with a plane or careful sanding, is what turns a near fit into a satisfying one.
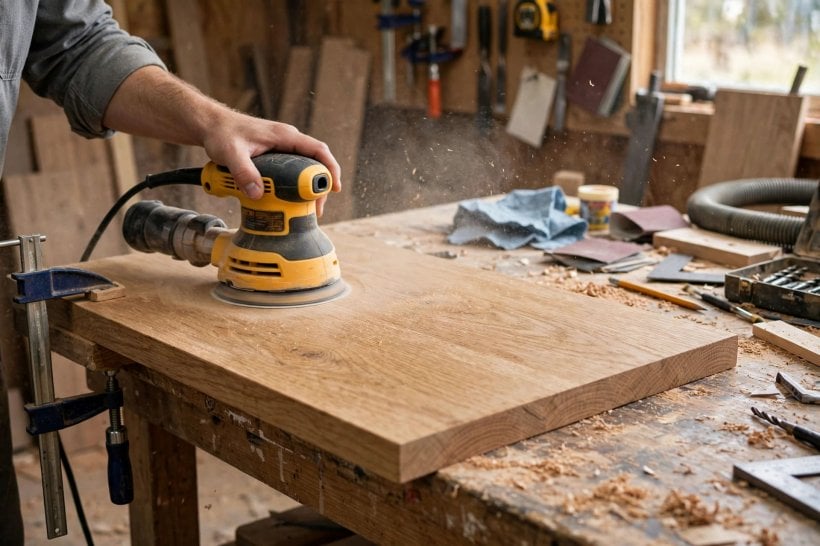
If the leaf is wide, it will usually be made from more than one board joined edge to edge. Alternate the boards thoughtfully so the grain pleases the eye across the join, clamp the assembly flat while the glue sets, and scrape away squeeze-out before it hardens so it cannot interfere with the finish later.
Work on a flat surface and check the panel for twist as you go by sighting along its edges. A leaf that rocks on a flat bench will rock in the table, and no amount of finishing will hide it. The patient, fundamentals-first approach in our guide to how to build your own tiny house scales down happily: square, flat and true at every stage, and the next stage gets easier.
6. Edges, Profiles and the Hardware That Aligns It
Now give the leaf the same edges as the table. Run your fingers along the tabletop’s meeting edge and outer edges and copy what you feel: a square edge, a small chamfer, a rounded shoulder or a shaped ogee-style curve. Shape the leaf’s ends to meet the table halves cleanly, and its long edges to continue the table’s profile, using the closed table itself as the template and judge.
Drill for the alignment system you copied in section two, working from the table itself as the reference: mark positions from the existing holes rather than from a ruler wherever you can, because matching the table’s actual pin positions matters more than matching any drawing. Fit matching pins or dowels so the leaf locates positively in both directions without force.
If your table uses small locks beneath the top to pull sections together, fit the corresponding keepers to the underside of the leaf in positions that meet them exactly. Work with the leaf in place and the table closed, marking from the real hardware, and check that nothing underneath fouls the apron or rails as the halves slide.
7. Sanding, Sealing and Finishing to Blend In
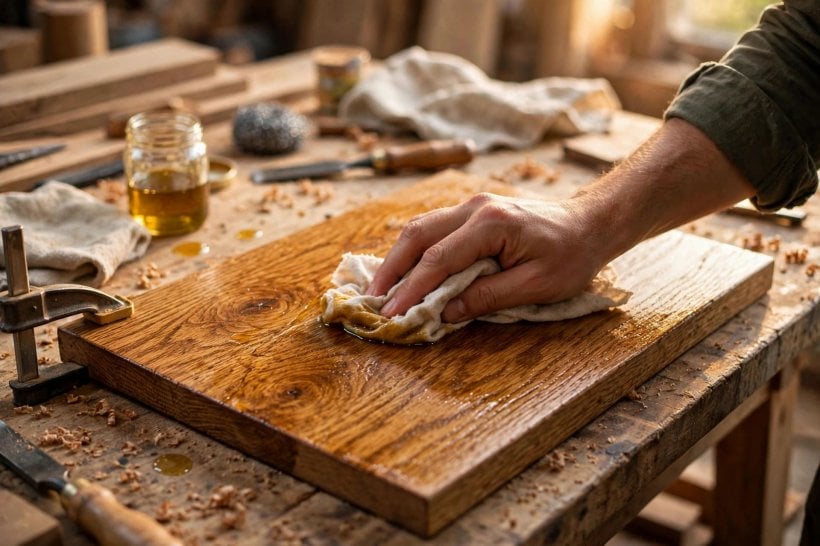
Finishing is where the leaf either disappears into the table or introduces itself at every meal. Sand the whole leaf evenly, working through the grades of abrasive in order and never skipping ahead, because scratches left by a coarse grade will show through the finish as surely as grain will. Wipe away dust between grades, and raise the grain with a damp cloth and a final light sanding if your finish calls for it.
Colour is the delicate part. If the table has aged, its tone will be warmer than fresh timber, so build colour gradually on the leaf, testing on an offcut of the same boards first and comparing in the room’s real light, at the table, rather than under workshop lighting. Thin, patient layers beat one bold attempt, and you can always deepen colour; lightening it again is a far longer road.
Match the sheen of the existing top as closely as its colour: a soft, low-shine finish beside a glossy top looks as wrong as the wrong colour. Seal the underside and edges of the leaf as well as the top, following the finish maker’s own guidance for each coat, so the board takes up and gives off moisture evenly and stays flat in its frame.
8. Fitting, Levelling and Testing the Insert
With the finish fully cured, set the leaf in place and close the table gently onto it. Sight along the top from a low angle: the three sections should read as one plane, with the joints even and the leaf neither proud nor sunken. Run a palm across each joint; your hand will find a step your eye forgives, and that step is what glasses and plates will find later.
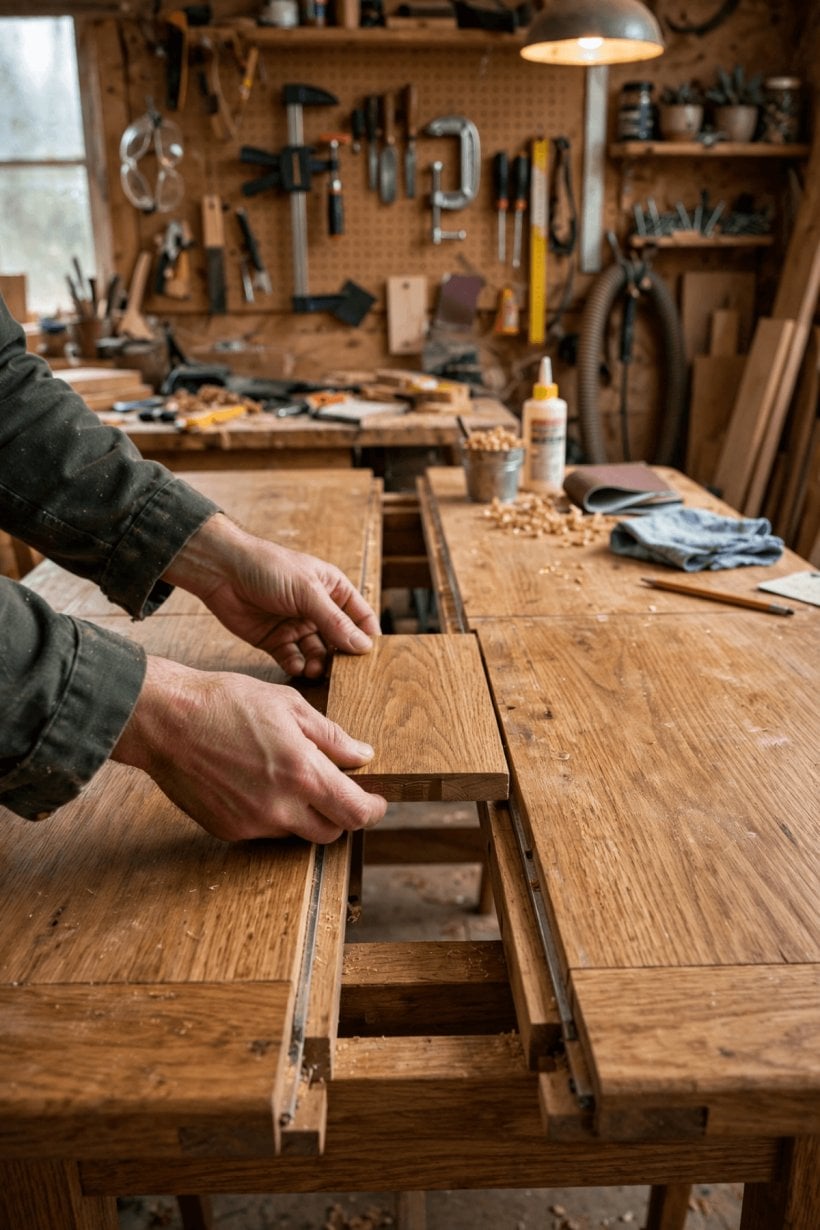
If a joint sits slightly low or high, adjust in small moves: check first that no dust or grit is trapped in the meeting edges, then look at whether the alignment fittings are seating fully. Thin packing under a fitting or a careful easing of a tight spot usually settles the matter without touching the finished top surface.
Test the table the way it will be used. Set places along the joints, press gently at the leaf’s middle while someone watches the runners from below, and slide the table open and closed a few times to be sure nothing binds or scrapes. A leaf that behaves through a full rehearsal will behave through a full dinner.
9. Storing the Leaf and Caring for It
A leaf spends most of its life in storage, and storage decides whether it stays flat. Store it flat, never leaning against a wall for long stretches, because a board held at an angle will slowly take the hint and bow. A spot under a bed, on top of a wardrobe, or flat beneath the table itself if the frame allows, all suit it well.
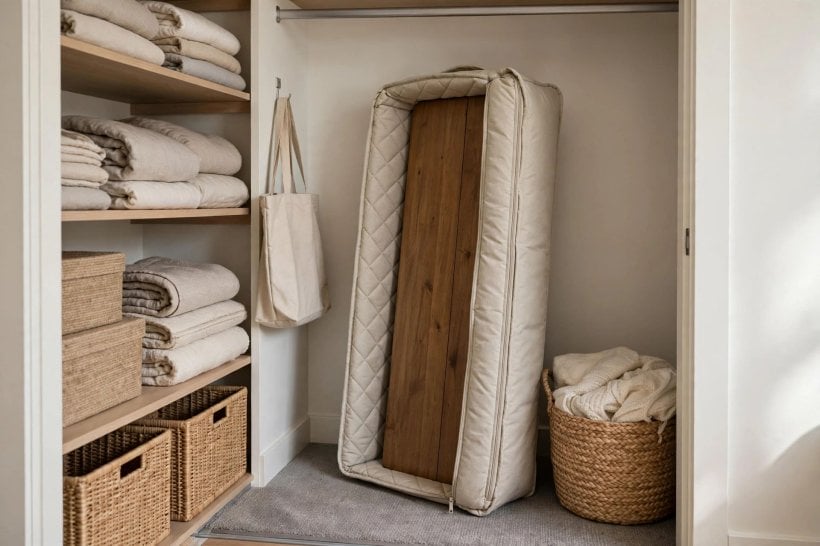
Keep it indoors in a room with a steady, dry atmosphere, away from radiators and damp outbuildings, and wrap or cover it so knocks land on the padding, not the edges you shaped. A soft cloth between the leaf and anything resting on it protects the finish you matched with such care.
Care for the leaf as you care for the table: dust it when you take it out, wipe spills promptly when it is in use, and give it the same polish or oil the top receives so both surfaces age together. Furniture in hardworking rooms rewards this kind of consistency; the kitchens and dining corners among these tiny house living room ideas stay welcoming precisely because their key pieces are looked after as sets, not strangers.
10. Troubleshooting: Gaps, Rocking and Colour Differences
A small gap at one joint usually means the meeting edges are not seating fully: open the table, clean both edges, check the alignment fittings for a trapped splinter or a bent pin, and close it again slowly. If the gap follows the leaf when you turn it around, the leaf’s edge needs easing at the tight spot; if it stays in the same place, the table’s edge does.
Rocking points to flatness, not fit. Lay the leaf on a surface you trust and find which corner lifts, then check the table’s runners are level and free of a dropped screw or swollen patch. Tiny adjustments at the underside fittings solve most rocking; shaving a finished top edge to chase a rock is almost never the right first move.
Colour differences soften with time and light, but you can help: give the leaf the same exposure and the same care products as the top, and resist the urge to re-colour in a hurry. If a difference still bothers you after the leaf has lived with the table a while, a gentle tinted wax or a further thin coat, tested on the underside first, can close the remaining distance, the sort of patient finishing judgement that our tiny house interior designer guide encourages for every surface in a room.
Final Considerations
A table leaf succeeds quietly. Nobody at dinner should notice it; they should simply find that the table fits the gathering, that glasses sit steady, and that the extra places feel as solid and handsome as the everyday ones. That invisibility is earned in the measuring and the timber choice long before the finishing begins.
Work in order, test before you finish, and let the existing table be your template at every step. Do that, and the leaf you build will serve the same table, and very likely the same family stories, for as long as the table itself.




0 Comments