
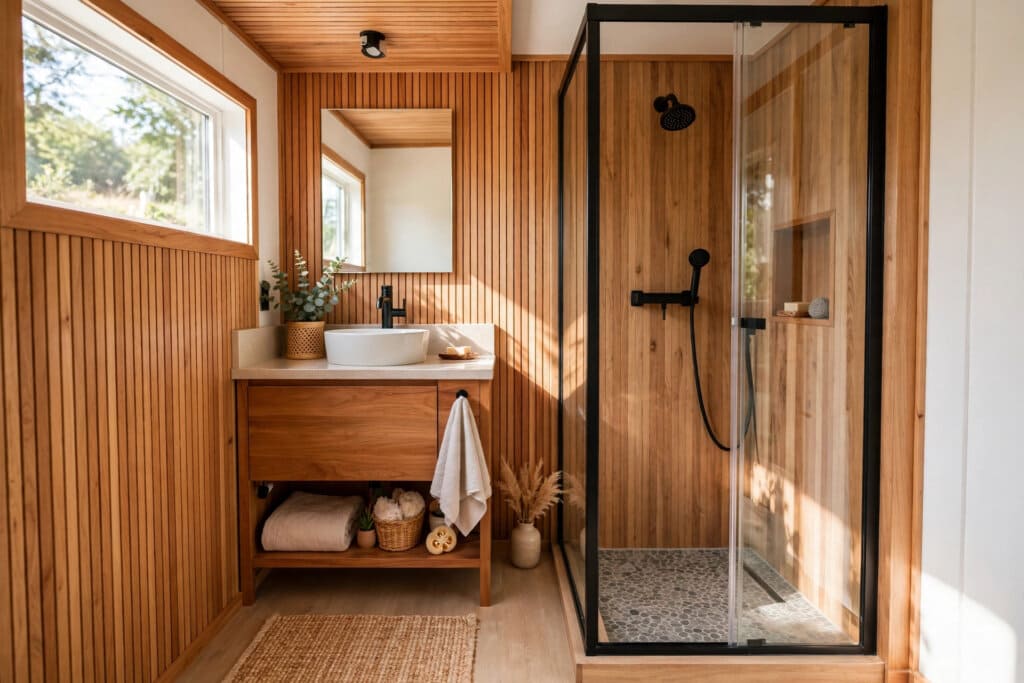
A bathroom is the hardest-working room in a tiny house, and also the least forgiving. Every fixture competes for the same few square feet, every drop of water wants to escape, and every bottle, towel and spare roll needs a home that is not the floor. Good tiny house bathroom interior design is therefore not about squeezing a normal bathroom into a smaller box. It is about choosing a layout that matches how you actually wash, dress and store things, then waterproofing, ventilating and lighting that layout so well that its size stops being the first thing you notice when you walk in.
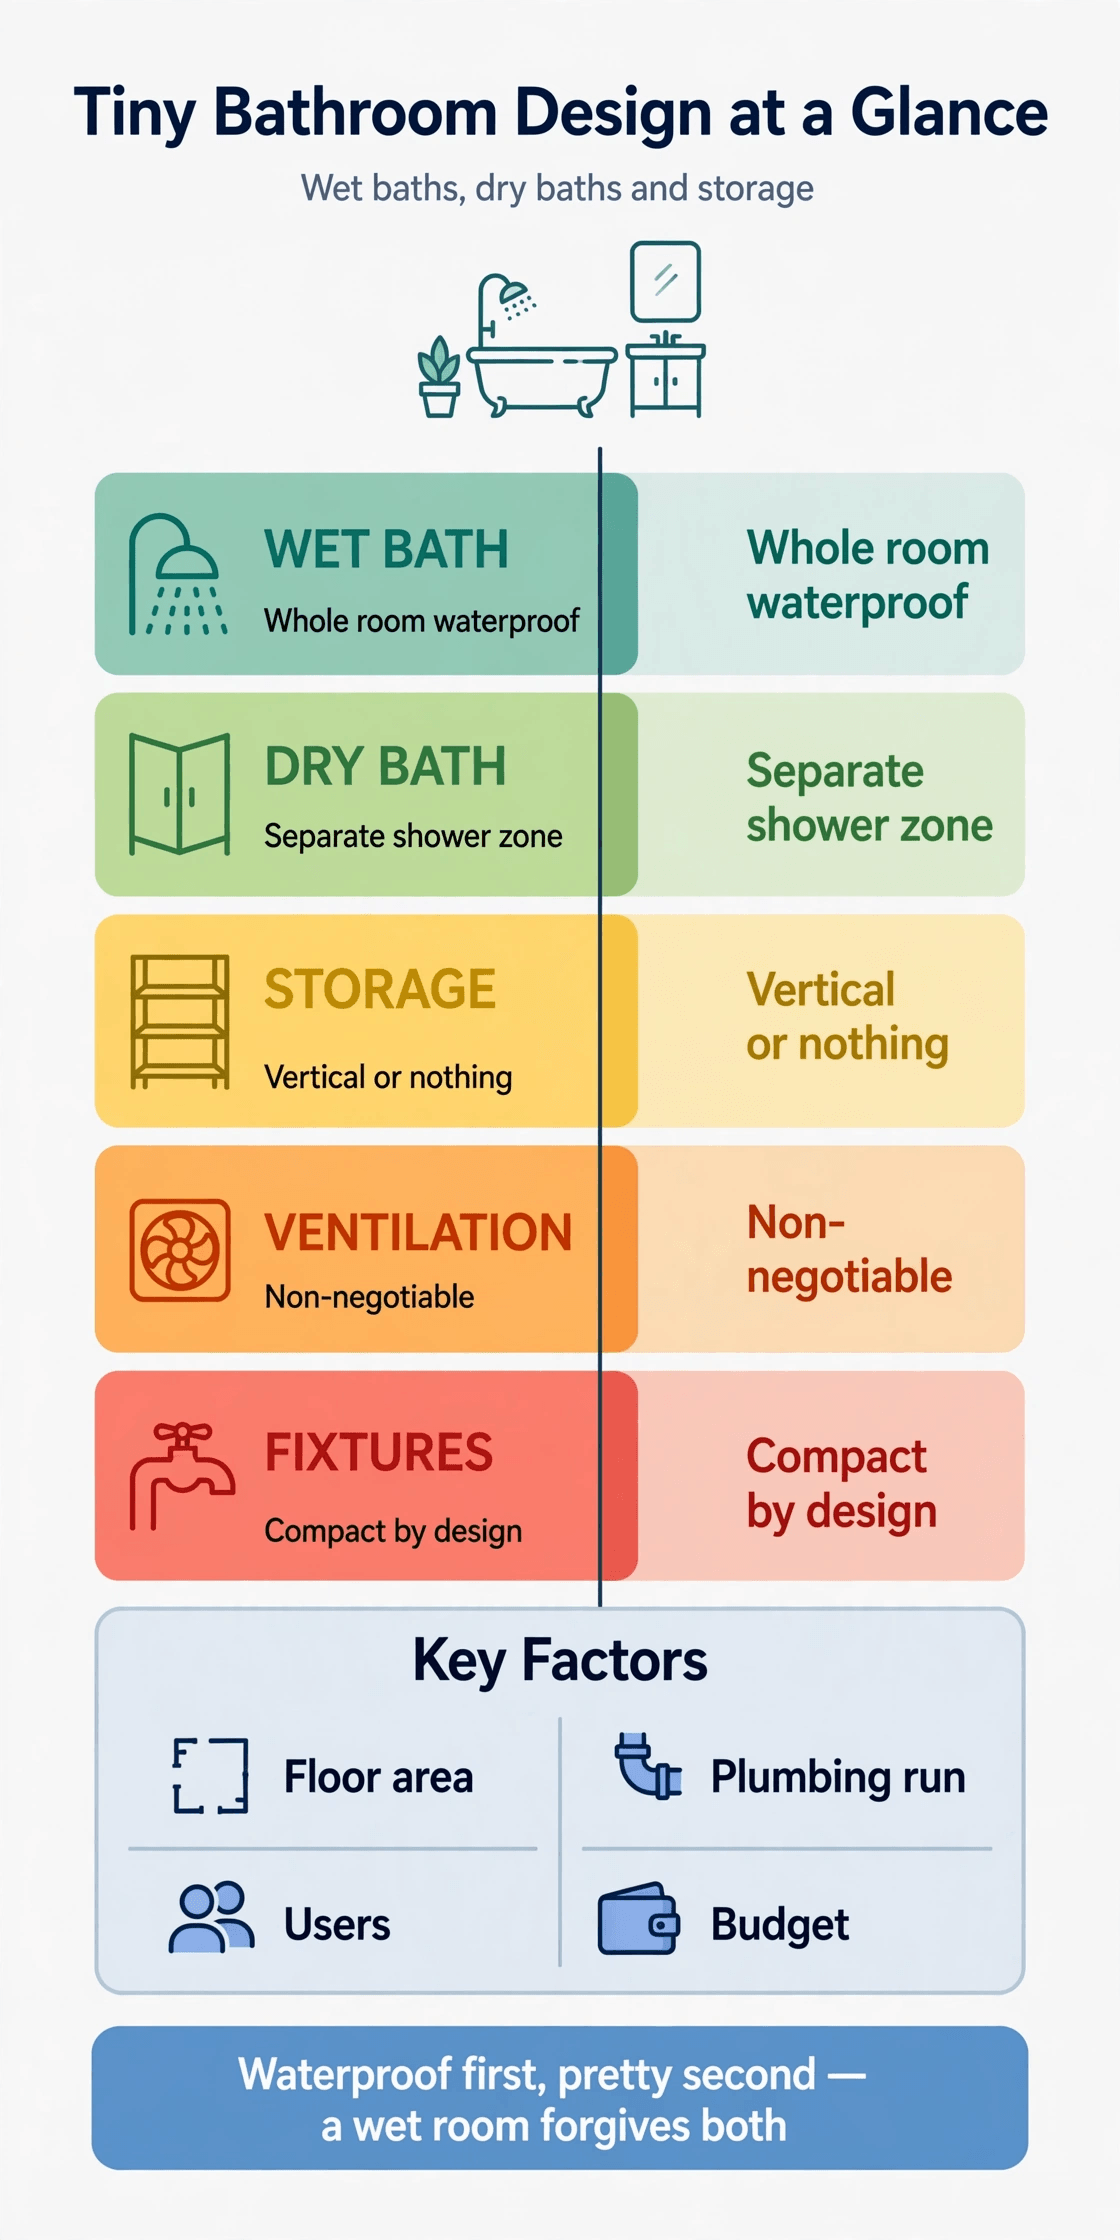
The choice that shapes everything else is whether the shower shares the whole room, as a wet bath, or sits behind its own screen, as a dry bath. That single decision sets your floor build-up, your storage options, your cleaning routine and even how warm the room feels on a winter morning. Work through the summary table first, then use the ten sections that follow to layer in compact fixtures, vertical storage and the unglamorous details – the fall to the drain, the sealed joints and a fan that actually gets switched on – that separate a calm, dry tiny bathroom from a damp, frustrating one.
Tiny House Bathroom Interior Design: Wet Bath vs Dry Bath at a Glance
Five layouts cover almost every tiny bathroom that works in daily use. None is universally best. Each one trades floor space, dry storage and cleaning time differently, and the right answer depends on who uses the room, how often, and whether the home moves or stays parked in one place.
| Layout | Best For | Watch Out For |
|---|---|---|
| Wet bath | One or two people and the smallest footprints | The whole floor gets wet, so storage must be raised, sealed or kept elsewhere |
| Dry bath with enclosed shower | Anyone who wants a dry floor and dry towels all day | The enclosure takes floor area that a wet bath would share |
| Split bath | Households where the toilet and shower are needed at the same time | Needs a wider plan and a second door or a well-placed partition |
| Corner-entry bath | Narrow plans where a corner door swing saves the room | Corner fixtures can feel tight for taller or broader users |
| Ground-floor accessible bath | Step-free living and future-proofing the home | Level entry and turning space claim a larger share of the plan |
1. Start With a Wet Bath When Every Inch Has to Earn Its Place
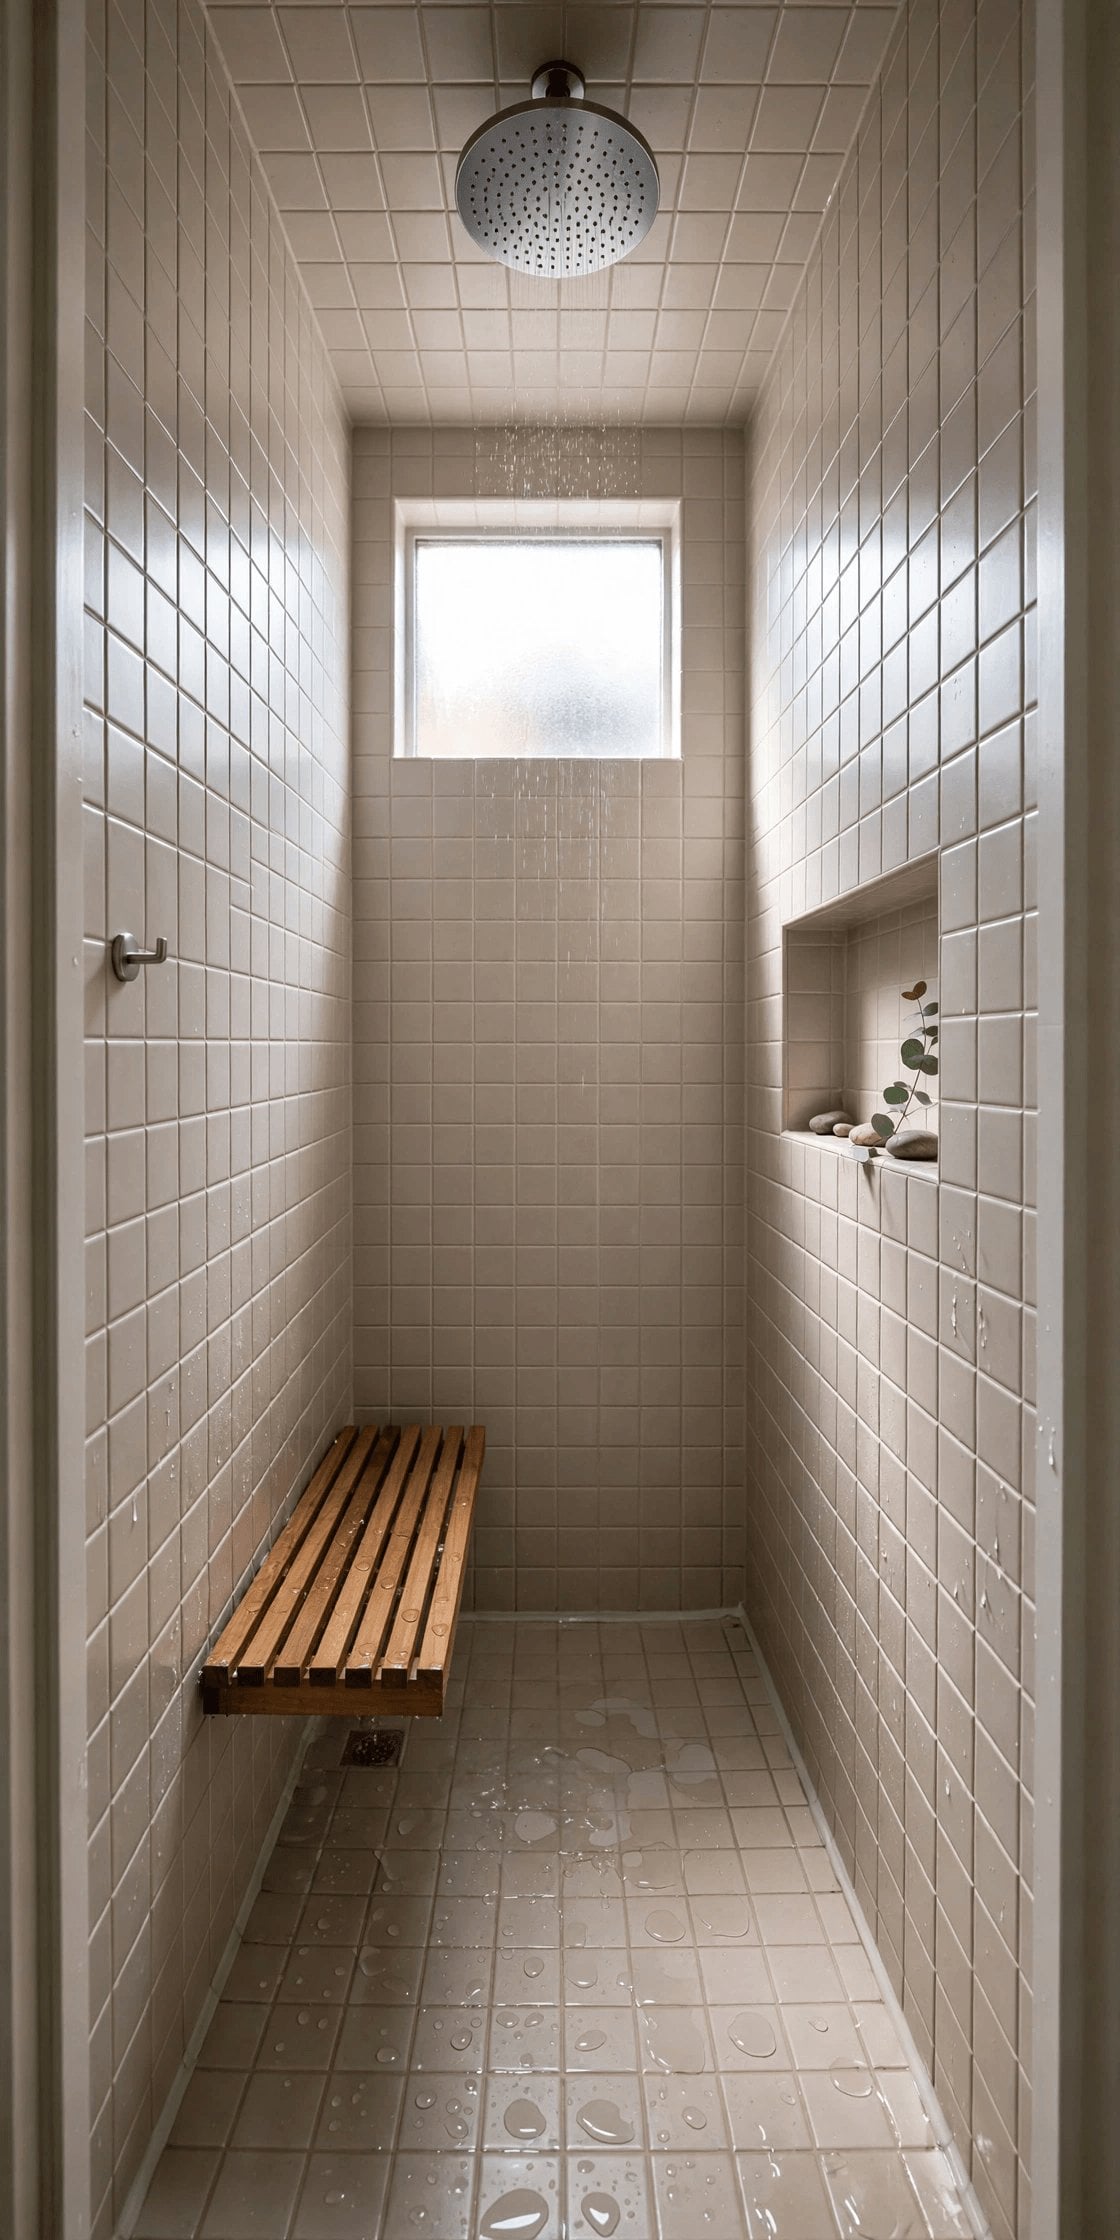
In a wet bath the shower has no tray and no enclosure. The whole room is the shower: the floor slopes gently to a drain, the walls are waterproofed from floor to ceiling, and the toilet and basin are chosen to shrug off spray. Removing the cubicle frees a surprising amount of elbow room, which is why wet baths suit the tightest footprints, including many of the plans you will see among compact cabin floor plans in timber frame, where the bathroom often sits in a corner that cannot grow in any direction.
The trade-off is honest and daily: after a shower, everything is wet. Toilet paper, towels and anything stored in the open will get splashed, the floor needs a quick squeegee, and the room can feel cool while it dries. Wet baths work best for one or two tidy users who shower once, wipe down once, and move on. Choose a wall-hung toilet and basin if you can, because a clear floor is faster to squeegee, and keep a small dry zone by the door for a mat, a robe hook and the clothes you are about to put on.
2. Choose a Dry Bath When You Want a Dry Floor All Day
A dry bath keeps the shower inside its own enclosure – glass, a solid screen or a well-fitted curtain – so the rest of the room stays dry enough for normal storage, a wooden stool, an open shelf of towels and a bin that is not rusting at the base. For many people this simply feels more like home: you can walk in with socks on, use the mirror straight after a shower without wiping it, and keep medicines and electric toothbrushes where they belong.
The cost is space and cleaning. The enclosure and its door swing or track take floor area that a wet bath shares, and glass, seals and runners all need regular cleaning to stay clear and watertight. A sliding screen or a curtain often beats a hinged door in a tiny room, because neither steals the space in front of the basin. Measure the shower as a person, not a square on a plan: if you cannot comfortably raise your elbows to wash your hair, the dry bath is too dry a compromise.
3. Split the Toilet and Shower to Ease the Morning Queue
A split bath puts the toilet in its own small compartment, separate from the shower and basin. It is the layout that changes mornings most in a shared home, because one person can shower while another uses the toilet or cleans their teeth, with a door and a wall doing the privacy work that manners alone cannot. It is a pattern worth studying in tiny house layouts for couples, where two routines have to pass through one small bathroom without friction.
Splitting has real costs, though. Each half needs its own light, its own ventilation and ideally a small basin in the toilet compartment, and the partition wall itself eats width. Ventilation matters twice here, because a tiny enclosed toilet room holds odours and moisture with nowhere to go. If your plan cannot give both halves a fan or an opening window, keep the room in one piece and solve the queue with a basin in the bedroom instead.
4. Pick Compact Fixtures That Leave Room to Turn Around
Compact fixtures are not standard fixtures made smaller at random. A short-projection toilet brings the cistern closer to the wall, a corner basin uses the dead angle where two walls meet, and a narrow vanity keeps a walkway open in front of the shower. Wall-hung versions of all three make the floor read as one continuous surface, which both looks calmer and cleans faster. A sliding or pocket door, or a door that opens outwards, can give back more usable room than any fixture swap.
Before ordering anything, tape the footprint of each fixture on the floor and stand inside the outline. Sit, stand, pretend to dry yourself, and check three clearances honestly: knee room in front of the toilet, elbow room at the basin, and a dry place to put a towel within reach of the shower. Fixtures that photograph beautifully but force you to turn sideways every morning are a bad bargain, and returning plumbed goods is never as simple as returning a cushion.
5. Build Storage Upwards With Niches, Shelves and Tall Cabinets
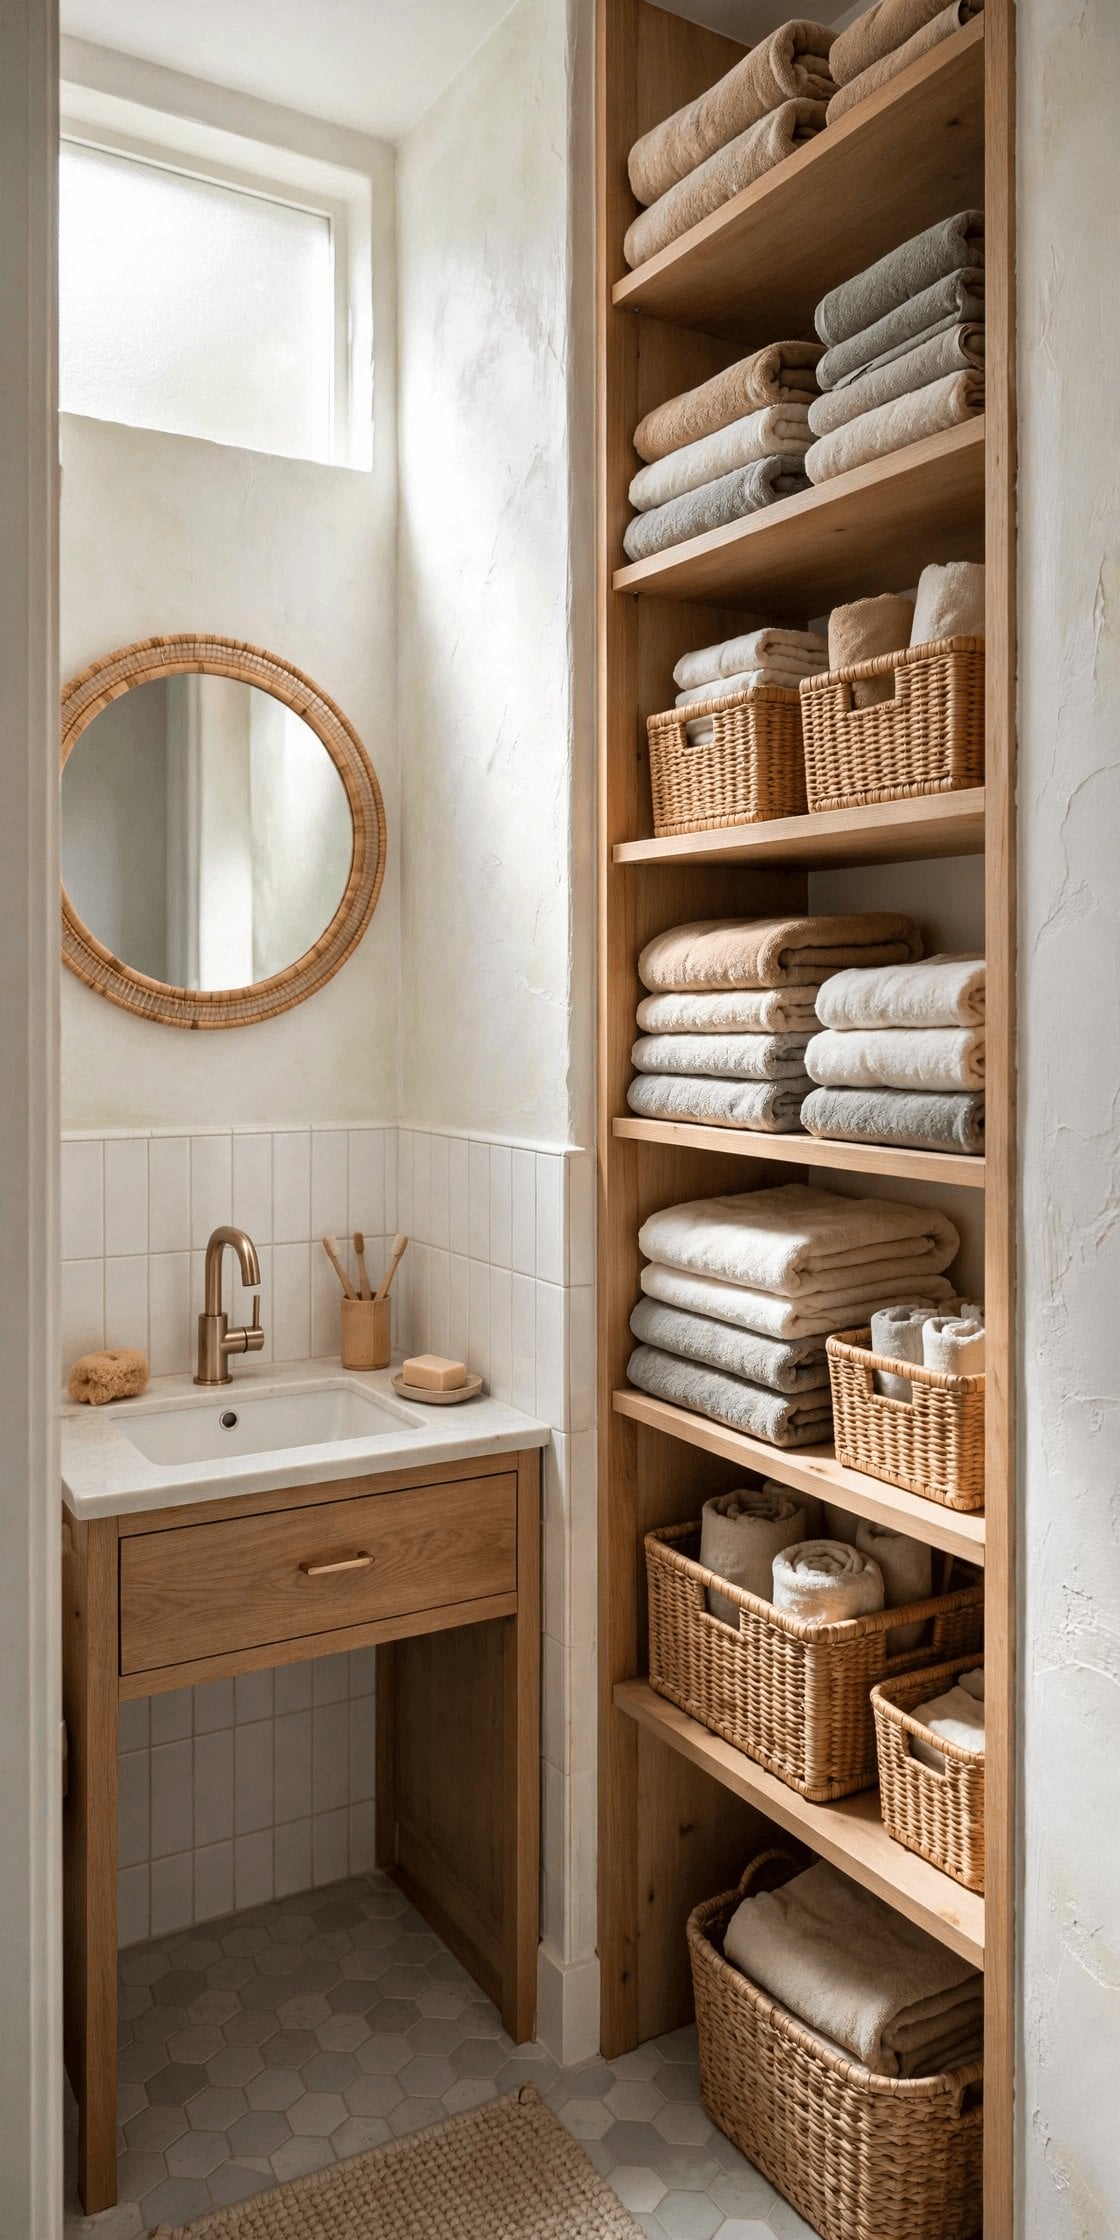
Floor space is the one thing a tiny bathroom cannot spare, so storage has to climb. A recessed niche in the shower holds bottles without a caddy hanging from the shower head. A mirror cabinet puts daily essentials behind the glass you already need. The wall above the toilet, usually blank, takes a shallow tall cabinet for spare towels and rolls, and a shelf over the door swallows the bulky, rarely used things that otherwise colonise the room.
Keep the logic simple: daily items at hand height, weekly items above eye level, and nothing loose on the floor. In a wet bath, raise everything and favour sealed boxes and open slatted shelves that drain and dry. In a dry bath you can use closed cabinets more freely, which calms the visual clutter as well. Hooks beat rails for towels in small rooms, because a towel on a hook dries in folds without needing a metre of wall, and a hook can go on the back of the door, the one surface every bathroom already owns.
6. Waterproof the Whole Room, Not Just the Shower Area
Water always finds the joint you skipped. In a wet bath the entire floor and the lower walls need a continuous waterproof layer under the finish, with sealed corners and a proper fall to the drain so water leaves instead of pooling. In a dry bath the same care belongs inside the enclosure and around the basin and toilet, because slow leaks from supply and waste connections do more damage over a year than any single splash.
Finishes should be chosen for weight and water together. Large-format panels have fewer joints to seal than small tiles, and the advice in our guide to lightweight interior wall finishes for tiny houses applies directly here, especially in a home that travels, where every layer adds to the load and flexes on the road. Test the shower and every connection before the final finishes close the wall, and renew tired sealant at the first sign of lifting rather than the first sign of a stain below.
7. Ventilate on Purpose So Damp Never Gets to Settle
A tiny bathroom holds a shower’s worth of steam in a very small volume of air, so ventilation is a design decision, not an afterthought. An extractor fan that vents outside, sized for the room and left running after the shower ends, does the heavy lifting. An opening window helps and brings daylight with it, but on a still, wet day it will not clear the room on its own. Position the fan high, away from the door, so it pulls air across the whole room rather than straight from the doorway.
Condensation behaves differently across seasons and regions, and the detailing discussed in tiny house plans for cold climates is a useful warning: warm moist air will find the coldest surface and sit there. Keep that surface easy to wipe, avoid cold uninsulated corners behind cabinets, dry towels outside the room when you can, and treat persistent mould at a joint as a ventilation problem wearing a cleaning costume. Wiping down shower walls after use takes a minute and removes most of the water the fan would otherwise have to chase.
8. Use Light Colours, Glass and Mirrors to Widen the Room Visually
No finish can add a centimetre, but the right finishes stop a small room feeling smaller than it is. Pale walls and a light floor keep the boundaries quiet, large tiles or panels reduce the visual noise of grout lines, and a mirror stretched across the basin wall doubles the sense of depth and spreads light into the corners. Clear glass on a dry bath enclosure keeps sightlines open where a heavy framed screen would chop the room in two.
Light in layers, not in one harsh burst. A soft ceiling light for the whole room, a clear light at the mirror for faces, and a low-level light for night visits means the room works at every hour without glare bouncing off wet surfaces. Keep the palette to two or three materials and repeat them; a tiny room dressed in six competing finishes feels restless, while the same room in pale panels, one warm wood tone and plain towels feels deliberately calm.
9. Keep Plumbing Short, Shared and Easy to Reach
The cheapest, quietest and most reliable plumbing is the plumbing that barely travels. Back the bathroom onto the kitchen wall or stack it against the same wet wall, keep pipe runs short and straight, and group the toilet, basin and shower so they share supply and waste routes. The principles are set out in detail in our guide to tiny house plumbing layout and DWV design, and they matter even more in a bathroom, where a badly placed waste run can dictate the whole floor build-up.
Then plan for the day something leaks, because one day something will. Leave an access panel behind valves and traps, fit isolation valves so one fixture can be turned off without draining the home, and never bury a joint you cannot reach behind fixed panels. Photograph every pipe run before the walls close. In a tiny house you are your own facilities manager, and the version of you holding a torch at midnight will be grateful for a short run, a labelled valve and a dry floor plan.
10. Plan Access, Safety and Cleaning From the First Sketch
A bathroom that works at thirty should still work at seventy, and after a sprained ankle at any age. A level or low-threshold shower entry, a floor with real grip when wet, and solid walls where a future grab rail might go are decisions that cost almost nothing at sketch stage and a great deal later. This is one reason single-story tiny house plans with no lofts pair so naturally with accessible bathrooms: the whole home already assumes life lived on one level.
Cleaning deserves the same foresight. Choose a wall-hung or back-to-wall toilet with few dust traps, keep ledges and horizontal surfaces to a minimum, and make sure you can reach behind and beneath every fixture with a cloth. If a layout needs a special brush, a kneeling contortion and a free Saturday to stay hygienic, it is the wrong layout, however handsome it looks in photographs. Design the room you can clean in ten minutes on an ordinary Tuesday, and that is the room that will still look good in five years.
Final Considerations
Start with the wet bath versus dry bath decision and let everything else follow it: fixtures sized to the clearances you taped on the floor, storage that climbs the walls instead of crowding them, waterproofing that covers the whole room, and ventilation that runs every single day. Households weighing up bigger shared plans, including 3-bedroom tiny house designs, will find the same logic scales: one well-detailed bathroom beats a larger one that stays damp, cluttered and hard to clean.
Finally, be honest about your own habits before you commit. If you hate wiping floors, choose the dry bath and give the enclosure its space gladly. If you want the simplest, airiest room and can keep a squeegee habit, the wet bath will reward you every day. Measure twice, waterproof once, and build the bathroom around the mornings you actually have, not the ones in a brochure.


0 Comments