

A tiny kitchen does not fail because it is small. It fails because the layout wastes the steps, surfaces and inches the cook actually uses, and at around sixty square feet there is no spare room to hide a bad decision. Good tiny house kitchen interior design is therefore less about decoration and more about choreography: where you stand, where the knife work happens, where a hot pan can land, and whether two people can pass without negotiating. The ideas in this guide start with the five layouts that genuinely work at this scale, then layer the storage, light and surface decisions that make any of them feel generous.
Work through the layouts in the summary table first, because the floor plan you choose decides almost everything downstream: how much continuous worktop you get, whether the fridge door fights the oven door, and how much of the budget goes on cabinets versus clever fittings. Then borrow freely across the later sections. A galley
If the kitchen is part of a wider build or renovation, pair these ideas with our guide to how to insulate a tiny house, because wall thickness quietly decides cabinet depth and shelf room, and with our notes on underfloor heating in tiny houses, because a warm floor changes exactly where you are happy to stand and prep on a winter morning. Small kitchens reward joined-up thinking, and the best ones are designed as part of the whole home, not decorated as an afterthought.
with tall storage and a rolling island cart, or a one-wall kitchen with a proper lighting plan, can outperform a fancier layout executed carelessly. Measure your real floor, your real appliances and your real cooking habits before any of it becomes an order.Tiny House Kitchen Interior Design: Layout Summary
Five layouts account for nearly every successful kitchen at this size. The table summarises what each does best and the compromise to check before committing, and the sections that follow take them one at a time, with the design details that make each version work.
| Layout | Best For | Watch Out For |
|---|---|---|
| Galley | Serious cooks; maximum worktop and storage along a corridor plan | A walkway squeezed too narrow, and doors or drawers opening into each other |
| L-shape | Open-plan tiny homes where the kitchen shares space with living and dining | A dead corner cabinet and a worktop run broken up too often |
| U-shape | One cook who wants everything within a turn, with continuous counters | Feeling boxed in, and corner storage that needs planning to stay usable |
| One-wall | The smallest footprints and studios where the kitchen must disappear into a wall | Limited worktop and storage unless vertical space is used ruthlessly |
| Island cart | Flexible extra worktop, storage and seating that can move or leave entirely | Clearances when parked, and castors that wander on a floor that moves |
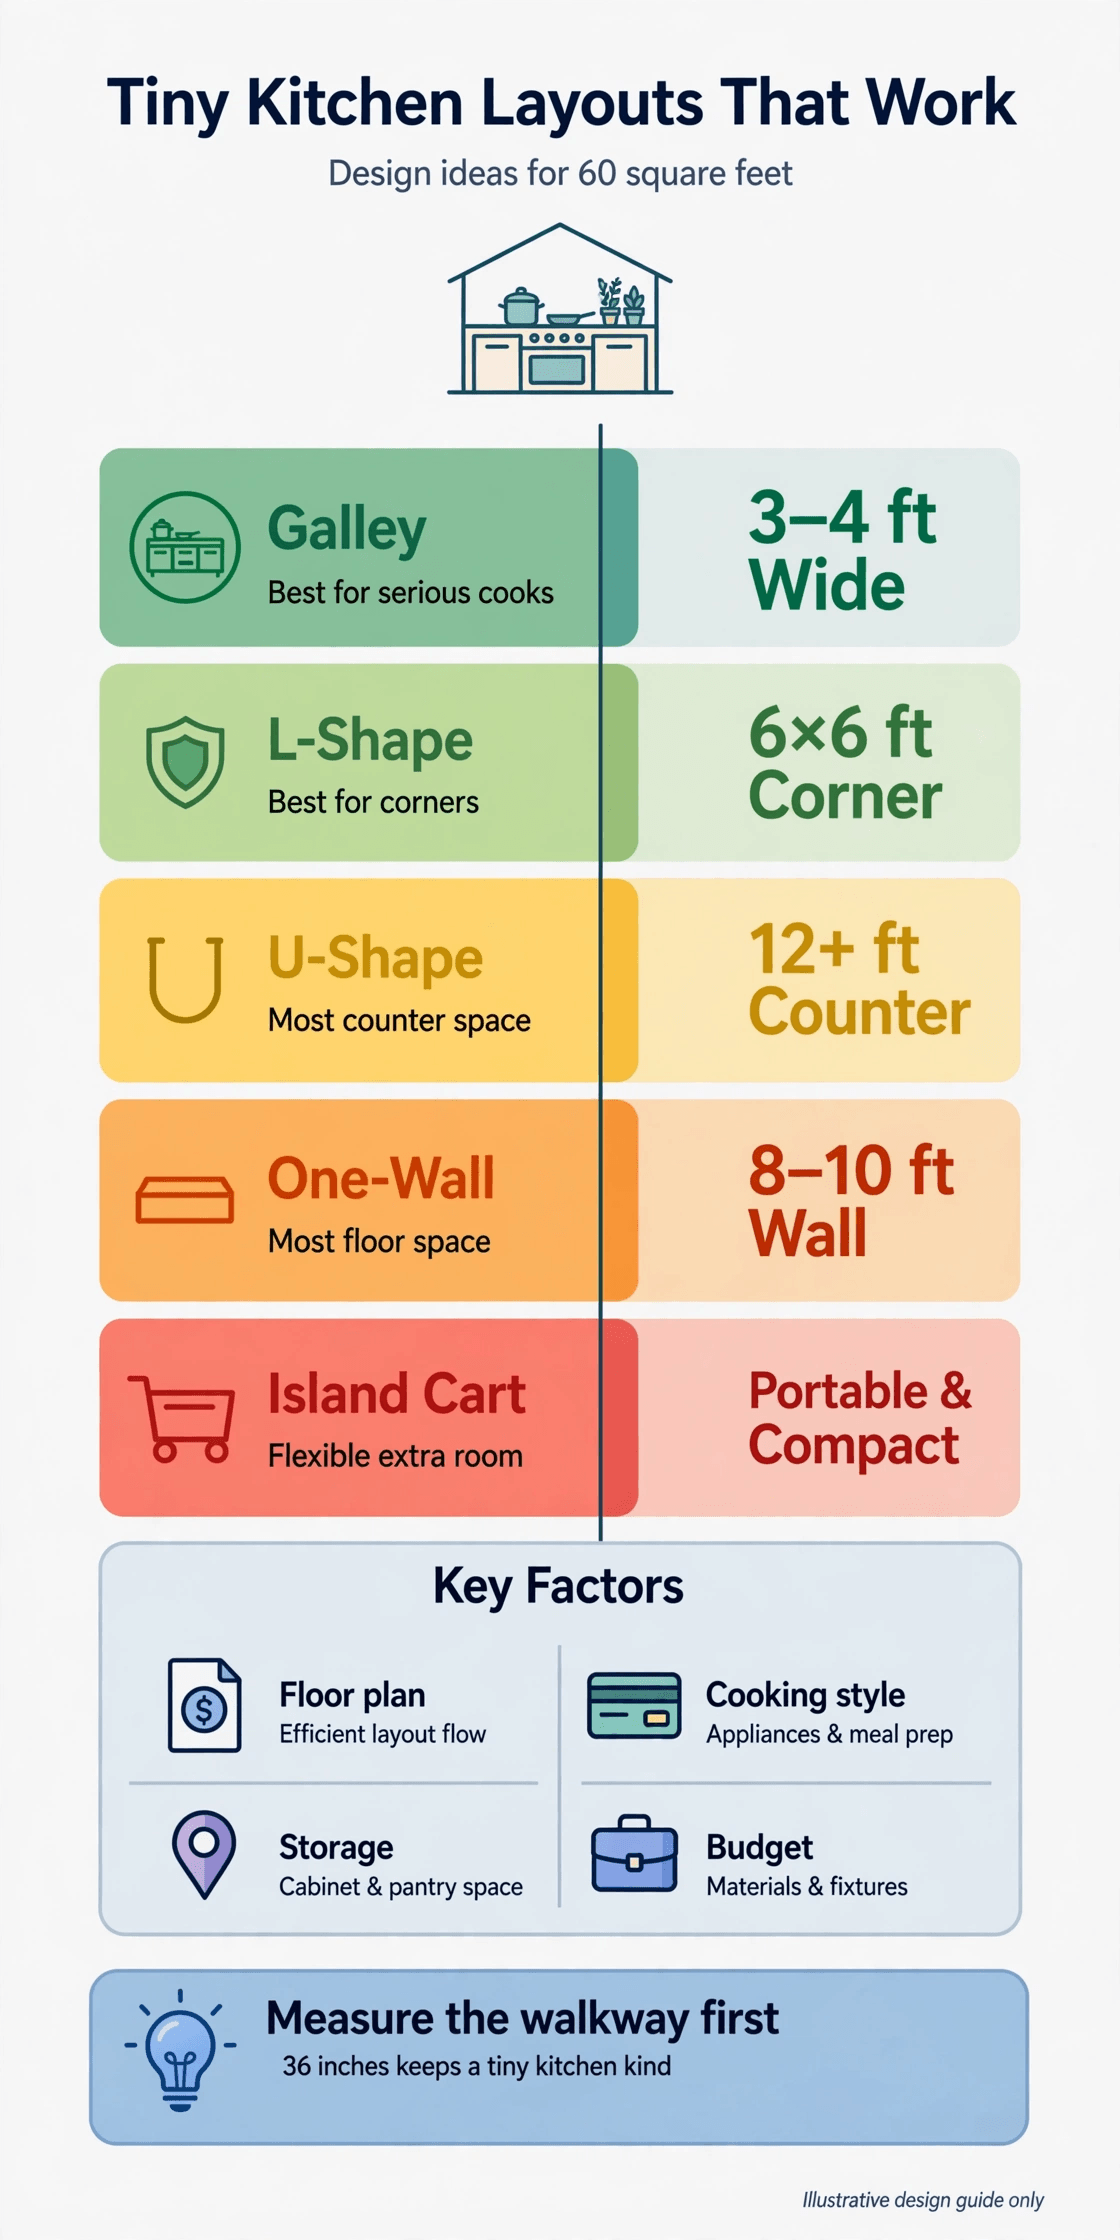
1. The Galley Layout: Two Runs and a Corridor That Cooks
The galley is the professional’s answer at this size: two parallel runs of cabinetry with the cook standing between them, turning rather than walking. Put the sink on one side and the hob on the other and the classic work triangle collapses into a pivot, with fridge at one end of the corridor so its door does not trap anyone mid-recipe. Because both runs are straight, standard cabinets fit without custom corner units, worktop is continuous on both sides, and storage stacks efficiently from floor to ceiling along both walls.
The galley’s whole reputation rests on the gap in the middle. Too wide and you are carrying dripping pans across a floor; too narrow and two cooks, open drawers and the dishwasher door start a war. As general guidance, plan a clear passage in the region of a generous single-person corridor, enough to open a drawer fully and step back from the oven, and test it with tape on the floor before cabinets are ordered. Finish the far end with a window or a pale, light-reflecting wall if you can: galleys that end in darkness feel like cupboards, while galleys that end in daylight feel like ships’ kitchens, deliberate and calm.
2. The L-Shape Layout: A Corner That Earns Its Keep
The L-shape suits the open-plan tiny home, where the kitchen occupies one corner of a larger room and the cook is part of the conversation. Two runs meet at a corner, usually sink along one wall and hob along the other, leaving the room open for a small table or sofa and keeping a natural walkway past, rather than through, the cooking zone. It is the most forgiving layout for homes where the kitchen shares its square footage with living space, and it scales from a compact corner to a fuller run as the floor allows.
The corner itself is the design problem. A standard corner cabinet buries half its contents in a cave, so budget for a solution, a pull-out mechanism, a corner drawer unit or simply open shelves in the corner zone, rather than discovering the dead space after installation. Resist breaking either run too often: every tall unit, fridge or oven tower inserted mid-run chops the worktop into unusable fragments. Keep tall items at the ends of the L, preserve one long uninterrupted stretch of counter beside the hob, and the corner layout cooks far bigger than its footprint.
3. The One-Wall Layout: Everything Within Arm’s Reach
The one-wall kitchen is the smallest honest answer: every function lined up along a single run, sink, worktop, hob and fridge in a row, with the room’s remaining floor left entirely for living. It is the layout of studios and narrow tiny homes, and its virtue is that it asks the least of the floor plan. The working order matters even more than usual, so sequence the run as you cook: fridge at one end, then a landing surface, then the sink, then your main worktop, then the hob, with a final small landing space at the far end if the wall allows it.
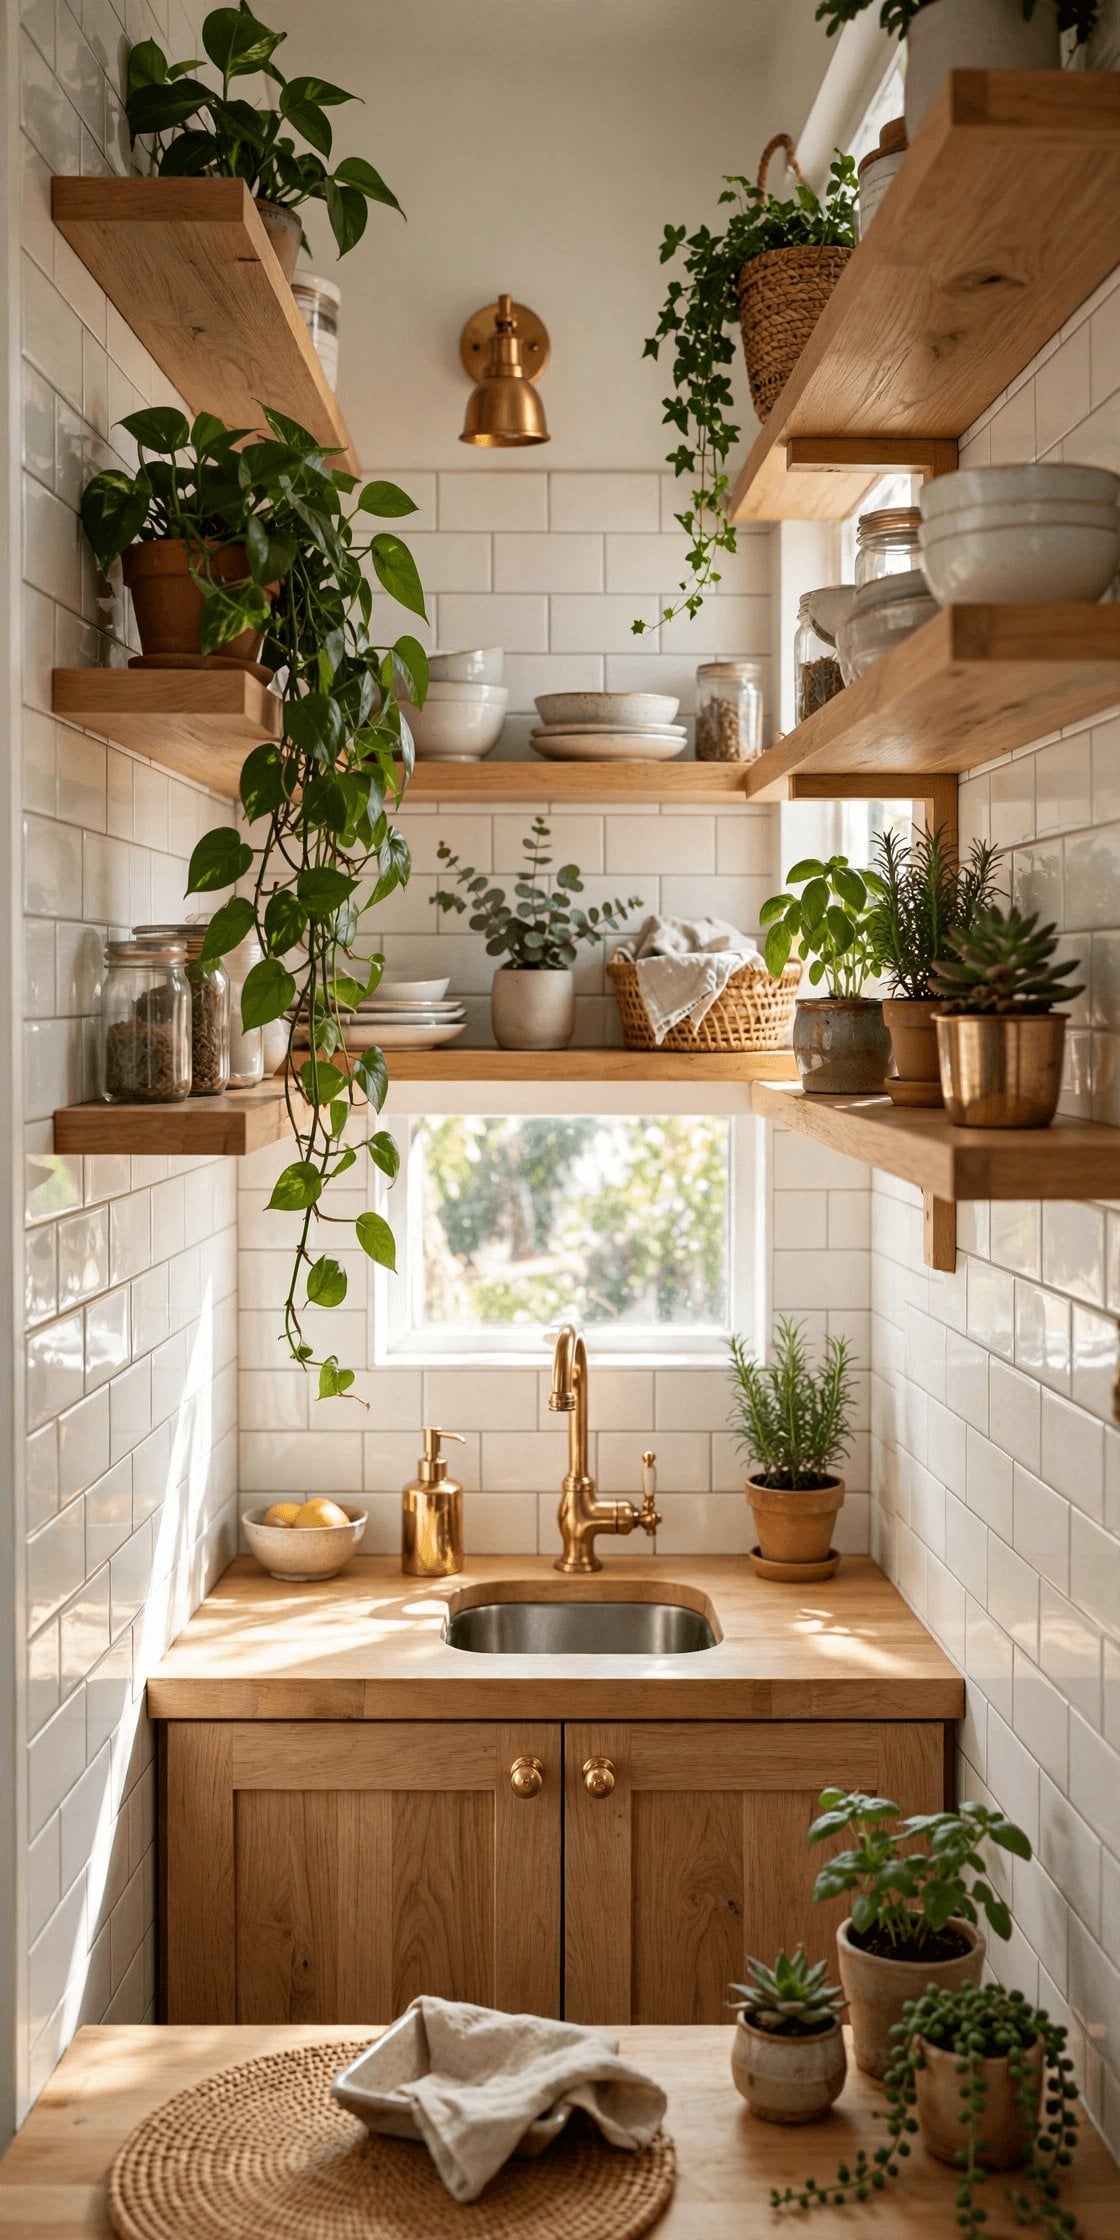
Because the run is short, a one-wall kitchen lives or dies on what happens above and below the worktop. Take wall cabinets or shelving as high as the ceiling allows, choose a slimline dishwasher drawer or a compact under-counter model if you want one at all, and use the sink run’s plumbing wall sensibly, since the layout logic in our guide to tiny house plumbing layout and drain-waste-vent design is what keeps a single wet wall cheap and serviceable. Visually, one long run in a single calm colour, with handles kept minimal, reads as furniture rather than as a kitchen squeezed in, which is exactly the effect a small room needs.
4. The U-Shape Layout: Maximum Counter, Carefully Managed
The U-shape wraps the cook on three sides and delivers the most worktop and storage of any layout at this footprint, with a station for prep, washing and cooking each on its own leg of the U. For a single enthusiastic cook it is the most efficient plan of all: everything within a step or a turn, and no through-traffic, because nobody passes through a U to get anywhere. In homes on foundations or wider tiny builds, it can anchor one end of the plan beautifully.
Manage two risks. The first is corners, doubled: solve both with the same pull-out or drawer strategy, because two dead corners in sixty square feet is a storage budget wasted. The second is air. A U can feel enclosed, especially with wall cabinets on all three sides, so consider open shelving or glass-fronted units on at least one leg, keep the palette pale and continuous, and borrow the finish ideas in our guide to lightweight interior wall finishes for tiny houses to keep the extra cabinetry from visually shrinking the room. Check too that the two facing runs leave a comfortable standing gap once drawers and oven doors open toward each other.
5. The Island Cart: A Worktop That Moves Out of the Way
The rolling island cart is the tiny kitchen’s cheat code: a freestanding worktop on locking castors that serves as prep surface, storage unit, dining table for two and occasional desk, then rolls aside when the floor is needed for something else. Choose or build one with a solid top that overhangs enough for knees on one side, shelves or drawers beneath, and a height that matches your fixed worktops so the two surfaces work as one during a big cook. In an open-plan L or one-wall layout it can supply the second run of a galley exactly when, and only when, you want it.
Practicalities decide whether the cart is genius or furniture you swear at. The castors must lock firmly and, in a home that travels, the cart needs a parking plan, a strap point, a recess or a tow-friendly secured position, because an unrestrained island in a moving house is a battering ram with a knife block on it. Keep clear floor around its parked position so drawers and the oven still open, and do not let it store the heaviest items at the top. Treated as equipment rather than furniture, serviced, levelled and locked, it is the single most flexible purchase a small kitchen can make.
6. Storage That Climbs: Tall Units, Rails, and the Space Above
In sixty square feet, the floor is finished quickly, so storage grows upward. Full-height larder units at the end of a run swallow dry goods in pull-out columns you can actually see into, and the band of space above wall cabinets, usually wasted in ordinary kitchens, becomes a shelf for the beautiful and the rarely used. Magnetic knife strips, utensil rails between worktop and cabinets, hooks under shelves and the inside faces of cabinet doors all convert air into storage without touching the floor or the worktop.
Climbing has rules. Heavy things live low, between knee and shoulder height where lifting is safe; light, bulky things live high; and everyday things live in the first-reach zone or they will colonise the worktop instead. Drawers beat cupboards at base level in almost every tiny kitchen argument, because a deep drawer shows its whole contents at a glance while a cupboard hides a cave behind a door. Where the structure allows, slim pull-outs in the awkward gaps beside the fridge or cooker rescue genuinely useful litres from filler panels. Audit what you own before designing any of it: a storage plan drawn around your actual pans, boards and jars fits like a glove, while a generic one fits nobody.
7. Light That Works Twice: Daylight, Task Light, and Pale Surfaces
Light is the cheapest square footage you can buy. A window over the sink is the classic for a reason, daylight for the task you do most, a view while washing up, and steam escaping where it is made, but any window washing the worktop earns its wall. Where the layout cannot give the counter daylight, treat electric light as a design layer rather than an afterthought: bright, even ceiling light for the room, and dedicated task light under the wall cabinets aimed at the worktop, so you are never chopping in your own shadow.
Surfaces are the second half of the lighting plan. Pale worktops, light cabinet fronts and a splashback with a gentle sheen bounce light around a small room instead of absorbing it, and a single deeper accent, a coloured lower cabinet run, a warm timber shelf, stops the all-pale scheme from feeling clinical. In a home that also manages moisture and air carefully, plan extraction with the same seriousness: cooking steam in a tiny volume travels everywhere, and the principles in our guide to tiny house ventilation with HRV and ERV systems explain why a real extractor, vented outside where possible, protects the whole interior, not just the cook’s eyebrows.
8. Surfaces That Survive Small Spaces: Worktops, Splashbacks, and Floors
Every surface in a tiny kitchen works harder and is seen closer than in a big one, so choose for repair and cleaning as much as for looks. A continuous worktop with as few joins as possible is the hygienic ideal; compact laminate and solid surface materials tolerate heat mistakes, knife-adjacent life and daily wiping, while timber adds warmth if you accept oiling and honest patina as part of ownership. Keep a landing zone of heat-safe surface beside the hob whatever you choose, because in a small kitchen the trivet you cannot find becomes the worktop’s first scar.
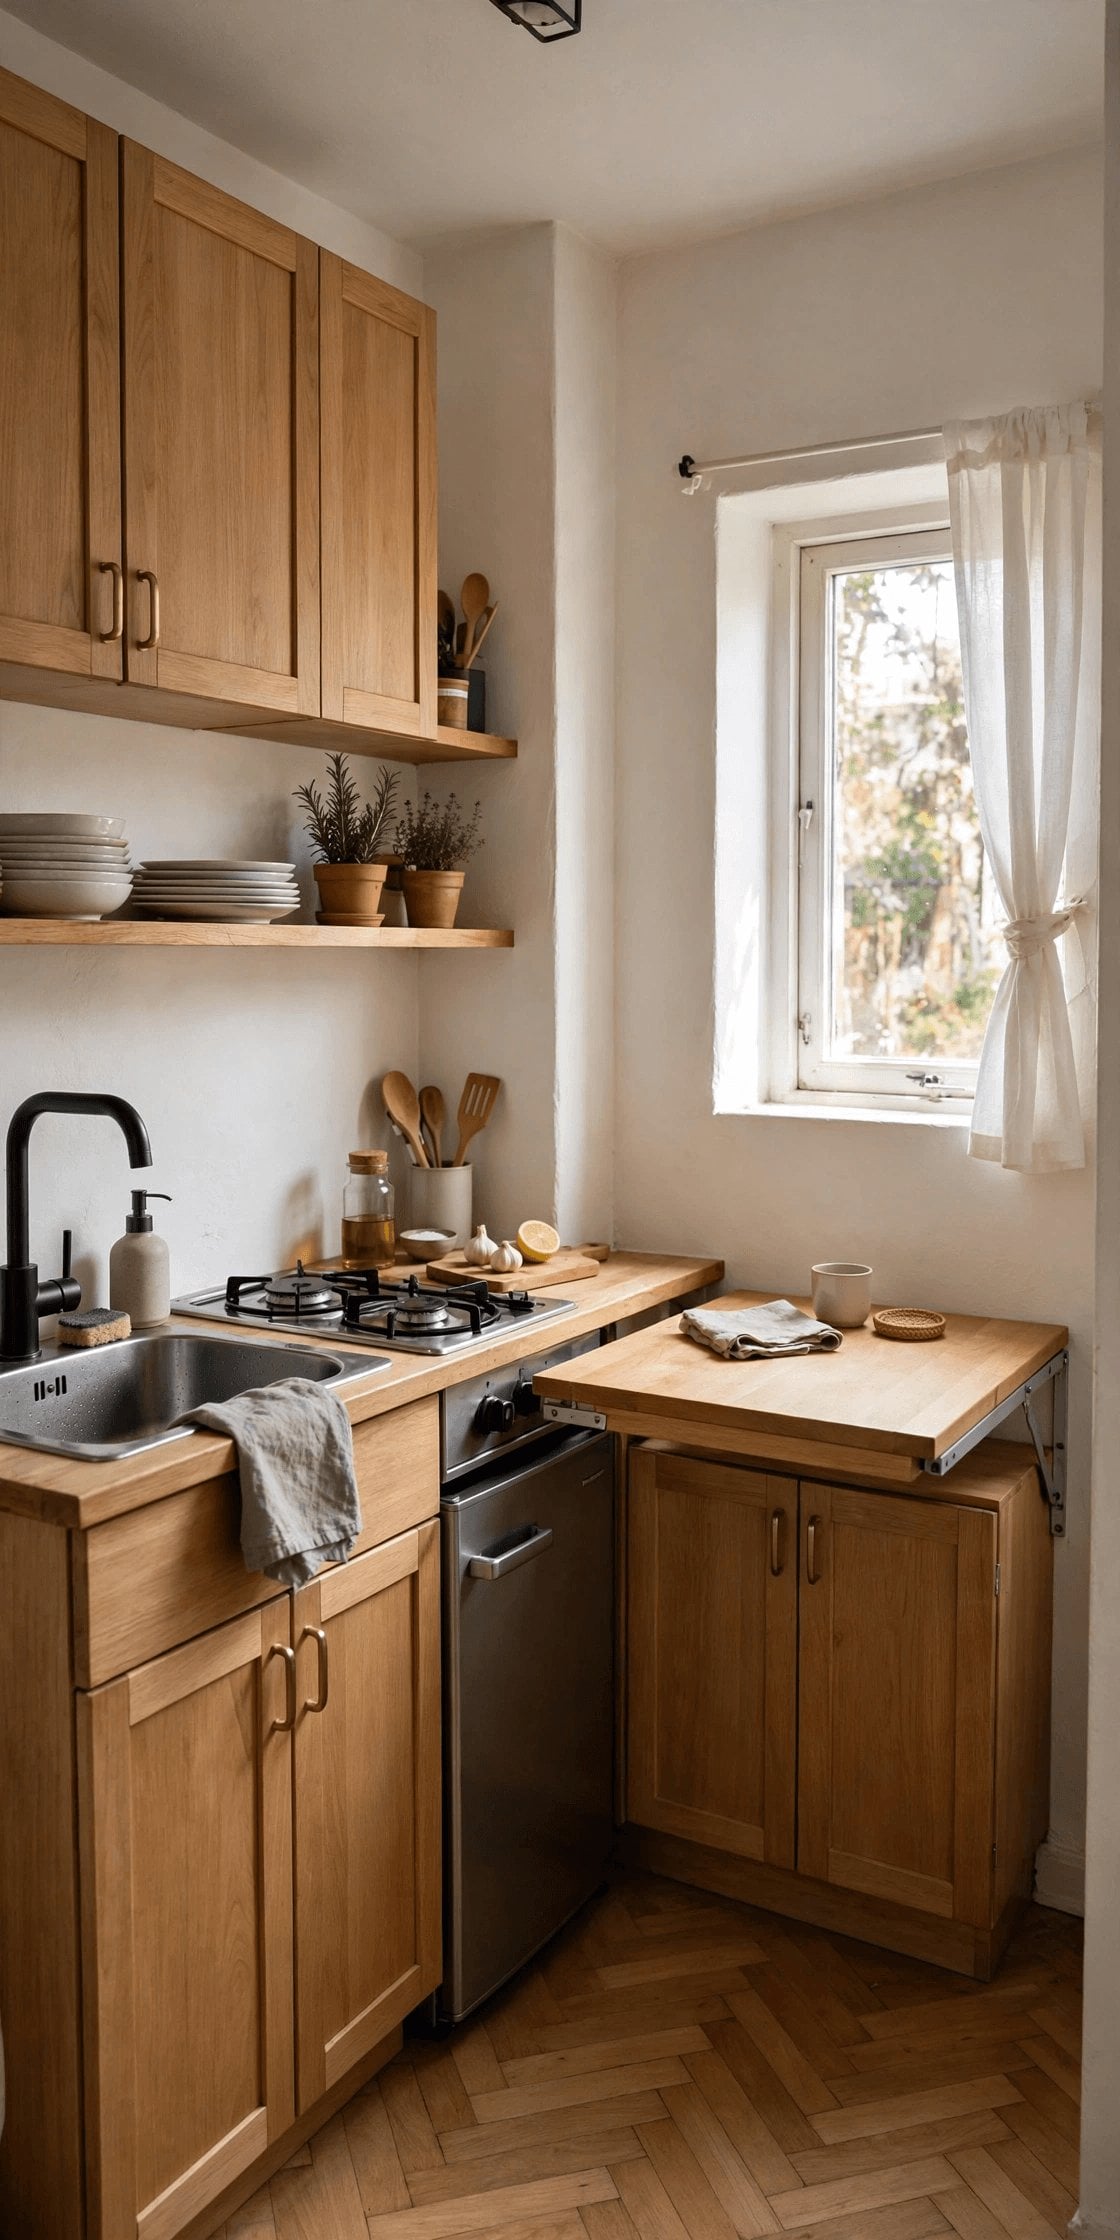
Splashbacks in a tiny kitchen are mostly seen and constantly wiped, so large-format, low-grout solutions, a single sheet behind the hob, big tiles, or the worktop material turned up the wall, clean fastest and look calmest. Floors take the room’s hardest traffic in the smallest area: choose a single flooring run through kitchen and living space to make the whole home read bigger, in a material that shrugs off water at the sink line. The thin construction of tiny walls is an ally here, since systems like those in our explainer on vacuum insulated panels for tiny houses can return precious centimetres to the room that surface choices then have to honour.
9. Appliances Sized to the Plan: Compact, Combined, and Built-In
Standard appliances can consume a third of a sixty-square-foot kitchen before a single plate is stored, so size them to your real cooking. A two-burner hob and a combination oven serve most small households better than a range cooker admired daily and used weekly, an under-counter or drawer fridge keeps sightlines low, and a single-bowl sink with an integrated drainer board returns worktop the moment the washing up is done. Our roundup of the best compact kitchen appliances for tiny houses goes deep on sizing sinks, ovens and fridges, and it is the natural next read before any order is placed.
Integration is the aesthetic half of the same decision. Appliances built in behind matching fronts, or chosen in one finish, stop the small room from reading as a machine shop, and a fridge or dishwasher behind a cabinet door buys visual calm worth more than the panel costs. Be honest about the rarely used: the full-size mixer, the second oven, the wine fridge. In a kitchen this size, every appliance is a storage unit you have evicted. Multi-function earns its place, the combination oven, the hob with a proper simmer, the tap that filters, while single-task gadgets must argue their way in like tenants.
10. The Walkway Rule: Clearances, Drawers, and Doors That Do Not Fight
Finish where every good tiny kitchen starts: with movement. Stand in the plan, on paper or taped on the floor, and rehearse the collisions. The fridge door against the oven door, the dishwasher open against the cook’s shins, two drawers whose handles meet in the corner, the bathroom door sweeping the kitchen’s only standing spot. Each is a daily irritation that no finish can disguise, and each is free to fix at the drawing stage and expensive afterwards. As working guidance, keep main walkways comfortably clear for one person with a hot pan, allow a drawer to open fully with a person standing at it, and never let a door swing claim the floor the cook stands on.
Small hardware decisions carry this section. Pocket or sliding doors where a swing door eats the kitchen, handles that do not snag hips at worktop height, soft-close everything so a moving home or a slammed drawer does not announce itself, and hinge choices that let cabinet doors open past square so corners can be reached. If the home travels, add travelling hardware to the rehearsal: latches that hold at motorway vibration, a fridge lock, and drawer catches you can operate one-handed with shopping in the other. The kitchens that feel twice their size are not the ones with the cleverest gadgets; they are the ones where nothing collides, including the people.
Final Considerations
The ideas in this guide reduce to a sequence. Choose the layout that fits your floor and your life first, galley for the corridor cook, L for the open plan, U for the wrapped workstation, one-wall for the smallest footprint, with an island cart as the flexible accomplice to any of them. Then climb for storage, layer the light, pick surfaces that forgive, size appliances to your real cooking and rehearse the walkways until nothing fights. Each decision is small; together they are the difference between a kitchen that happens to be tiny and a tiny kitchen that was designed.
Before ordering anything, do the three checks this article has repeated, because they are the ones experience charges for: tape the layout at full scale and cook an imaginary meal in it, audit your actual pans, appliances and provisions against the storage plan, and confirm every clearance with doors and drawers open, not closed. A sixty-square-foot kitchen designed that way will not feel like a compromise you apologise for. It will feel like the most considered room in the home, because at this size, it has to be.


0 Comments