

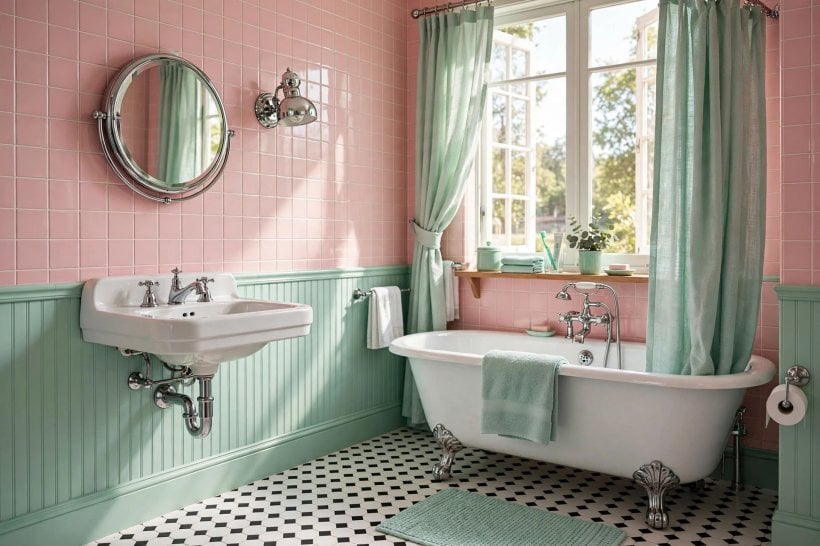
Pastel tiles, curved baths and chrome details give mid-century bathrooms a charm that still works in small modern homes. This 1950s bathroom remodel guide keeps the period character people love, while quietly updating layouts, storage and fixtures so the room is easier to clean, safer to use and far more practical every day.
1. Plan a Layout That Keeps the Character
Start by deciding what must stay and what can change. In many mid-century bathrooms the footprint is compact, the plumbing sits along one wall and the window position is fixed, so the smartest plan often keeps the bath, basin and toilet roughly where they are and improves everything around them. Moving plumbing is possible, but it adds cost and complexity, so only do it when the gain is clear, such as turning a cramped corner into a usable shower or freeing space for a wider vanity.
| Element | Period Choice | Practical Update |
|---|---|---|
| Tiles | Pastel squares with white grout | Larger format in the wettest zones |
| Vanity | Wall-hung or leggy cabinet | Soft-close drawers for storage |
| Bath | Curved or coloured suite | Shower over bath with a screen |
| Fixtures | Chrome taps and towel rails | Modern valves inside classic shapes |
| Storage | Medicine cabinet | Recessed cabinet plus niches |
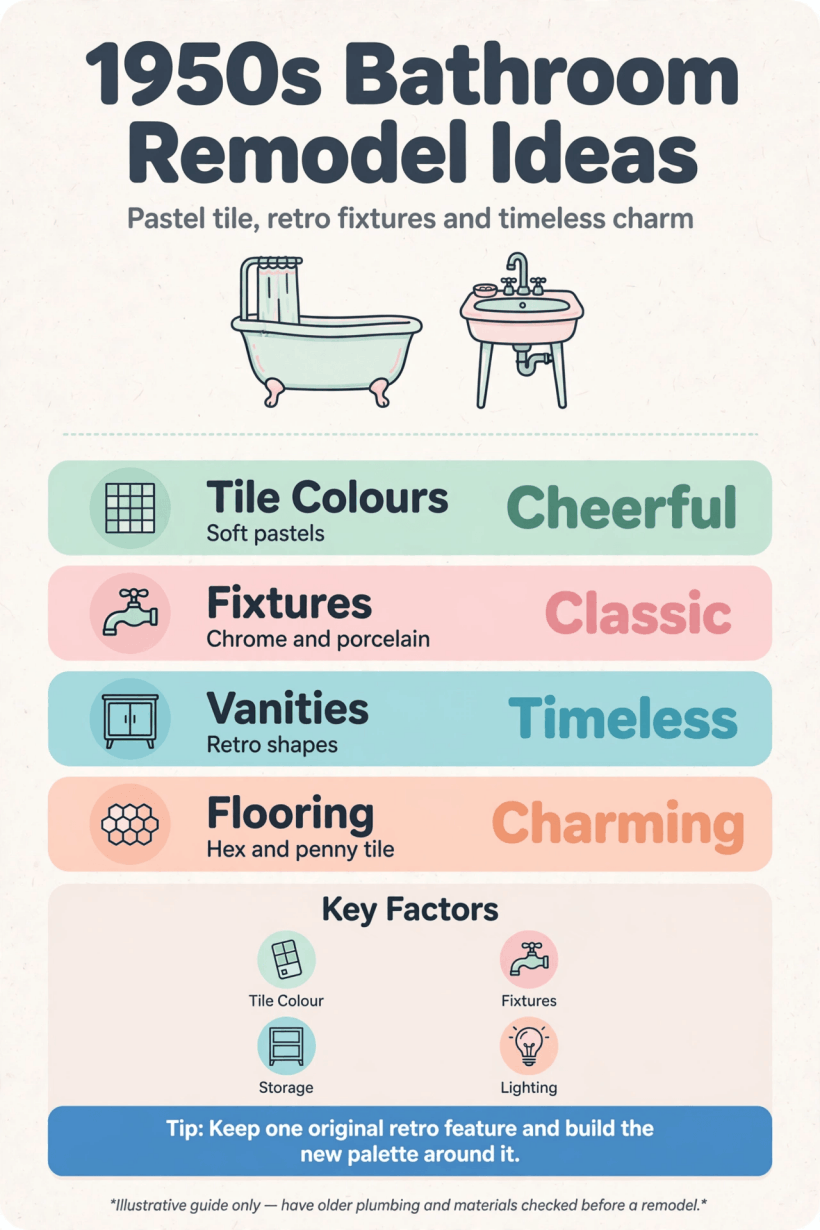
A quick comparison of period features worth keeping and the practical updates that make them work today.
Measure everything twice, including door swing, window height and the space needed to clean beside the bath and toilet. Sketch where towels, toilet paper and cleaning products will live, because those small decisions prevent clutter later. If you are reworking a whole compact home, these bathroom interior ideas for tiny houses show how tight rooms can still feel calm when each fitting is chosen for the space it actually has.
2. Vanities That Look Light but Store Plenty
A vanity on legs or floating just off the floor suits the period and makes a small bathroom feel larger, because you can see the floor running underneath. Drawers usually store more usefully than cupboard doors, letting you divide cosmetics, hair tools and cleaning spares instead of stacking them in a dark box. A single wide drawer with an organiser, or two slimmer drawers, can hold a surprising amount while keeping the top clear. Choose handles in chrome, black or warm metal to echo taps and mirror frames.
The basin shape sets the tone. A gentle oval or a soft rectangle nods to the era without copying a museum piece, and an integrated top is easier to wipe than separate joints. Leave enough worktop at one side for soap and a toothbrush holder, and position the mirror and lighting so two people are not competing for the same patch of glass in the morning. If the room is shared, a slightly higher splashback protects the wall. Readers working with very little width may find modern interior design ideas for tiny houses helpful for slim, wall-hung storage habits.
3. Tiles: Pastel Colour, Pattern and Grout
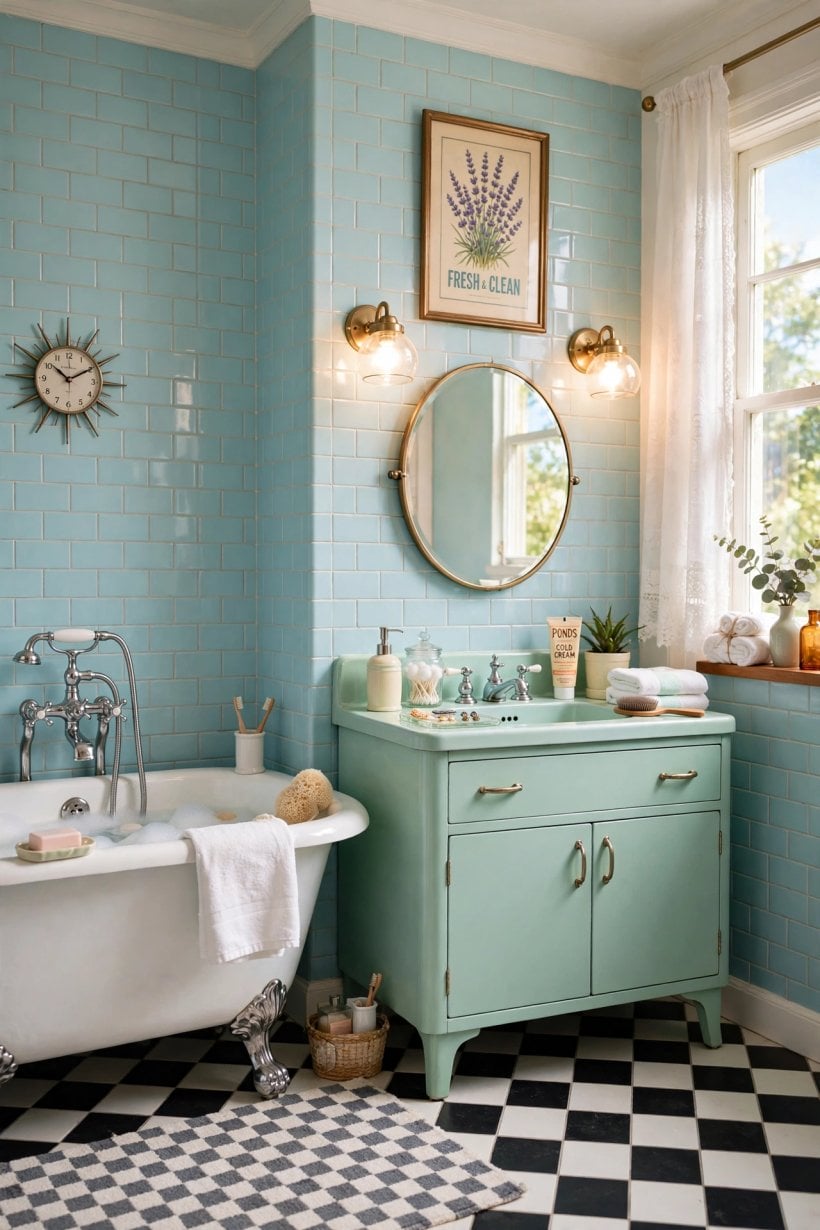
Tile is the soul of a mid-century bathroom. Soft mint, powder blue, blush pink, pale yellow and classic white all belong, especially in small square or rectangular formats with a neat grid. Use the colour confidently on one main surface, such as the bath panel wall or a full splashback, and keep the rest quieter so the room does not feel like a sweet shop. A contrasting border, a row of darker tiles at skirting level or a checkerboard floor can give structure without adding a second strong colour.
Practical choices matter as much as colour. Gloss tiles bounce light and are easy to wipe, matt tiles hide water marks better, and textured floor tiles give more grip under wet feet. Grout colour changes everything: white grout keeps pastel tiles fresh and period-true, while a mid grey is more forgiving in a busy family bathroom. Seal grout as advised, ventilate well and choose trims that finish edges neatly. If original tiles survive in good condition, consider keeping a section and tiling the rest to match in spirit rather than chasing an exact match that may never look right.
4. Baths, Showers and Space-Saving Fixtures
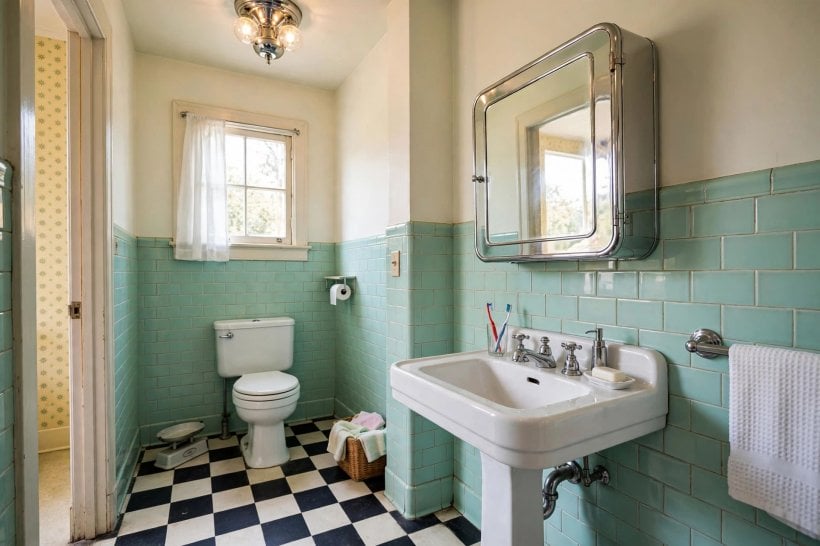
Many homes from this era were built around a bath, and keeping one can be the right call for families, resale and a good soak. A slightly shorter or narrower modern bath can free valuable inches while still feeling generous, and a well-fitted shower over it, with a frameless or lightly framed screen, covers daily washing without a separate cubicle stealing floor. Position controls where you can reach them without climbing in, and add a grab-friendly detail if the household would benefit, styled to match the taps.
Where a separate shower makes more sense, a compact quadrant or a simple walk-in panel in a wet-room style layout can work, provided waterproofing and drainage are done properly by professionals. A wall-hung toilet and basin can gain precious floor and make cleaning easier, though they need suitable frames and wall strength. Heated towel rails in chrome keep towels dry in a cool room and repeat the period shine. For more compact fitting ideas, see these small bedroom ideas for tiny houses; the same measure-first thinking applies to any tight room.
5. Chrome, Curves and Period Details
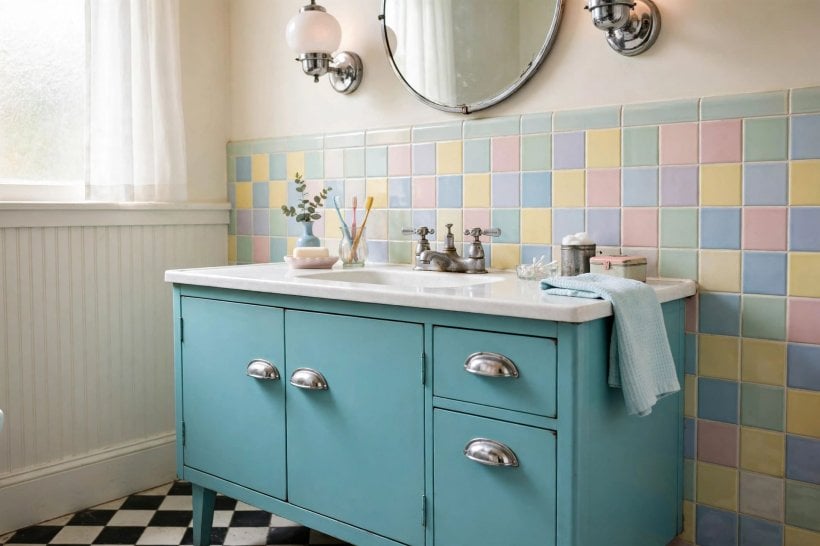
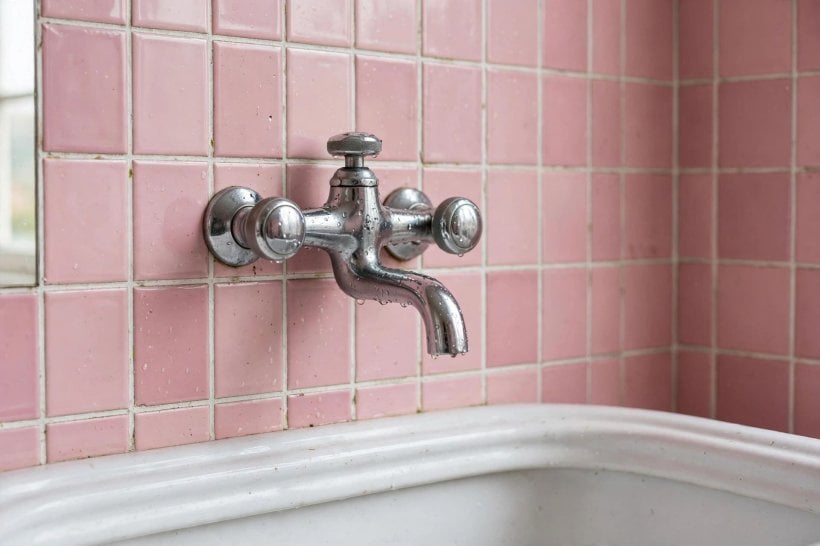
The details that sell the era are curves and shine. Rounded mirrors, globe or opal glass lights, chrome towel rings, curved bath feet or a softly shaped bath panel and taps with classic crossheads or simple levers all point the same way. You do not need every item to be a reproduction; pick three or four strong period signals and let modern pieces stay quiet in the background. A contemporary shower valve behind a classic handle, for example, gives reliable temperature control with the right look on the surface.
Repeat finishes with discipline. If taps, waste, flush plate, handles and light frames all share one metal, the room feels designed rather than collected by accident. Black can be used as a modern accent, but in a period scheme it works best in one place, such as a mirror frame, rather than scattered everywhere. Keep accessories few and useful: a good towel rail beats three small hooks, and a single shelf beats a crowd of bottles around the bath. Clean chrome with soft cloths and mild products so the shine lasts.
6. Colour Palettes Beyond Pastel Pink
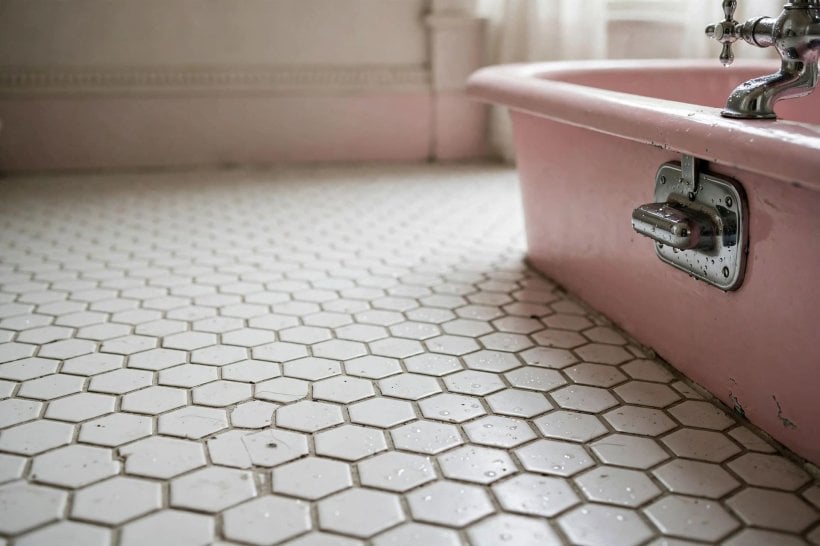
Pastel pink is famous, but it is only one route. Mint green with white and chrome feels fresh, powder blue with pale grey flooring feels calm, and butter yellow with warm wood accents feels cheerful in a north-facing room. For a moodier take, deep teal or inky blue on one wall with pale tiles elsewhere can still respect the era, because strong contrast was part of mid-century style too. Test colours in the actual light, morning and evening, and against the tile and floor you have chosen, not in isolation at a shop.
Paint is your flexible friend. Cabinets, a bath panel or the ceiling can carry colour while tiles stay neutral, which makes a future refresh cheap and simple. Keep the palette to two main colours plus a metal and a wood or white neutral, and repeat the lead colour in towels or a small stool so it feels intentional. If the bathroom opens off a bedroom, borrowing a tone from that room creates a gentle link; these beachy interior ideas for tiny houses show how soft colour carried between rooms makes small spaces feel joined up rather than chopped apart.
7. Lighting, Mirrors and Ventilation
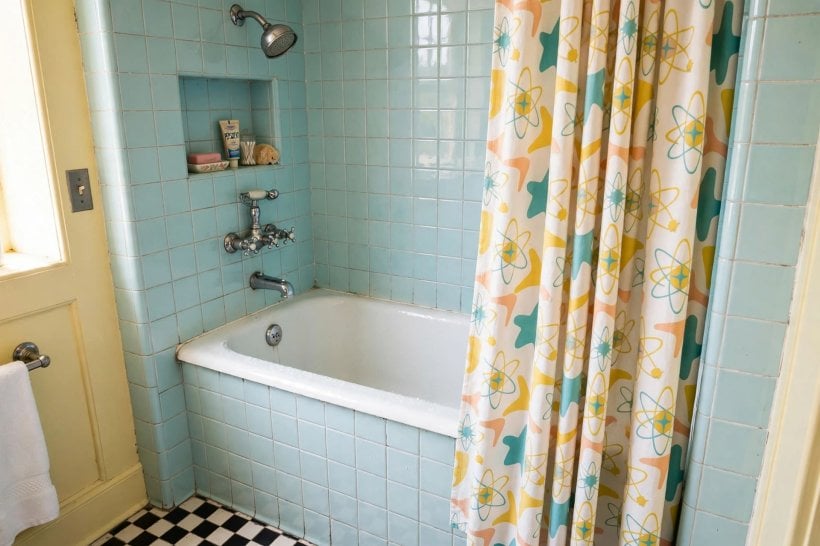
Good light makes a period bathroom usable. Face-level lighting either side of the mirror, or a well-placed fitting above it, avoids the harsh shadows of a single ceiling light, and a dimmer or a separate low light makes night-time visits and long baths more pleasant. Opal globe fittings suit the era beautifully and spread light softly. Choose bathroom-rated fittings for each zone and have electrical work done by a qualified professional, with switches and any shaver points positioned to code.
Mirrors earn their keep twice: once for the morning routine and once for bouncing light into corners. A large round or softly arched mirror over the vanity is both period-appropriate and practical, and a mirrored cabinet adds storage without another piece of furniture. Ventilation is the unglamorous essential: an effective, quiet extractor, used every time the shower runs, protects grout, paint and cabinetry from the damp that spoiled many original bathrooms. Openable windows help, but they are not a substitute in winter. Dry walls, clear mirrors and towels that actually dry are the payoff.
8. Storage in a Small Footprint
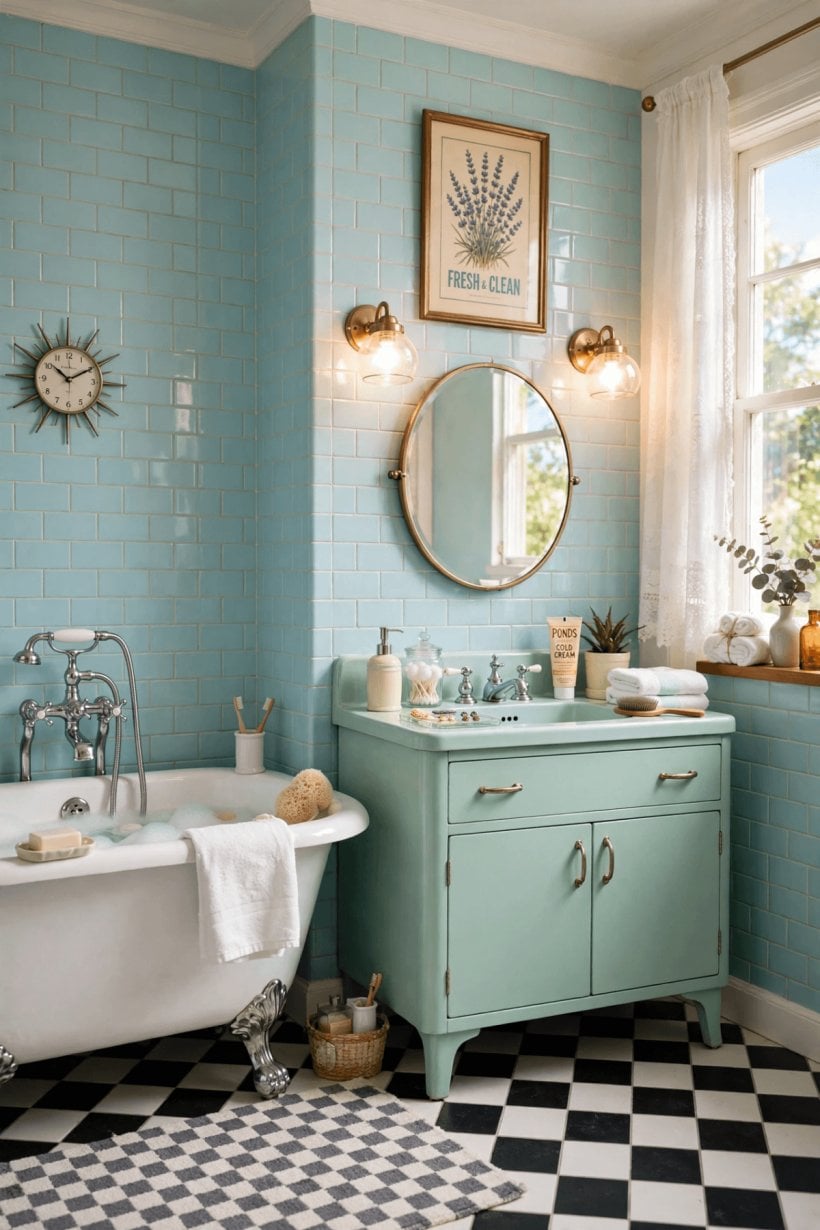
Original bathrooms from this period rarely offered much storage, so a remodel has to invent it kindly. A recessed medicine cabinet between wall studs, a niche in the shower for bottles, a slim tall unit in a dead corner and vanity drawers together can swallow the everyday clutter that otherwise lives on every surface. Use the height of the room: a high shelf for rarely used items, hooks on the back of the door for robes, and a lidded basket for laundry keep the floor clear and the room feeling bigger.
Store by person and by task. One small tray or box per household member stops arguments and sprawl, cleaning products can live in a caddy under the basin, and spare towels are often better in a hallway cupboard than squeezed into the bathroom. Avoid bulky freestanding units that block cleaning and trap damp behind them. If you love fitted, space-saving joinery, this mid-century modern tiny house is full of the same spirit: simple fronts, honest materials and nothing kept that does not earn its place.
9. Flooring That Suits the Era and the Water
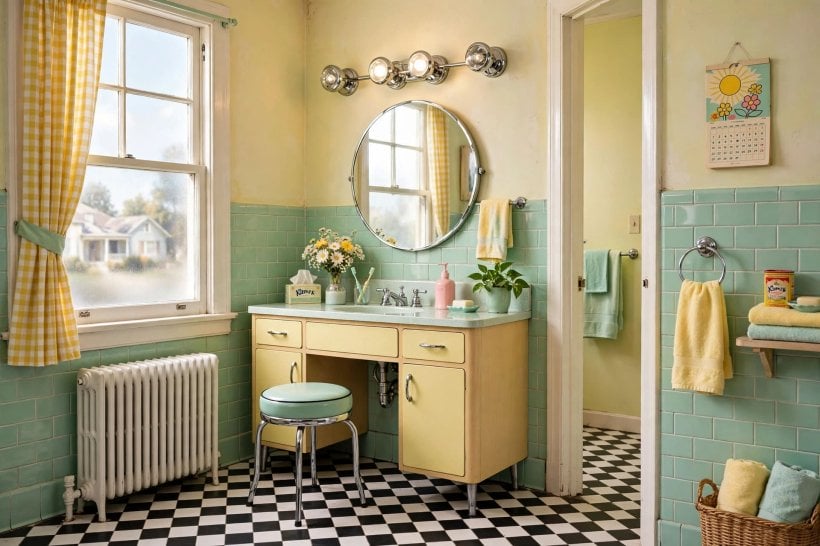
The floor grounds the whole scheme. Small hexagonal tiles, penny rounds and black-and-white checkerboard patterns all feel at home, and modern versions in porcelain or suitable vinyl give the look with easier care. In a small room a simple pattern laid straight usually looks calmer than a busy design, and a pale floor lifts the light, while a darker pattern hides everyday marks between cleans. Make sure the finish offers enough grip for wet feet, especially for children and older relatives.
Under the surface matters as much as the pattern. The subfloor must be sound, level and prepared for a wet room environment, with proper sealing around the bath, basin and toilet to stop water creeping where it should not. Heated flooring, where suitable, is a quiet luxury that also helps the room dry, and it pairs well with tile. Keep a soft, washable bath mat rather than a fixed carpet, and wipe standing water rather than leaving it on grout lines. A floor that looks period, feels safe and shrugs off splashes is doing all three of its jobs.
10. Budget, Trades and a Sensible Order of Work
Set the budget around the plumbing decisions first. Keeping fittings in place, refreshing tiles and updating a vanity is a very different project from moving walls, re-routing waste and building a separate shower, and honest quotes should reflect that. Allow for the surprises older bathrooms hide: tired pipes, rotten flooring under a leaking bath and walls that need making good once old tiles come off. Keep a contingency, choose where to spend on touch points such as taps and handles, and save on items that are easy to upgrade later, like accessories and paint.
Work in order: strip out and inspect, first-fix plumbing and electrics, waterproofing and tiling, flooring, then fittings, glass and finishing. Book trades in that sequence and confirm who is responsible for sealing, testing and making good. Photograph pipe and cable runs before they are covered. At the end, check the small things: doors that clear the new vanity, drawers that miss the basin waste, a mirror at the right height for the household. A bathroom that was planned patiently will feel charming and easy from the first morning, not just photogenic on the first day.
Final Considerations
Keep the best of the era, the curves, the colour and the shine, and quietly replace the parts that made daily life harder: poor storage, weak ventilation, tired seals and awkward layouts. Choose tiles and fittings you will still enjoy in ten years, plan storage for real bottles and towels, and let one palette run through the room. Done that way, a mid-century bathroom becomes the best kind of remodel: full of character, and completely easy to live with.

0 Comments