

Warm wood, honest materials and a lived-in calm: a farmhouse bathroom earns its charm from simple choices made well, not from themed clutter.
Use this guide as a working checklist. Start with layout, then vanities, tile, storage and light.
1. Farmhouse Bathroom at a Glance: Planning the Room Before You Buy Anything
The strongest country-style rooms share the same foundations: a clear layout, washable surfaces, storage sized to real routines and a short list of materials repeated calmly. If you are working with a compact footprint, study these tiny house bathroom layouts before moving any plumbing.
| Element | What to Decide First | Country-Style Direction |
|---|---|---|
| Layout | Door swing, clear floor space and plumbing walls | Keep the wet zone together and the vanity run simple |
| Vanity | Width, storage type and counter height | Wood tones, apron-front or vessel sinks, quiet hardware |
| Tile and Walls | Where water actually lands | Subway, handmade-look or stone-look tile with warm grout |
| Storage | Daily items versus back-stock | Drawers, open shelves, baskets and a mirrored cabinet |
| Lighting | Face light first, mood second | Sconces at eye level plus a soft overhead source |
| Palette | Two main neutrals and one accent | Warm white, natural wood and black or aged metal |
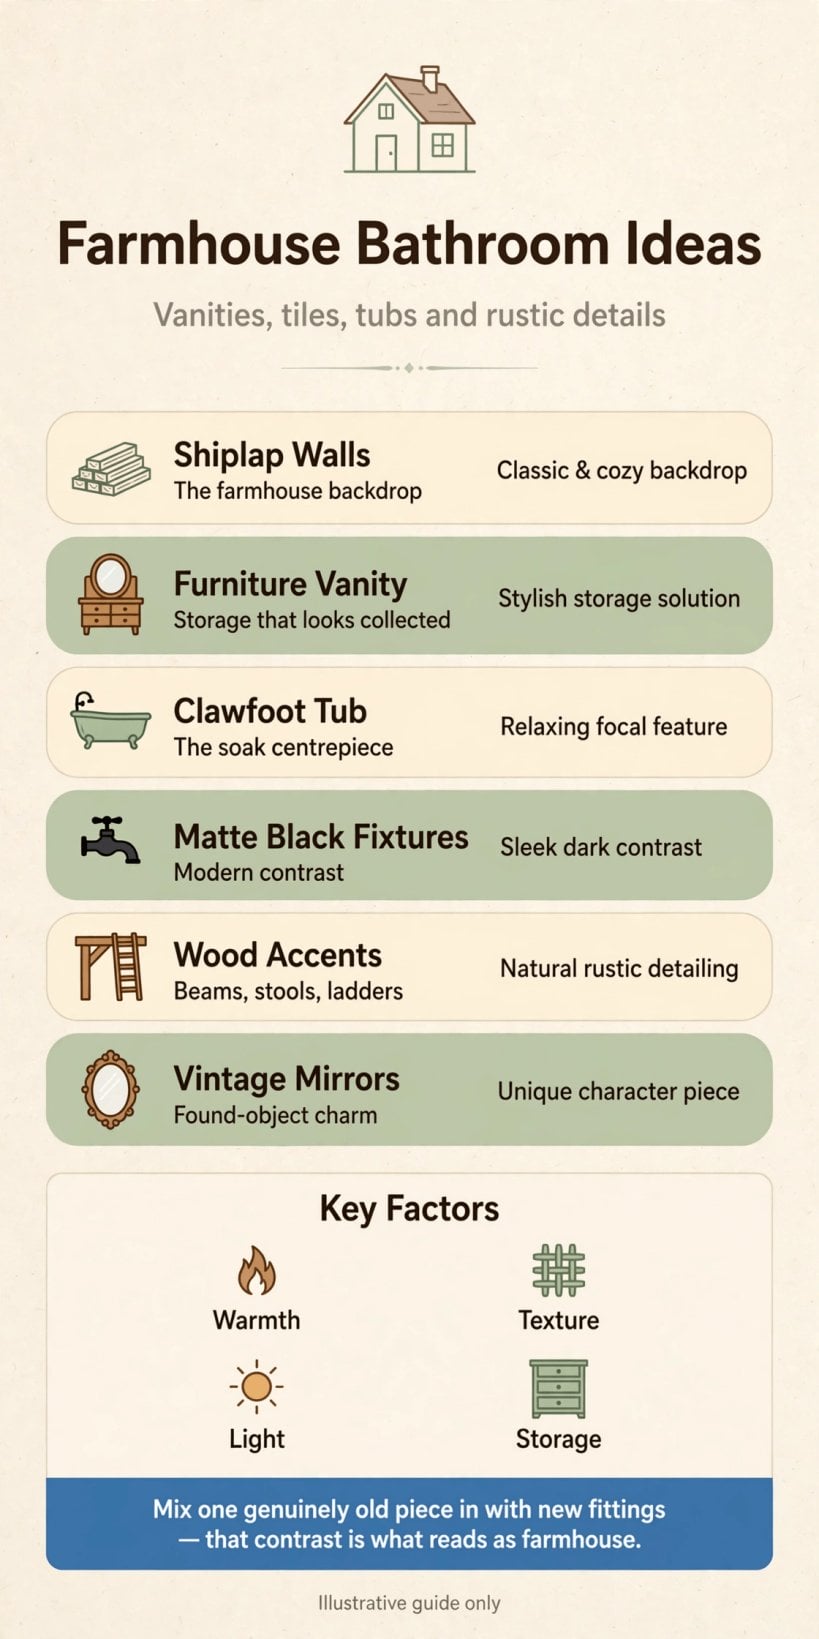
The visual summary above gathers the core decisions in one place: plan the layout, choose honest materials, store daily items within reach and repeat a calm palette from floor to ceiling.
1. Keep plumbing on one wall. Grouping the vanity, toilet and bathing fixture along a single wet wall simplifies the layout, shortens pipe runs and leaves the remaining walls free for storage, hooks and a calmer visual rhythm.
2. Measure the door swing early. A door that clips a vanity or tub edge will annoy you daily. Sketch the swing, the open drawer positions and the space a person needs to dry off before fixing any fixture positions.
3. Choose the bathing style first. A tub, a walk-in shower or a combined unit drives every later decision, from floor slope and drainage to where towels live. Decide by routine, not by habit or by showroom pressure.
4. Repeat three materials at most. Wood, one tile family and one metal finish are enough. Repeating the same short palette across the room is what makes the style feel settled rather than assembled from unrelated bargains.
5. Plan storage before decoration. Count what must live here every day: towels, medicines, cleaning supplies and spare paper. Give each category a home first, then style whatever open surfaces remain with restraint.
6. Leave breathing room around fixtures. Crowded country rooms lose their charm quickly. A little clear floor and one uncluttered wall make even a small room feel generous, bright and easier to clean well.
7. Test light at face height. Stand where you will shave or apply makeup and check for shadows. Overhead light alone flattens faces; plan for light at or near eye level from the very first sketch.
8. Set a simple colour story. Warm white walls, natural wood and one darker accent is a reliable starting point. Write the palette down and judge every later purchase against it without exception.
2. Vanities and Sinks: The Hardest-Working Furniture in the Room
The vanity carries the visual weight of the whole scheme, so choose it before tile or paint. Wood with a visible grain, simple shaker fronts and a stone or stone-look top in a soft tone will outlast trend-driven choices.
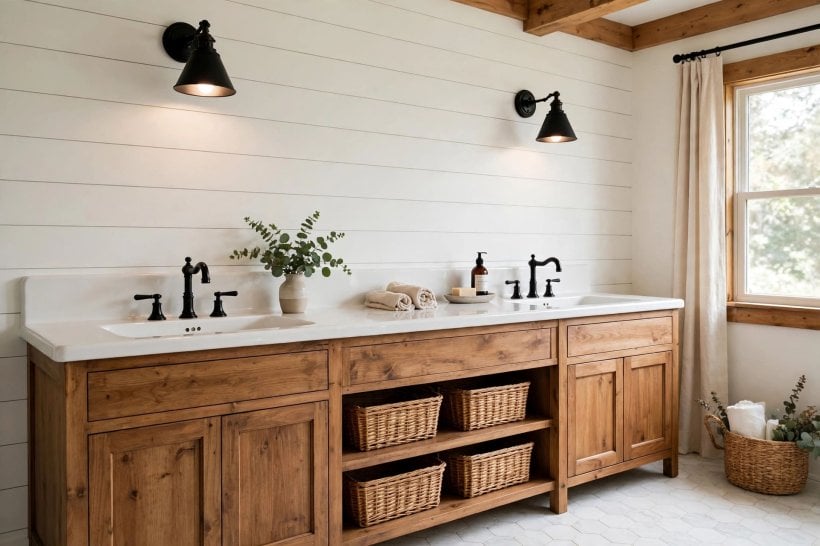
9. Choose a furniture-style vanity. Legs, a slightly recessed plinth and panelled drawer fronts make a standard cabinet read as a piece of furniture. That one change softens hard surfaces and gives the room its welcoming, settled character.
10. Fit an apron-front sink. A deep apron-front basin suits the country look and is practical for hand-washing laundry or soaking small items. Pair it with a simple deck or wall-mounted tap to keep the silhouette clean.
11. Try a trough sink for shared use. One long basin with two taps shares counter space gracefully in a family room. It reads as a utility piece, which is exactly the honest, hardworking note this style does best.
12. Use a double vanity only if width allows. Two basins squeezed into a narrow run steal elbow room and storage. If the wall is short, one generous basin with a wide counter is calmer and far more usable daily.
13. Pick drawers over cupboards. Deep drawers keep towels, bottles and a hairdryer visible at a glance, while cupboards hide a jumble. A cut-out drawer around the waste pipe makes the top drawer fully usable too.
14. Repurpose a vintage dresser carefully. An old chest can become a vanity if the top is sealed against water and the drawers are adapted around plumbing. Keep the original patina; perfection is not the goal here.
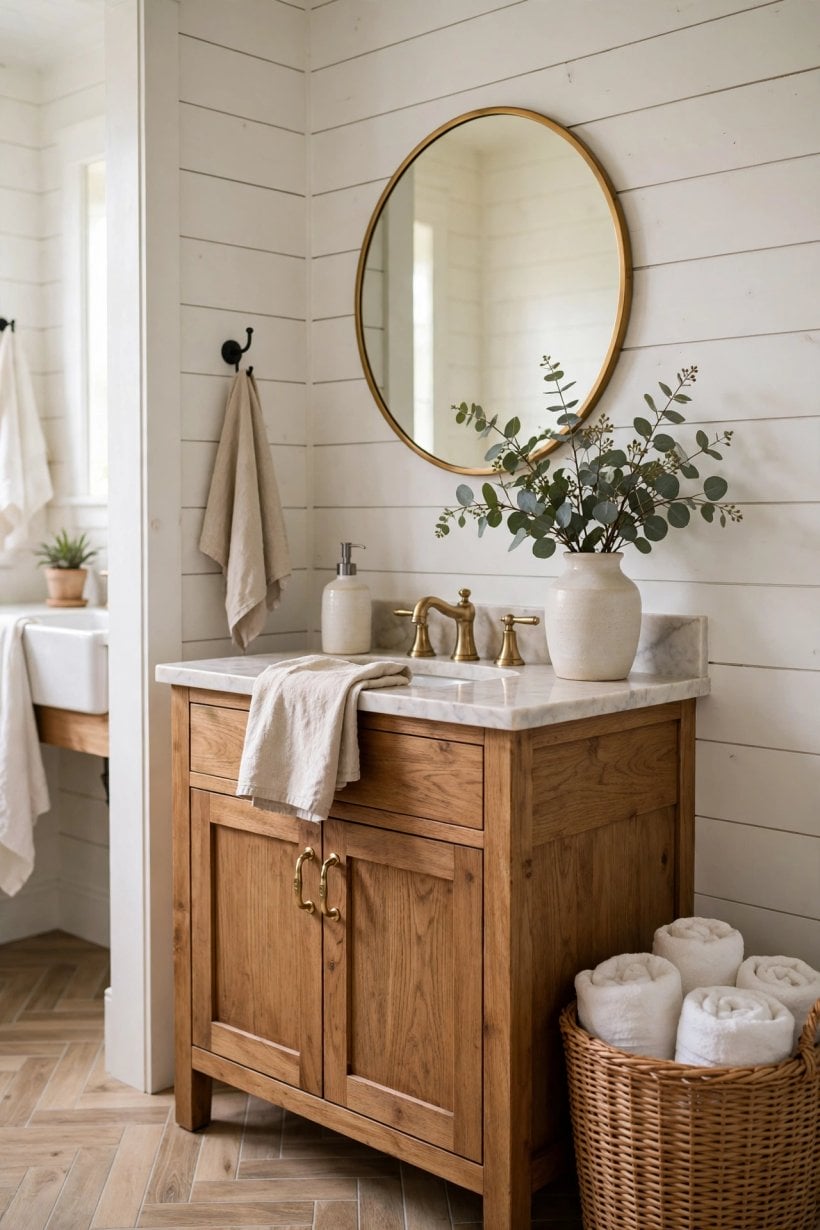
15. Keep the counter mostly clear. A small tray for soap and a single plant is enough styling. Clear counters make cleaning fast and let the materials themselves provide the decoration, which suits this look completely.
16. Match tap style to the sink. Bridge-style and lever taps both suit traditional basins. Choose one metal finish and carry it through to the shower controls so the room reads as one considered scheme.
3. Tile, Walls and Floors: Surfaces That Can Take Real Life
Surfaces set the background note. Keep tile patterns simple, grout practical and wall finishes washable, and let texture do the work that bold pattern does in other styles. A handmade-look edge here and there stops the room feeling factory-perfect.
17. Run classic subway tile with warm grout. A simple brick layout in a soft white tile is the dependable backdrop for wood and black metal. Slightly warm grout keeps the grid gentle instead of stark and graphic.
18. Choose handmade-look tile for softness. Tiles with a slightly uneven surface and varied glaze catch the light in a way flat tiles cannot. The effect is subtle, forgiving of imperfect walls and deeply in keeping here.
19. Add shiplap where water does not land. Painted boards on a dry wall bring instant country character. Keep them away from direct spray, seal the paint well and ventilate the room so boards stay sound for years.
20. Try beadboard as a half wall. Beadboard to chair-rail height with a simple cap protects walls from splashes and towels, and it paints out easily when you want a colour change later on.
21. Use stone-look floor tile for grip and calm. A matte stone effect underfoot hides water marks, feels grounded and pairs naturally with wood. Choose a finish intended for wet floors and a mid-tone grout that hides daily dust.
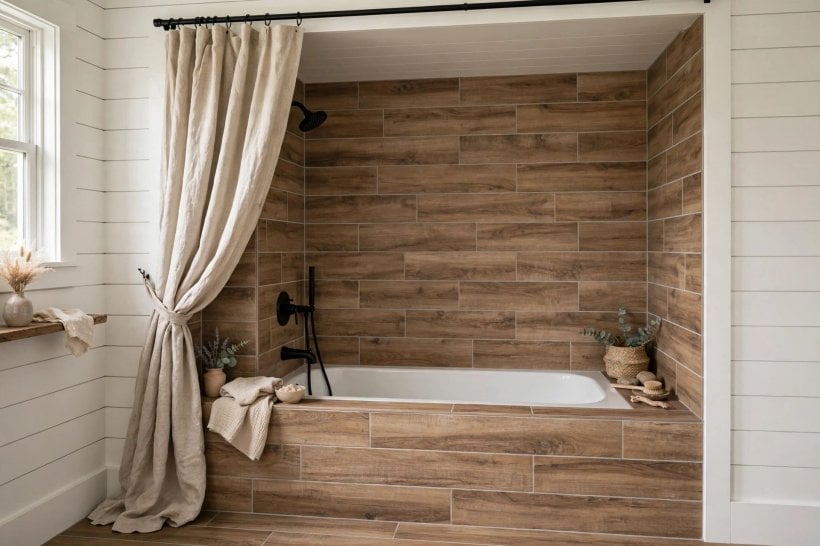
22. Lay a wood-look plank tile in dry zones. Plank tiles give the warmth of boards with far better water tolerance. Keep the tone close to your vanity wood but not identical, so the two read as relatives, not twins.
23. Limit pattern to one small moment. A patterned floor in an otherwise plain room, or a simple patterned niche, is enough. Pattern everywhere fights with wood grain and turns a calm room busy very quickly.
24. Seal grout and re-check it yearly. Grout is the weak point of every tiled scheme. Sealing it after installation and inspecting edges each year prevents the slow water damage that ruins good work quietly from behind.
4. Storage That Earns Its Space: Shelves, Baskets and Hidden Order
Storage is where country style proves itself, because open storage only works when it is edited. Borrow the discipline in these tiny house closet design and storage ideas and apply it at a smaller scale here.
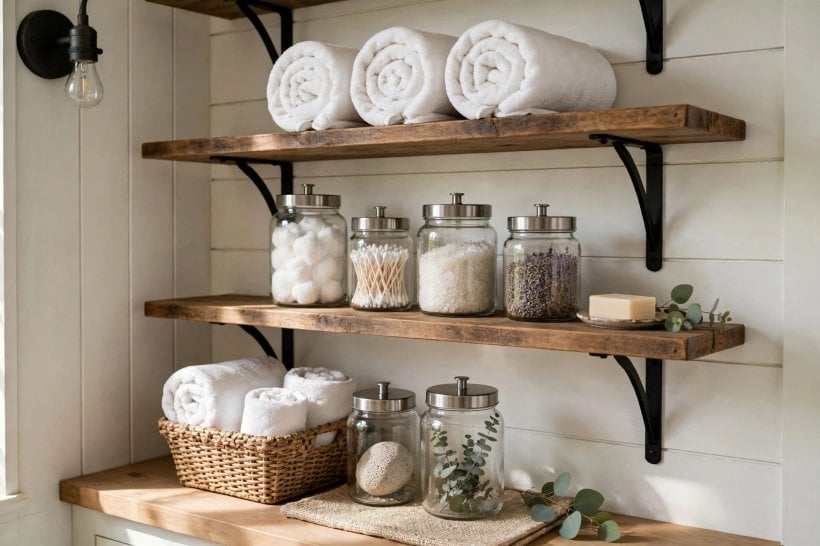
25. Hang open wood shelves above the toilet. Two thick shelves turn dead wall into towel and basket storage. Keep the contents folded, grouped and limited, or the display will read as clutter within a single week.
26. Store by category in woven baskets. One basket for hair tools, one for cleaning, one for spares. Natural fibres suit the style, hide visual noise and make a five-minute tidy genuinely possible for everyone.
27. Add a mirrored cabinet, not a flat mirror. The shallow cabinet swallows medicines and daily bottles that otherwise colonise the counter. A framed mirror front keeps the look traditional while doubling useful hidden storage.
28. Use the space above the door. A single high shelf holds rarely used items such as spare towels for guests. It is awkward to reach, which is precisely why only occasional items should live there.
29. Fit hooks instead of a towel bar. Hooks suit thick towels, dry them faster and look right in a working country room. A row of four on a painted board is cheap, sturdy and easy to move later.
30. Add a slim rolling cart between fixtures. Where a gap exists beside the vanity or tub, a narrow cart adds flexible storage without building work. Choose wood or black metal so it matches the room’s short palette.
31. Keep a linen basket in the room. Laundry that has a home does not end up on the floor. A lidded woven basket near the door makes the evening tidy round shorter for the whole household.
32. Decant only what you use daily. Amber or clear bottles for soap and shampoo calm the shower’s visual noise. Keep the system honest: if a product is not refilled twice, it does not earn a decanter.
5. Showers and Tubs: The Wet Zone, Done Properly
The wet zone is where budgets and mistakes concentrate, so plan waterproofing before finishes. This overview of tiny house bathroom waterproofing and wet bath tiling explains the layers that protect everything else you install.
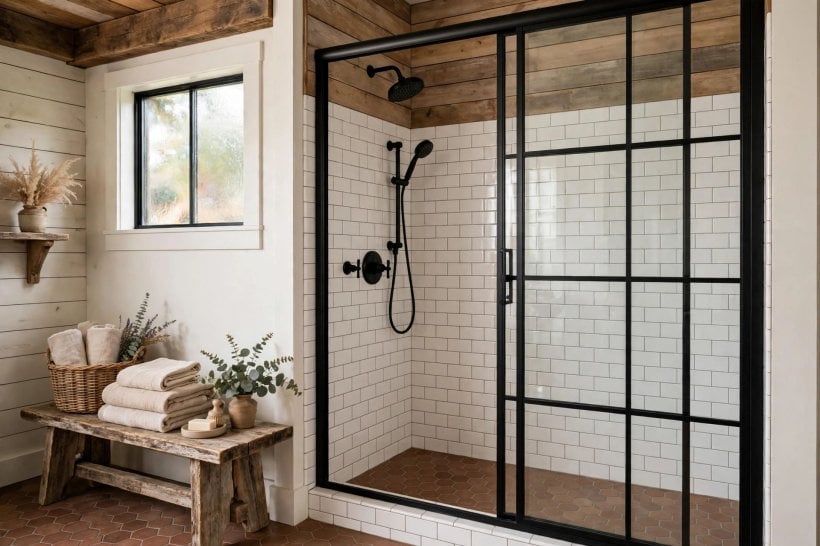
33. Choose a freestanding tub as a quiet centrepiece. A simple oval tub with a traditional filler suits the style and makes cleaning around it easy. Leave real space on at least one side for a stool and towels.
34. Build a walk-in shower with a low threshold. A low or level entry is easier for everyone and keeps the floor line calm. Use the same floor tile family inside and out for a settled, unified effect.
35. Frame the shower in black metal and glass. A black-framed screen echoes window steel and farmhouse hardware, defines the wet zone and still lets light travel. Keep the grid simple so it does not dominate the room.
36. Tile a shower niche at usable height. A niche between the studs removes the need for caddies and keeps bottles off the floor. Tile it in the floor pattern for a small, deliberate moment of contrast.
37. Add a small bench or teak stool. Seating in the shower helps with everything from shaving legs to bathing children. A movable stool is the flexible option and doubles as a plant stand beside the tub.
38. Pick a rain head plus a hand shower. The overhead head gives the gentle soak; the hand shower does the real work of rinsing walls, children and dogs. Both on one simple control set keeps plumbing costs sane.
39. Keep the tub filler traditional in shape. A telephone-style or bridge filler suits a traditional tub far better than a sharp modern spout. Match its finish to the vanity taps for one unbroken metal story.
40. Ventilate like you mean it. A properly sized extractor, used every shower, protects paint, boards and grout. Most country-style materials are wood-based somewhere, and wood plus trapped steam is a slow failure.
6. Lighting, Faucets and Hardware: The Jewellery Layer
Fixtures are the smallest purchases with the largest effect on how finished the room feels. Repeat one metal, light faces kindly and let hardware be sturdy rather than showy; these tiny house interior paint colors will help you judge finishes against wall colour.
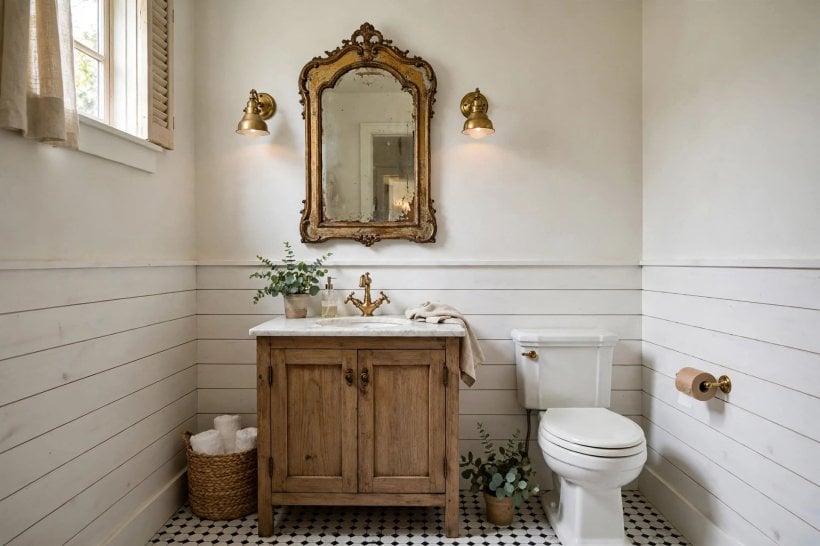
41. Flank the mirror with sconces. Light from both sides at eye level is the most flattering and useful arrangement for faces. Shades in opal glass or linen soften the glow in a way bare bulbs cannot.
42. Choose matte black for definition. Black taps, handles and frames give warm wood and white tile a needed edge. The finish hides water spots reasonably well and repeats easily across brands and price points.
43. Try aged brass for warmth. Unlacquered or brushed brass deepens with use and suits honey-toned wood beautifully. Commit fully if you choose it; mixing brass with chrome reads as indecision, not eclecticism.
44. Put face light and ceiling light on separate switches. Bright light for cleaning, soft light for a bath: separate controls cost little at installation and change how the room feels at completely different times of day.
45. Swap cabinet knobs for cup pulls and latches. Traditional hardware shapes on the vanity reinforce the furniture idea instantly. This is among the cheapest upgrades in the whole guide and takes under an hour to complete.
46. Hang a mirror with a wood or arched frame. A rounded or timber-framed mirror softens all the straight lines of tile and cabinetry. Size it to the vanity, not the wall, and centre it on the basin, not the run.
47. Add a small pendant over a freestanding tub. Where ceiling height and local rules allow, a pendant marks the bathing spot as a destination. Keep its finish in the room’s metal family and its scale modest.
48. Use warm light temperature consistently. Mixing cool and warm bulbs in one small room looks like a mistake even when everything else is right. Buy spares from the same batch so replacements match perfectly.
7. Small Rooms and Powder Rooms: Charm at a Tiny Scale
Small rooms suit this style especially well, because honest materials and simple furniture never needed much space. Think like a cottage: every item earns its place, and what remains gets finished properly.
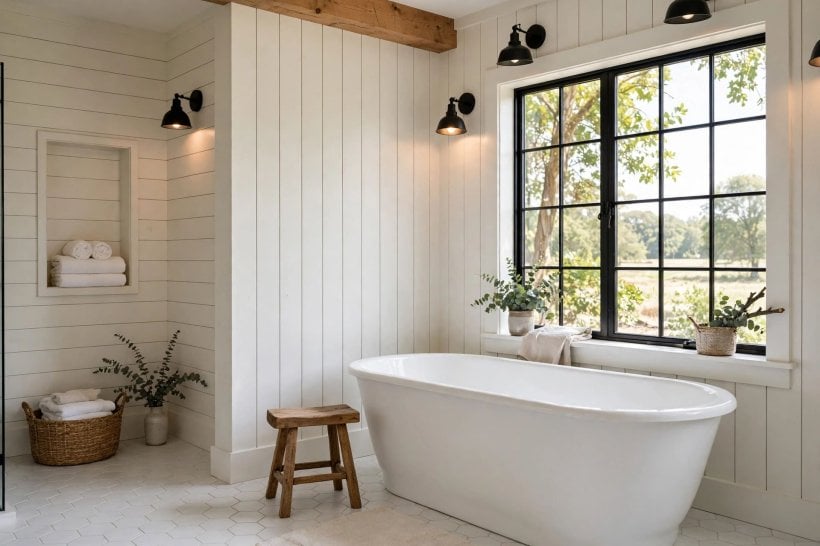
49. Choose a wall-mounted basin to free the floor. Visible floor makes a small room feel larger and cleaning simpler. Add a small shelf or a basket beneath for the items a pedestal would have hidden.
50. Use a pocket or sliding door. Where a swinging door steals fixture space, a sliding door with simple black hardware returns real room. It is also a period-appropriate detail for cottage-style homes.
51. Run boards vertically to lift the ceiling. Vertical shiplap or beadboard draws the eye up and makes a low room feel taller. Paint it the same colour as the walls for calm rather than contrast.
52. Pick one statement in a powder room. A patterned floor, a vintage mirror or a coloured vanity: choose one. Powder rooms forgive a bold moment, but two bold moments in six square metres will argue.
53. Float a narrow wood shelf as the counter. In the smallest rooms, a thick shelf with a vessel basin replaces a vanity entirely. Store a folded hand towel and spare roll in a basket tucked neatly beneath it.
54. Keep the palette lighter as size shrinks. Small, windowless rooms need warm whites and pale wood to stay cheerful. Save deep colours for a room with daylight, or use them only below a dado line.
55. Add a skirted sink for hidden storage. A simple fabric skirt around a pedestal basin hides cleaning supplies and adds softness. Choose a washable natural fabric and keep the pattern small and quiet.
56. Mirror the whole splashback zone. A mirror that runs wider than the basin bounces light into corners and makes morning routines for two less of a negotiation. Frame it simply so it suits the style.
8. Colour, Paint and Decor: Warmth Without Themed Clutter
Decor is where restraint matters most. The rooms in this tiny barn house interior collection show the same lesson at a larger scale: wood, white and a few useful objects beat themed accessories every time.
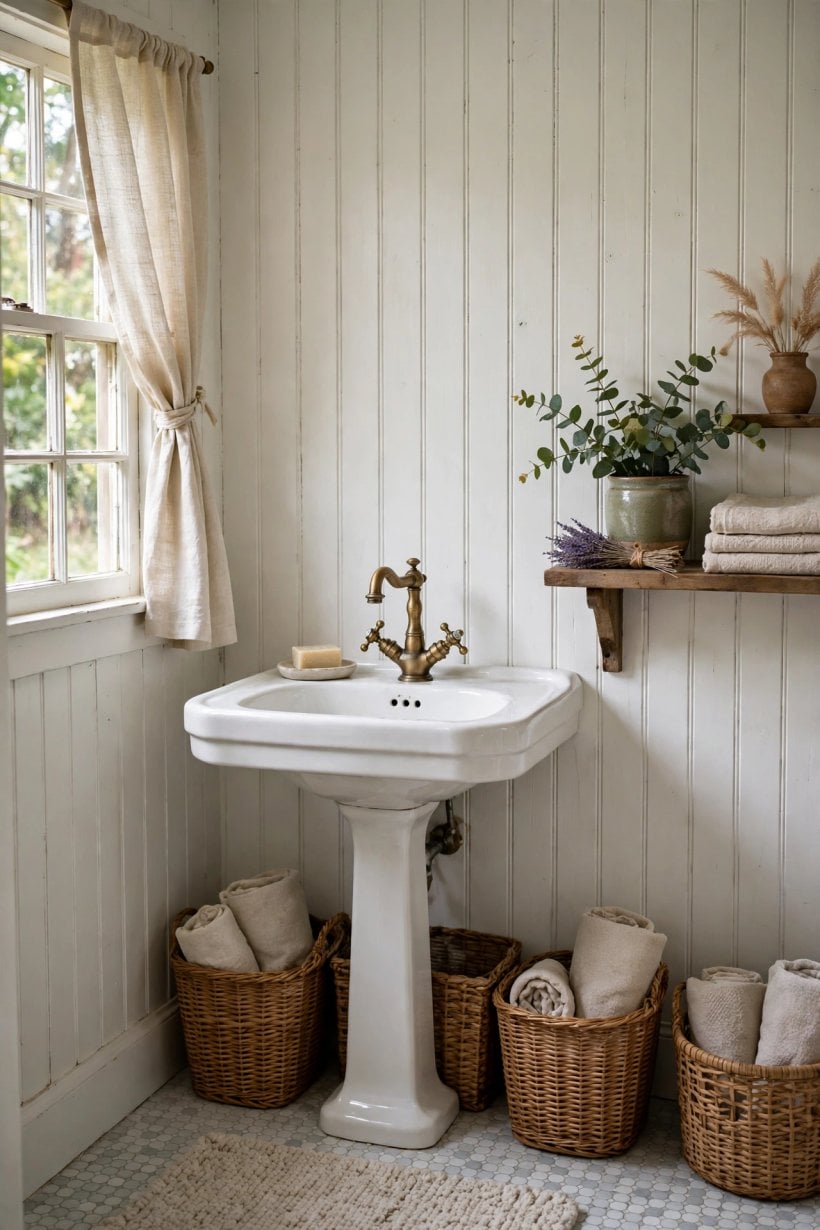
57. Paint the vanity a deep, muddy green. A desaturated green on cabinetry with brass hardware is a modern country classic. It grounds white tile, hides scuffs and still reads calm in both daylight and lamplight.
58. Try warm white before bright white. Stark blue-white fights honey wood and makes skin look tired. A warm white keeps the room bright while letting timber, linen and aged metal feel at home beside it.
59. Add black in three small places. A frame, a hook rail and a light fitting in black give the eye a rhythm to follow. Three repeats is the difference between a deliberate accent and an accident.
60. Hang one piece of simple art. A landscape print, a botanical study or a family photograph in a wood frame is enough. Bathrooms are hostile to valuable art, so choose prints you can replace without regret.
61. Layer natural textiles. A striped cotton runner, waffle towels and a linen hand towel add the softness hard rooms need. Keep colours within the palette and textures varied instead of adding more hues.
62. Bring in one living plant. A plant that tolerates humidity softens tile and signals a cared-for room. If light is poor, rotate two plants weekly rather than watching one slowly give up.
63. Display useful things, not ornaments. Folded towels, a wooden brush and a ceramic soap dish are decoration enough when they are chosen well. Anything purely decorative must justify the dusting it creates in a steamy room.
64. Keep window dressings simple. A linen cafe curtain or a plain roller in a natural tone gives privacy without fuss. Heavy treatments trap moisture and fight the clean, practical feel of the whole scheme.
9. Sensible Spending and DIY Upgrades That Actually Show
You do not need a full renovation to get most of this look. Paint, hardware, textiles and one good light fitting change the feeling of a room faster than replacing sound fixtures ever will.
65. Paint the existing vanity before replacing it. If the carcass is sound, sanding, priming and painting it in a deep country colour transforms the room for the cost of a weekend. Add new pulls to complete the illusion.
66. Refresh grout colour instead of retiling. Grout stain in a warmer tone can calm a stark white tiled room surprisingly well. It is slow, careful work, but it avoids demolition, mess and the cost of new tile entirely.
67. Frame a plain mirror with timber battens. Four stained battens mitred around a frameless mirror give it the furniture quality this style wants. Seal the wood well against steam and the job will last for years.
68. Build the shelf and hook rail yourself. A painted board, sturdy hooks and two floating shelves are ideal first projects: cheap in materials, forgiving in technique and used every single day once they are up.
69. Change only the taps and shower head. If the suite is white and sound, new metalware in one consistent finish modernises everything it touches. Keep the old fittings as spares if storage allows, just in case.
70. Spend first where hands touch. Taps, handles, hooks and the toilet flush are felt daily; quality there registers constantly. Save on the items that are only looked at, such as decorative containers and wall art.
10. Finishing Touches, Care and Keeping the Look
The last layer is maintenance and small rituals. A country room should look cared for rather than precious, and these habits connect naturally with the outdoor thinking in these tiny house landscaping ideas: simple materials, regularly tended, age gracefully.
71. Keep a simple weekly cleaning rhythm. Glass, taps and the basin weekly; grout lines monthly. Little and often protects every finish in this style, especially wood and unlacquered metal, which reward gentle consistency.
72. Oil or reseal wood surfaces on schedule. Vanity tops, shelves and stools near water need their protective coat renewed before it fails, not after. Put the date in your calendar the day the room is finished.
73. Rotate towels and textiles by season. Heavier stripes in winter, paler linen in summer: the room feels renewed twice a year with no new purchases, just a cupboard decision and ten unhurried minutes.
74. Keep spare parts for your fittings. A washer, a matching handle screw and a spare tile stored safely will save a future weekend. Label them in a small box that lives with the cleaning basket.
75. Edit the room twice a year. Remove everything from shelves and counters, clean, and put back only what is used or genuinely loved. This single habit is what keeps open storage looking styled instead of stored.
Final Considerations
Build the look in order: layout, surfaces, storage, light, then decor. That sequence protects your budget, because each layer is decided before money is spent on the next, and it prevents the classic mistake of beautiful accessories in a room that does not work.
Above all, let the room be used. Honest materials, a short palette and storage that matches real routines will still look right in ten years, long after themed accessories would have dated. Start with the idea closest to your biggest daily annoyance, finish it completely, and let that success set the pace for the rest.


0 Comments