

A metal roof should outlast the tiny house under it, but most leaks are not the metal’s fault. They come from two beginner mistakes: trim layered in the wrong order, and screws driven in the wrong spot. This guide walks through both, then shows you how the installer below turns two simple measurements into a complete material list.
1. At a Glance: Panels, Coverage and the Material List
The tool on this page calls itself a digital foreman for installing R-Panel (PBR) roofing, and it works like one. Feed the metal roofing material calculator two dimensions, pick a panel type, and it returns a full bill of materials: how many metal panels you need in sheets, a fastener count for the screws, and the linear feet of eave trim (drip edge), gable/rake trim, ridge cap and closure strips, inside and outside. Every total already includes a 10% waste factor, with the tool’s own sensible footnote: verify with your supplier before you order.
| Panel type | Coverage width | What to know |
|---|---|---|
| R-Panel / PBR | 36″ coverage | The profile this installer is built around, with the screw trainer and layering guide written for it |
| Standing Seam | 16″-24″ coverage | Narrower panels, so more of them cover the same roof |
| Corrugated | 24″-26″ coverage | The classic wavy profile, between the other two on coverage |
| Waste factor | 10% included | Built into every calculation, so cuts and mistakes are already allowed for |
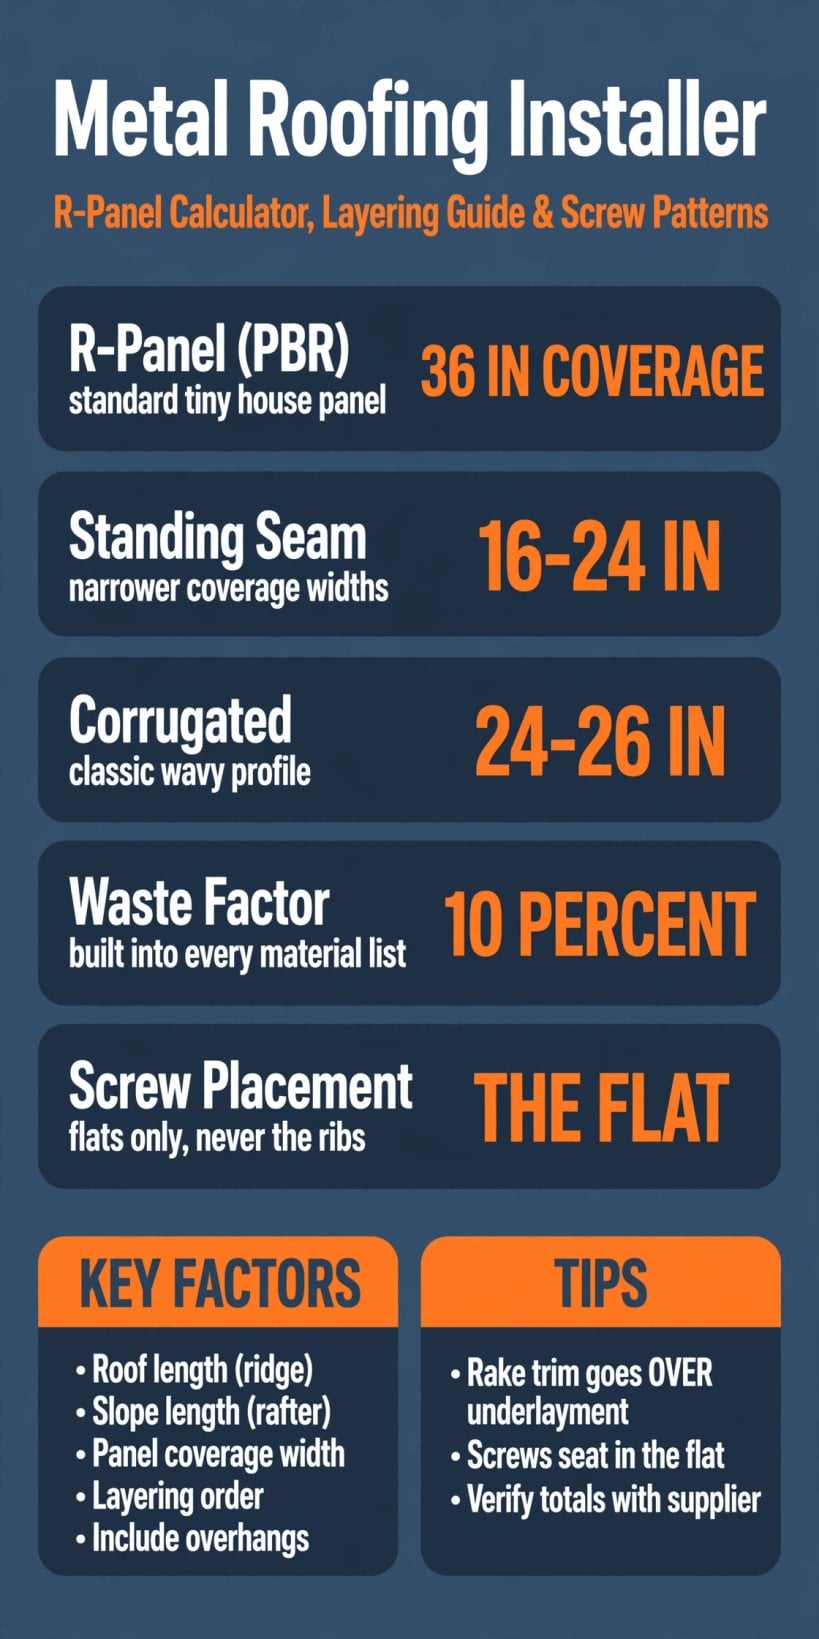
The three panel types at a glance, the 10% waste factor built into every total, and the one rule that prevents most leaks: screws belong in the flat.
Coverage width is the quiet driver of the whole list. A roof does not care how wide a panel is in the catalog; it cares how much roof each sheet actually covers once it laps with its neighbor. Wider coverage means fewer sheets, fewer laps and fewer screws. The sections below take the install in the tool’s own order: materials first, then drip edge and layering logic, then the screw pattern that decides whether the finished roof sheds water or collects it.
2. Why a Metal Roof Suits a Tiny House
A tiny house asks a lot of its roof. The roof is a large share of the whole building envelope, it travels at highway speed if the house ever moves, and it must stay watertight over a small interior where a single drip lands somewhere you care about. Metal panels answer that brief well: they go on as large, light sheets rather than hundreds of small pieces, and they install quickly once the layering order is understood.
Light matters on a house that may ride on a trailer. Every roofing layer has weight, and the honest way to weigh a metal roof against the alternatives is to run the comparison in our roofing weight impact calculator, which puts roof build-ups on the same scale as the rest of the build. Metal’s advantage is that the weather surface itself is thin; most of the roof’s substance is the deck and underlayment you would install under almost any finish.
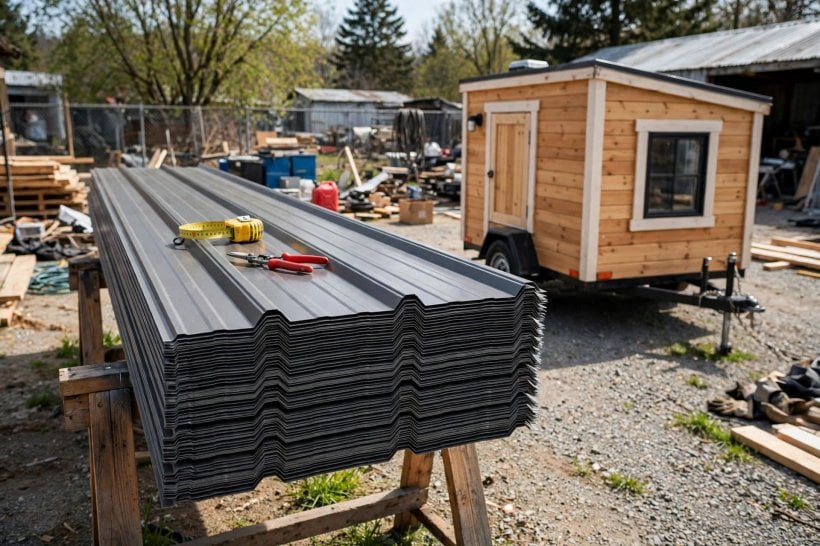
The second advantage is repairability. A panel roof is a system of identifiable parts — panels, trim pieces, closure strips and screws — and a damaged sheet or failed fastener can be replaced without stripping the whole roof. The installer below treats the job the same way: not as a pile of materials, but as an ordered assembly where each part has one correct place.
3. The Two Measurements: Ridge Length and Slope Length
The calculator asks for only two dimensions, and both deserve a tape measure rather than a guess. Roof Length (Ridge) is the horizontal run of the roof along its peak. Slope Length (Rafter) is the distance from the ridge down to the eave, following the slope. Together they describe one side of the roof, and the tool’s math works on the standard tiny house gable: two sides, calculated and doubled.
One instruction in the tool is easy to skim past and expensive to ignore: “Include overhangs!” The slope length must run past the wall line to the edge of the eave overhang, because the panel has to cover that overhang too. Measure to the wall instead and every panel arrives short, the eave trim count comes up light, and the shortfall is discovered on the day of the install, with the deck open to the sky.
The tool’s example entries — a 24 ft ridge and a 14 ft slope — show the scale of a typical tiny house roof, but your trailer is the authority, not the example. Measure both slopes if your roof is not symmetrical, and measure twice: the 10% waste factor forgives cutting mistakes, not measuring ones.
4. Panel Types and Coverage: R-Panel, Standing Seam, Corrugated
The panel type menu is where the material list really gets decided, because coverage width converts roof area into sheet count. R-Panel and its PBR variant cover 36″ per sheet — three full feet of roof per panel — which is why this profile is the tool’s home ground: broad coverage and fast installation. Choose it and the panel count stays low and the screw count stays manageable.
Standing seam covers 16″-24″ per panel, and corrugated covers 24″-26″. The narrower the coverage, the more sheets, laps and fasteners the same roof consumes — which is not an argument against them, just arithmetic to see before you commit. Profile choice also interacts with the roof’s working life: loads the roof must shrug off, from weather to whatever lands on it, are worth checking alongside the panel decision in our tiny house snow load calculator.
Whatever profile you choose, choose it before you order trim. Eave trim, rake trim, ridge cap and closure strips are all profile-dependent — closure strips are literally molded to the shape of the panel they seal — so the panel type is the decision every other line on the bill of materials hangs from.
5. Reading the Bill of Materials: Panels, Screws and Trim
Press “Calculate Materials” and the tool lays out the shopping list in six lines. Metal Panels comes back in sheets. Fasteners (Screws) comes back as an approximate count, marked with a “~” because screw totals depend on the pattern holding across every panel. Then the trim: Eave Trim (Drip Edge), Gable/Rake Trim and Ridge Cap, each in linear feet, and Closure Strips in feet for inside and outside, because the profile must be sealed at both ends of the sheet.
Read the list as two budgets. Panels and screws are the field of the roof, where counts scale with your dimensions. Trim and closures are the edges — and every leak path on a metal roof is an edge, a lap or a penetration, never the middle of a sound sheet. That is why the tool counts trim in feet at all instead of waving at it as an accessory.
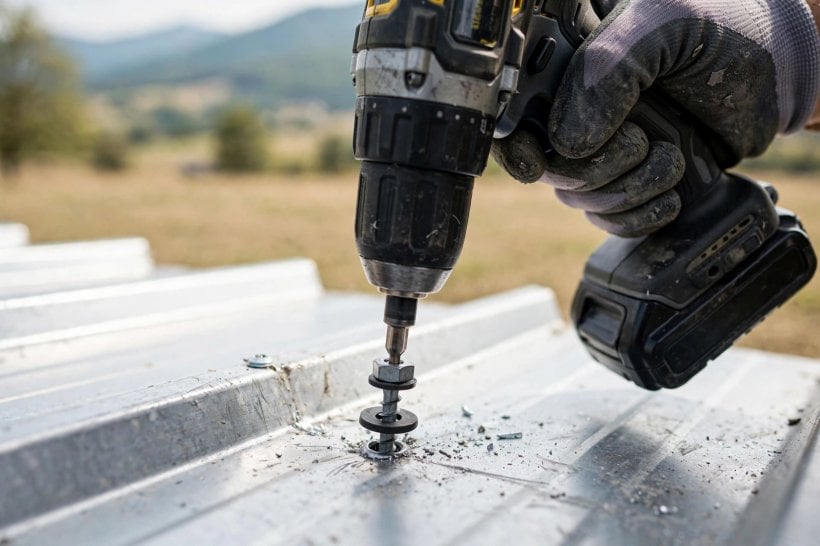
Two habits protect the order. First, respect the 10% waste factor rather than trimming the order back to the exact figures — it exists for the miscut panel, the dropped trim length and the screw count that always runs higher than the estimate. Second, follow the tool’s own closing advice and verify with your supplier: panel lengths, trim profiles and closure shapes vary by manufacturer, and the supplier confirms your list against the actual product you will receive.
6. The Water Shedding Stack: Layering in the Right Order
The second step of the tool, the drip edge logic, teaches the idea the whole roof depends on: the “Water Shedding” Stack. A roof does not keep water out with one heroic waterproof layer. It works like shingles on a larger scale — every layer overlaps the one below it, so water is always directed onto a surface that carries it further down and out.
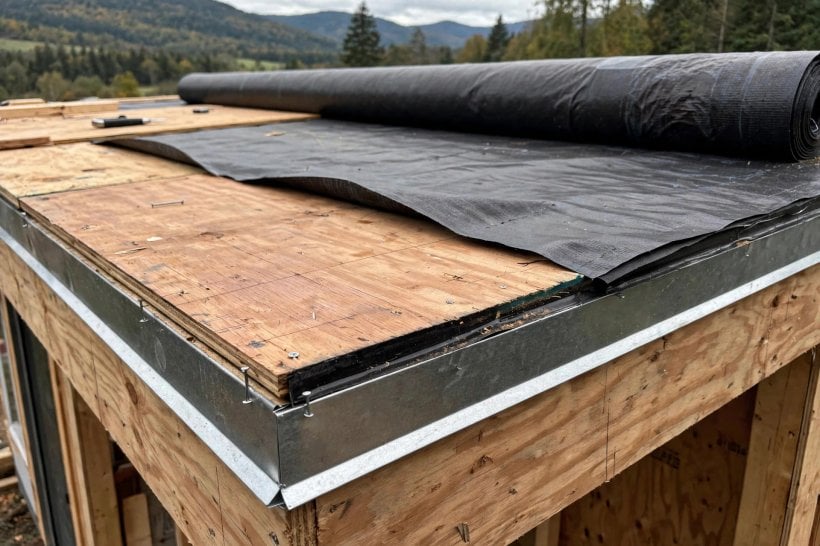
The stack, in the tool’s order, is four layers. Layer 1 is the deck and eave drip edge. Layer 2 is the underlayment — the tool names ice and water shield. Layer 3 is the rake/gable trim. Layer 4 is the panels themselves. Memorize that sequence before install day, because it cannot be corrected afterward without taking the roof apart again: once the panels are screwed down, the order of everything beneath them is permanent.
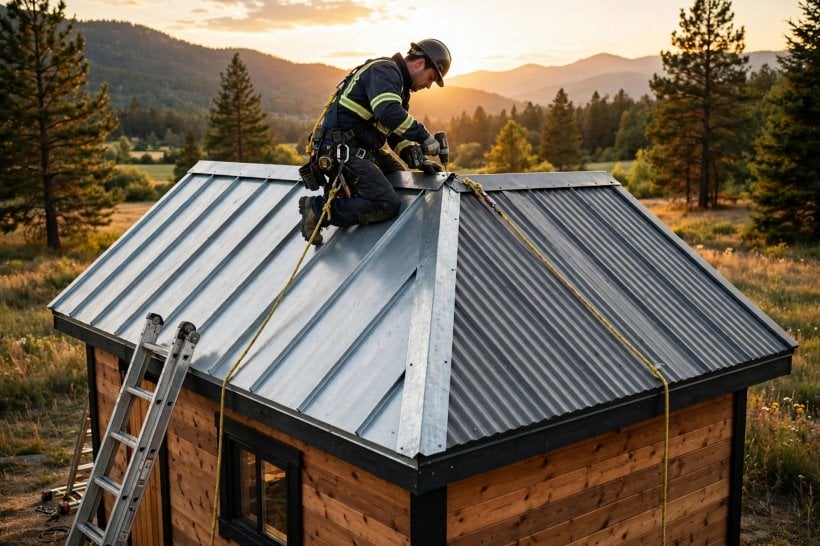
Layering also has a structural partner: the assembly only sheds water if it stays attached. Trim and panels held by correctly placed fasteners resist the wind that tries to lift edges and start the failure — the fastening side of that problem is explored in our roof uplift and hurricane tie calculator. Order first, fastening second: the tool teaches them in that sequence for a reason.
7. The Rake Trim Mistake: The Most Common Leak on a Tiny House Roof
The tool states it without hedging: the most common leak on a tiny house roof happens because the rake trim (gable trim) is installed under the felt paper — the underlayment. It must go over. That single inversion is the “Incorrect Layering” mistake the whole installer was written to prevent, and it is an easy mistake to make, because on the day, laying the trim early feels tidy and efficient.
Think about what the order does to water. Rain driven against the gable edge meets the rake trim first. If the trim sits over the underlayment, water that gets behind the trim lands on the underlayment and is carried down and away, exactly as the stack intends. If the trim sits under the underlayment, water running down the felt reaches the trim’s edge and is directed underneath it — into the deck and the wall below. Same materials, same roof, opposite result: the order is the waterproofing.
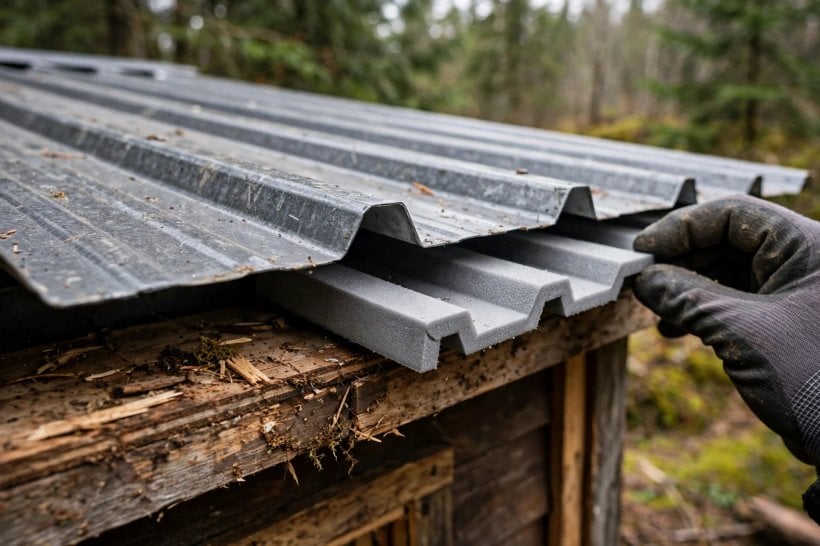
The eave tells the same story from the other side. The eave drip edge goes on at layer 1, before the underlayment, so the felt can lap over it and deliver water cleanly off the roof. Two edges, two opposite-looking orders, one principle: follow the water downhill and make every lap work for you. The ridge has its own version of the problem — how the peak is vented and capped — which our tiny house roof venting visualizer works through in section.
8. Screw Placement: Why the Flat Seals and the Rib Leaks
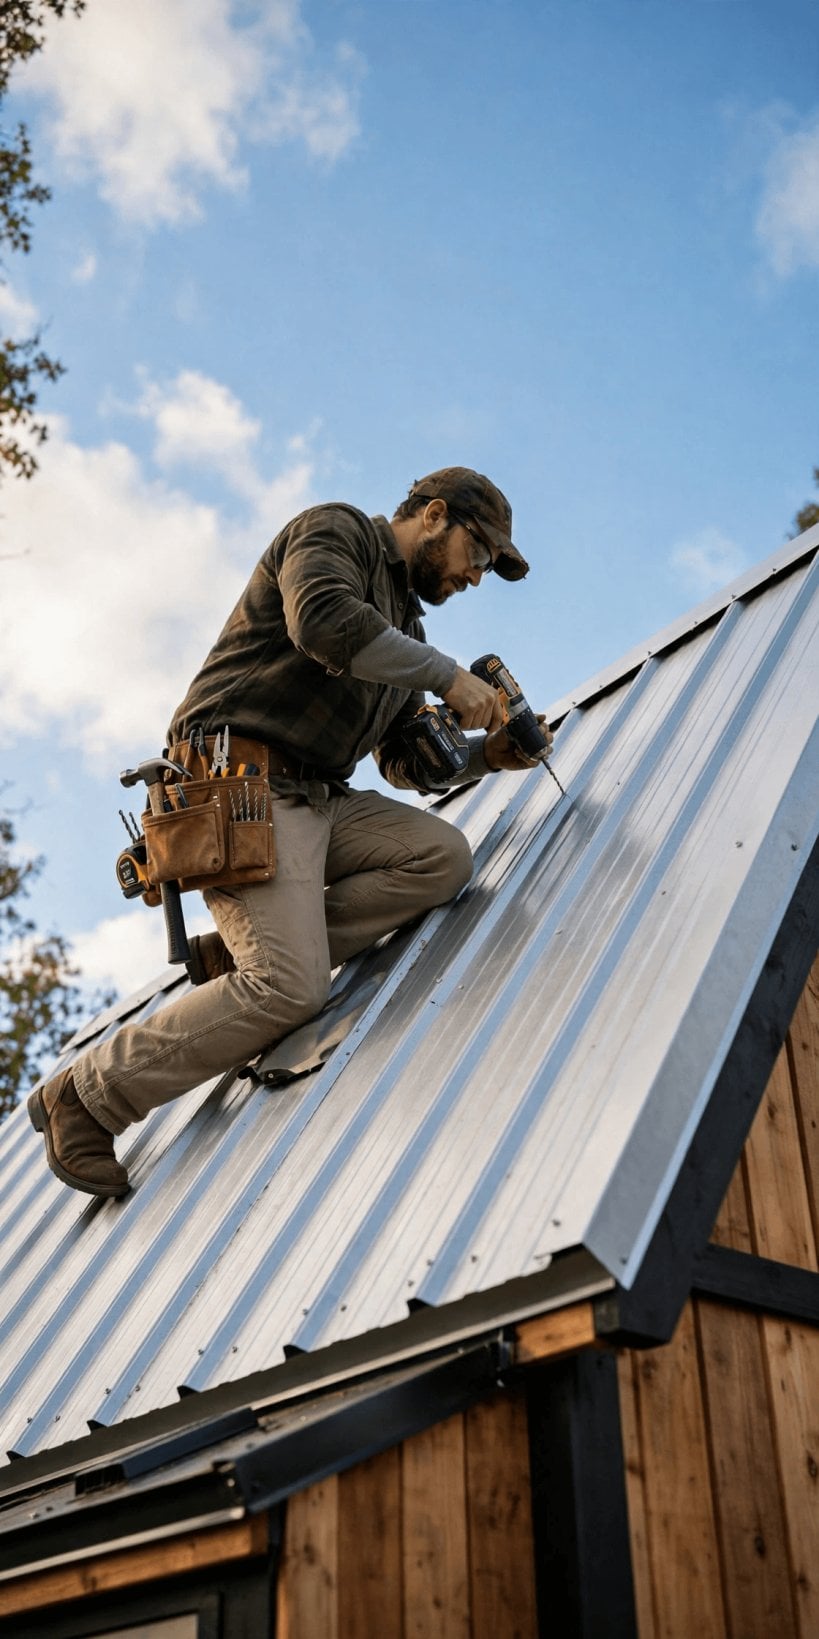
The third step is the screw pattern, taught through the tool’s “Screw Pattern Trainer”: an interactive R-Panel profile that asks you to click where the screw should go. The trainer drills in the second of the tool’s two big mistakes — wrong screw placement: screws in the ribs instead of the flats, or screws that miss the purlins and bite nothing solid.
The tool’s explanation is headed “Why the Flat?” and it is pure mechanics. For R-Panel (PBR), screws go in the flat to compress the washer tightly against the solid wood deck. The washer is the actual seal: a ring squeezed evenly between the screw head and the panel, closing the hole the screw just made. In the flat, the panel lies tight against the deck, so the washer compresses fully and stays compressed.
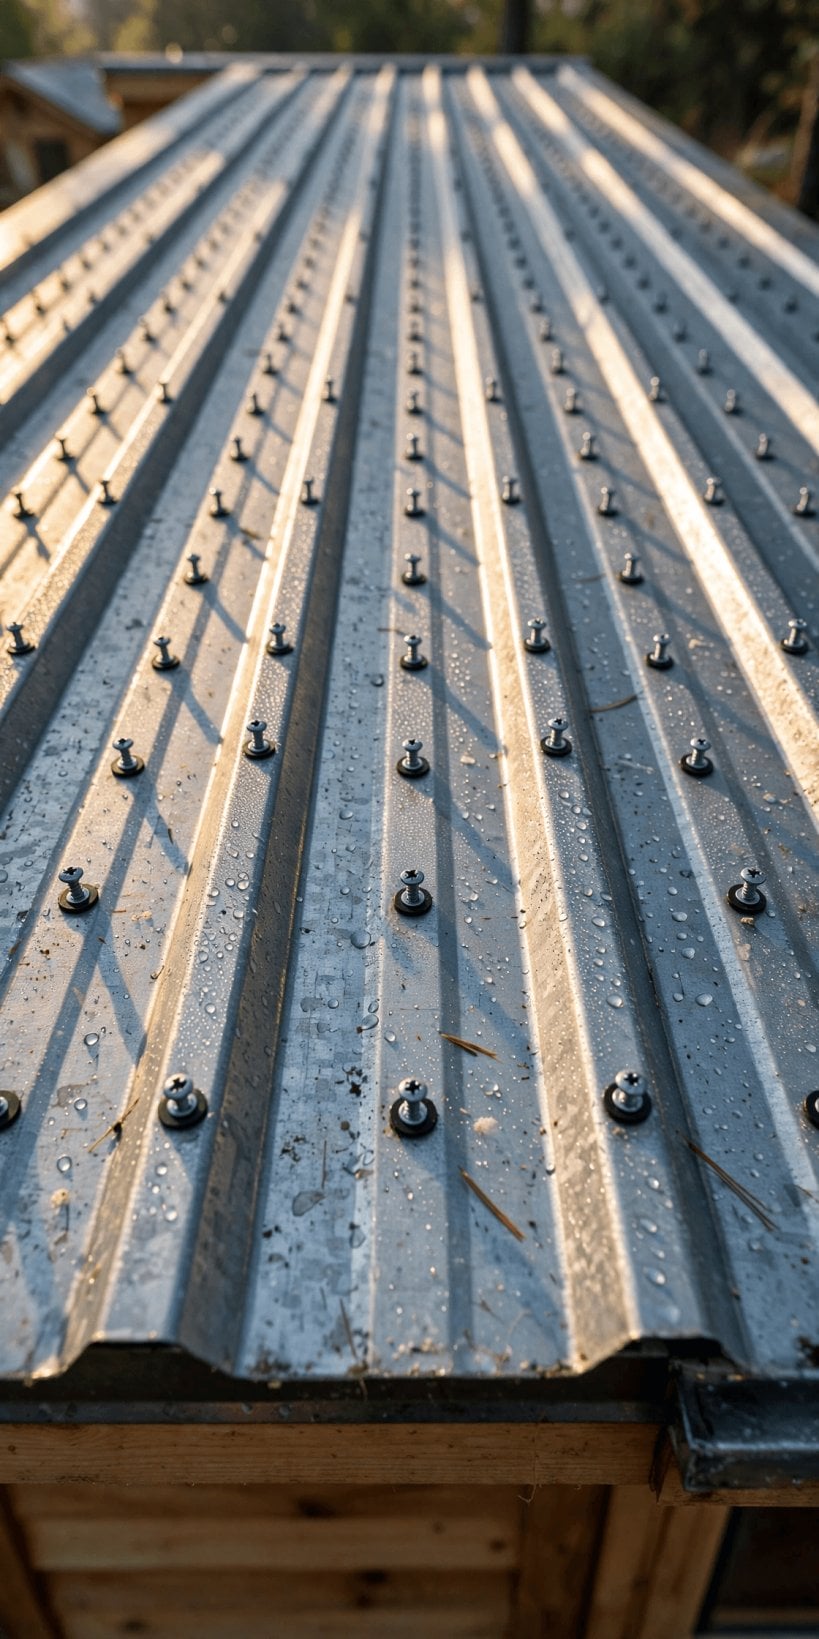
Screw into the rib instead and the geometry betrays you. Without a special clip, the raised rib has air beneath it, so tightening can crush the metal down, the washer will not seal evenly, and thermal expansion — the daily cycle of the metal growing and shrinking — works the badly seated screw loose. The result is the classic metal roof leak: not a failed panel, but a hole that opened itself around a fastener. Placement is the roof’s whole maintenance future, decided in one afternoon.
9. Trim and Closure Strips: Sealing Every Edge
Trim is the part of the material list beginners most often under-order, because it looks decorative. It is not. Eave trim (drip edge) starts the stack at the bottom edge. Gable/rake trim closes the sloped edges where panel ends would otherwise lift and admit driven rain. Ridge cap seals the peak, where two slopes meet and neither can lap the other. Each piece exists because an edge exists.
Closure strips do the subtler job. An R-Panel is not flat — its ribs leave profile-shaped gaps wherever a sheet ends at the eave or ridge. Foam closure strips are molded to that profile and fill those gaps, inside and outside, which is why the calculator counts them for both. Left open, the gaps invite wind-driven rain, insects and nesting pests; sealed, the profile becomes a closed system.
Any opening cut through the roof — a vent, a chimney, above all a skylight — interrupts this closed system and needs the same edge discipline doubled. If your roof plan includes one, work through our metal roof skylight flashing guide before the panels go on, because flashing a penetration is a layering problem of exactly the kind this installer teaches, and it is far easier to plan than to retrofit.
10. Running the Installer on Your Own Roof
Work the tool the way it is laid out: three steps, in order. In step 1, Material Calc, enter your ridge length and slope length — overhangs included — choose your panel type, and press Calculate Materials. Read all six lines of the bill of materials, and sanity-check them against your measurements before anything else: sheets for the field, an approximate screw count, trim in feet, closures inside and outside.
In step 2, Drip Edge Logic, walk the water shedding stack until the order is automatic: deck and eave drip edge, underlayment, rake trim over the underlayment, panels last. In step 3, Screw Pattern, take the trainer seriously — click the profile, get it wrong safely on a screen, and understand why the flat is the only right answer before a real drill makes the lesson permanent.
Then, and only then, order — with the 10% waste factor left in and the list verified against your supplier’s actual panels and trim profiles. The metal roofing material calculator cannot climb the ladder for you, but it removes the two errors behind most DIY metal roof failures.
Final Considerations
A metal roof fails at its decisions, not its materials. Get the count right with the calculator, get the layering order right with the stack — rake trim over the underlayment, never under — and get the fasteners right by seating every screw in the flat where its washer can seal against solid deck. Those three disciplines turn a pile of panels and trim into a roof that sheds water for decades.
The roof also belongs to the whole exterior system: what covers the walls beneath it is the natural next decision, and our shou sugi ban (yakisugi) siding visualizer explores a charred-wood finish that pairs with metal roofing on many tiny houses. Plan the roof with the tool below, in its own three steps, and the install becomes what it should be: an afternoon of assembly, not a season of leak hunting.
Metal Roofing Installer
This tool acts as a digital foreman for installing R-Panel (PBR) roofing. It solves the two biggest mistakes DIYers make: Incorrect Layering (putting the rake trim on before the underlayment) and Wrong Screw Placement (putting screws in the ribs instead of the flats, or missing the purlins).
It includes a “Screw Pattern Trainer”—an interactive SVG where users must click the correct spot on the panel profile to learn where fasteners go to prevent leaks.
Metal Roofing Installer
R-Panel Calculator, Layering Guide & Screw Patterns.
Roof Dimensions
Include overhangs!
Bill of Materials
*Calculations include 10% waste factor. Verify with supplier.


0 Comments