

A skylight is a hole you cut in your roof on purpose — and on a metal roof, whether that hole stays dry for decades or rots the deck within a few seasons comes down to one thing: the order of the layers around it. This guide walks through the over-under rule, the six-step water-shedding stack and the sealant myth, then hands you the simulator below to test your own stack before the rain does.
1. At a Glance: The Water-Shedding Stack in Brief
The tool further down this page visualises the “Water-Shedding Stack” — the layered build-up of curb, membrane, panels and flashing around a skylight on a metal roof. Its central lesson is that waterproofing here is not a product you apply but an order you follow: materials are layered in shingle fashion, so every upper piece overlaps the piece below it and water is handed downhill from one surface to the next. Its Rain Simulator lets you toggle layers on and off and run the “Test for Leaks” check, so you can watch how water gets trapped when the head flashing is installed on top of the roof panels instead of underneath them. The table below sums up the whole system before we take it apart piece by piece.
| Element | The Rule | Why It Matters |
|---|---|---|
| Head flashing | Goes UNDER the top roof panel | Water off the upper panels lands on the flashing and is carried past the skylight instead of being funnelled under the metal. |
| Bottom apron | Goes OVER the bottom roof panel | Collects water from the skylight’s sides and sheds it onto the panels below. |
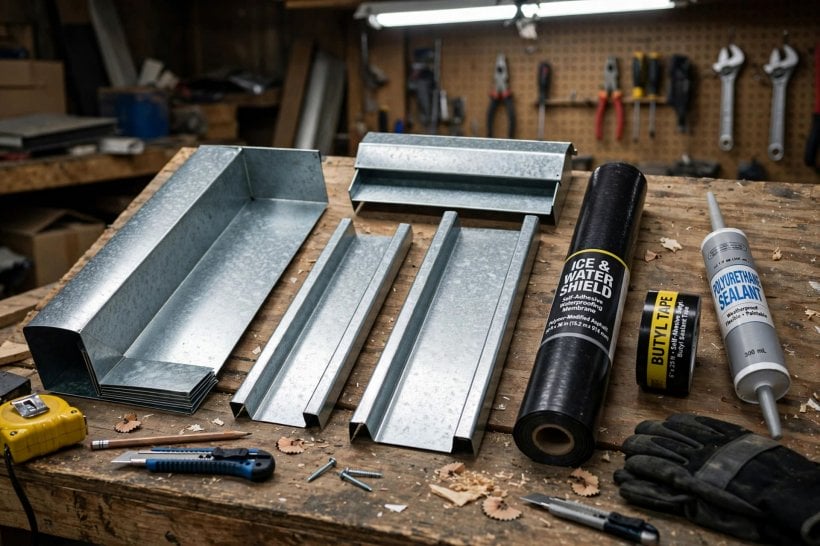
| Ice & water shield | Wrapped around the curb, beneath all the metal | The safety net under the flashing stack if wind-driven rain gets past the outer layers. |
| Installation order | 6 steps, in shingle fashion | Deck and curb first, top panels last — each step creates the overlap the next step depends on. |
| Caulk as the only seal | Never the primary defence — it fails within 2-5 years | Exposed sealant dries and cracks; caulk alone makes the skylight a leak on a timer. |
| Mechanical flashing | Overlapping metal does the waterproofing — it lasts 50 years | Lapped metal sheds water by geometry, not chemistry, so it keeps working for the life of the roof. |
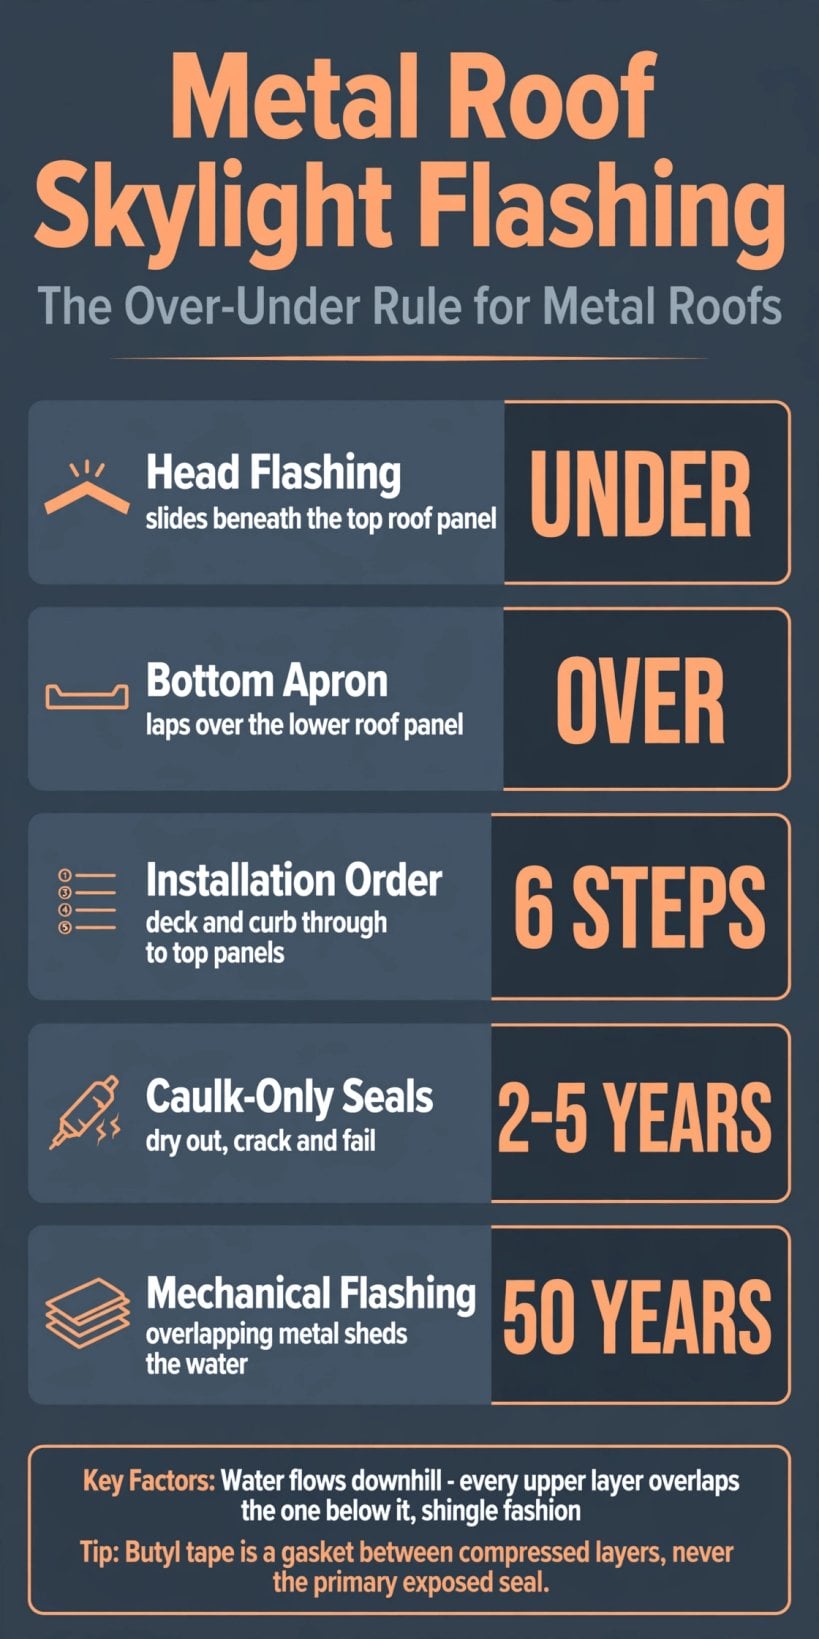
The whole system on one card: head flashing under, bottom apron over, six steps in shingle fashion — and mechanical flashing that outlasts a caulk-only seal by decades.
2. Why Skylights Are the Hardest Hole in a Metal Roof
A metal roof works because it is a continuous skin. Long panels run from ridge to eave, their seams raised or locked, and rain landing anywhere on it has an unbroken downhill path off the edge. The moment you cut an opening for a skylight, you interrupt that path. Water flowing down the panels now meets an obstacle in the middle of the slope, and it does what water always does: it piles up against the uphill side and probes for a gap — and the route it finds will be through your roof unless you have deliberately built it a better one.
A skylight is wide, it has four distinct edges, and each edge faces the weather differently: the head edge dams the flow, the side edges channel it, and the bottom edge must release it back onto the roof. Every roof penetration has to be layered into the field of the roof rather than stuck on top of it — the same thinking behind the roof vents in the tiny house roof venting visualizer — but a skylight’s layering is the longest and least forgiving of a reversed overlap.
3. The Over-Under Rule: Thinking Like Water
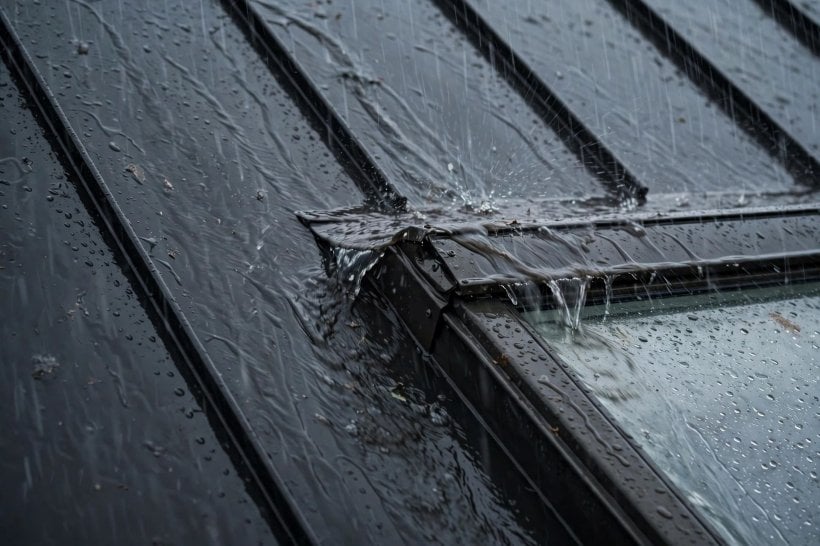
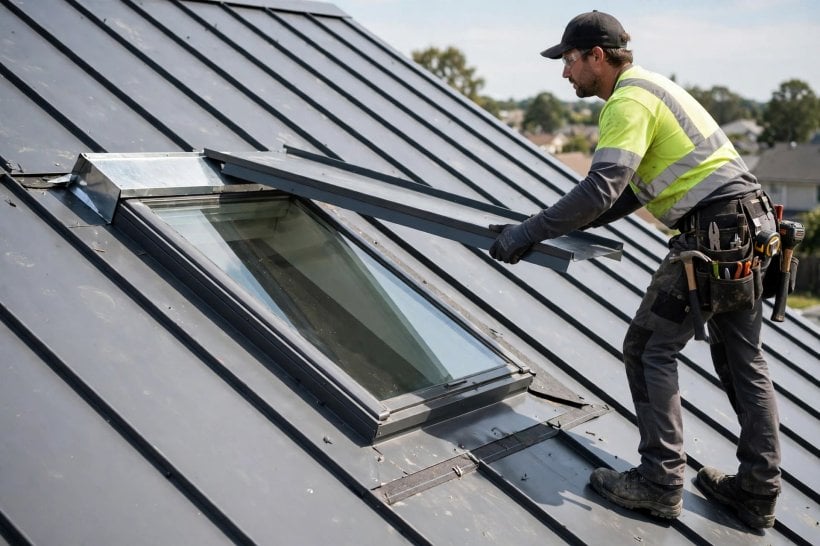
The tool states its golden rule in three words: think like water. Water flows downhill, and it follows the surface it is on until that surface ends. So the rule for every junction around the skylight is simple — always layer materials so the upper piece overlaps the lower piece. At the head of the skylight, the roof panel is the upper piece, so the panel goes over the head flashing, and water steps down from panel to flashing without meeting an upward-facing edge. At the bottom the apron is the upper piece, so it goes over the panels below and water steps down from apron to panel and away.
That single rule is the heart of metal roof skylight flashing: every piece either tucks under the layer above it or laps over the layer below it, and there is no third option. Reverse one junction — set the head flashing on top of the upper panels, the mistake the Rain Simulator demonstrates — and you have built a funnel. Water running down the panels reaches the raised edge of the flashing, dives underneath it, and from there it is inside the roof build-up, rotting the deck unseen.
4. The Flashing Kit: Apron, Side and Head Flashing
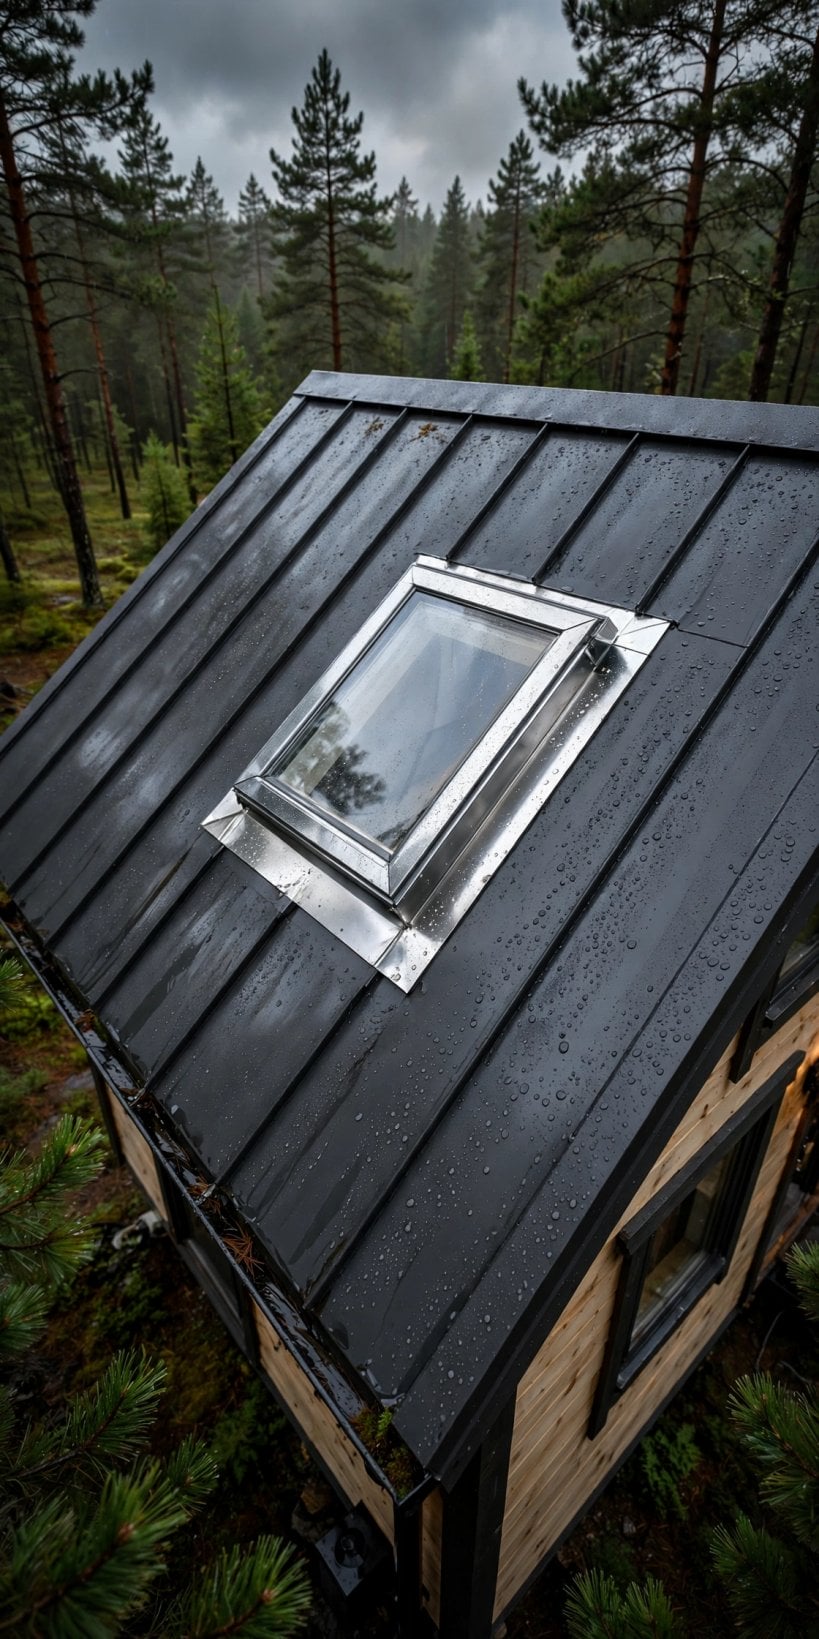
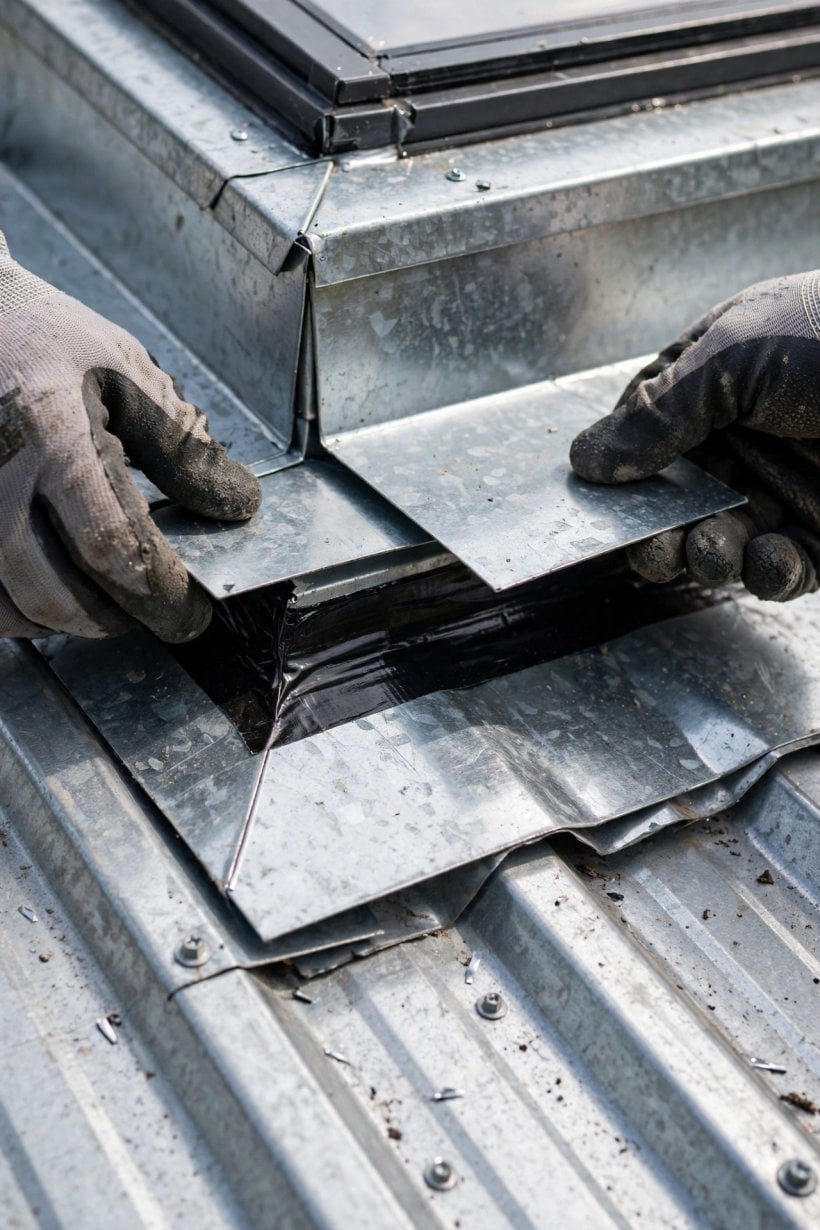
Around the four edges of the skylight sit three kinds of flashing, and the tool reduces their teamwork to one flow path: Head Flashing → Side → Apron → Lower Panel. Read it as the biography of a raindrop. Rain landing above the skylight is intercepted by the head flashing, which lies under the top panels and delivers it out onto the sides of the unit. The side pieces catch that flow and channel it down along the curb’s edges. At the bottom, everything is handed to the apron, the wide piece that laps over the lower panels and releases the water back onto the open roof, safely outside the building.
Each piece is shaped for its edge: the head flashing must slide up under the panel above, the side pieces must step the water down the slope in sequence, and the apron must spread wide enough to throw water clear of the curb’s corners, the fiddliest points of the detail. Buy a kit matched to the skylight or have pieces bent for the job — the shapes only work in the order above. While planning the roof itself, the metal roofing installation and material calculator helps you work out the panels and trim the skylight interrupts, so the flashing plan and panel plan are made together, not discovered separately on the roof.
5. Curb-Mounted vs Deck-Mounted Skylights
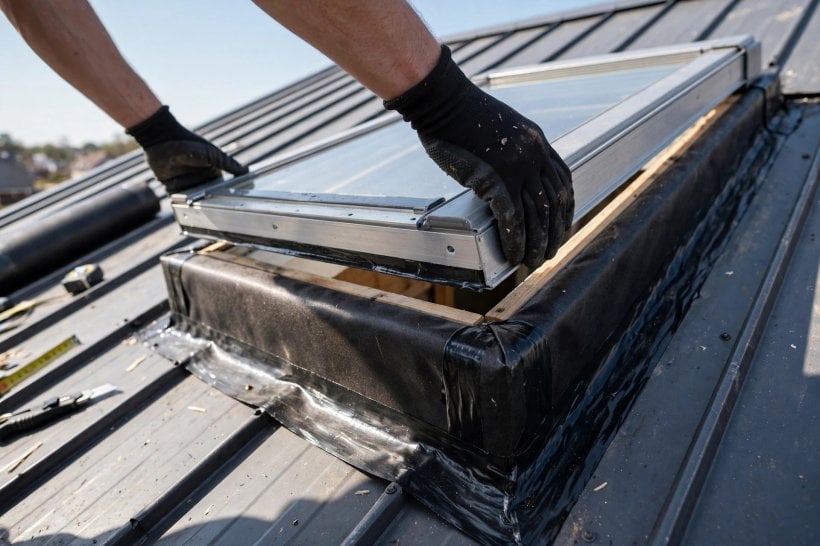
The first step in the tool’s sequence is “Deck & Curb,” and choosing a curb is itself a flashing decision. A curb-mounted skylight sits on a raised frame that lifts the unit up out of the plane of the roof. That height is working room: it gives the membrane somewhere to climb, gives the head flashing a vertical face to protect, and raises the glass and its seals above the sheet of water that flows down the roof in heavy rain. On a metal roof, the curb is the foundation the whole stack of overlaps is built against.
A deck-mounted skylight sits low, its frame fixed directly in the plane of the roof covering. In the middle of long metal panels it leaves far less room to build the layered stack this guide describes, and it puts the unit’s edges exactly where the water wants to travel. Whichever style you choose, a framed curb and the unit concentrate weight in one bay of the roof — the roofing weight impact calculator is a useful sanity check on the load before you commit to the opening’s position.
6. The Membrane Wrap: Ice & Water Shield Under Everything
Step two of the sequence, straight after the curb is built, is the membrane wrap: ice & water shield applied over the curb and lapped out onto the roof deck around it. This self-adhering membrane is the layer nobody sees once the metal goes on, and it does two jobs. The first is backup: if wind drives rain up under a lap, or a seam in the flashing stack is ever breached, the membrane keeps that water out of the deck and framing while the fault waits to be found. The second is sealing around the curb’s fixings and joints, closing the small gaps carpentry always leaves.
The membrane obeys the same over-under discipline as the metal above it. It wraps up the curb’s faces, so its top edge sits protected under the flashing, and laps onto the deck in the direction that sheds water outward. It is the same detailing instinct as the ground-level work in our guide to sealing and weatherproofing sill plates and corners is the ground-level cousin of this roof-level wrap. Skipping the membrane to save an hour is false economy: it is the only layer in the stack that forgives a mistake in all the others.
7. Sealants and the Silicone Myth
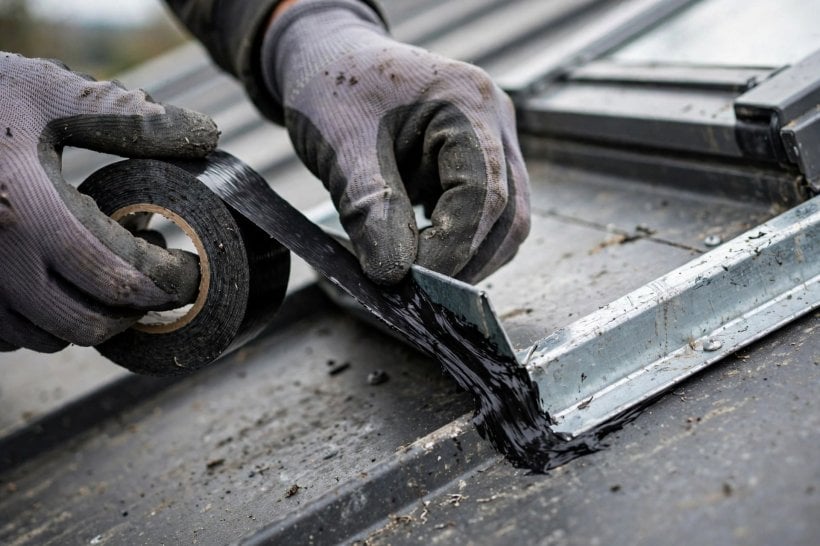
The tool gives this section its own heading — “The Silicone Myth” — and its own blunt warning: do not rely on caulk to stop water. Caulk dries, cracks, and fails within 2-5 years. An exposed bead of sealant lives the hardest life on the roof: baked by sun, worked back and forth as the metal expands and contracts, and frozen and thawed through the winters. It is a surface coating asked to do a structural job, and it may appear to do it for a couple of seasons — until the first crack opens a path straight into the curb.
Set that against the alternative: mechanical flashing — overlapping metal — lasts 50 years. Sealant stops water by sticking to it; flashing stops water by geometry, by putting a downhill overlap in its way, and geometry does not dry out. Sealant still has one legitimate role in the stack: use butyl tape sealant only as a gasket between compressed layers, never as the primary exposed seal. Hidden between fastened layers, butyl stays flexible and out of the sun. The moment a bead of anything is smeared on the outside of a joint as the main line of defence, the clock on that 2-5 year failure starts ticking.
8. The Six-Step Installation Order
Everything in this guide converges on a sequence, and the tool lists it as six steps that must happen in this order. Step 1: Deck & Curb — build the wood curb on the roof deck. Step 2: Membrane Wrap — wrap the curb in ice & water shield. Step 3: Lower Panels — install the roof panels below the skylight. Step 4: Bottom Apron (OVER) — fit the apron so it laps over those lower panels. Step 5: Side & Head Flashing — set the side pieces and the head flashing around the curb. Step 6: Top Panels (OVER) — lay the upper panels so they lap over the head flashing, completing the stack.
Notice how the order is forced by the overlaps. The lower panels have to exist before the apron can lap over them; the head flashing has to be in place before the top panels can lap over it. Work out of sequence and a correct overlap becomes physically impossible without stripping work back off the roof. It is the same build-up logic as framing a small roof in the right order, covered in our walkthrough of framing a shed roof tiny house: each layer goes on expecting the one that covers it. When step six is done, trace a raindrop in your head from ridge to eave, across the skylight: it should never meet an edge that faces uphill.
9. Flashing Mistakes That Trap Water
The mistakes that rot decks are rarely exotic. The first is the one the Rain Simulator exists to expose: head flashing installed on top of the roof panels instead of underneath them. It looks tidy from a ladder and is easier to fit as an afterthought, but it turns the slope above the skylight into a catchment pouring water under the metal. The second is the silicone myth in action — a stack assembled loosely and then “sealed” with exposed caulk, which converts a fifty-year detail into a two-to-five-year one. The third is sealant used as the primary exposed seal anywhere in the stack, instead of a butyl gasket hidden between layers.
The quieter mistakes are omissions. Leaving out the membrane wrap removes the safety net that forgives every other small error. Leaving the apron’s corners short lets side-flashing water escape sideways at exactly the point where the curb meets the lower panels. And treating the six steps as a suggestion — apron before lower panels, top panels before head flashing — locks a reversed lap into the roof where it cannot be seen or fixed without dismantling the detail. Every one of these errors shares a trait: the roof looks watertight the day it is built, and the failure is scheduled for the first serious rain — which is why the “Test for Leaks” step belongs in the build, not after it.
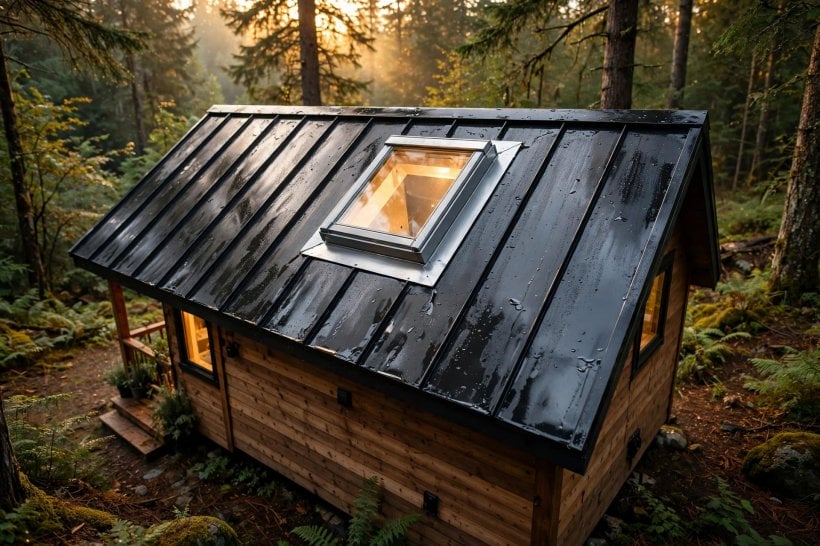
10. Maintenance, Inspection and Planning Ahead
A correctly flashed skylight is nearly maintenance-free, but not entirely: once in a while, and always after major storms, the detail deserves a look from the ladder: check that no lap has lifted, that debris is not damming water against the head flashing, and that any gasketed joints still sit compressed and tidy. Debris is the underestimated enemy: a mat of leaves above the skylight holds water against the head junction far longer than any rainstorm does. In snow country, remember the load on and around the unit too; the tiny house snow load calculator covers what it asks of the roof.
Planning ahead starts before the roof is ordered. Choose the skylight’s position with the panels in mind: the closer the opening sits to panel seams and trim lines, the more complicated the side flashing becomes, and pitch matters too, because the slope sets how energetically water arrives at the head of the unit, as our article on roof pitch and how water behaves on it explains. Order the flashing kit with the roofing materials, not after them, and walk the six-step order with whoever is climbing the ladder before a single panel is cut.
Final Considerations
Flashing a skylight into a metal roof is not difficult because the pieces are complicated; it is difficult because the order is unforgiving. Think like water, keep every upper layer overlapping the one below, let overlapping metal — not caulk — do the waterproofing, and build the stack in its six steps from curb to top panels. Done that way, metal roof skylight flashing stops being the roof’s weak point and becomes just another part of its skin. The water your roof sheds so carefully is also a resource: if you plan to catch it, the guide to rainwater harvesting and roof catchment sizing picks up where this one leaves off. Before you build, scroll down to the simulator, toggle the layers, break the stack on purpose — and then go and build the version that passes the test.
Skylight Flashing Guide
This tool visualizes the most complex part of a metal roof install: the “Water-Shedding Stack.” It specifically addresses the critical layering order (shingle fashion) required to prevent leaks.
It features a “Rain Simulator” that allows users to toggle layers on and off to see exactly how water gets trapped if the Head Flashing is installed on top of the roof panels (wrong) instead of underneath them (correct).
Skylight Flashing Guide
The “Over-Under” Rule for Metal Roofs.
Installation Steps
The Golden Rule: Think Like Water
Always layer materials so the upper piece overlaps the lower piece.
Head Flashing: Must go UNDER the top roof panel.
Bottom Apron: Must go OVER the bottom roof panel.
If you reverse this, water runs under the metal and rots your deck.
Do not rely on caulk to stop water. Caulk dries, cracks, and fails within 2-5 years. Mechanical Flashing (using overlapping metal) lasts 50 years. Use butyl tape sealant only as a gasket between compressed layers, never as the primary exposed seal.




0 Comments