

Fit a curved rod too low and it drips on the floor and crowds your head; too high and the curtain floats above the tub rim while water escapes underneath. The inches genuinely matter.
This guide settles curved shower rod installation height properly: where the rod should sit, how tub shape and curtain length decide it, and the checks that keep the water inside the bath.
1. Curved Shower Rod Placement at a Glance
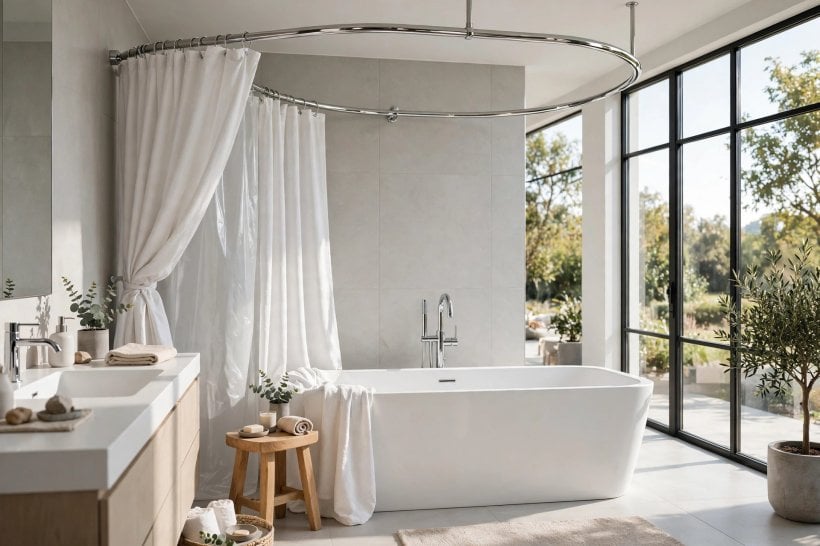
The central entity is the curved (bowed) shower curtain rod: a rod that arcs outward over the tub so the curtain hangs away from the bather, buying elbow room a straight rod cannot. Its placement is a small system of related heights — rod height, curtain drop, tub rim and floor clearance — and the system only works when the four are set together, which is why this guide treats them as one decision rather than a single measurement.
| What decides the height? | Your curtain’s length and the tub rim: the curtain must hang inside the tub with its hem clearing the rim, and every other figure follows from that. |
| Standard curtain lengths? | Curtains are sold in a few standard drops; measure yours (or the one you will buy) before drilling anything. |
| How far out does the curve bow? | Typically a hand’s breadth to a forearm’s depth at the centre, depending on the model — it is the bow that sets bracket position on the wall. |
| Biggest mistake? | Copying a straight-rod height: the bow changes where the curtain hangs, so the old marks mislead. |
| Tension or fixed? | Curved rods are almost always screw-fixed — the arc puts leverage on the brackets that friction mounts cannot hold. |
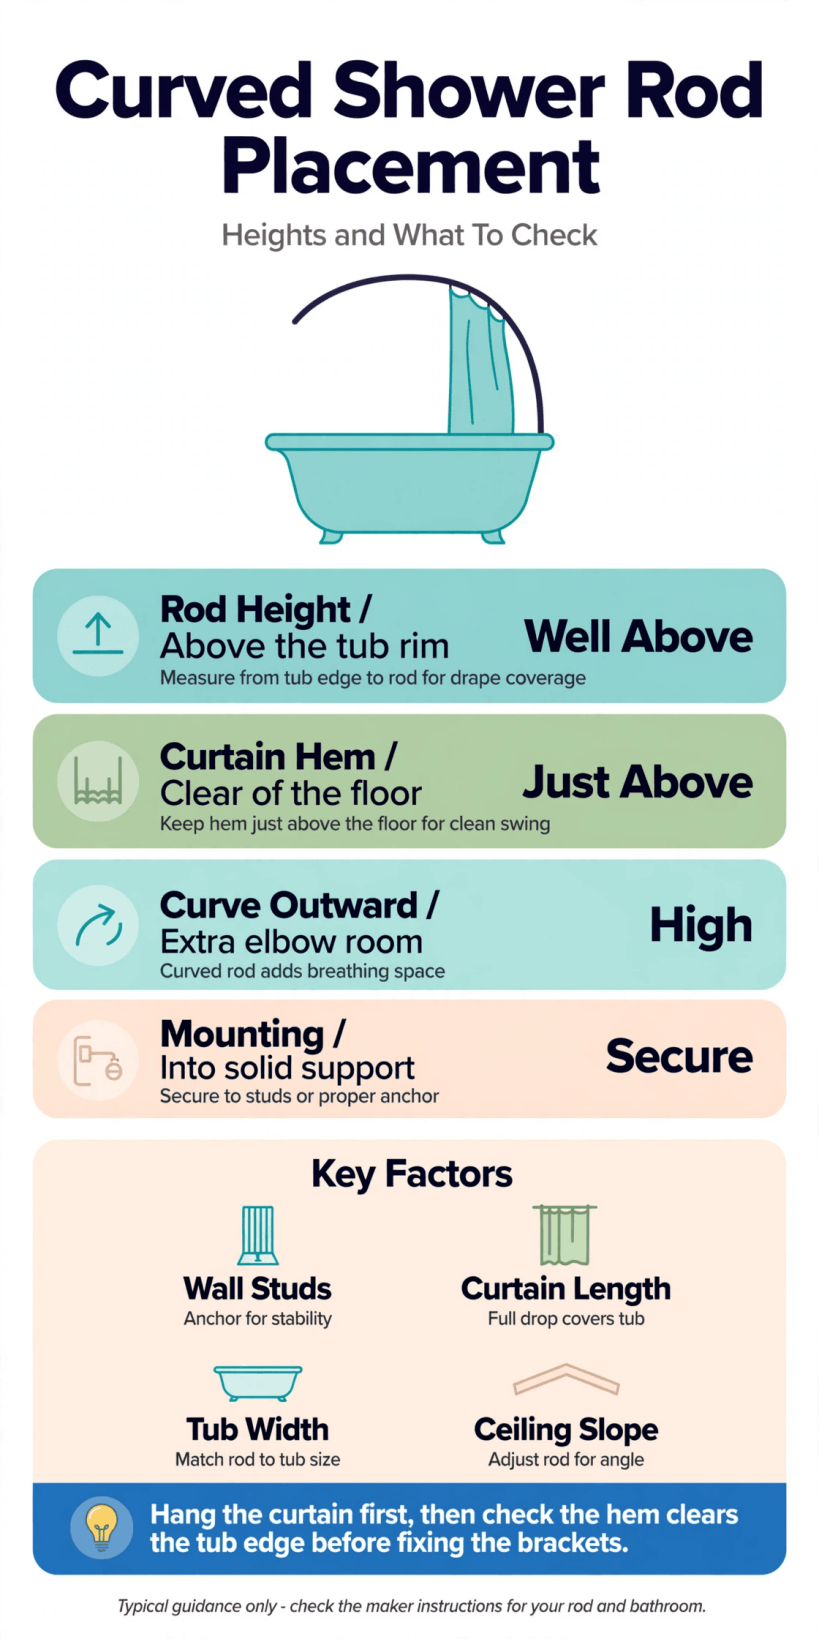
At a glance: curtain length plus tub rim set the height; the bow sets the brackets; check the hem inside the tub before you drill.
2. Why the Curve Changes the Placement Rules
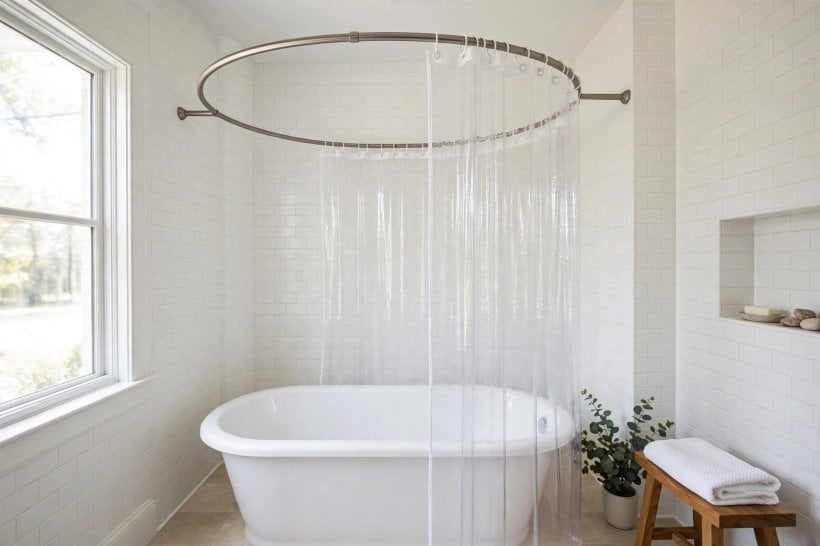
A straight rod hangs the curtain in one vertical plane. A curved rod hangs it in an arc: at the centre the curtain sits out over the room, and at the ends it returns to the wall line. That geometry does two things. It gives the bather real shoulder room — the wet curtain no longer clings and billows inward — and it changes where the curtain’s hem falls relative to the tub, which is the whole placement question. Compact bathrooms live or die on exactly this kind of geometric thinking, as the layouts in these tiny house bathroom layouts show: in a small room, a few inches of arc outperform a renovation.
The bow also loads the fittings differently. A curtain pulled outward at the centre levers against the end brackets, so curved rods are screwed to the wall or ceiling with real fixings, and the bracket positions — height and spacing — matter structurally, not just visually. Plan placement as a small engineering decision and it will stay silent, level and put for years.
3. The Height Itself: Working It Out From the Curtain
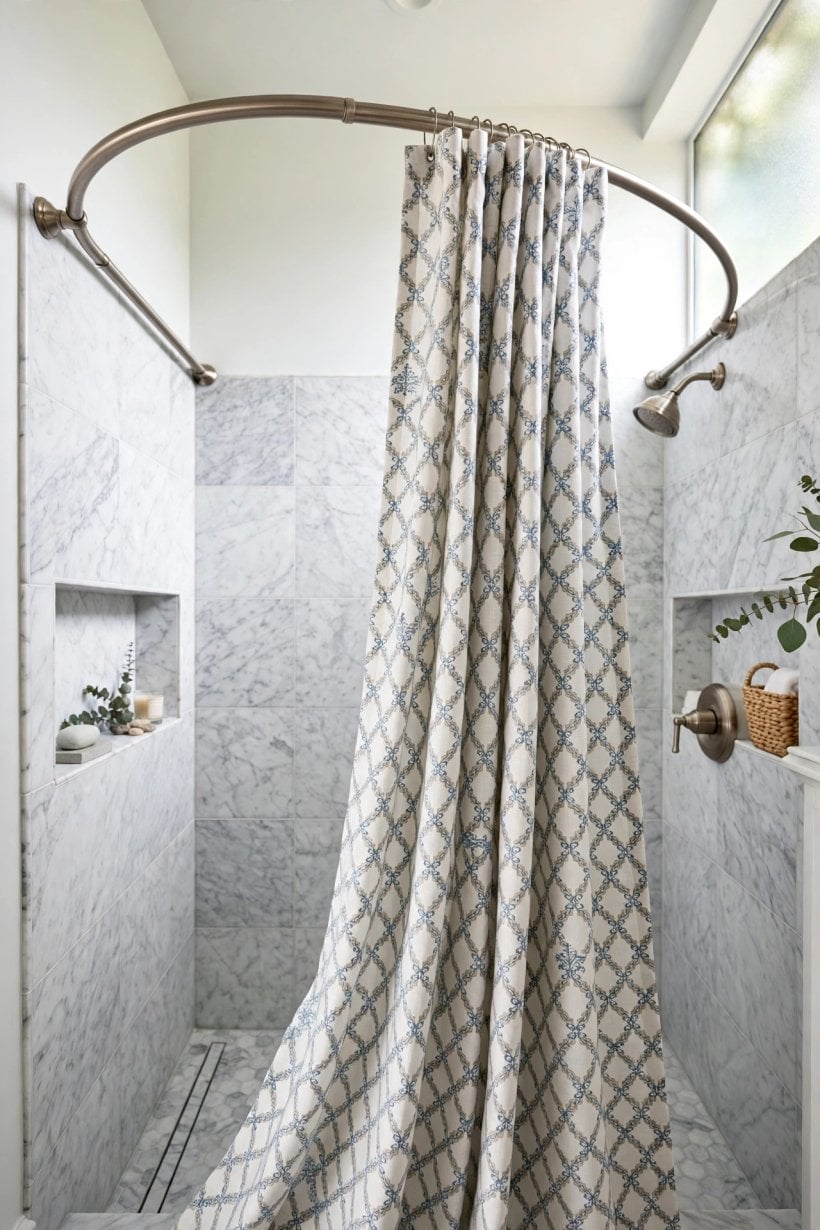
There is no universal number, and any guide that offers one without asking about your curtain is guessing. Work it out in this order. First, measure your curtain from its top eyelets to its hem — standard drops exist, but liners and curtains vary, and replacements rarely match the old one exactly. Second, decide the hem position: inside the tub, hanging a short distance above the tub’s inner floor or just clearing the rim when the curtain is drawn to one side, so water running down it lands in the bath, not on the bathroom floor. Third, add the small drop from rod to eyelet — rings and hooks add a little length of their own. The rod height is then simply curtain length plus ring drop, measured up from the point where the hem should rest.
Sanity-check the result against headroom and the shower itself. The rod should sit comfortably above the tallest user’s head where they stand in the tub, and the curtain top should stay below the shower head’s spray pattern at the wall — a curtain that pokes into the direct spray gets pushed outward and leaks at the ends. In the compact wet rooms collected in our waterproof tiny house bathroom guide, rods are often set so the curtain just kisses the tray edge — the same hem-inside-the-receptacle principle, applied at shower-tray scale.
4. Bracket Position: Walls, Ceilings and the Bow
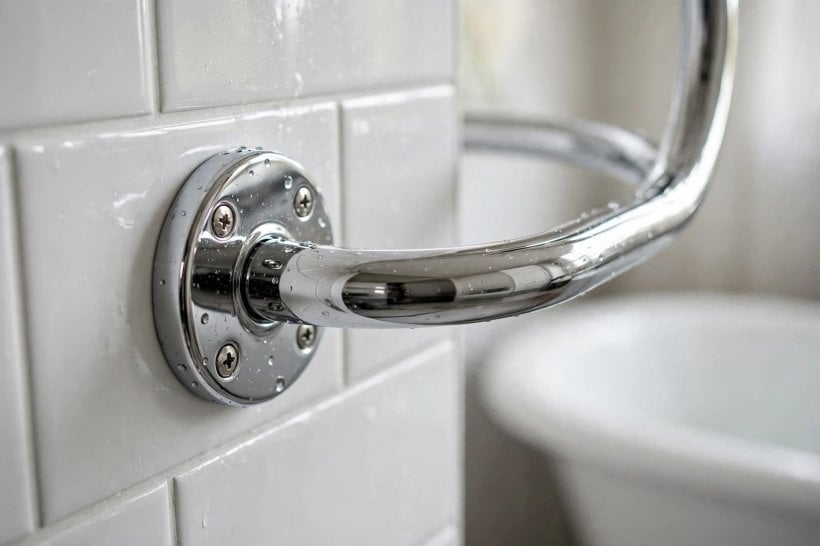
Height is half the decision; bracket placement is the other half. On a standard straight tub against a wall, the brackets mount on the end walls (or the side wall and a return) so the rod’s ends meet the wall at the tub’s corners. With a curved rod, the bracket face must sit square to the rod end, and the wall at that point must be sound enough for screws — tile over plasterboard needs the right plugs, and studs or solid backing are better still. If your end walls are too far apart, too fragile or interrupted by a window, ceiling-mount brackets or a ceiling-supported rod change the geometry: supports drop from above, and the height calculation then runs from the ceiling down instead of the tub up.
Whatever the mount, dry-fit everything. Clamp or tape the rod in place, hang the actual curtain, draw it closed and open, and run the shower for a minute. Water behaviour in sixty seconds tells you more than any measurement — where it sheets off the curtain, whether the ends seal against the wall, whether the hem stays inside the rim at the bow’s deepest point. Adjust once on tape, not twice on drilled tile. The same test-first discipline governs the fixture placement throughout these tiny house bathroom designs, where a fitting moved after tiling costs ten times the one moved before.
5. Tub Shapes and Special Cases
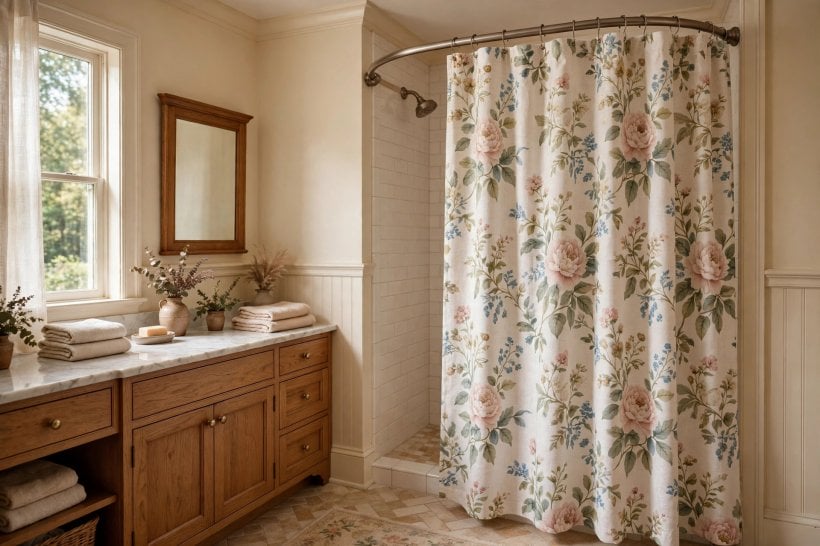
Not every tub is a straight rectangle against a wall, and each shape bends the rules. Corner tubs take L-shaped or quadrant rods whose brackets land on two walls — height follows the same curtain logic, but the corner bracket becomes the structural hero and deserves the soundest fixing you can give it. Freestanding tubs with a shower over them use full oval or rectangular ceiling-suspended frames; here the curtain must clear the tub rim all the way round, and the hem height is judged at the rim’s lowest point. Roll-top and slipper tubs sit higher than standard baths, which shortens the drop the curtain needs — measure from the rim, not from habits formed on other tubs.
Walk-in showers borrowing a curtain instead of a screen follow the same principles with the tray or floor as the reference: the hem should hover just above the floor inside the shower zone, close enough that spray cannot creep under it, clear enough that it does not dam water against the threshold. The logic travels outdoors too — the rail heights in these simple outdoor shower ideas are set by exactly the same hem-and-splash reasoning, with the ground standing in for the tub rim. Sloped ceilings and loft bathrooms compress everything — measure headroom at the bow’s centre, where the curtain stands furthest into the room and where a tall user’s head will actually be.
6. Curtains, Liners and Rings: The Supporting Cast
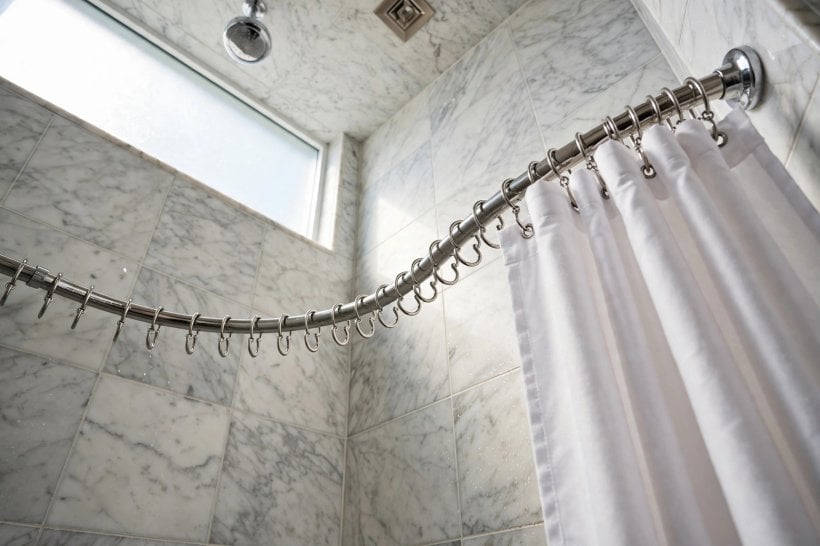
Placement cannot be separated from what hangs on the rod. A liner inside the tub plus a decorative curtain outside it is the classic pairing: the liner does the waterproofing and takes the hem-in-tub rule with it, while the curtain can hang to a purely decorative length. If you run a single curtain, it must do both jobs, and its hem position is non-negotiable. Weighted hems help a light curtain hang true on a curve instead of sailing; magnetic or suction stays at the ends help the curtain seal to the wall when closed.
Rings matter on a bow in a way they do not on a straight rod: they must travel around the curve smoothly, which favours rollers or large round rings over small clips that bind at the arc. Count the price of decent rings into the project from the start — a beautifully placed rod with binding rings will be yanked daily, and yanking is what loosens brackets. Fabric choice interacts with height too: a heavy lined curtain pulls brackets down over months if fixings are marginal, so the sound-fixing advice in the bracket section is not caution for its own sake. For inspiration on how the finished arrangement should look within a small room scheme, the styling in these bathroom interior design ideas for tiny houses keeps hardware finishes consistent across taps, rods and rails — a small discipline that makes a budget rod look deliberate.
7. Measuring and Marking: The Fitting Sequence
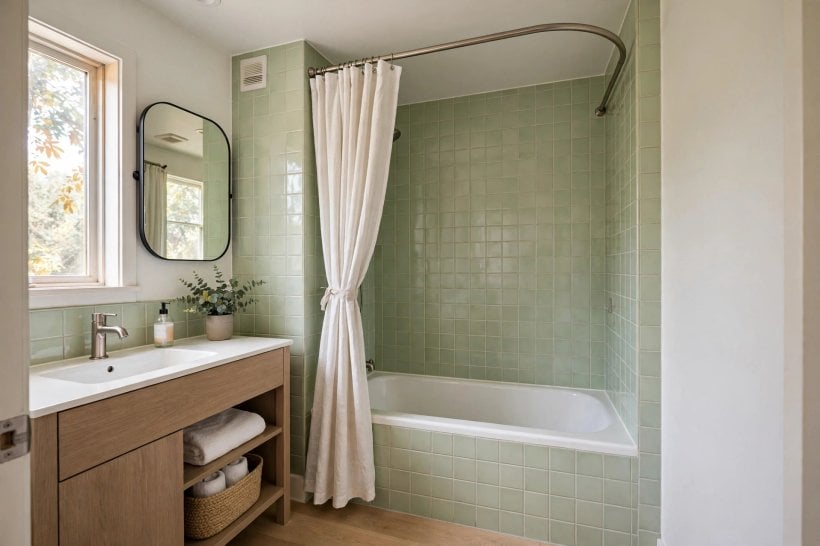
The reliable sequence runs: measure the curtain; calculate the rod height from the tub rim; mark both bracket positions with a level; check the bow’s centre height and headroom; dry-fit and water-test; then drill. Two tools earn their place in this sequence — a long level (or a laser, if you have one), because brackets out of level make a bowed rod visibly sag to one side, and a stud finder or a careful tap-test, because the best height on paper is useless if it lands on hollow tile over a void. Mark in pencil, stand back, and look at the marks from the doorway: the rod will be one of the strongest horizontal lines in the room, and a line that fights the tile courses or the ceiling line will annoy you at eye level every morning.
Drilling tile deserves its own sentence of respect: tape the surface, start slow with a proper tile bit, keep pressure steady, and use plugs rated for the wall behind the tile — not just the tile itself. If the calculation lands a bracket where no sound fixing exists, move the whole rod the small distance needed rather than accepting a weak bracket; the hem tolerance in the curtain usually absorbs an inch of compromise, and a firm bracket at a near-perfect height beats a perfect height on a bracket that creeps. Seal screw penetrations in the wet zone with sanitary silicone as you fit.
8. Common Placement Mistakes
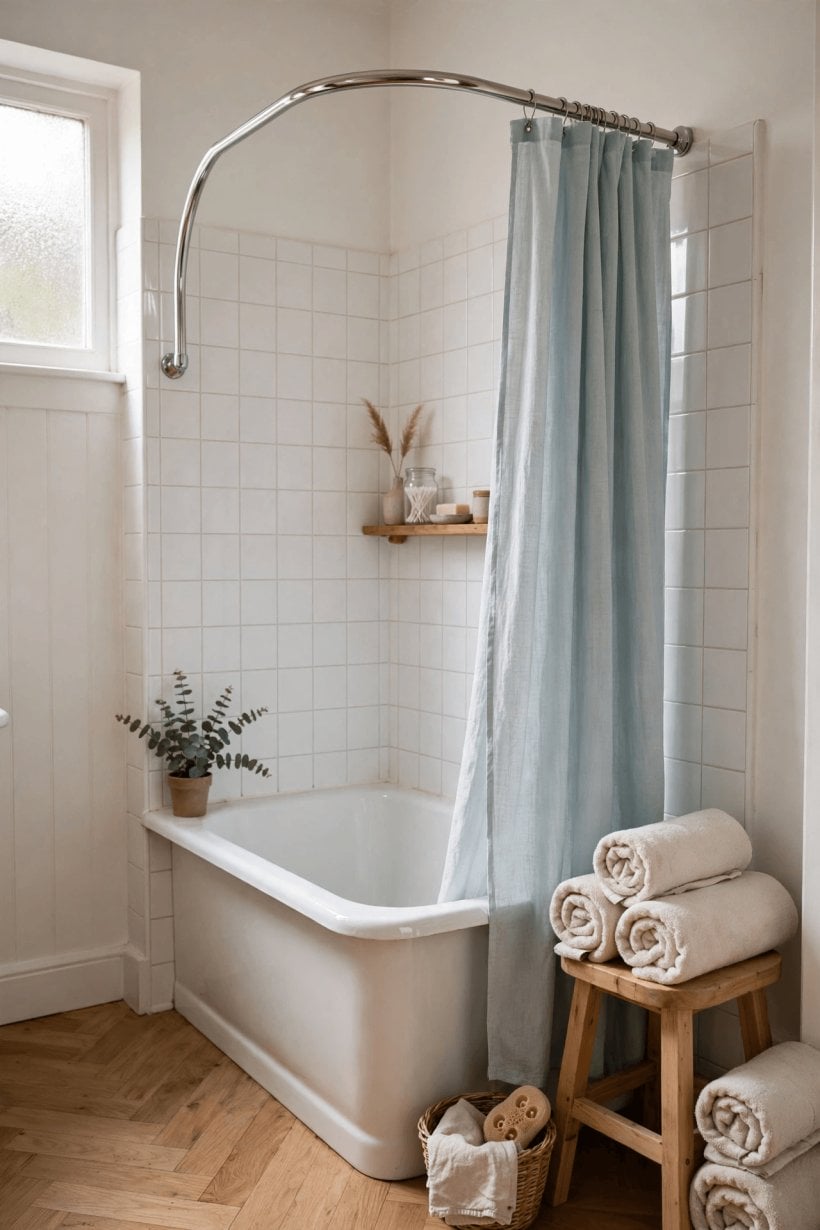
The mistakes cluster around copying and rushing. Copying a straight rod’s height ignores the bow; copying a showroom’s height ignores your curtain; copying a neighbour’s ignores your tub. Rushing produces the other classics: hem outside the rim at the ends because nobody drew the curtain fully closed during the dry fit; brackets into tile adhesive rather than structure; a rod set so high that the spray clears the curtain top at the wall end and wets the wall above the tiles’ splash zone.
Two subtler errors deserve naming. Setting the rod dead level when the tub itself is not — older houses settle, and the curtain hem reveals every degree of disagreement; judge level against the tub rim, not the spirit level alone, and split the difference where they argue. And forgetting the user’s shoulder: the bow’s gift is elbow room at shoulder height, so a rod placed for a standing adult’s convenience in a bath mainly used by children, or seated users, wastes its own point. Place for the people who actually shower there — placement advice is ergonomic before it is numeric, in bathrooms as in the small-space planning behind our interior design for tiny house bathrooms.
9. Costs and Buying Checks
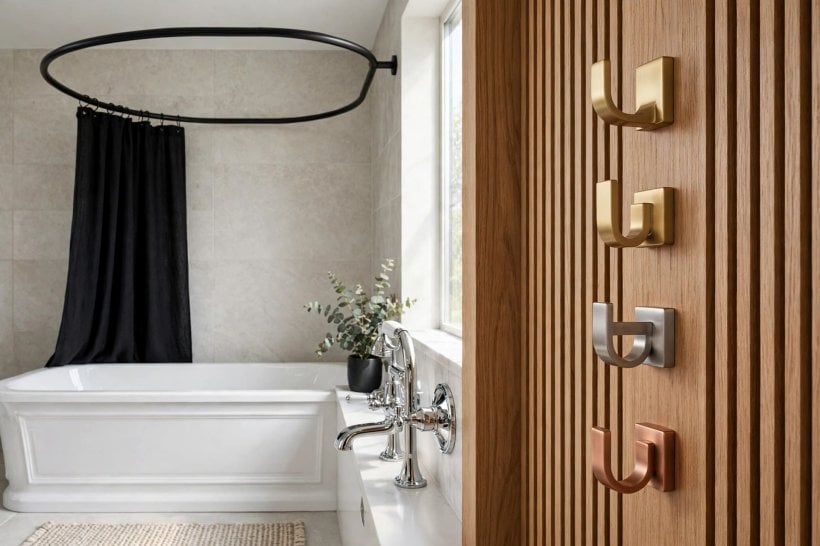
Curved rods cost more than straight ones because the brackets and supports do more work — judge prices qualitatively by material and fixing quality rather than by the rod’s finish alone. Stainless steel and solid brass shrug off the bathroom atmosphere; thin chrome over mild steel looks the same on day one and rusts at the bracket screws by year two. Check what the kit includes: wall brackets, ceiling supports if the design needs them, screws and plugs suited to masonry (you may still need tile-specific plugs of your own), and enough rings — ring count is a favourite place for kits to economise.
Buy the curtain and the rod as one decision, measuring the curtain you will actually hang rather than the one currently failing. If you are replacing a straight rod, measure the wall-to-wall distance fresh: bowed rods are sized by the span they bridge and the depth of their bow, and a rod bought to the old straight measurement can arrive too short to meet its brackets squarely. Keep the receipt until the water test passes; placement problems that are the kit’s fault — brackets that will not sit flat, a bow shallower than described — are exchange matters, not DIY challenges. None of this needs a professional for a standard tub: it is a careful amateur’s job with a drill, a level and a free hour, provided the fixings land in something solid.
10. Care, Adjustment and When to Re-Think
A fitted rod asks little: wipe it when you clean the tiles, check bracket screws once in a while, and re-seat any ring that starts to bind. Sagging is the symptom to act on early — a bow that slowly flattens means a bracket is creeping, and re-fixing it promptly is a ten-minute job that becomes a re-tile if the bracket tears out. Silicone seals at penetrations age like all bathroom sealant; renew them when they blacken or lift, as part of the same maintenance rhythm you give the bath’s own edges.
Re-think placement rather than enduring it if the household changes: a taller teenager, a seated shower stool, a new curtain of a different drop — each quietly invalidates the old calculation, and brackets can usually move the small distance needed with the old holes filled and hidden behind the new bracket plates. The rod is one of the cheapest fittings in the bathroom to get exactly right, and one of the most daily felt when it is wrong. Measure from the curtain, respect the bow, test with water — and the placement question never needs asking twice.
Final Considerations
Curved shower rod installation height is not a number to memorise; it is a small chain of reasoning — curtain length, hem inside the tub, ring drop, bracket in something solid, water test before the drill is put away. Follow the chain and the rod lands where it should for your tub, your curtain and your household, whatever the generic chart in the shop suggested.
Get it right and the reward is daily and disproportionate: elbow room, a dry floor, and a curtain that behaves. Few bathroom improvements pay back so reliably for so little money and one careful hour.




0 Comments