

Half the wood cookies in rustic decor are split down the middle, and their owners blame bad luck. It was never luck — it was physics. A cross-section dries from the outside in, the outer ring shrinks around a wet center, and something has to give. Understand that, and crack-free cookies become a technique instead of a hope.
1. DIY Log Slicing at a Glance
DIY log slicing is the craft of cutting cross-sections from a log — wood cookies — and shepherding them through drying so they stay whole. Every stage is really the same battle fought at a different moment: moisture leaves end grain far faster than side grain, the rim of the slice shrinks around a still-wet middle, and the crack is simply where the stress wins. The method that beats it runs in order — start with a fresh, uncracked log, cut slices square and even, seal both faces within hours, dry the stack slowly under weight, give the big cookies a relief kerf, then sand through the grits and finish both faces. The table gathers the whole discipline in one place; the sections after it take the log, the cut, the drying, the finishing and the projects apart in turn.
| Attribute | Detail |
|---|---|
| The Problem | A cookie dries outside-in — the shrinking rim pulls against the wet center until the slice splits |
| The Log | Freshly felled, within days; 4–12″ diameter; straight-grained slow-drying hardwoods — oak, walnut, cherry |
| The Slice | 1–2″ thick for decor, 2–3″ for tabletops; cut square to the log axis so thickness stays even |
| The Physics | End grain loses moisture 10× faster than side grain — the faces hemorrhage water while the middle stays wet |
| The Sealer | Anchor seal, melted paraffin or latex paint on BOTH faces, within hours of cutting |
| The Drying | Stickered, shaded, ventilated and weighted; 2–4″ cookies need 2–6 months |
| The Relief Kerf | One kerf from the bark toward the center, stopping 1–2″ short of the pith — standard for cookies over 8″ |
| The Sanding | Flatten first, then 60 → 100 → 150 → 220 grit, never skipping a step |
| The Finish | Oil, polyurethane or epoxy — on both faces and the edge, or the cookie cups months later |
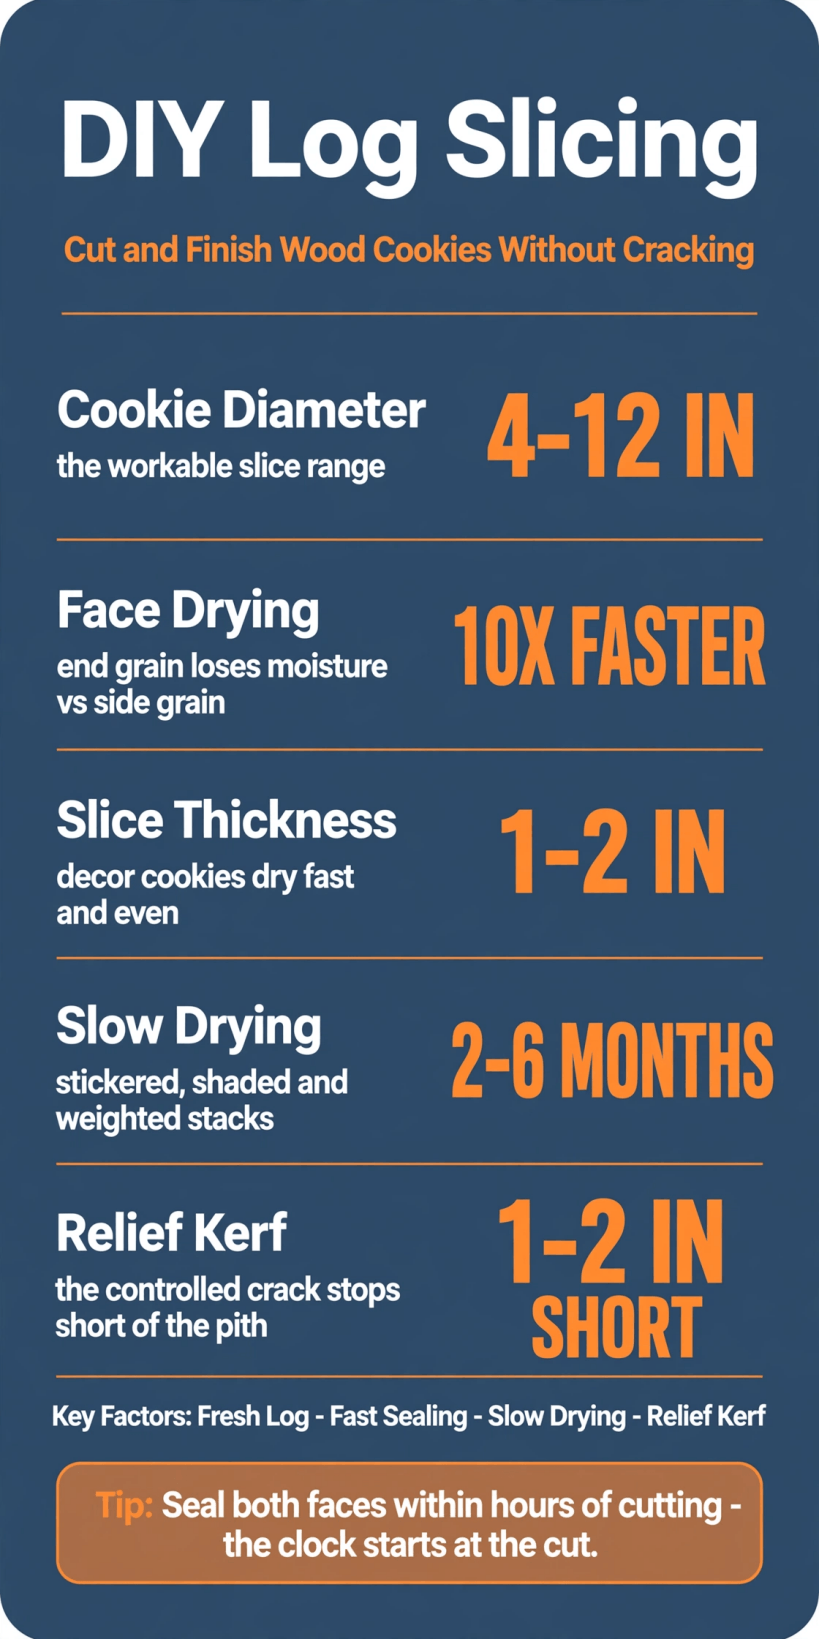
Four to twelve inches across, faces that dry ten times too fast, and two to six months of patience — the whole crack problem on one card.
Read the table as a timeline rather than a shopping list. The decisions that save a cookie are all early ones: which log, how fresh, how thick, how fast the faces get sealed. By the time a slice reaches the sander, its fate is mostly settled — sanding and finishing can only preserve what the drying protocol protected. That is why this guide spends half its length before the first cut is even finished: in this craft, prevention is not a step in the process. It is the process.
2. Selecting the Log: Start Uncracked
Every crack-free cookie begins as an uncracked log, and freshness is the first specification. Cut cookies from a freshly felled log — within days — because the log has not started uneven drying yet. A log that has sat for months is pre-stressed: its shell has been shrinking around its core the whole time, and cookies cut from it inherit stresses that no later care can remove. Diameter sets the working range: 4–12 inches. Under 4 inches is trivial — small cookies rarely trouble anyone — while over 12 inches is expert territory, because big cookies crack hardest.
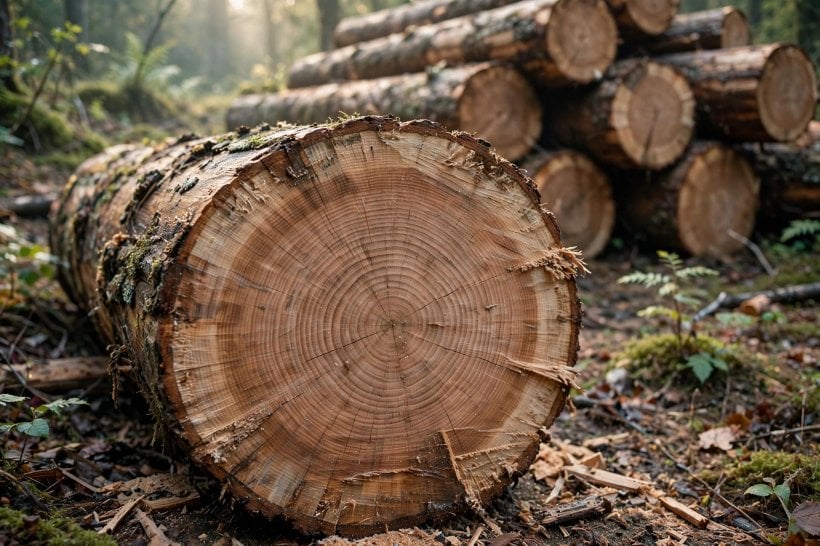
Species decides how forgiving the material will be. Slow-drying hardwoods — oak, walnut, cherry — have dense grain that resists cracking, and they are the reliable choice. Pine and fir crack readily; they can still be used, but the original’s instruction is to seal them aggressively, giving their faces more protection, earlier. Grain matters as much as species: choose straight grain and avoid logs with spiral grain or reaction wood, because their internal stress is pre-loaded — those cookies were born to crack. Finally, inspect the log ends before anything is cut. Existing end checks will propagate into every cookie sliced past them, so cut beyond the checks or pick another log. The same respect for the raw log runs through every rustic build that starts from one, from the firewood pile to the rustic log cabin bench — the material’s history is written into the finished piece either way.
3. Cutting the Slice: Thickness and Square Cuts
Thickness is a drying decision disguised as a design one. For decor cookies, slice 1–2 inches: thin dries fast and evenly, which puts it in the crack-resistant zone. For tabletops, slice 2–3 inches — the presence and durability are worth it, but the thicker slice holds a wetter core for longer and needs the slower drying of the next section. The tool is the chainsaw with a sharp chain, the standard for this work, run freehand or with a guide; a bandsaw mill gives the cleanest cuts for valuable logs, where a rough chainsaw face would waste good material in flattening.
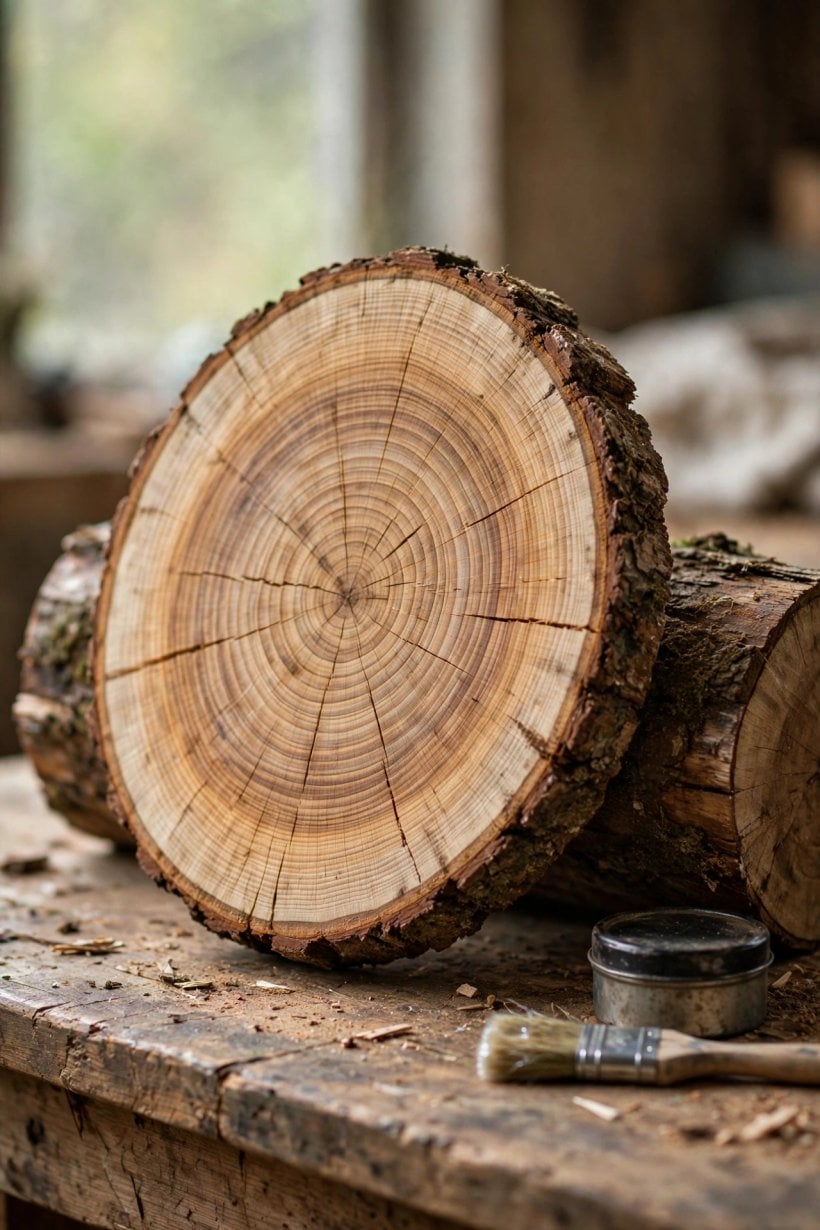
Technique is one rule with a long shadow: cut square to the log axis. An angled cut creates uneven thickness, uneven thickness dries unevenly, and uneven drying cracks — the chain of causation is that direct. Cut the whole batch at once, too: cookies cut together dry as a cohort, in consistent conditions, with consistent results, instead of a shelf of slices each at a different stage of stress. And the section’s last word is a deadline. The moment a slice comes off the log, its faces start losing moisture at end-grain speed, so sealing follows within hours. The cut is not the finish of the slicing step; it is the start of the drying clock.
4. The Drying Protocol: Seal Fast, Dry Slow
The physics first, because everything in this section is an answer to it. End grain loses moisture 10× faster than side grain, so a cookie’s two faces hemorrhage water while its middle stays wet. The rim — dried through the faces and the bark edge — shrinks around that wet center, tension builds, and the slice relieves it the only way it can: by splitting. Crack prevention is therefore not about stopping drying; it is about slowing the faces down until the interior can keep pace.
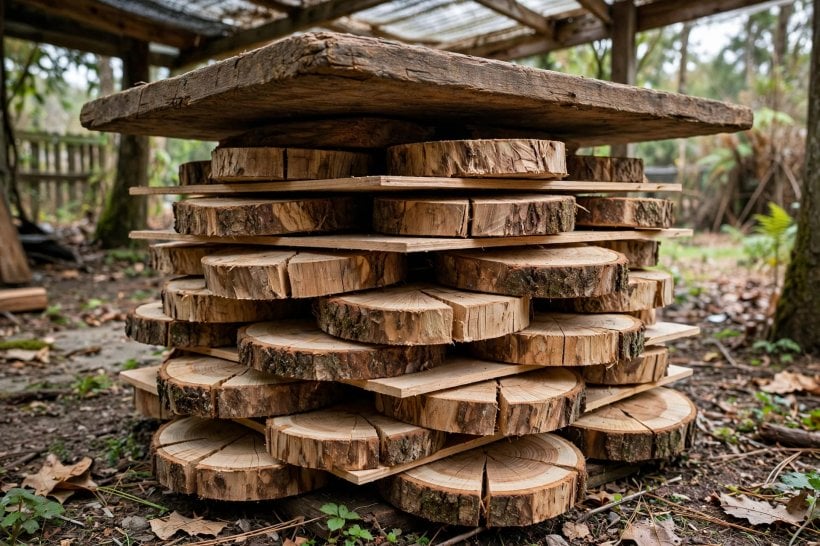
The single most important step is the end-sealer: anchor seal, melted paraffin, or latex paint, applied to BOTH faces immediately after cutting. The coating throttles face drying to something closer to the interior’s rate, and it is cheap insurance applied in minutes. Then the stack: cookies stickered — separated by thin strips so air reaches every face — in a cool, shaded, ventilated spot. Not in the sun, and not in a heated shop: fast drying is cracking, wherever it happens. Weight on top of the stack prevents cupping, the warp that accompanies cracking. The schedule is patient: 2–4-inch cookies need 2–6 months. For valuable cookies there is one heavier weapon — PEG treatment, polyethylene glycol, which displaces water in the cells. Soak green cookies in PEG solution for weeks and they come out nearly crack-proof; it is the museum method, slow and chemical, and reserved for slices worth the trouble. Working wood while it is still green is its own discipline, and the carvers who hollow bowls and spoons from fresh logs in the green wood carving tradition fight the same moisture battle from the other side of the bench.
5. The Relief Cut: Engineering the Controlled Crack
For big cookies, there is a more direct bargain with physics: if the slice insists on relieving its stress somewhere, choose where. The relief cut is a single kerf sawn from the bark toward the center, stopping 1–2 inches short of the pith. As the wood shrinks, the kerf opens slightly — the controlled crack — and the cookie stays whole everywhere else. One narrow, deliberate opening instead of a random split through the best face: that is the entire trade, and on a big slice it is nearly always worth making.
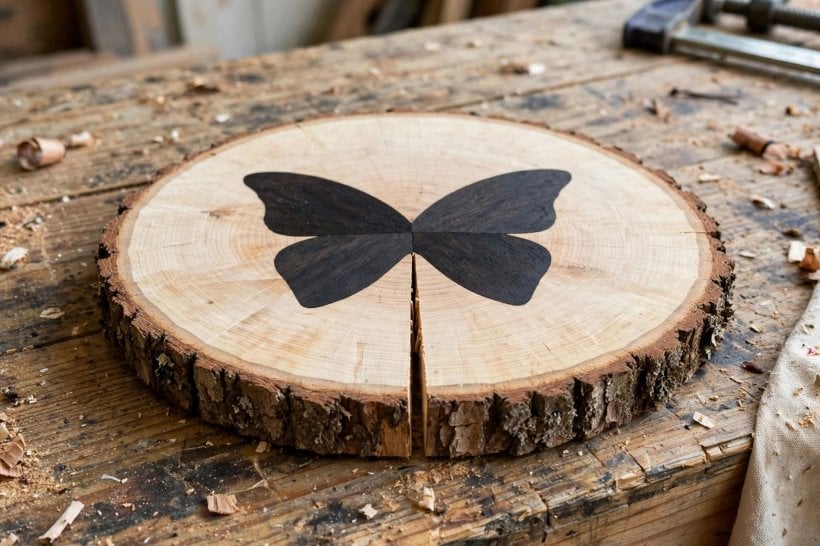
The rule for when is diameter: for cookies over 8 inches, plan the kerf. Small cookies often survive without one; big ones rarely do. The kerf’s second life is aesthetic. It becomes a design feature — filled with turquoise inlay, or brass powder and epoxy, or simply left open as the honest line. Furniture makers charge extra for the “butterfly” version: a bowtie key inlaid across the kerf, the fine-woodworking touch that stabilizes the opening and decorates it at the same time. A cookie with a butterfly key is not a repaired cookie; it is a cookie whose engineering is on display.
6. Sanding: Flatten First, Then the Grit Ladder
A dried cookie is rarely flat, so sanding starts with flattening — a belt sander or a hand plane brings the faces true, and a router sled serves the perfectionist. Only then does the grit ladder begin: 60 → 100 → 150 → 220, in that order, skipping nothing. Each grit removes the previous grit’s scratches, and end grain shows every shortcut: jump from coarse to fine and the coarse scratches survive under the finish, visible forever in the very surface the whole project exists to display.
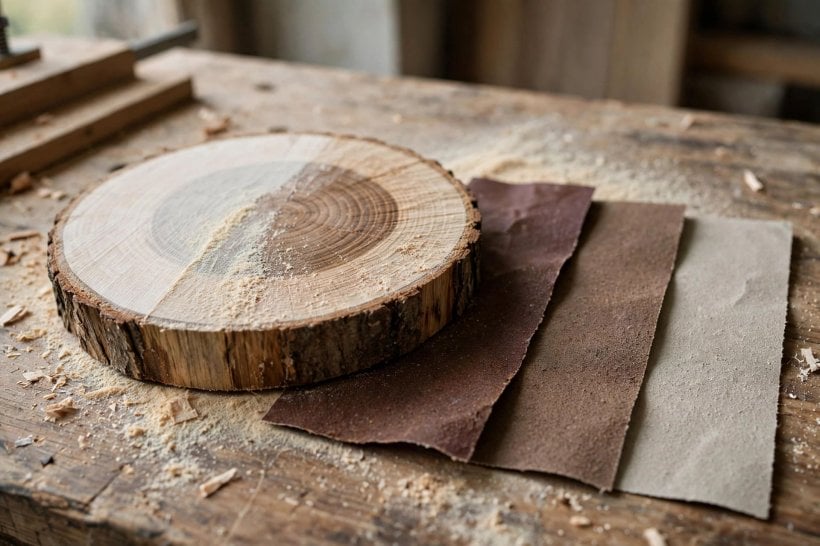
The bark edge needs a decision at this stage. Bark-on is the rustic look, but bark loosens as the cookie dries, and an unstable edge will shed in service. Stabilize it — thin CA glue wicked under the bark edge locks it — or remove the bark entirely and sand the live edge smooth; both are honest finishes, and the choice is the project’s, not the physics’. One safety note the original insists on: end grain dust is fine and irritating, and the chronic exposure matters, so wear a respirator, not just a dust mask.
7. Finishing: Seal Every Surface
The finish is chosen by the job the cookie will do. Mineral oil and beeswax serve coasters and serving pieces — food-safe and renewable, reapplied as needed. Polyurethane is the armor for tabletops and decor: 3–4 thin coats, sanded lightly between coats, with water-based formulas staying clear and oil-based ones ambering the wood. Epoxy, flooded on as a coat, gives the glass-like bar-top finish for statement pieces — expensive, unforgiving and spectacular. The broader question of film finishes versus penetrating ones, and what each asks in maintenance, is the same trade-off weighed for exterior wood in the paint vs stain comparison, and its logic holds indoors too.
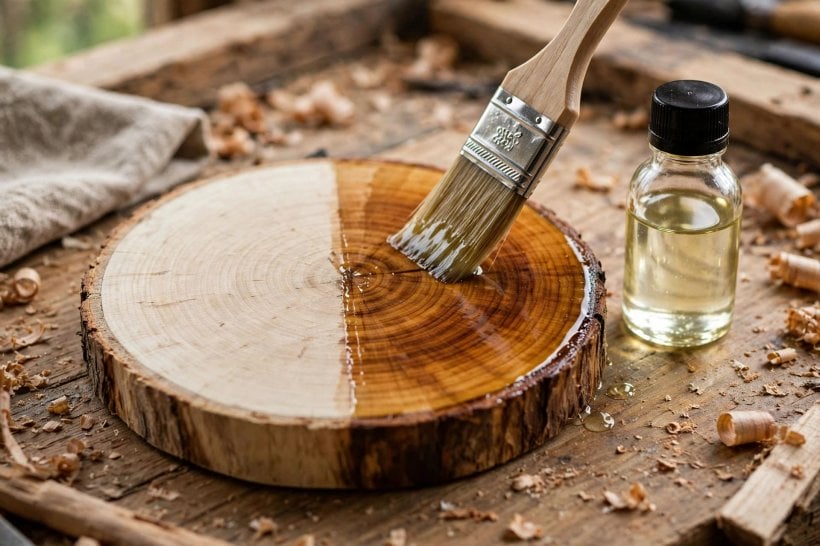
Two rules close the section, and both are about the surfaces nobody sees. Finish both faces: an unfinished back absorbs ambient moisture, and the cookie cups and cracks months later, long after the maker has called it done. The back can take one quick coat, but it needs something. And do not forget the bark edge or live edge — seal it too, because moisture enters everywhere it is offered a way in. A cookie finished on five of its six surfaces is not five-sixths protected; the open surface sets the moisture rate for the whole slice.
8. Projects: Coasters, Centerpieces and Side Tables
The project list is sized in cookies. Coasters are the starter: slices of 3.5–4.5 inches, 1/2 inch thick — small, quick, and the forgiving first project while the technique is new. Centerpieces step up to 10–14 inches at 2 inches thick, the table anchor that the rest of a rustic setting arranges itself around. Side tables are the statement: a 16–24 inch cookie, 3 inches thick, on hairpin or log legs — a slice that size needs the relief kerf of §5 and earns the epoxy finish of §7.
Beyond the table, the slice keeps working. Thin cookies arranged together become wall art — the cross-section mosaic. Drilled for a clock movement — $10, in the original’s costing — a cookie becomes the cookie clock, the gift that always lands. The small-craft end of the repertoire, candle holders and coasters and the rest, is gathered in the log craft ideas collection, and the larger furniture direction — benches, planters and outdoor pieces built from the same raw logs — is developed in the guide to log projects for outdoor furniture and garden planters. One material, one drying discipline, and a whole shelf of finished work comes down to how well the slices were treated in their first months.
9. Outdoor Cookies: Stepping Stones and Weather
The cookie’s outdoor career is the stepping stone: slices 2–3 inches thick and 12 inches or more in diameter, sealed heavily, laid as a garden path. The expectation is set honestly in the original — 3–5 years outdoors. Wood in ground contact lives on borrowed time whatever the finish, and the heavy sealing buys seasons rather than permanence. That is not a failure of the project; a path that costs a few logs and an afternoon, and asks replacing slice by slice as individual stones tire, is a fair exchange — and planning the path they serve belongs with the wider tiny house landscaping ideas for the plot around the house.
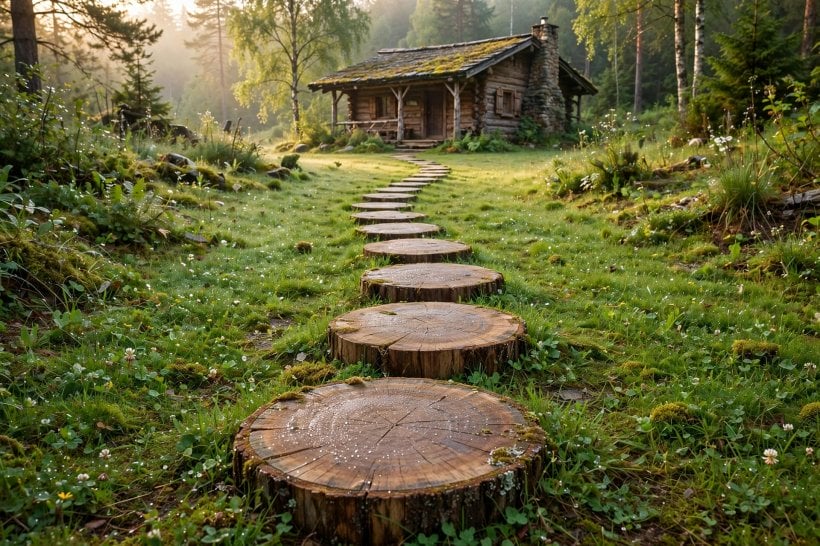
Species and placement stretch the lifespan toward the top of that range. The dense hardwoods of §2 weather the same way in a path as they do on a wall — slowly — and the exterior behaviour of wood left to the elements, species by species, is the subject of the tiny house siding options comparison, where cedar’s natural resistance is the benchmark every outdoor wood is judged against. Set the stones where water drains away rather than pools, and the path gives its full 3–5 years before the first slice needs swapping.
10. Failures: Reading a Crack Backwards
Nearly every failed cookie can be read backwards to the step that was skipped. A slice that split in its first week was sealed late, or not at all — the faces ran away from the core before the stack was even built. A cookie that cupped dried without weight on the stack, or was finished on one face only and spent its first year drinking moisture through the bare back. A big slice that split through its best face was a cookie over 8 inches that never got its relief kerf, so the stress chose its own exit. A surface that shows scratches under the finish skipped a grit. Each failure is a rule from this guide, broken once, recorded permanently in the wood.
The encouraging reading is the reverse: the failure list is short because the causes are few. Cookies do not crack from mystery, weather or luck; they crack from moisture leaving unevenly, and every control in the method — freshness, even thickness, fast sealing, slow stickered drying, the kerf — exists to even out that one process. Run the controls and the exceptions become rare enough to be surprising, which is all any craft can honestly promise.
Final Considerations
Cut fresh, seal the faces within hours, dry slow and stickered, relief-cut the big ones, sand through the grits, finish both faces, and build the project the cookie deserves. The crack isn’t inevitable — it is just what happens when drying goes unmanaged. Manage the drying, and the cookie stays whole, beautiful and honest: the tree’s autobiography, readable in rings.




5 Comments