

The branches and cutoffs left over from bigger projects are too good for the burn pile. A three-inch round of birch becomes a candle holder in twenty minutes, and a stack of sanded slices becomes coasters your guests will pick up and admire. Small logs are where woodworking stops being intimidating and starts being fun — and this guide turns them into finished, giftable pieces.
Log Craft Ideas: At a Glance
The best log craft ideas start with wood other people throw away: fallen branches, pruning cutoffs and the short rounds left when a log is trimmed to length. Worked small, that free material becomes tea light holders, coasters, wood cookie decor and personalised gifts, each project an afternoon’s work with basic tools. This guide follows the whole craft in build order: why small wood is the friendly end of woodworking, the candle holders that light it up, the safety rules and flame-safe finishes that make fire in wood sensible, the 30-minute coasters, the drying method that stops slices cracking, wood cookies as decor, branch-built shelves and hooks, wood burning for the personal touch, the minimal tool kit, and finally the pricing maths for selling and gifting what you make.
| Topic | What It Covers | Key Fact or Figure |
|---|---|---|
| 1. Small Logs, Big Charm | Why branches and cutoffs are the gateway material | An afternoon per project, basic tools |
| 2. Log Candle Holders | Tea lights, pillars and the horizontal menorah | 3–4 inch branch sections; a 20-minute build |
| 3. Candle Safety and Finishes | Inserts, LED alternatives and flame-safe finishes | Mineral oil or beeswax — never polyurethane near flame |
| 4. Log Coasters | Cutting, sanding and finishing the classic set | 3.5–4.5 inch branches sliced 1/2 inch thick |
| 5. Drying Slices | Air-drying and oven-drying without cracks | 2–4 weeks stickered; seal the ends at once |
| 6. Wood Cookies as Decor | Centerpieces, wall mosaics and ornaments | 10–14 inch rounds, 2 inches thick |
| 7. Shelves, Hooks and Accents | Branch brackets, fork hooks, lamps and bookends | Lamp kit: $15; hooks from 6-inch forked sections |
| 8. Wood Burning | Pyrography technique, designs and safety | A variable-temperature pen runs $30–80 |
| 9. Tools and Setup | The minimal kit and small-piece safety | $200–400 new — or borrow the common tools |
| 10. Selling and Gifting | Pricing, venues and batch production | Price at 3–4× materials plus $15–25/hour |
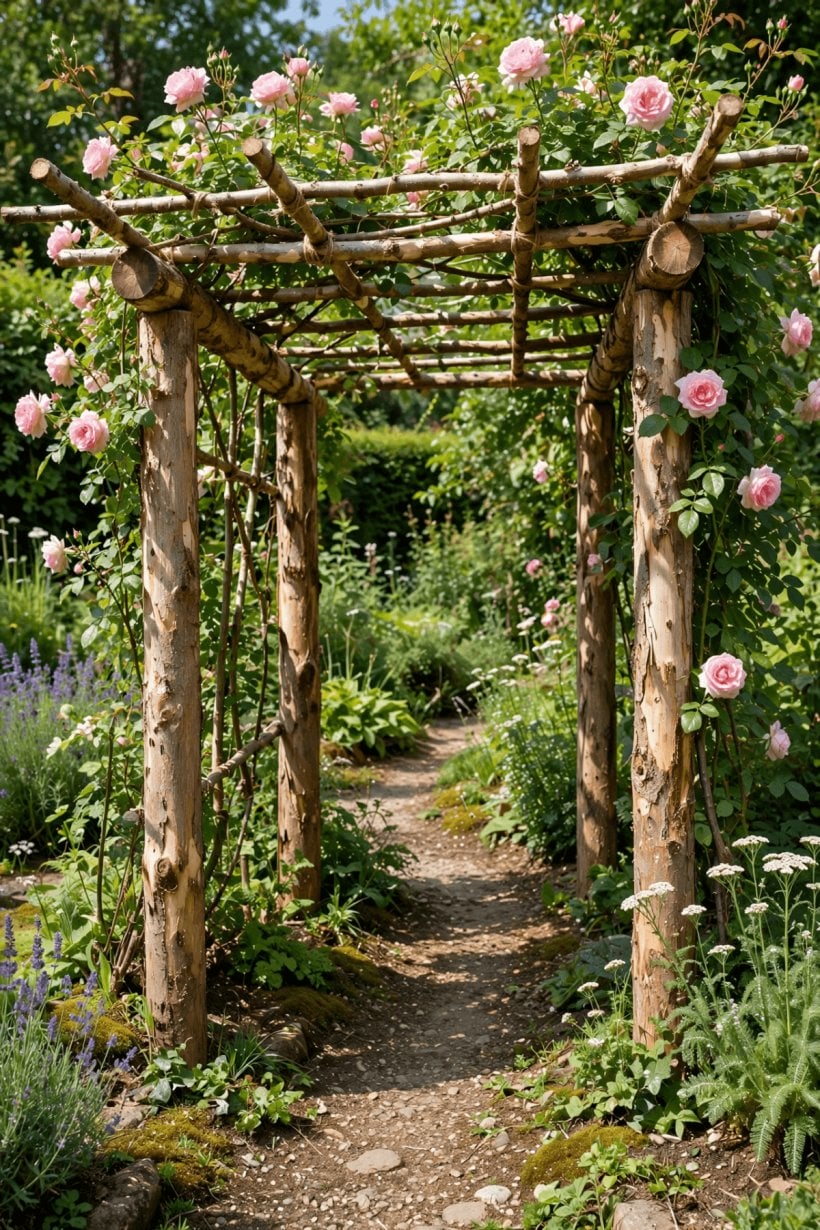
The small-log numbers: a tea light holder takes 20 minutes start to finish, coasters are sliced 1/2 inch thick and dried 2–4 weeks, a pyrography pen costs $30–80, and the whole starter tool kit runs $200–400.
1. Small Logs, Big Charm: Why Little Wood Wins
Not every log becomes furniture. The branches, cutoffs and small rounds are the wrong size for chairs and tables, but they are exactly right for candle holders, coasters and decor — and that mismatch is the beginner’s good fortune. A small project forgives small mistakes: a miscut coaster costs you a half-inch slice of a free branch, not a board of bought lumber, so the pressure that makes woodworking intimidating simply evaporates.
These are the gateway projects of the craft: an afternoon each, basic tools, and results that look like a boutique craft fair rather than a first attempt. The raw material is wherever branches come down — garden prunings, storm fall, firewood-pile offcuts — and our companion guide to fallen limb crafts with branches and twigs covers that same free woodpile from the garden side. Start with the little wood, and the skills — drilling true, sanding patiently, finishing properly — compound quietly underneath every project that follows.
2. Log Candle Holders: Firelight in Wood
The tea light holder is the fastest win in the whole guide. Take a branch section 3–4 inches in diameter and 3–4 inches tall, drill a 1.5-inch hole 1.5 inches deep with a Forstner bit, sand, oil — done. The tea light drops into the cup and the project is finished in about twenty minutes, which makes it the perfect first piece and an easy batch gift. Work in a small batch while the drill is set up: a row of drilled blanks sanded and oiled in one session turns twenty minutes into a shelf of finished holders.
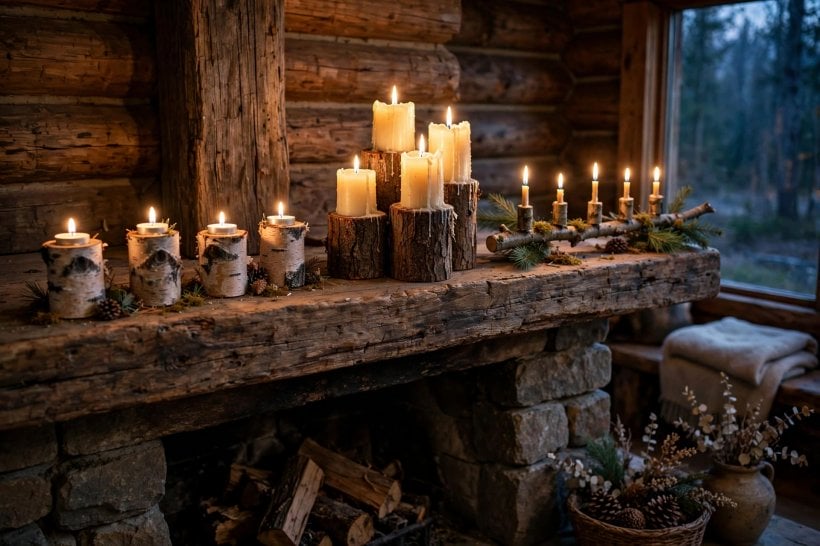
Pillar holders scale the same idea up: rounds of 4–6 inches, stood 6–10 inches tall, drilled for 2-inch or 3-inch pillar candles. Vary the heights and group them in threes — that is the classic mantel arrangement, and it works because the uneven heights let the flames step up like a little skyline. For a seasonal piece, lay a branch horizontally and drill a row of holes along it: the log menorah or advent holder. It is the same firelight thinking that makes fire pit seating from stump logs work outdoors — wood, flame and gathering, at mantel scale.
3. Candle Safety: Inserts, LEDs and Flame-Safe Finishes
Fire in a wooden holder is safe only when it is managed, so the rules come before the glow. The obvious one still needs saying: never leave burning candles unattended in wood holders. The char risk is real — a flame left to burn down can scorch and eventually char the cup it sits in — and the honest fixes are simple. Use LED tea lights for worry-free glow, or seal the cup so the flame never touches wood: a metal insert or a glass votive dropped inside the drilled hole does exactly that.
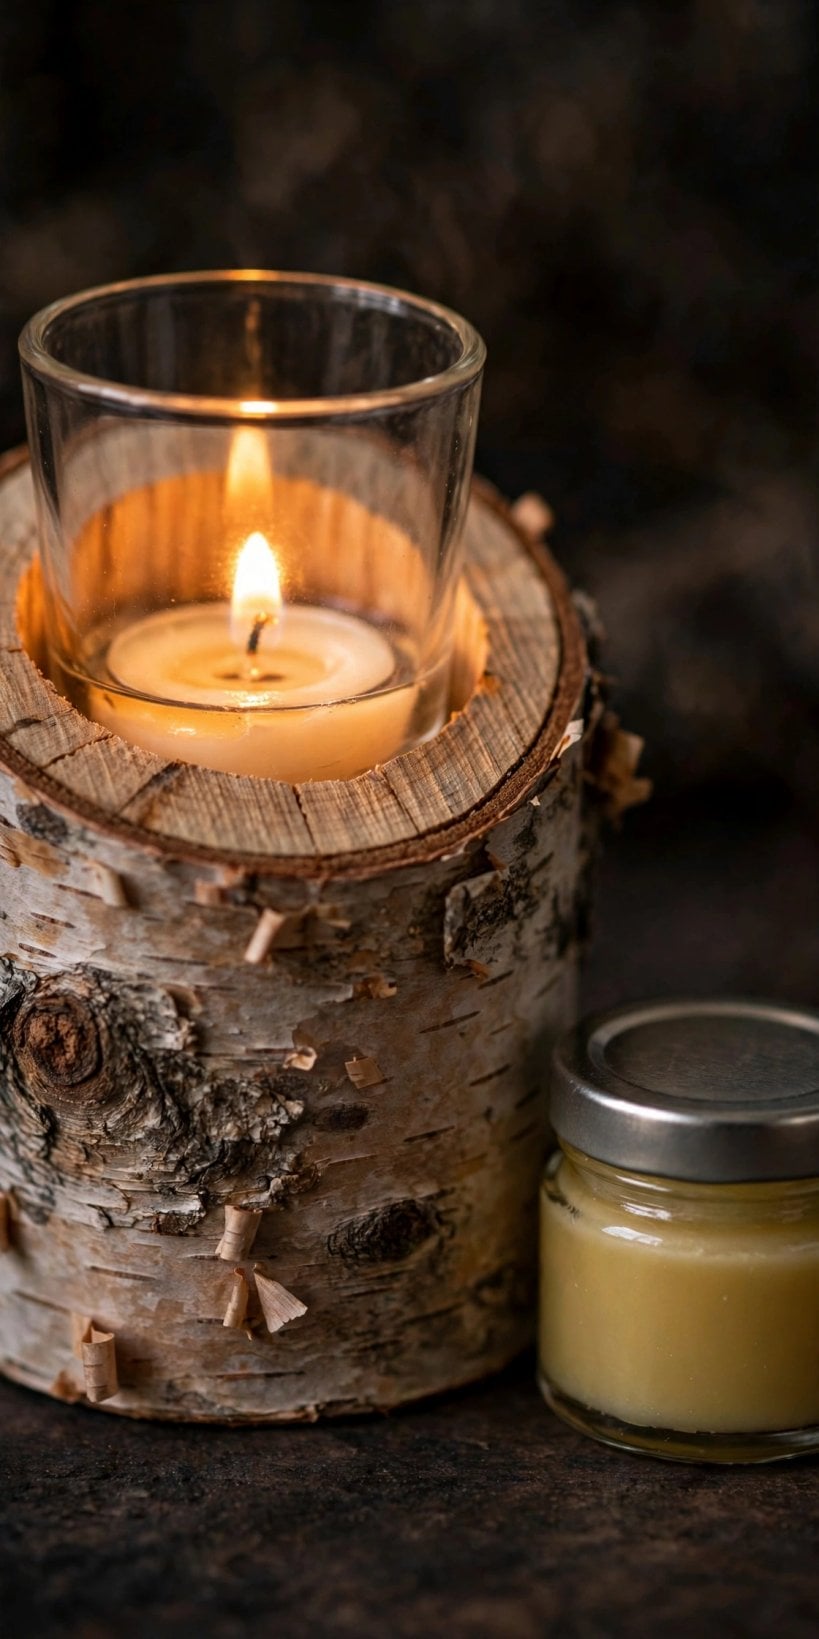
The finish matters just as much near flame. Mineral oil or beeswax is the right choice — food-safe, matte, and it keeps the natural look of the wood. Polyurethane near flame is a bad idea, full stop; save the film finishes for pieces that will never hold a candle. A holder built with an insert, finished in oil or wax, and burned attended (or not burned at all, with an LED inside) is a holder you can give away with a clear conscience. The insert also makes the piece honest to sell: the buyer gets wood and glow, without wood and open flame ever actually meeting.
4. Log Coasters: The 30-Minute Classic
If candle holders are the fastest win, coasters are the classic. Choose branches 3.5–4.5 inches in diameter and slice them 1/2 inch thick on the chop saw or miter saw — and batch-cut while you are set up, because a dozen slices take barely longer than one. Sand each slice from 120 to 220 grit until it feels silky: coasters get handled constantly, and splinters are unacceptable on something a guest picks up with bare fingers.

Finish with the cutting-board combination — mineral oil plus beeswax — which is food-safe and water-resistant, and reapply it whenever the wood looks thirsty. For heavy drink-sweat duty, three thin coats of spar urethane stand up to constant wet rings instead. Then decide on the bark. Bark-on is rustic and pretty, but bark eventually loosens; bark-off with an oiled edge is the durable choice — and if you like working bark for its own sake, our guide to tree bark crafts and rustic art projects goes deeper. Tie finished sets of four or six with twine: log coasters are the perfect handmade present. Cut more slices than the set needs while the saw is set up — the extras cost nothing, drying is where the time goes, and a small stack of dried, sanded slices on the shelf means the next gift is never more than a finishing session away.
5. Drying Slices Without the Cracks
Every slice in this guide passes through the same danger zone: the drying. The good news is that thin slices dry fast and kindly. Sticker them — stacked with narrow spacer sticks between the layers so air reaches every face — and they are dry in 2–4 weeks. In a hurry, the oven at 200°F for a few hours does the same job. Thin cookies dry without the cracking drama of thick rounds, because there is simply less wood shrinking against itself.
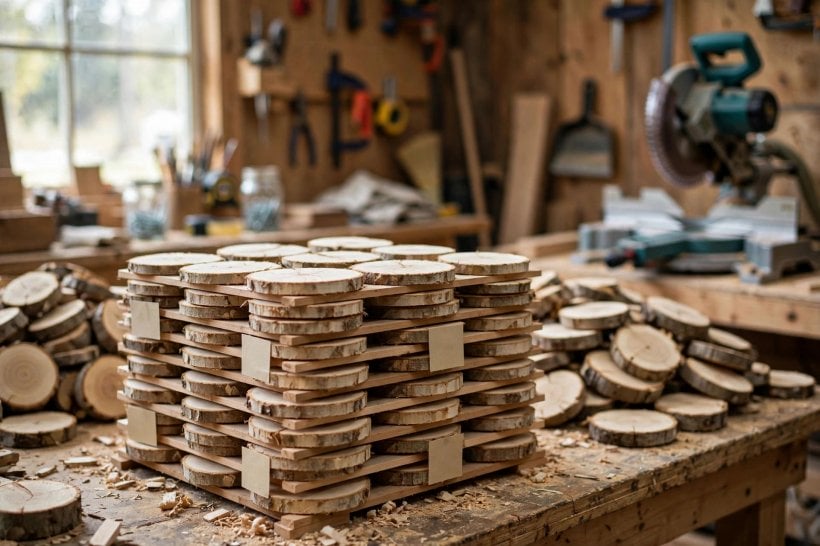
Thick rounds are less forgiving: cookies crack from the outside in as they dry, so seal the ends immediately after cutting, with wax or end-sealer, to slow the surface down and let the middle catch up. For a genuinely valuable piece, PEG treatment is the thorough option. Drying is the one step in small log craft where patience is the entire technique — and our dedicated guide to curing and drying wood logs covers cracks, rot and insects in full for bigger stock. Dry more than the current project needs: a dried slice keeps indefinitely, and the next project then starts at the saw instead of at the waiting.
6. Wood Cookies: Slices as Decor
A wood cookie — a full cross-section slice with its rings on show — is decor the tree designed for you. At 10–14 inches across and 2 inches thick, a cookie becomes a table charger and centerpiece: sand the top smooth, leave the bark on, and set candles and greenery on it. Hung on a wall, thin slices arranged in a frame or fixed directly to the surface become a cross-section mosaic; vary the diameters and the wall gains a rhythm no print can copy. Because the top is sanded smooth while the bark stays on, the big centerpiece cookie reads as both charger plate and sculpture — the rings do the decorating, and everything you set on it borrows the tree’s pattern.
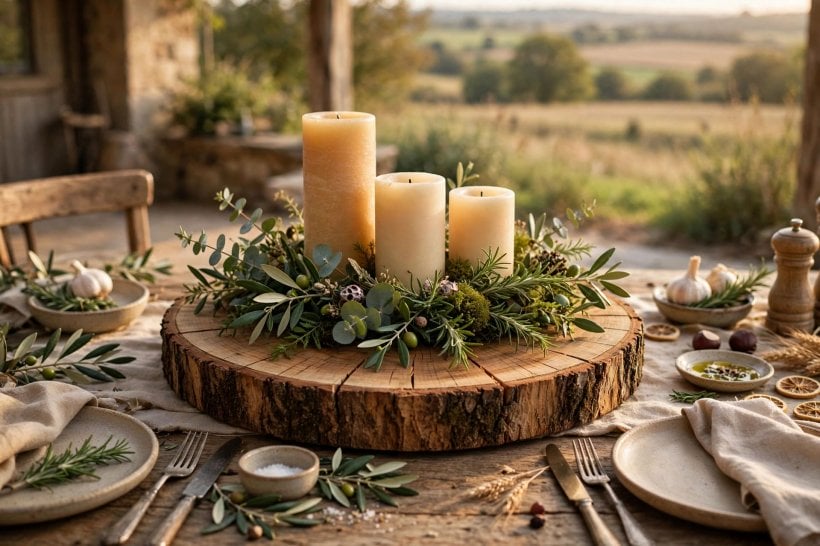
At the small end, 2–3 inch slices drilled for hanging become ornaments — the Christmas craft, wood-burned with simple designs and safe for kids to help with. Through all of it, respect the live edge: keep the bark and the waney, uneven rim exactly as the tree grew it. The organic shape is the whole point of a cookie, so don’t square them up. A squared slice is just a board with rings; a live-edge cookie is a piece of the tree, rings, bark and all.
7. Home Decor: Shelves, Hooks and Accents
Branches build furniture at decor scale. For a shelf, use a 3–4 inch branch as the bracket and a plank as the shelf itself; two branch brackets under a live-edge plank give you the rustic floating shelf. Coat hooks are even simpler: cut 6-inch sections of branch with a side branch attached, because the natural fork IS the hook — mount a row of them on a backboard and the entryway is organised. Small branches mitered or overlapped at the corners make a twig frame for a mirror or picture. A backboard of forked hooks by the door is the project guests ask about — it looks like the forest volunteered, and it took an afternoon.
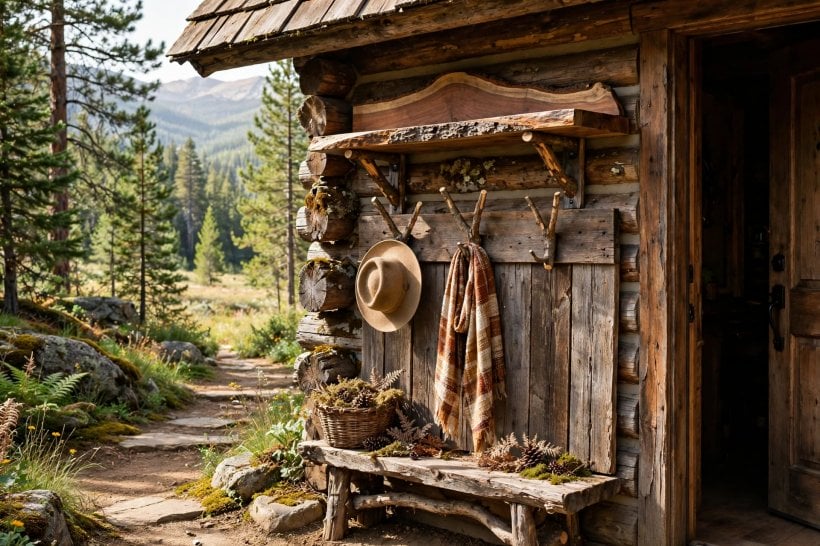
Two more accents round out the set. A log section 12–18 inches long, drilled for a lamp kit that costs about $15, becomes a statement lamp — the grain glows through thin sections when it is lit. And halved log sections, flat-cut on the bandsaw with an L-bracket underneath, make heavy, honest bookends. When you are ready to scale the same thinking up, our roundups of log projects for outdoor furniture and garden planters and the rustic log arbor and trellis take branches from the shelf to the whole garden.
8. Wood Burning (Pyrography): The Personal Touch
Wood burning is what turns a nice slice into somebody’s keepsake. The tool is a pyrography pen at $30–80 — variable temperature matters more than brand, and the craft-store starter kit genuinely works. Technique is mostly preparation: sand to 220 grit first, because the pen glides on smooth wood and skips on rough, then pencil the design on lightly. Burn at medium heat and control the tone with speed — slow passes burn dark, fast passes stay light — and practice on scrap before you touch a finished piece.
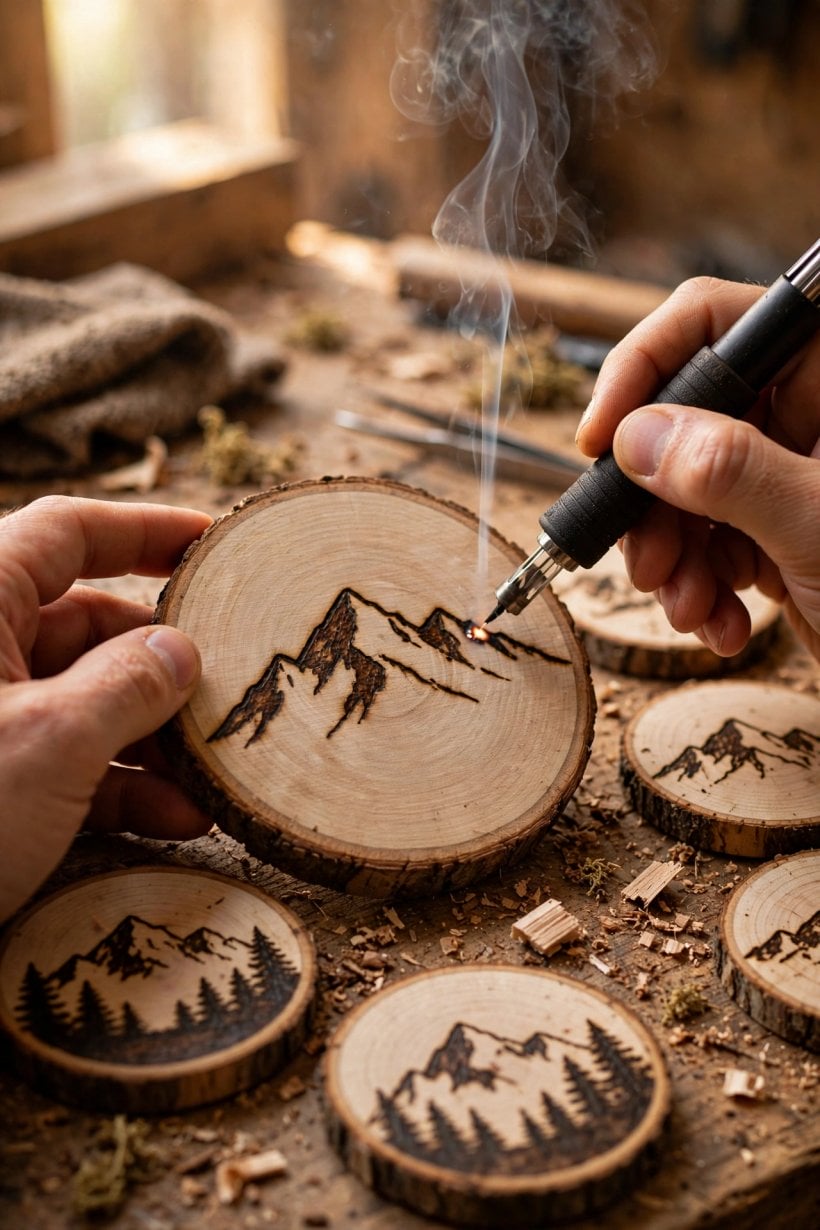
The designs that suit the medium are simple ones: tree rings highlighted, mountain silhouettes, names and dates. That last one is the gift-maker — a wood-burned coaster set carrying a family name is personal in a way nothing bought can match. Work ventilated: burning wood makes smoke, some woods’ smoke is irritating, and pressure-treated wood is obviously never burned — work outside or with a fan. Finish over the burning with oil or wax, which seals the design; polyurethane yellows over time, while wax keeps it natural.
9. Tools and Setup: The Minimal Kit
The essential kit is four tools deep: a miter or chop saw, which is the cookie cutter of the whole craft; a drill with Forstner bits for the candle holes; a sander with 80, 120 and 220 grits; and clamps. Bought new, that is $200–400 — or borrow, because these are among the most common tools in any neighbourhood. The workspace is a sturdy bench outdoors, which keeps the dust outside where it belongs; small crafts are pleasantly portable, and the whole operation can move to wherever the light is good. Every tool on the short list earns its place across all the projects in this guide — the saw cuts every slice, the Forstner bits drill every candle cup, and the sander touches every finished face.
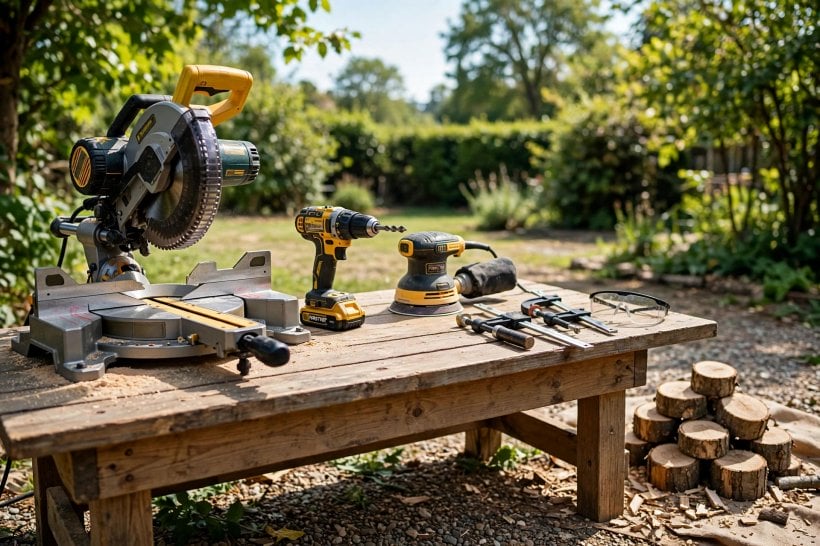
Safety scales with the pieces, and small pieces demand more respect, not less. Wear eye and ear protection and a dust mask — wood dust is the chronic hazard of the craft, and the mask matters more than any tool on the bench. Clamp everything: never hand-hold small rounds near a blade, because the piece that kicks back is always the one in your hand. A clamped slice, a masked crafter and a bench outside — that is the whole safety system, and it is enough.
10. Selling and Gifting: The Craft Economy
Small log crafts have a cost basis most businesses would envy: nearly zero. The wood is fallen, the finish is pennies, and the input is an hour — a candle holder that sells for $25 costs about $2 in materials. Rustic decor sells at farmers markets, on Etsy and at craft fairs, and the marketing writes itself: “handmade from fallen timber” is a story buyers repeat for you. Scale that up and the same fallen-wood logic builds everything from shelves to our guide to DIY log cabins and small round-log sheds.
Price with the craft formula — three to four times materials, plus $15–25 per hour for your time — and don’t underprice: handmade commands respect, and cheap pricing argues with your own story. Gifting follows the same economics in reverse: a wood-burned coaster set in a twine-tied box is personal, beautiful and essentially free. And when demand grows, batch production is the bridge from craft to income — cut 50 coasters at once, finish them in batches, and let the assembly line turn an afternoon hobby into a small, honest business.
Final Considerations
Start with coasters — the 30-minute win — then graduate to candle holders, the Forstner bit project, and decorate with cookies and branches. Personalise with the burning pen, and finish everything food-safe where hands and mouths go. That is the whole arc of these log craft ideas: small wood, basic tools, honest finishes, and the patience to let slices dry before you sand them. The skills compound, the gifts delight, and the fallen branch becomes something better than firewood.



1 Comment