

Choosing a front door is a small decision that affects your home every single day. It changes how the entrance feels, how much light reaches the hall, how secure the house feels at night, and how much weather stays outside where it belongs. This guide walks through the checks that matter before you pay, in a calm order you can follow in a showroom, online, or with a printed specification sheet in hand.
1. At a Glance: The Checks That Matter Most
Start with the short version. A good fiberglass door is not just a pretty slab in a catalogue photograph. It is a complete system: skin, core, frame, sill, glass, seals and hardware all working together. If one part is weak, the whole entrance suffers, so check the system rather than falling for a finish alone. The table below sums up the questions worth asking first, before colours, panel styles and handle shapes distract you.
| Question | What to check |
|---|---|
| What is the door made of? | Ask about the skin thickness, the core material and the internal stiles and rails, and get the answer in writing. |
| Is it sold as a slab or a prehung unit? | A prehung door arrives in its frame with hinges fitted; a slab needs an existing frame that is sound and square. |
| Does the size truly fit? | Measure the opening in several places and confirm the swing, handing and sill type before ordering. |
| What does the warranty cover? | Read the terms for the slab, finish, glass and seals separately, and keep the paperwork after fitting. |
| Who is fitting it? | Decide early whether this is a careful DIY job or one for an installer, and plan time and tools honestly. |
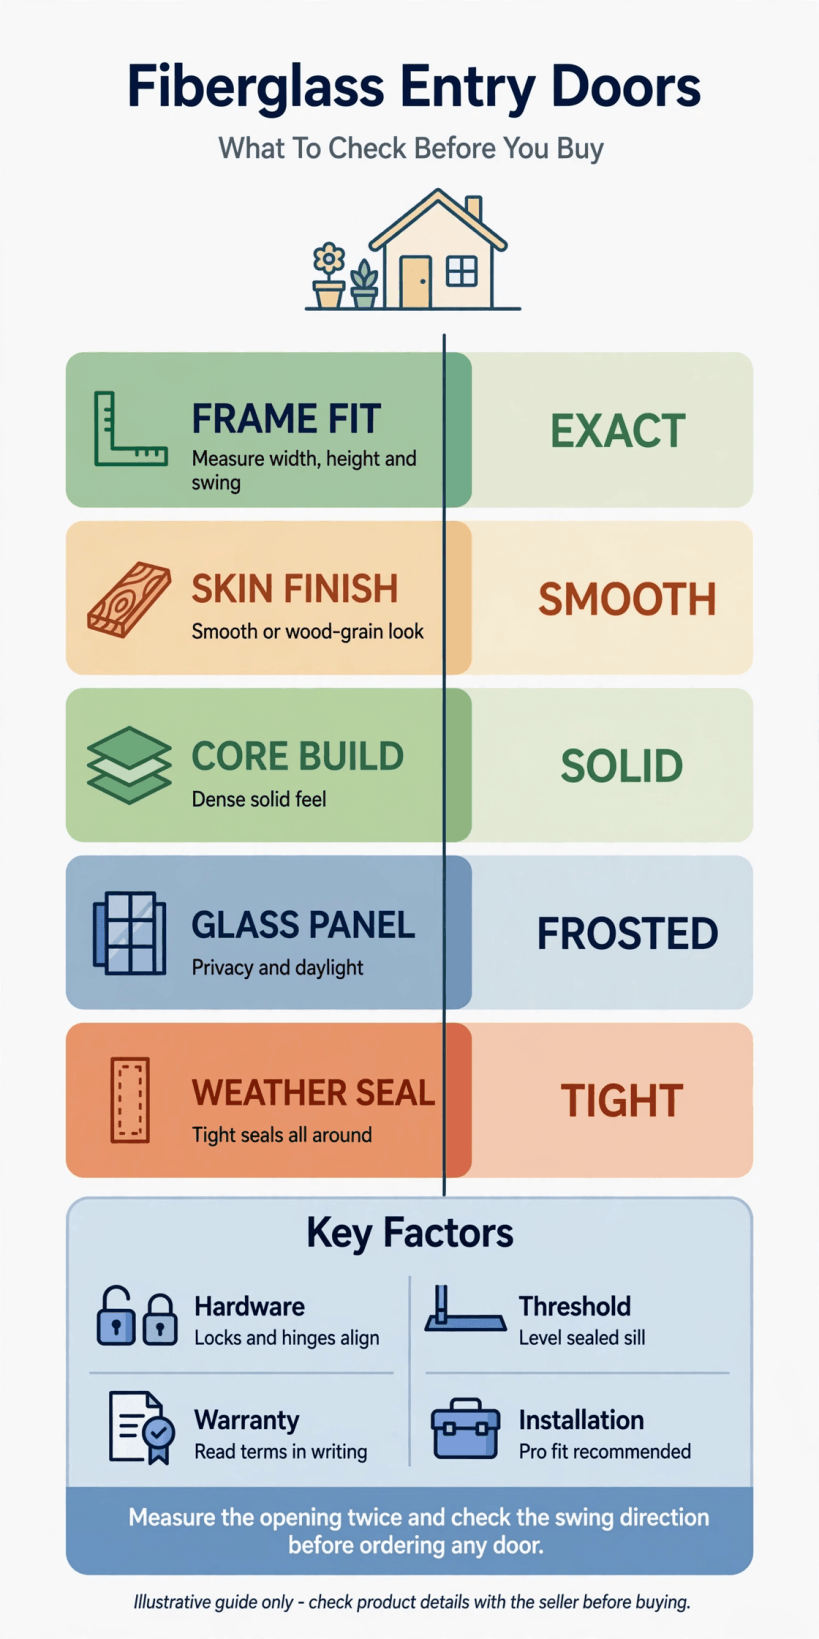
A quick visual summary of the main checks: construction, fit, glass, seals and warranty paperwork.
Keep that table open as you read on. Each section below expands one row into plain, practical detail, so by the end you will know exactly what to ask, what to measure, and what to keep in a folder once the door is fitted and the packaging has gone.
2. How a Fiberglass Door Is Put Together
Fiberglass doors are moulded to look like painted timber or stained wood, but their strength comes from what sits under the surface. A typical door has an outer skin, an insulating core, and internal rails and stiles that give it shape and hold the lock and hinges firmly. When you tap, lift or close a display door, you are feeling all three layers at once, so learn to separate them in your mind while you shop.
Many shoppers begin by browsing examples such as feather river doors alongside other fiberglass ranges, comparing panel layouts and finishes before checking construction. That order is natural, but reverse it if you can. Ask first how the skin is formed, what the core is made from, and whether the lock block area is reinforced. A door that feels solid at the handle height and does not flex when pressed usually has a better internal structure than one that feels light and hollow.
Think about the rooms just inside the entrance too. The door sets the tone for the hall and the space beyond it, much as the layouts in these tiny house living room ideas show how one strong choice can organise a whole interior. Check the edges of display doors for neat finishing, look along the face in raking light for ripples, and open and close the door several times. Smooth, quiet movement tells you more about build quality than a brochure ever will.
3. Skins, Texture and Finish: What to Inspect in Person
The skin is the part you see and touch daily, so inspect it closely. Smooth skins suit painted finishes and modern entrances, while wood-grain textures are moulded to mimic oak, mahogany or fir and can be stained or painted depending on the product instructions. Run your hand across the grain. It should feel even and deliberate, not rough, patchy or overly plasticky in a way that would annoy you every morning.
Colour deserves slow thought. A bold front door can lift a plain facade, and the playful examples in this round-up of colorful tiny house interior ideas show how confident colour works when the surrounding palette is calm. Ask whether the door arrives factory-finished or needs finishing on site, which edges must be sealed, and what products the maker allows. Finishing all six sides — front, back, top, bottom and both edges — is a detail that often appears in care instructions, and skipping an edge can affect later warranty claims.
Finally, check the finish in natural light if the showroom allows it. Artificial light flatters deep colours and hides brush marks or moulding flaws. Look for consistent colour across panels, clean lines where the grain meets the stiles, and no bubbles, cracks or thin spots near corners and lock areas. Small flaws on a display door are a warning; on your delivered door, photograph any marks before fitting and contact the seller promptly rather than hoping paint will hide them.
4. The Core and Internal Structure
Most fiberglass entry doors use a foam core for insulation and rigidity, framed by stiles and rails that may be timber, composite or a mix of materials. The core helps the door feel substantial, keeps the two skins apart under pressure, and contributes to how the door sounds when it closes. A dull, solid sound is a good sign; a tinny echo suggests a thinner build that may feel less reassuring over time.
Ask what material forms the bottom rail, because the bottom of a front door meets the most moisture. Some designs use composite bottom rails to resist rot where water splashes back from the step. Ask also about the lock block — the reinforced area where your handle and lock will be fitted. Hardware is only as secure as the material its screws bite into, so this hidden detail deserves a direct question and a written answer in the specification.
Weight can guide you too. With help, lift one corner of a display slab if staff allow it, or simply note how the prehung display unit swings. A very light door is not automatically poor, but it should still close with a settled feel and no bounce against the seals. If the door rattles, twists or needs a push to latch during a showroom test, imagine that behaviour multiplied by years of daily use, seasonal movement and busy family life, and choose accordingly.
5. Size, Swing, Sill and Frame: Measuring Before You Order
More door problems come from measuring than from manufacturing, so treat this stage with respect. Measure the width of the existing frame in three places, the height in two places, and note the thickness of the wall if you are buying a prehung unit. Write the smallest width down and use that figure. Check whether the floor inside is level, whether the step outside rises close to the sill, and whether mats, tiles or planned flooring will steal clearance later.
Swing and handing confuse many buyers. Stand outside, face the door, and note which side the hinges sit on and whether the door opens inward or outward. Record it exactly as the seller’s diagram shows rather than inventing your own left and right labels. If you are planning a self-managed project, the step-by-step mindset in this guide on how to build your own tiny house is a useful reminder: careful measuring notes, taken once and kept safely, prevent expensive reorders on any build, large or small.
Do not forget the frame and sill. A beautiful slab in a rotten or twisted frame will never seal properly. Press a screwdriver gently into suspect timber at the frame base to check for softness, look for cracked sill corners, and check that the threshold height suits everyone in the house. If the old frame is staying, confirm the new slab’s hinge positions and lock height can match it, or budget for the extra work of adjusting them neatly.
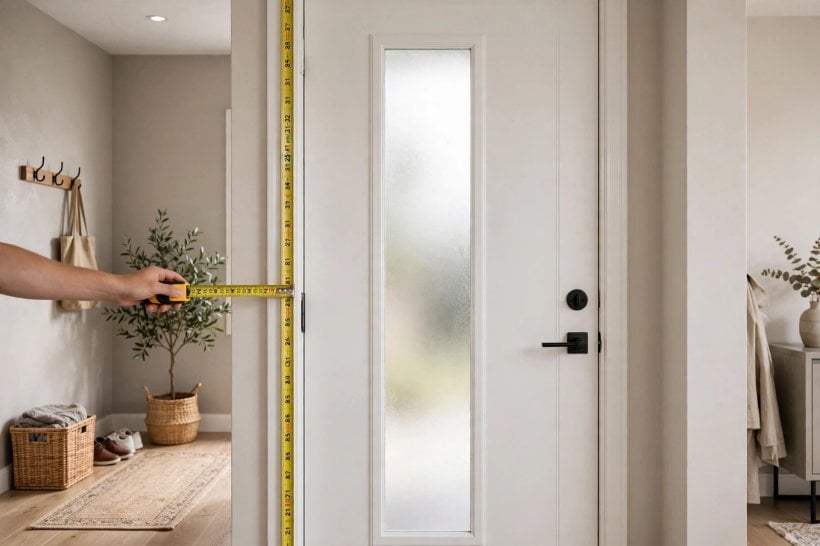
6. Glass, Sidelights and Privacy
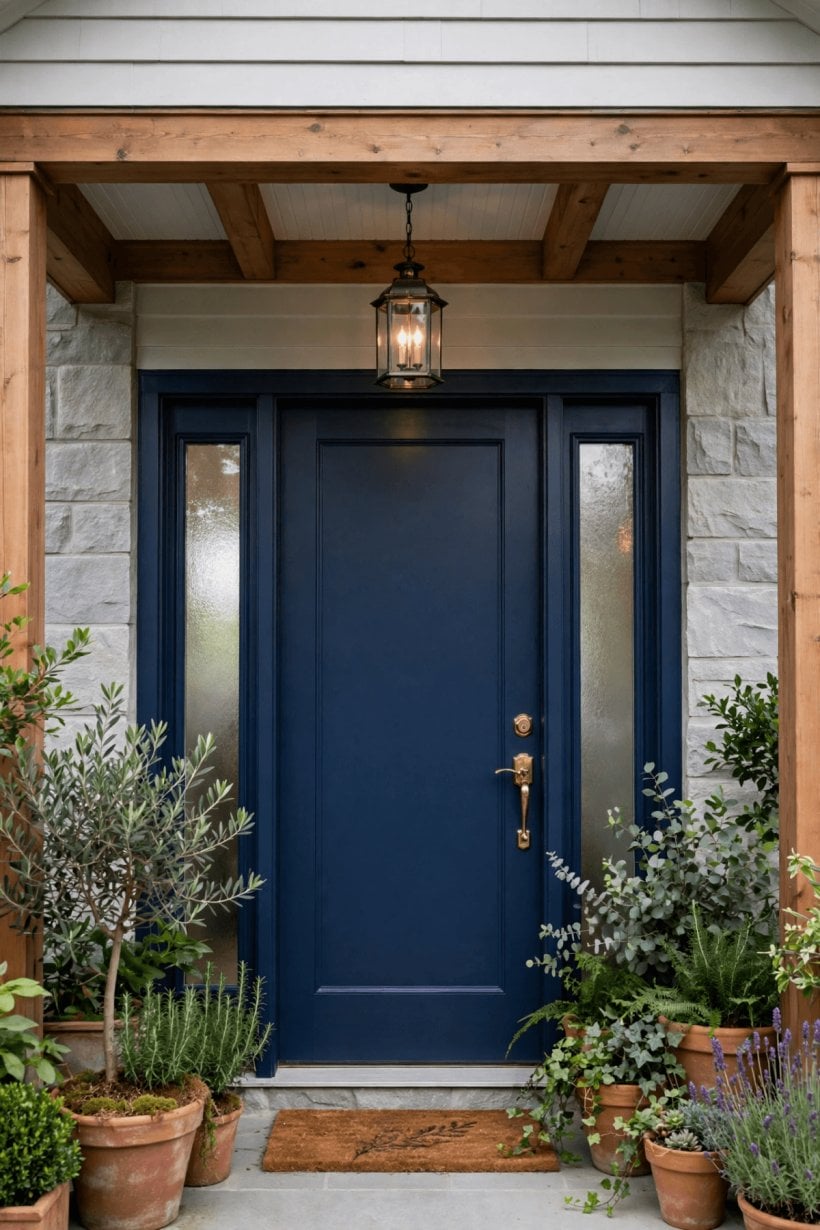
Glass transforms a front door. It brings daylight into a hall that may have no window, lets you see who is calling, and adds character through clear, frosted, textured or decorative designs. The trade-off is privacy and, to a smaller degree, insulation, so choose the size and type of glazing with your street, hallway and daily routine in mind rather than by photograph alone.
Ask what kind of glass unit is fitted, whether it is double or triple glazed where that option exists, and how the unit is held in the door. A well-made glazed door should show tidy, even beading or a clean moulded frame around the glass, with no gaps, rattles or smeared sealant. Check the manufacturer’s care guidance for cleaning decorative glass, especially if it has textured or leaded-effect details that trap dust differently from flat panes.
Sidelights and transoms widen the whole entrance and can make a narrow hall feel generous, echoing the way considered glazing improves the rooms in these tiny house bathroom ideas, where privacy glass has to balance light and discretion in a small space. That same balance matters at your front door: frosted or textured glass at eye level, clear glass higher up, and a hallway layout that does not put private rooms on full display when the door is opened to a visitor.
7. Hardware, Bore and Weatherstripping Details
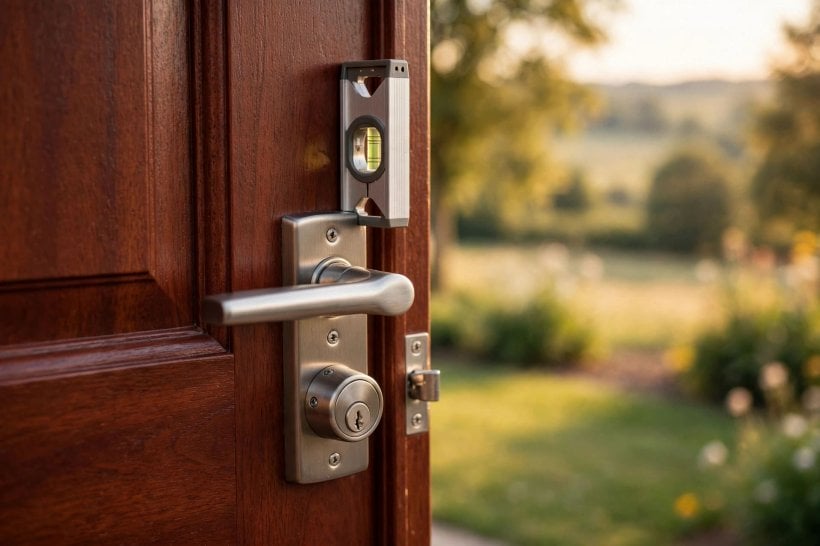
Hardware is where a door becomes personal: handle style, finish, lock type, hinges, letter plate, knocker and kick plate all change how the entrance looks and works. Before choosing finishes, confirm the practical points. Check the backset and bore sizes the door is prepared for, whether it is supplied bored for a lock and handle or left blank, and whether the hinge positions suit a prehung frame or need cutting into a slab.
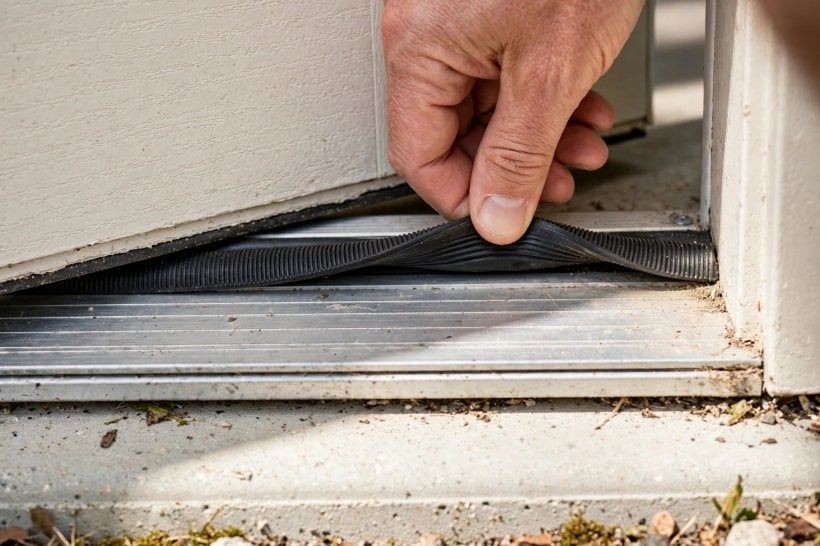
Weatherstripping deserves equal attention. Run your eye around a display door’s seals: they should sit evenly in their grooves, meet neatly at corners, and compress gently as the door closes rather than fighting the latch. Ask whether replacement seals are available and how they are fitted, because seals are wear items. A door that seals well keeps out draughts, driven rain and street dust, and it also closes more quietly, which you will appreciate every evening.
Coordinate hardware finishes with the inside of the home as well as the outside. The handle is seen from the hall all day, so its style should sit happily with your interior, an approach reflected in these bedroom interior design tiny houses examples, where small fittings are chosen to match the wider scheme. Finally, keep spare keys, lock instructions and any security registration documents together from day one, and test every lock, latch and hinge screw before the installer, or your own helper, leaves the job.
8. Energy, Ratings and Paperwork to Ask For
A front door is part of your home’s thermal envelope, so ask how the complete unit performs, not just the slab. Sellers may provide energy information for the door system, and local building rules can set expectations for replacement doors in your area. Because rules and rating schemes differ by place and change over time, ask the seller which documents apply to your address and keep copies rather than relying on a verbal summary in the shop.
Look for paperwork that describes the door’s construction, fire or security features where those are claimed, and any test or certification documents the maker supplies for that exact model. Read claims carefully: a feature tested on one configuration may not apply to a different size, glass option or frame. If a glazed or sidelight version is what you are buying, the paperwork should match that version, and any difference is worth a polite, direct question before you pay a deposit.
Paperwork also protects your budget. Keep the order confirmation, the specification, delivery notes and care instructions in one folder, digital or paper. Note the exact model name, size, swing, finish and glass code from your confirmation and compare them with the labels on the delivered door before anyone removes packaging or cuts anything. Ten quiet minutes of checking at delivery can save weeks of dispute later, especially on a made-to-order door that cannot simply be swapped from stock.
9. Warranty Documents: Reading the Fine Print Calmly
Warranties for doors are usually split into parts: the slab, the factory finish, the glass unit and the seals or hardware may each carry different terms and periods. Read them as separate promises. Note what counts as a defect, what is classed as natural weathering, and which actions — such as fitting the door in an exposed location without a required overhang, or failing to finish an edge — could limit a claim.
Pay attention to the process as well as the promise. Who do you contact first, the seller or the manufacturer? What photographs or documents will they ask for? Is the remedy repair, replacement of a part, or replacement of the whole unit, and who covers fitting costs if a replacement is supplied? These are ordinary questions, and a reputable seller should answer them without pressure or vagueness. If the answers only exist verbally, ask for them by email so you have a record.
Think about setting, too. An exposed coastal or south-facing entrance lives a harder life than a sheltered porch, and the planting and approach can soften that exposure, as the layouts in these tiny house landscaping ideas demonstrate for small plots. A canopy, a well-drained step and gutters that do not overflow onto the door all help any finish last. Choose a door and warranty that suit your actual exposure, not an idealised one, and follow the maker’s refinishing timetable to keep the cover meaningful.

10. Delivery, Storage and Installation Readiness
Plan for delivery day before it arrives. A prehung door system is bulky and awkward, so clear a path, decide where it will stand, and arrange a second pair of hands. Inspect the packaging, then the door itself, before signing anything you are not comfortable with. Check corners, glass and finish under good light, confirm the swing and size against your order, and keep labels attached until fitting is complete in case a return or query becomes necessary.
Storage matters more than people expect. Keep the door flat or fully supported as the maker instructs, in a dry place away from direct heat and damp floors, and do not lean it against a wall for weeks where it could bow. If the door needs finishing, plan the space, dust control and drying time honestly. The calm, staged approach used in well-run small builds, like the projects behind these tiny barn house interior ideas, applies here too: prepare the space first, then bring the finished piece in once, rather than moving it repeatedly and risking damage.
On fitting day, have shims, fixings, sealant, a level, drill drivers and interior trim ready before the old door comes out, because an open doorway concentrates the mind wonderfully. Dry-fit first, check the latch side gap is even, and adjust the frame rather than forcing the slab. Once fitted, test the door from inside and out, with the weather seals under normal closing pressure, and make small adjustments while tools are still out. Finish by photographing the completed entrance and filing every document together.
Final Considerations
A fiberglass entry door rewards buyers who slow down. Check how it is built before how it looks, measure the opening as it truly is, choose glass for your real level of privacy, and read the warranty as a set of separate promises for slab, finish, glass and seals. Keep every document, photograph the delivery, and fit the door as a complete system — frame, sill, seals and hardware included. Do those things, and the entrance you use several times a day will feel solid, seal quietly, and look right for years, which is exactly what a front door is for.




0 Comments