

A great workspace starts with one honest question: what will you actually make here? This garage workshop guide answers it with benches, storage, light and layouts that suit real projects.
Work through the 75 ideas in order, or jump to the section your space needs most.
1. At a Glance: The Decisions That Shape Everything
Before buying anything, settle the big choices on paper. Measure the walls, note where the car still needs to fit, and mark doors, windows and outlets. The table below turns a vague wish list into a calm plan you can price, stage and adjust as the room takes shape.
| Decision | What to settle first | Simple starting rule |
|---|---|---|
| Main bench | What you build most often | Size the bench for your biggest regular project, not a rare one |
| Storage style | Tools you reach for weekly | Daily tools in the open, seasonal tools in closed cabinets |
| Lighting | Ceiling height and shadows | Layer bright ceiling light with focused light at each bench |
| Layout | Car, bikes and bins that stay | Keep one clear path from door to bench at all times |
| Floor | Oil, dust and dropped tools | Choose a surface you can sweep and wipe in minutes |
| Power | Where machines will stand | Plan outlets before benches hide the walls behind them |
| Budget order | What improves every session | Bench, light and storage first, upgrades and extras later |
| Growth | Next tool you might add | Leave one empty wall section for future storage or machines |
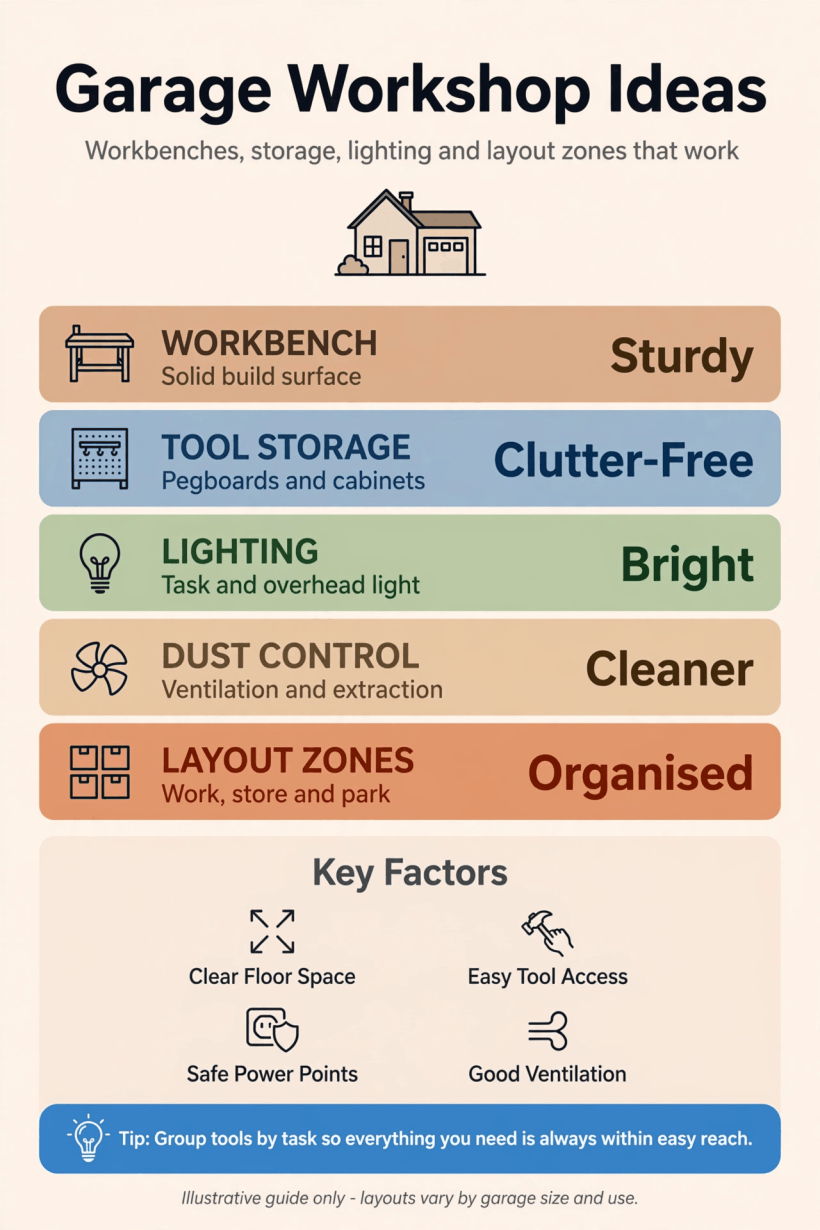
The whole plan on one page: settle the bench, storage, light and layout first, then fill in the details section by section.
2. Benches That Earn Their Space
A bench is the heart of the room, so give it the best wall and the best light. Readers who liked our roundup of the best tiny home office setups will recognise the same rule here: a work surface sized to the task beats a huge surface that collects clutter.
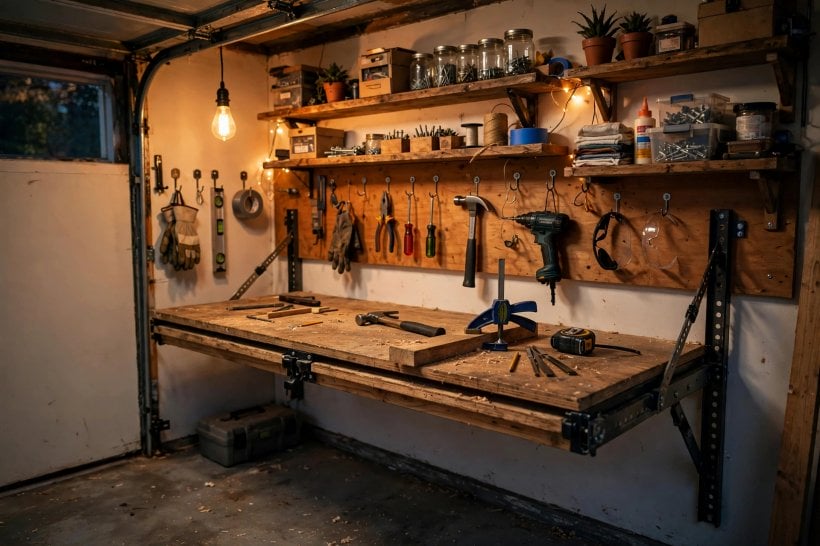
1. Build the main bench along the longest clear wall. A long, straight run gives you room to clamp, measure and assemble without constantly turning work around or moving half-finished pieces between surfaces.
2. Set the bench height to your elbows. Stand naturally and measure down slightly; a bench near elbow height suits most hand work and reduces the shoulder ache that creeps in during long sessions.
3. Add a sacrificial top layer you can replace. A sheet of hardboard or plywood over the main top takes the glue, paint and drill slips, and swapping it later is cheaper than rebuilding the bench.
4. Fit a front vice at the dominant-hand end. Placing the vice where you naturally stand keeps long pieces clear of the wall and leaves the rest of the bench free for assembly and finishing.
5. Build a lower shelf sized for tool cases. Measure your biggest case first, then set the shelf height around it, so cases slide in neatly instead of stacking in a wobbling tower.
6. Add a rolling side bench for overflow. A smaller mobile bench parks under the main one, then rolls out for glue-ups, sanding or holding parts during a two-stage job.
7. Create a small assembly table at lower height. Cabinets and frames are easier to square up on a lower table where you can lean over the work and see every corner at once.
8. Keep one bench corner completely empty. A clear corner becomes the landing zone for the piece you are about to cut, glue or photograph, and it stops clutter spreading across the whole top.
9. Mount a bench hook and a stop block rail. Simple jigs like these make repeated cuts faster and safer, and they store flat against the wall when the bench returns to general duties.
3. Storage Walls That Stay Tidy
Storage works when every tool has an obvious home and the home is easy to reach. Take a cue from these tiny house closet design ideas: label zones by task, keep heavy things low, and review the wall twice a year as your projects change.
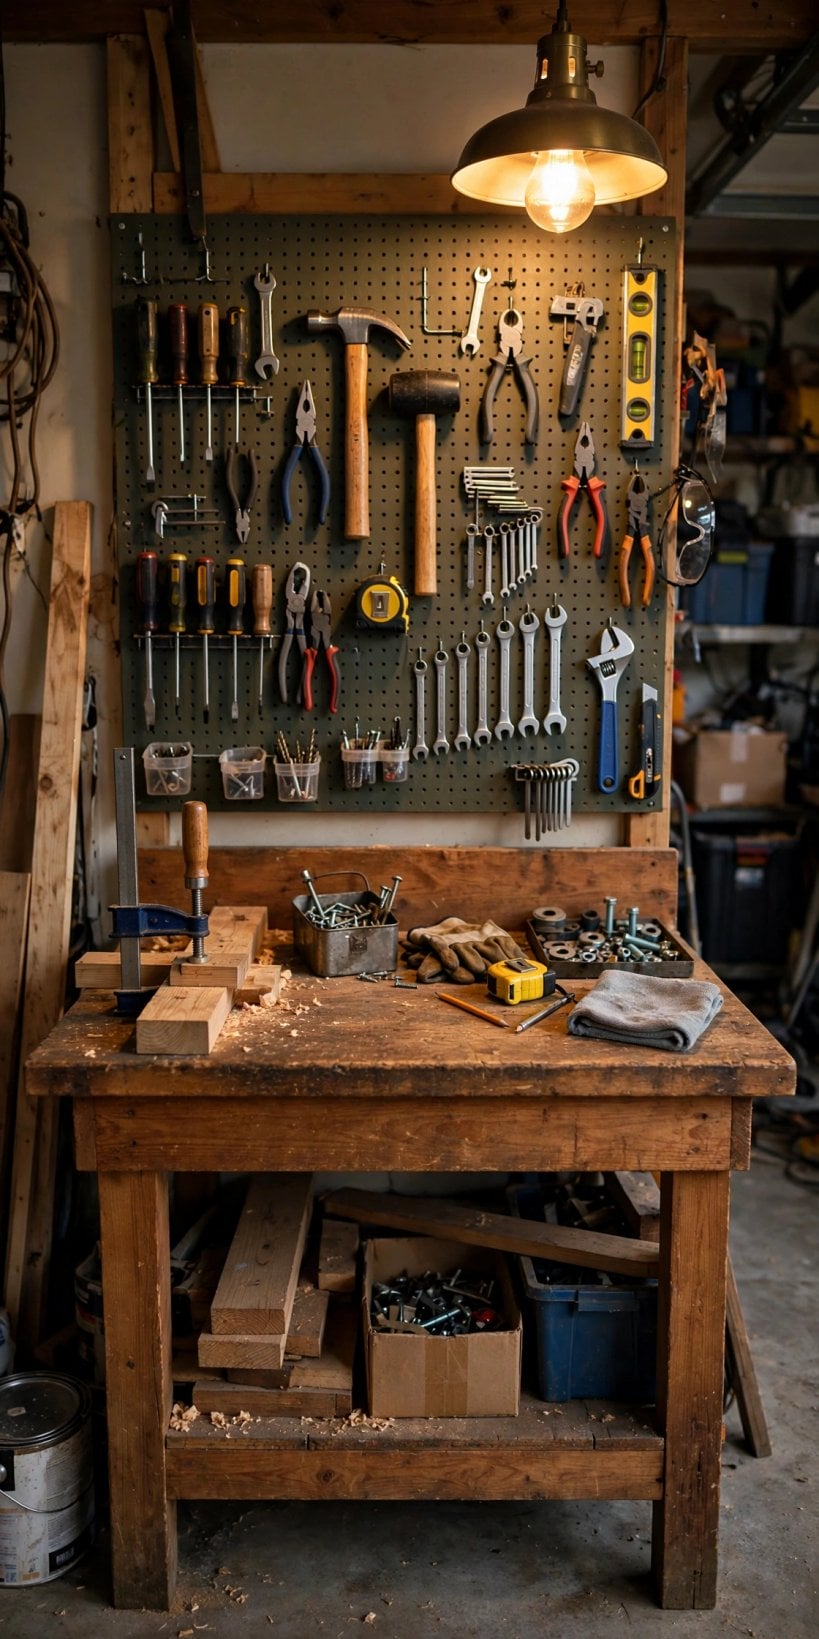
10. Hang a pegboard for daily hand tools. Outlined spots for hammers, squares and pliers make missing tools obvious at tidy-up time and keep the bench itself clear for actual work.
11. Use French cleats for flexible heavy storage. Cleats let cabinets, holders and racks move along the wall without new holes, which is ideal when a new machine changes your layout.
12. Store screws and fixings in clear fronted drawers. Seeing sizes at a glance ends the rummage through mixed jars, and a label on each drawer keeps refills quick and accurate.
13. Give long timber a high, level rack. Boards stored flat and supported in several places stay straighter, and a high rack keeps them away from damp floors and passing feet.
14. Park sheet goods upright in a narrow bay. A slim vertical slot near the door lets plywood and panels slide in and out without dragging them across the whole room.
15. Add a charging shelf near an outlet. One shelf for batteries and chargers, with cables clipped short, stops chargers migrating to the bench and tangling with projects.
16. Keep a rolling cabinet for project tools. Load it per project, wheel it to the bench, then park it away, so one set of drawers serves several different work zones.
17. Label every bin with its contents and owner. Plain labels end arguments about whose drill bits are whose, and they help guests or family members put things back correctly.
4. Lighting That Shows Every Line
Good light is a safety tool, not a luxury. Aim for bright, even ceiling light, then add focused light where blades, bits and pencil lines meet, so shadows never hide the detail you are trying to cut, drill or sand.
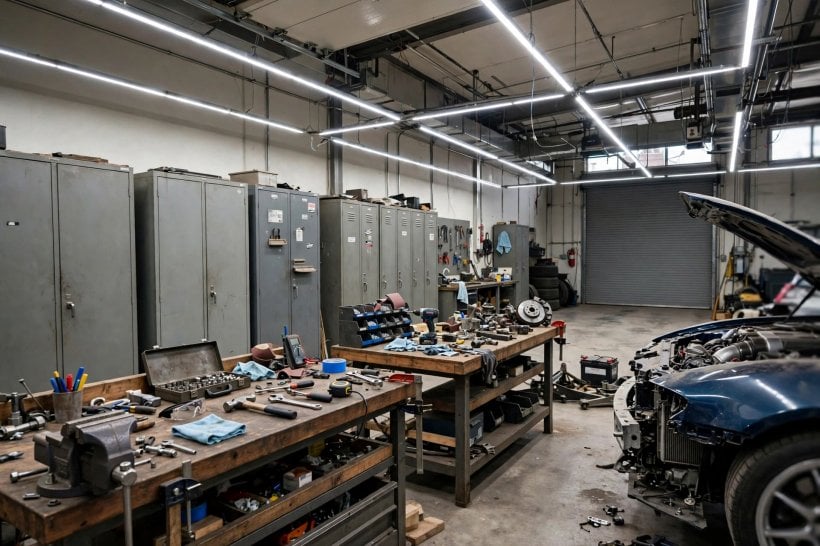
18. Fit two rows of ceiling lights, not one. Two rows spread light across benches on both sides and stop your own shadow falling exactly where you are working.
19. Add under-shelf lights above each bench. A strip under the shelf over the bench lights the work surface directly and makes measurements far easier to read.
20. Use a movable lamp for inspection. Raking light across a surface reveals dents, glue spots and sanding scratches that flat ceiling light hides completely.
21. Choose daylight-balanced bulbs throughout. Consistent colour helps you judge paint, stain and timber tones honestly instead of discovering surprises outdoors later.
22. Put lights on separate switches by zone. Lighting only the bench you are using saves power and gives a clear visual cue about which zone is active.
23. Add a lit magnifier for small repairs. Electronics, splinters and tiny fixings are calmer work when a magnifier lamp swings in and holds its position.
24. Light the entrance and the path to the bench. A bright doorway stops trips over stored items when you carry timber in with both hands full.
25. Keep one battery light for power cuts. A charged lantern on a fixed hook means a sudden outage never leaves you mid-cut in the dark.
5. Layouts for Real Garages
Layout is a daily decision, not a drawing. Walk the space with a tape and a piece of chalk, mark where machines and benches would sit, then live with the outlines for a week, like the planners behind these tiny house building design ideas.
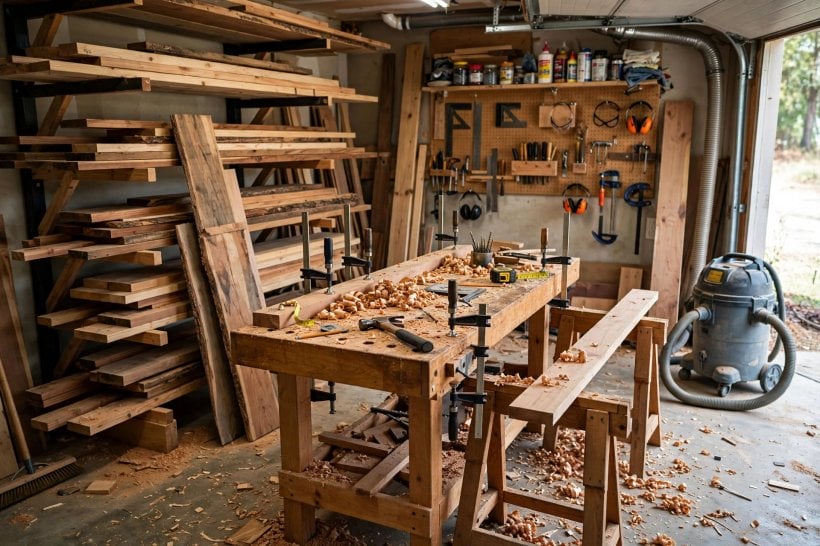
26. Try a single-wall layout in a narrow space. Bench, storage and machines along one wall keep the rest open for a car and make a small room feel calm.
27. Use an L-shape when two walls are free. Benches meeting in a corner create a natural turn between preparation and assembly without wasting the corner itself.
28. Build a U-shape for a dedicated room. Three working sides suit keen makers who no longer park a car inside and want everything within a few steps.
29. Place the saw near the door for long boards. Feeding long timber straight in from outside is safer and easier than turning it inside a crowded room.
30. Keep a clear metre in front of each machine. Standing room plus material room prevents the shuffle that leads to rushed, inaccurate and tiring work.
31. Zone the room by dust level. Cutting at one end, assembly in the middle and finishing at the far end keeps dust away from drying paint.
32. Leave a flexible empty square in the middle. A clear centre handles bikes one week, a big glue-up the next, and a car whenever life demands it.
33. Put the finishing corner near a window. Natural light and ventilation make painting and oiling pleasanter and help you spot runs and missed patches.
34. Mark parking lines on the floor. Painted outlines for the car, bins and bikes stop slow creep into your working area over the months.
6. Floors, Power and Dust
The unglamorous systems decide how the room feels every day. A floor you can clean, outlets where you need them and dust dealt with at source will do more for your projects than any single new tool, a lesson familiar from our tiny house kitchen design ideas, where services come before surfaces.
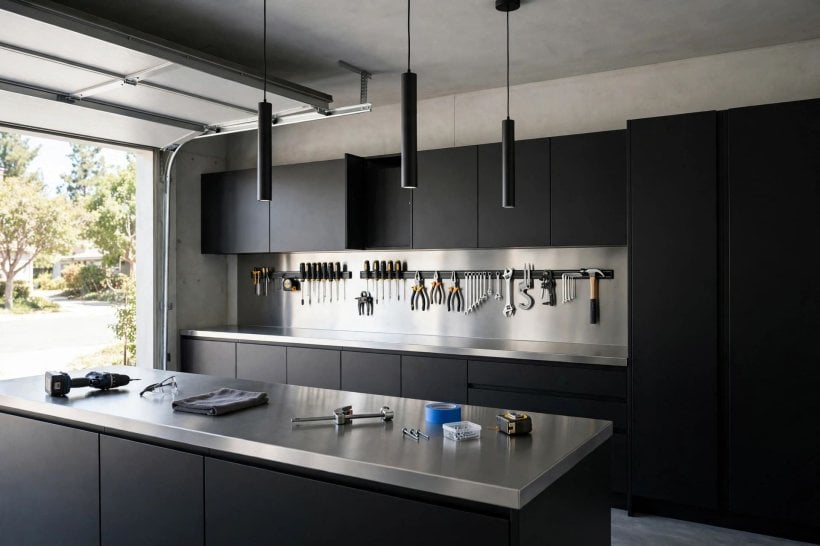
35. Seal bare concrete against oil and dust. A sealed floor sweeps clean, resists stains and stops concrete dust migrating onto every project and shelf.
36. Lay interlocking mats at standing spots. Mats in front of benches ease tired legs and soften the landing for dropped tools and parts.
37. Add outlets at bench height along the wall. Bench-height sockets keep cords off the floor and stop plugs hiding behind stored boxes and cabinets.
38. Fit one ceiling outlet for a retractable reel. A reel over the centre of the room powers tools anywhere without a cable snaking across your path.
39. Connect the main saw to dust extraction. Capturing dust at the blade keeps the air clearer and the floor safer than sweeping alone ever will.
40. Keep a dedicated vacuum for fine dust. A separate machine for the room means filters, hoses and nozzles are always ready instead of borrowed elsewhere.
41. Store finishes and solvents in a metal cabinet. A closed metal cabinet away from heaters is the sensible home for flammable tins and oily cloths.
42. Hang a broom and bin within arm’s reach. Cleanup tools stored where mess happens get used in the moment, not postponed until the floor is a hazard.
7. Hand Tool Zones and Daily Habits
Hand tools reward calm organisation. Group them by the job they do, keep edges protected, and build the five-minute reset into every session so the room is always ready for the next idea that arrives.

43. Group measuring tools in one shallow drawer. Tapes, squares, rules and marking gauges together mean layout work starts in seconds, not after a hunt.
44. Store chisels in a roll or a rack. Protected edges stay sharp longer and fingers stay safer than they do with loose chisels in a deep box.
45. Keep a sharpening station permanently set up. Stones, a strop and a guide left ready turn sharpening into a two-minute habit instead of a monthly event.
46. Hang saws by type on a side wall. Separating rip, crosscut and fine saws makes the right choice automatic and keeps teeth away from knocks.
47. Create a project tray for parts in progress. Screws, hinges and instructions for the current build live on one tray, so nothing rolls away mid-assembly.
48. Keep clamps on one reachable rack. Clamps grouped by size near the assembly table end the mid-glue-up scramble that ruins careful work.
49. Finish every session with a five-minute reset. Tools home, bench wiped, floor swept: a tiny habit that makes tomorrow’s start feel effortless.
50. Keep a notebook of measurements that worked. Bench heights, shelf spacings and jig settings written down once save you re-measuring them forever.
8. Machine Safety and Comfort
Machines deserve space, light and respect. Set each one up with room to feed material calmly, guards in place and a clear rule that tired, rushed work waits until tomorrow, whatever the deadline says.
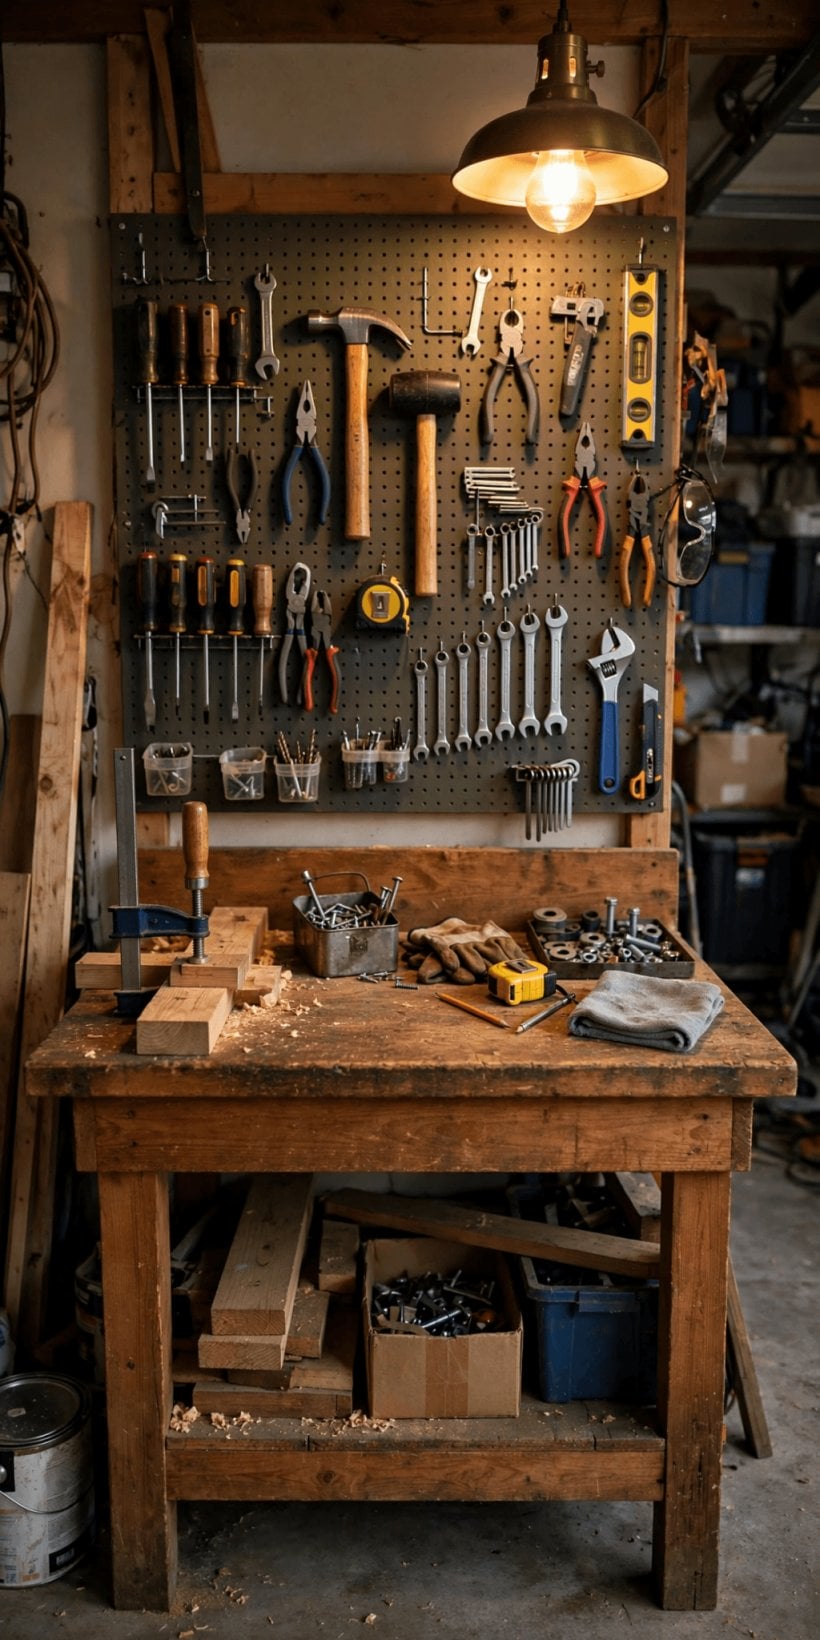
51. Give the biggest machine the best position. Your most-used machine earns the spot with the longest clear feed path and the strongest light above it.
52. Fit push sticks and keep them at each saw. A push stick stored at the machine gets used; one stored across the room quietly gets forgotten.
53. Store hearing and eye protection on hooks by the door. Protection you pass on the way in becomes automatic, and spares keep guests covered too.
54. Add a first aid box in a known, marked place. Plasters, antiseptic and a torch in one bright box save precious minutes when a small injury happens.
55. Keep a fire extinguisher near the exit. Place it where you can reach it while backing away, and check its gauge and date regularly.
56. Set machines on stands at matched heights. Level, similar heights let long boards slide from one surface to another with proper support.
57. Use anti-fatigue mats at machine stations too. Comfort at the saw or sander keeps concentration steadier through a long, repetitive cutting list.
58. Post a simple shutdown checklist by the switch. Blades down, switches off, chargers checked and doors locked: a written list beats memory at the end of a tiring day.
9. Small Spaces and Shared Garages
Sharing with a car, bikes and stored boxes is the reality for most people. The trick is furniture that folds, rolls or stacks, much like the flexible thinking in these tiny house living room ideas, where every piece earns its footprint twice over.
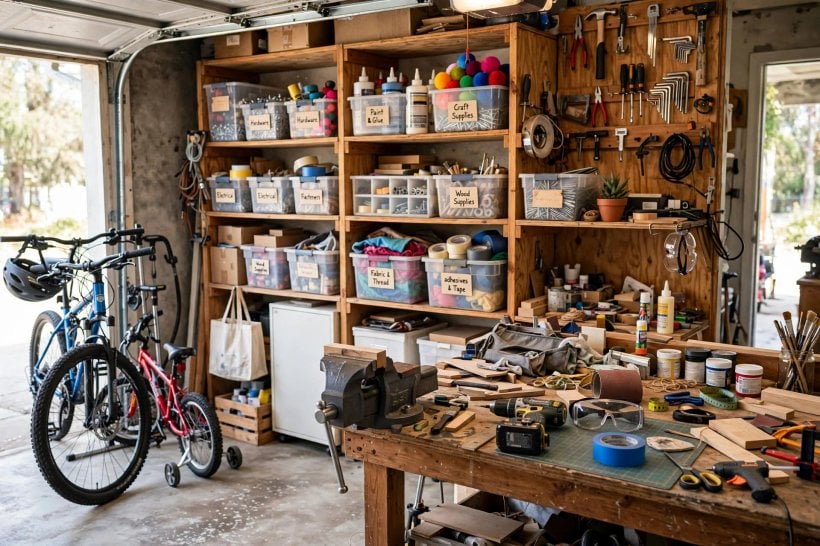
59. Fit a fold-down bench on the side wall. It drops flat for parking, then lifts into a sturdy surface for weekend projects in minutes.
60. Choose tool cabinets on locking castors. Roll them out to work, roll them back to park, and lock the wheels so nothing drifts mid-task.
61. Use the ceiling for rarely used storage. Overhead racks hold seasonal and lightweight items safely above head height and out of the daily way.
62. Share one wall with garden tools, neatly. A defined strip for spades and hoses stops garden gear and project gear tangling into one pile.
63. Keep a slim offcuts bin beside the saw. Short pieces stay sorted and visible for small jobs instead of vanishing into a general scrap heap.
64. Paint the work zone a lighter colour. Pale walls in your corner reflect light, lift the mood and quietly mark where your territory begins.
65. Schedule noisy work considerately. A simple agreement about hours keeps the peace with family and neighbours and makes long projects sustainable.
66. Photograph your tidy layout and keep it. A reference photo on the wall helps everyone return shared items to the arrangement that actually works.
10. Costs, Order of Work and Common Mistakes
Spend in the order that improves every session: bench, light, storage, then machines. Prices vary widely by material and region, so get local quotes, compare like with like, and check rules with your city or county before structural changes, much as you would when planning with these tiny house landscaping ideas outdoors.
67. Price the bench and lighting first. These two shape every project, so fund them properly before spending on extras that only help occasionally.
68. Buy storage in stages, matching real needs. Start with the tools you own today; add drawers and racks only when a genuine gap appears.
69. Compare timber, sheet and metal benches fairly. Judge each by stiffness, repairability and how it handles vibration, not by looks or fashion alone.
70. Allow a contingency for fixings and blades. Screws, brackets, bulbs and blades quietly add up, so a small buffer keeps the plan on track.
71. Check electrical work with a qualified local electrician. New circuits and outlets are not guesswork; local rules vary, so ask a professional in your area.
72. Avoid buying a full tool set on day one. Borrow or hire rarely used machines first, then buy only the ones your projects keep demanding.
73. Do not block windows or vents with storage. Daylight and airflow are part of the plan; covering them makes the room darker, damper and less pleasant.
74. Measure the door before building anything large. A bench that cannot leave the room is fine until the day it must, so keep one exit route in mind.
75. Review the whole room after three months. Note what you reach for, what gathers dust and what annoys you, then move one thing at a time.
Final Considerations
The best garage workshop is simply the one that fits your projects, your space and your habits, and then keeps improving in small steps. Start with the bench, light and storage, live with the layout, and let real work tell you what to change next.
Pick three ideas from this list today, measure your walls tonight, and enjoy the first project your new space makes easier.




0 Comments