

A fence does three jobs at once: it marks your boundary, shapes how your home looks from the street and gives the garden a calm backdrop. These wooden fence styles show how to balance all three.
Start with the layout and height you need, then let colour and detail do the rest.
1. At a Glance: Style, Height and Budget Decisions
Most fencing regrets come from choosing a look before checking the basics: boundary lines, local height rules, ground slope and how much privacy you truly want. Work through this table first and the style choice becomes surprisingly easy, whatever size of garden you have.
| Decision | What to settle first | Simple starting rule |
|---|---|---|
| Purpose | Privacy, pets, children or looks | Let the hardest job set the height and strength |
| Style family | Picket, panel, slatted or rail | Match the fence character to the house, not the trend |
| Height | Local rules and sight lines | Check limits with your city or county before ordering |
| Layout | Slopes, corners and gates | Step or rake panels deliberately, never by accident |
| Colour | Natural, stained or painted | Test finish on an offcut in real daylight first |
| Posts | Spacing and ground conditions | Strong posts matter more than fancy boards |
| Budget | Materials, labour and gates | Price the whole run, including fixings and finish |
| Upkeep | How often you will refinish | Choose a finish you can realistically maintain |
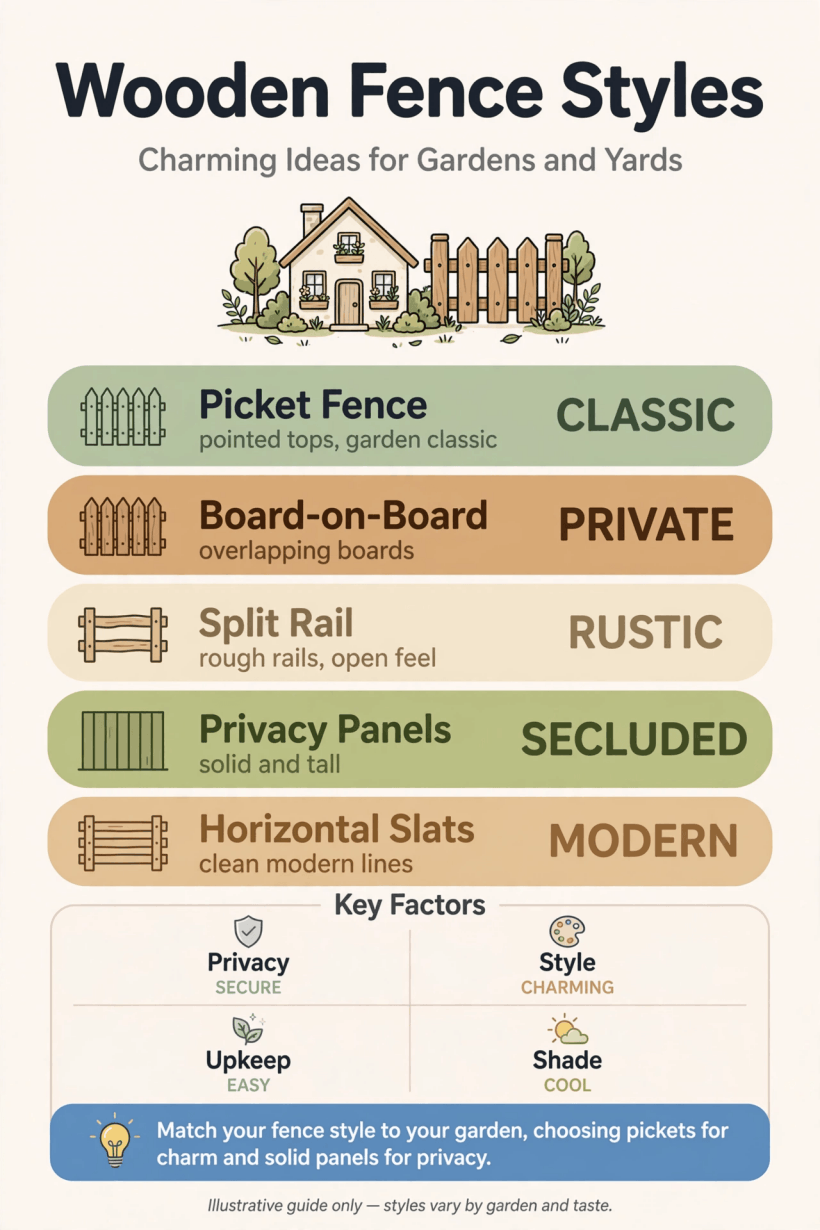
One page, whole plan: purpose, height, layout and finish, in the order that makes the buying decisions easiest.
2. Classic Picket and Cottage Styles
Picket fencing suits front gardens and cottage planting because it marks a boundary without hiding the house. The rhythm of even uprights and gentle tops also echoes the small-space thinking in our best tiny home office setups, where simple repeated elements make a modest area feel ordered.
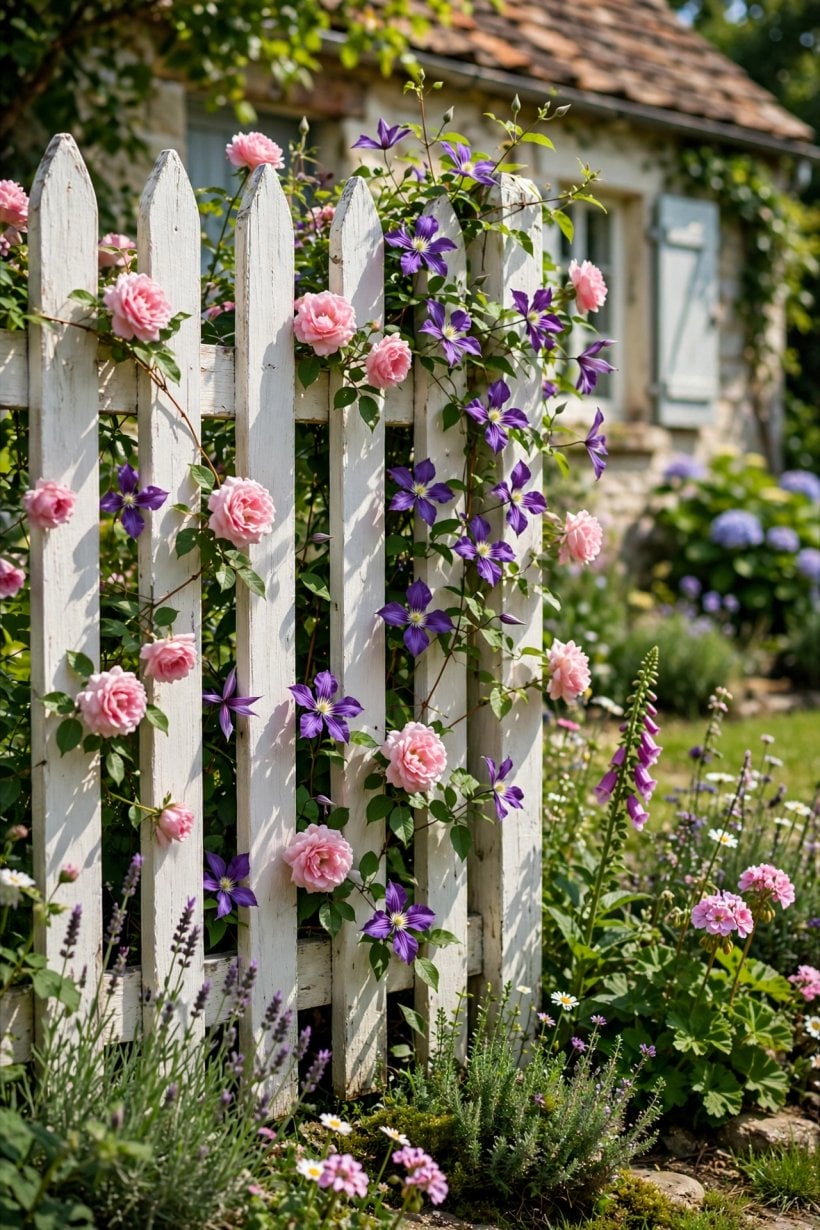
1. Choose pointed pickets for a traditional front garden. The familiar silhouette reads friendly from the street and pairs naturally with low hedges, roses and a simple gate.
2. Try flat-top pickets for a cleaner, modern cottage look. Square tops feel calmer and more contemporary while keeping the open, neighbourly character people love about this style.
3. Use rounded tops where children play nearby. Softened tops are kinder on small hands and still give the fence its classic, welcoming rhythm.
4. Space pickets evenly with a simple jig. A spacer block keeps gaps consistent along the run, and consistency is what makes the whole fence look crafted.
5. Paint pickets white for maximum curb appeal. White against green planting is timeless, brightens a shaded front garden and makes the house behind it feel cared for.
6. Leave a small gap at the base for airflow. Keeping boards slightly off the ground reduces rot, makes trimming easier and helps the fence dry after rain.
7. Add a matching picket gate with a simple latch. A gate in the same rhythm completes the picture and keeps the entrance feeling intentional rather than improvised.
8. Plant low flowers in front, not against, the boards. A narrow gap lets air circulate, keeps soil off the timber and still gives you the cottage border effect.
9. Keep picket height modest at the front. A lower front fence preserves sight lines for drivers and keeps the boundary friendly rather than fortress-like.
3. Privacy Panels and Solid Board Styles
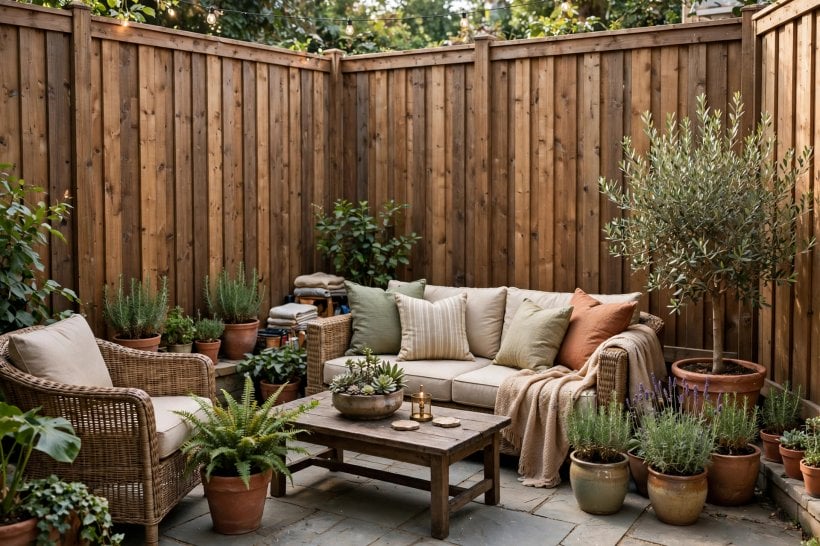
When the goal is a quiet, sheltered garden, solid fencing earns its keep. Think about how the panels meet, how wind passes over them and how the inside face looks, since that is the side you will see every day, much like the inward focus of these tiny house living room ideas.
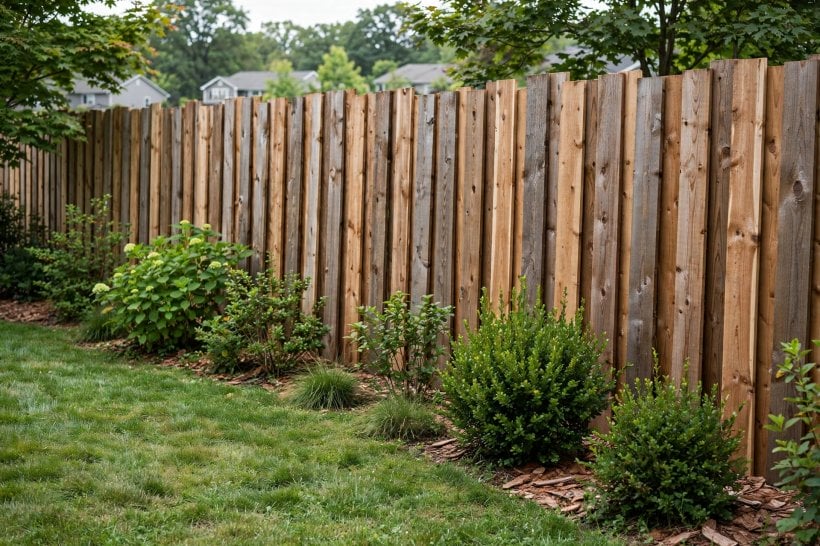
10. Run featheredge boards for a strong, overlapping finish. Overlapping boards shed water well, tolerate slight movement and give a sturdy face that suits most back gardens.
11. Choose closeboard panels where wind is a problem. Closely fitted vertical boards on rails make a robust barrier, especially with posts set at sensible intervals.
12. Try board-on-board for privacy from both sides. Alternating boards close the gaps that open as timber seasons, so the fence looks finished from either garden.
13. Add a cap rail along the top. A capping piece sheds rain from board ends, ties the run together visually and noticeably lengthens the fence’s life.
14. Fit gravel boards at the base. A sacrificial board at ground level takes the splashes and strimmer knocks, protecting the main fencing above it.
15. Break a long solid run with planted bays. A shrub or climber every few panels softens the wall effect and gives wildlife somewhere to shelter.
16. Stagger panel heights near seating areas. A slightly taller section behind a seating corner adds shelter and privacy exactly where you sit most.
17. Face the best side consistently. Decide which garden sees the rails and keep that choice uniform along the whole boundary for a tidy result.
4. Horizontal and Contemporary Lines
Horizontal boards make a garden feel wider and calmer, and they suit modern houses beautifully. The secret is restraint: even spacing, hidden fixings where possible and a finish that lets the timber grain remain the decoration.
18. Run long horizontal boards for a wide, low feel. Unbroken lines stretch a small plot visually and give planting a quiet, gallery-like backdrop.
19. Use narrow slats with slim shadow gaps. Fine slats filter light, feel architectural and still screen views when the spacing is planned carefully.
20. Alternate board widths for gentle rhythm. Mixing two widths in a repeating pattern adds interest without pattern overload or visual noise.
21. Set slats inside a dark stained frame. A framed panel with a darker border looks tailored and helps the fence read as garden architecture.
22. Continue the slats around a corner. Wrapping the corner keeps the design flowing and makes a small garden feel deliberately finished.
23. Pair horizontal fencing with a matching bench. Repeating the same boards in a built-in seat ties the space together and saves buying extra materials.
24. Keep fixings aligned and minimal. Straight screw lines, or concealed fixings, preserve the calm surface that makes this style work.
25. Wash horizontal fences with a soft grey stain. Greyed tones suit contemporary planting and hide weathering more gracefully than very dark colours.
5. Rustic, Split-Rail and Farmhouse Looks
Rustic fencing belongs where the garden meets fields, woods or a relaxed country style. It asks for honest materials and simple construction, the same spirit found in these tiny house building design ideas, where straightforward building beats decoration.
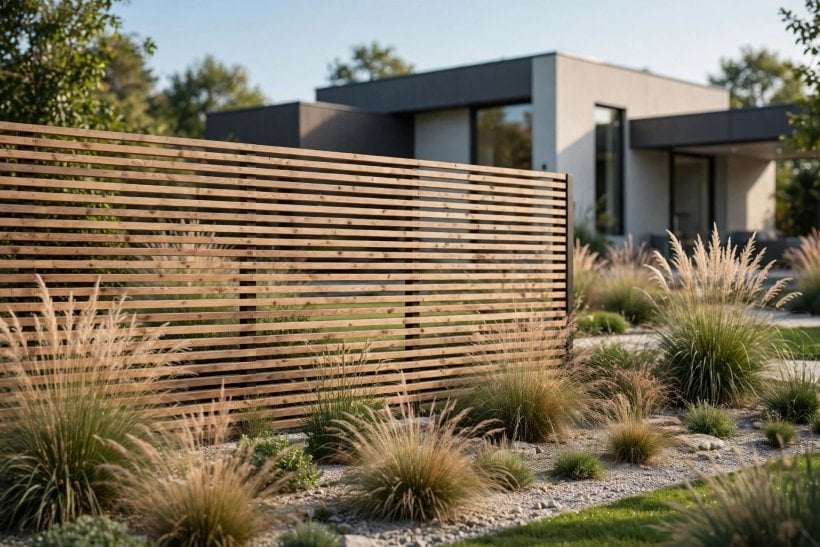 26. Build a split-rail fence for large, open plots. Stacked rails between sturdy posts cover long distances economically and suit meadows, orchards and rural drives.
27. Use rough-sawn boards for a farmhouse boundary. Visible saw marks and natural variation give a relaxed character that painted perfection cannot imitate.
28. Try a woven wattle-style panel in a cottage garden. Woven rods create a soft, handmade screen that blends into planting and suits informal borders.
29. Add a simple post-and-rail run along a drive. Two or three rails guide vehicles and visitors while keeping the view across the land open.
30. Mix rustic fencing with a native hedge. Timber gives instant structure while the hedge thickens behind it into a wildlife-friendly boundary.
31. Leave rustic timber untreated to silver naturally. Weathered grey is part of the charm, and skipping stain suits low-maintenance country gardens.
32. Use chunky posts as the design feature. Oversized posts at corners and gates give simple rails a sense of permanence and craft.
33. Fit a wide farm-style gate on strap hinges. A generous gate suits barrows, mowers and deliveries, and its hardware becomes part of the look.
34. Edge a vegetable garden with low rustic rails. A knee-high rail defines beds, keeps paths clear and stops hoses dragging across your crops.
6. Colour, Stain and Paint Choices
Colour changes everything: the same fence can disappear into planting or become the garden’s main event. Test any finish outdoors first, and borrow palette discipline from our tiny house kitchen design ideas, where two or three tones do all the work.
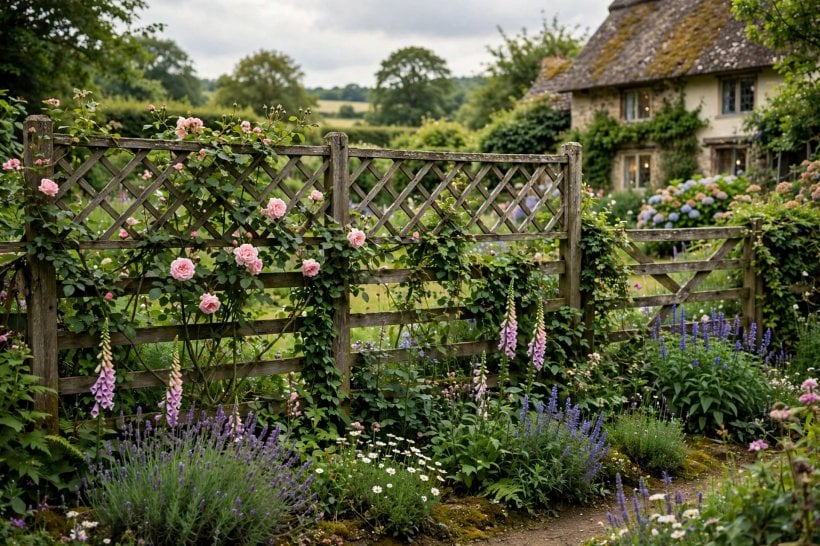
35. Stain panels a deep charcoal for a planting backdrop. Dark fences recede, making greens look richer and flowers brighter by contrast.
36. Keep natural cedar tones with a clear protector. A clear or lightly tinted finish guards the timber while letting its warm colour stay the feature.
37. Paint a front fence soft sage or stone. Muted colours feel elegant on the street and hide dust and splashes better than pure white.
38. Use black on slatted screens for drama. Black slats behind pale furniture or gravel create a striking, gallery-like garden room.
39. Match the fence colour to the house trim. Echoing window or door colour makes the boundary feel designed rather than added later.
40. Two-tone a fence with darker posts. Contrasting posts quietly structure a long run and disguise the parts that weather fastest.
41. Refresh faded stain rather than repainting everything. A single maintenance coat on cleaned timber often restores the colour without a full strip-back.
42. Keep spare finish labelled for touch-ups. A small labelled tin makes gate edges and scuffs a five-minute fix instead of a project.
7. Heights, Boundaries and Gates
Rules and neighbours matter as much as looks. Measure the boundary carefully, talk to the people on the other side early, and check local guidance before building, just as you would organise storage honestly with these tiny house closet design ideas indoors.
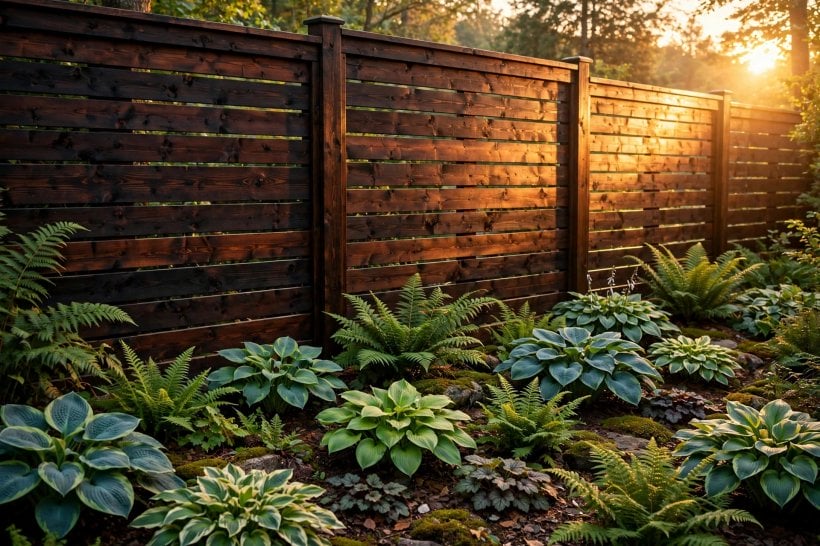
43. Confirm the boundary line before digging. Deeds, existing posts and a friendly conversation prevent the most expensive fencing mistake of all.
44. Step panels down a slope in even increments. Level panel tops with small,equal steps look deliberate and avoid awkward gaps beneath the fence.
45. Rake a slatted fence to follow gentle ground. Continuous slats can follow a soft slope smoothly where stepped panels might look jumpy.
46. Keep front fences lower than back fences. A height change at the side of the house balances street openness with garden privacy.
47. Hang gates to open inward where possible. Inward opening keeps pavements and drives clear and is usually the safer, friendlier arrangement.
48. Fit a self-closing hinge near pools or ponds. Automatic closing adds a layer of safety where children and water share a garden.
49. Add a thumb latch you can work with full hands. Hardware operable with an elbow or the back of a hand is a daily convenience.
50. Leave a wildlife gap at the base in quiet corners. A small opening lets hedgehogs and frogs pass between gardens while the fence still does its job.
8. Planting Against the Fence
A fence is a microclimate: warm, sheltered and sometimes dry at the base. Choose plants that enjoy those conditions, and take inspiration from these tiny house landscaping ideas, where structure and planting are planned together from the start.
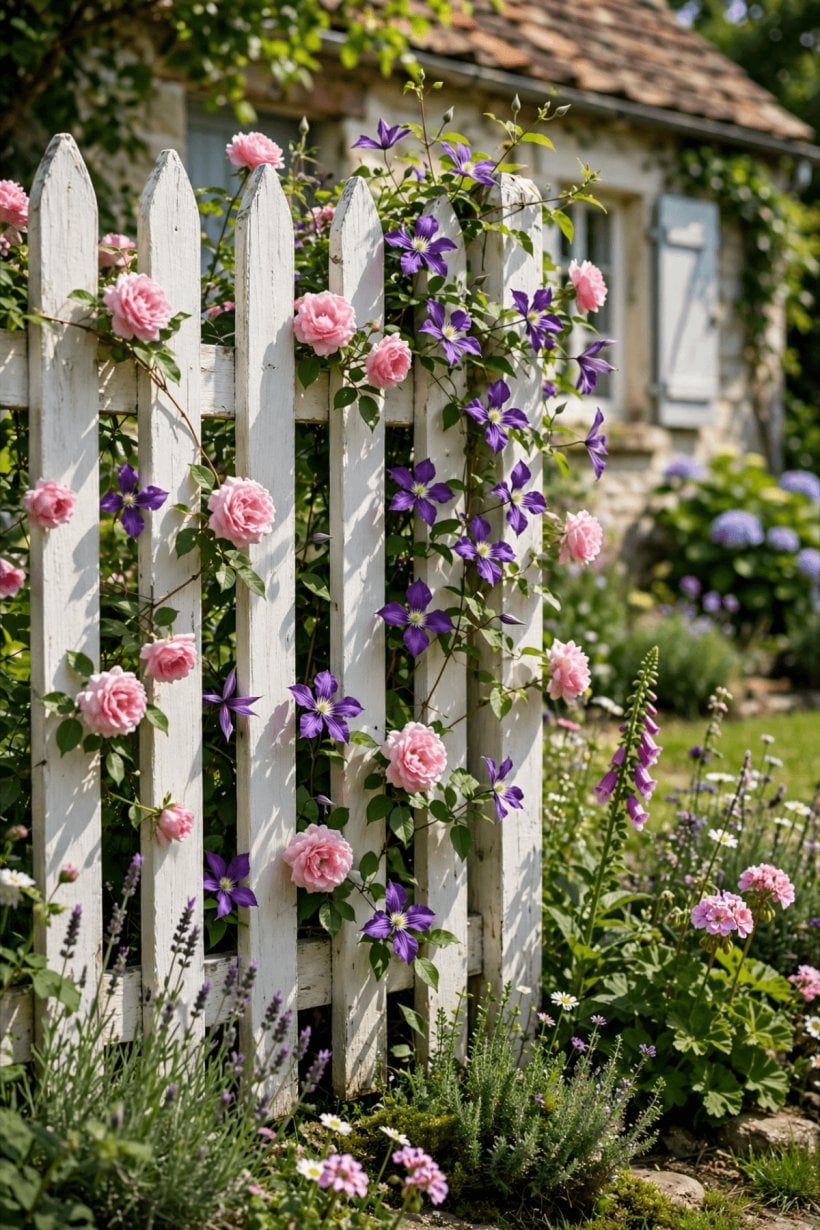
51. Train a climber on wires, not directly on boards. Wires hold plants slightly off the timber, protecting the fence and making pruning far easier.
52. Grow espalier fruit along a sunny fence. A sun-warmed boundary is prime space for trained fruit, turning a screen into a harvest.
53. Plant a mixed border to hide the fence base. Layered perennials soften the line where boards meet soil and distract from any weathering.
54. Use tall grasses for movement in front of panels. Grasses ripple against a still background and need little care once established.
55. Add a narrow raised bed along a shaded run. Raised soil improves drainage and planting depth where fence shade makes ground tricky.
56. Hang planters on the fence for herbs near the door. Sunny boards by the kitchen door are ideal for pots of herbs you actually pick.
57. Leave an access strip behind deep borders. A hidden path lets you paint and repair the fence without trampling your best planting.
58. Choose evergreen structure for winter. A few evergreens keep the fence line interesting when perennials die back for the season.
9. Posts, Fixings and Weatherproofing
Boards get the attention, but posts and fixings decide how long the fence stands straight. Build the skeleton generously, protect every cut end and let water escape at every point it might gather.
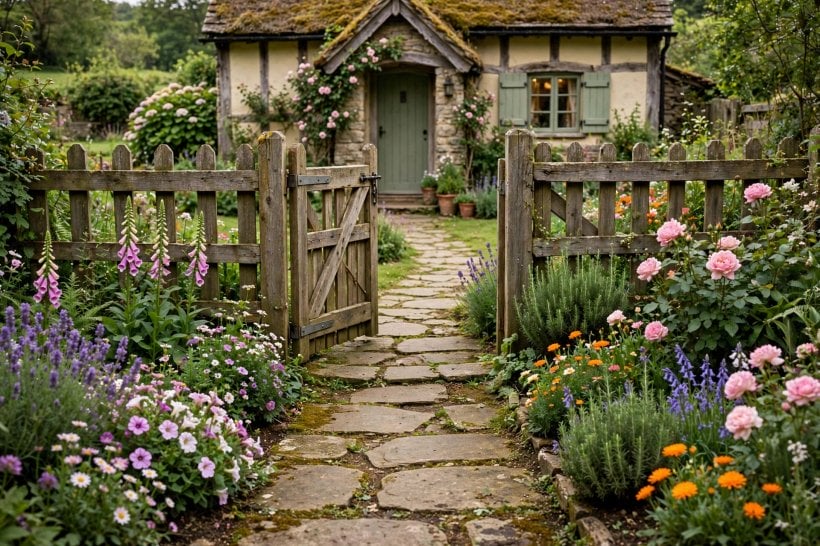
59. Set posts in well-drained holes with gravel at the base. Drainage under the post slows rot far more effectively than sealing the sides alone.
60. Use post caps on every post. Caps shed water from the vulnerable end grain and give the whole run a finished line.
61. Treat every cut end before assembly. End grain drinks moisture, so sealing cuts during the build, not after, protects hidden places.
62. Choose screws over nails for panels you may repair. Screwed boards come off cleanly for storm repairs instead of splitting under a crowbar.
63. Keep metal fixings galvanised or stainless. Suitable metals resist the rust streaks that spoil pale paint and stain finishes.
64. Brace long gates with a diagonal. A correct diagonal stops sagging and keeps latches lining up season after season.
65. Inspect posts at ground level each spring. A quick probe with a screwdriver finds early softness while a repair is still simple.
66. Clear soil and mulch away from boards. A small air gap at the base prevents constant damp against the lowest timber.
10. Costs, Permissions and Long-Term Care
Prices vary with timber, labour and region, so collect local quotes and compare like with like rather than trusting headline figures. Check height limits, boundary rules and any neighbourhood requirements with your city or county first, then plan care as part of the purchase.
67. Price materials per metre, including posts and fixings. Boards alone mislead; posts, rails, screws, gates and finish belong in the same calculation.
68. Get at least two quotes for installation. Comparing scope, not just totals, reveals who includes disposal, gravel boards and finishing.
69. Ask what the guarantee actually covers. Timber treatment, workmanship and hardware are different promises, so read the details calmly.
70. Check whether a permit or approval applies. Corner plots, listed settings and tall front fences can have extra rules worth confirming early.
71. Budget a small yearly care allowance. Finish, replacement boards and hardware are easier to fund gradually than in one surprise bill.
72. Wash the fence before refinishing. Dirt and algae under new stain cause peeling, so cleaning is the real first coat.
73. Replace one damaged board promptly. A single loose board left rattling works its neighbours loose in the next storm.
74. Keep a photo record of the finished fence. Pictures help with insurance, future matching of colours and remembering what was built where.
75. Walk the boundary with your neighbour yearly. A friendly check keeps small issues small and the relationship as sturdy as the fence.
Final Considerations
The most satisfying wooden fence styles are the ones chosen for a real garden, a real boundary and a real budget, then built with a sound skeleton. Decide the purpose first, confirm the rules, and let colour be the final, enjoyable choice.
Measure your boundary this week, shortlist three styles from this list, and test one finish on an offcut before you commit to the whole run.



0 Comments