

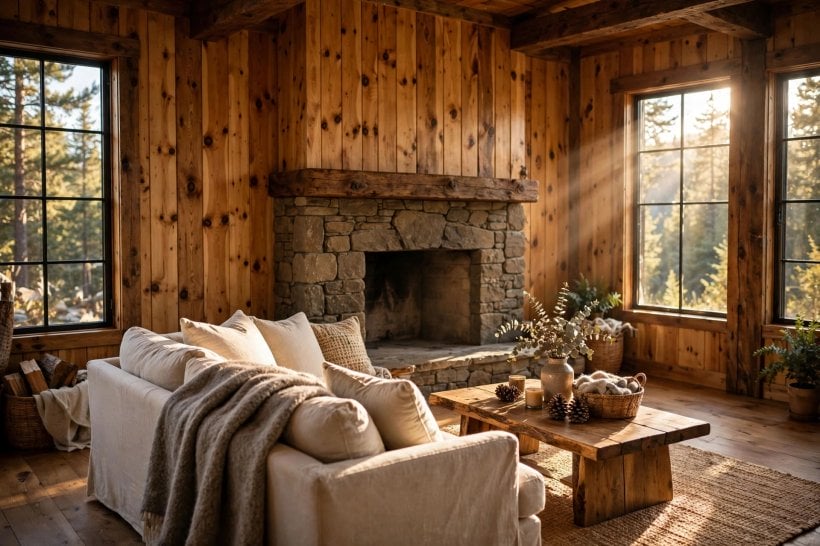
Warm, characterful and forgiving of everyday knocks, knotty pine panelling turns plain rooms into places with a story. Whether you are restoring a cabin wall or adding texture to a small modern home, this list gathers the layouts, colours and practical details that help pine look intentional rather than dated.
1. At a Glance: Knotty Pine in Brief
Knotty pine is exactly what its name promises: boards milled from pine, sold with their knots left in, usually as tongue-and-groove planks that slot together into a continuous surface. Those knots, swirls and honeyed tones are the whole point — they give a wall movement and warmth that paint alone struggles to imitate. Panelling can cover a full room, a single feature wall, a half-wall with trim, or just a ceiling, and the finish can run from clear-coated natural wood to soft whitewash or deep, moody paint. The ideas below move from layout to colour to cost, so you can plan the look and the practicalities together.
| Decision | Popular options |
|---|---|
| Layout | Vertical, horizontal, half-wall wainscot, ceiling or single accent wall. |
| Finish | Clear coat, whitewash, pickling, stain or full paint. |
| Best rooms | Living rooms, bedrooms, halls, cabins, porches and small homes needing warmth. |
| Cost drivers | Board grade and width, wall preparation, finish and whether you fit it yourself. |
| Care | Dust regularly, wipe with a barely damp cloth, refresh finish as it dulls. |
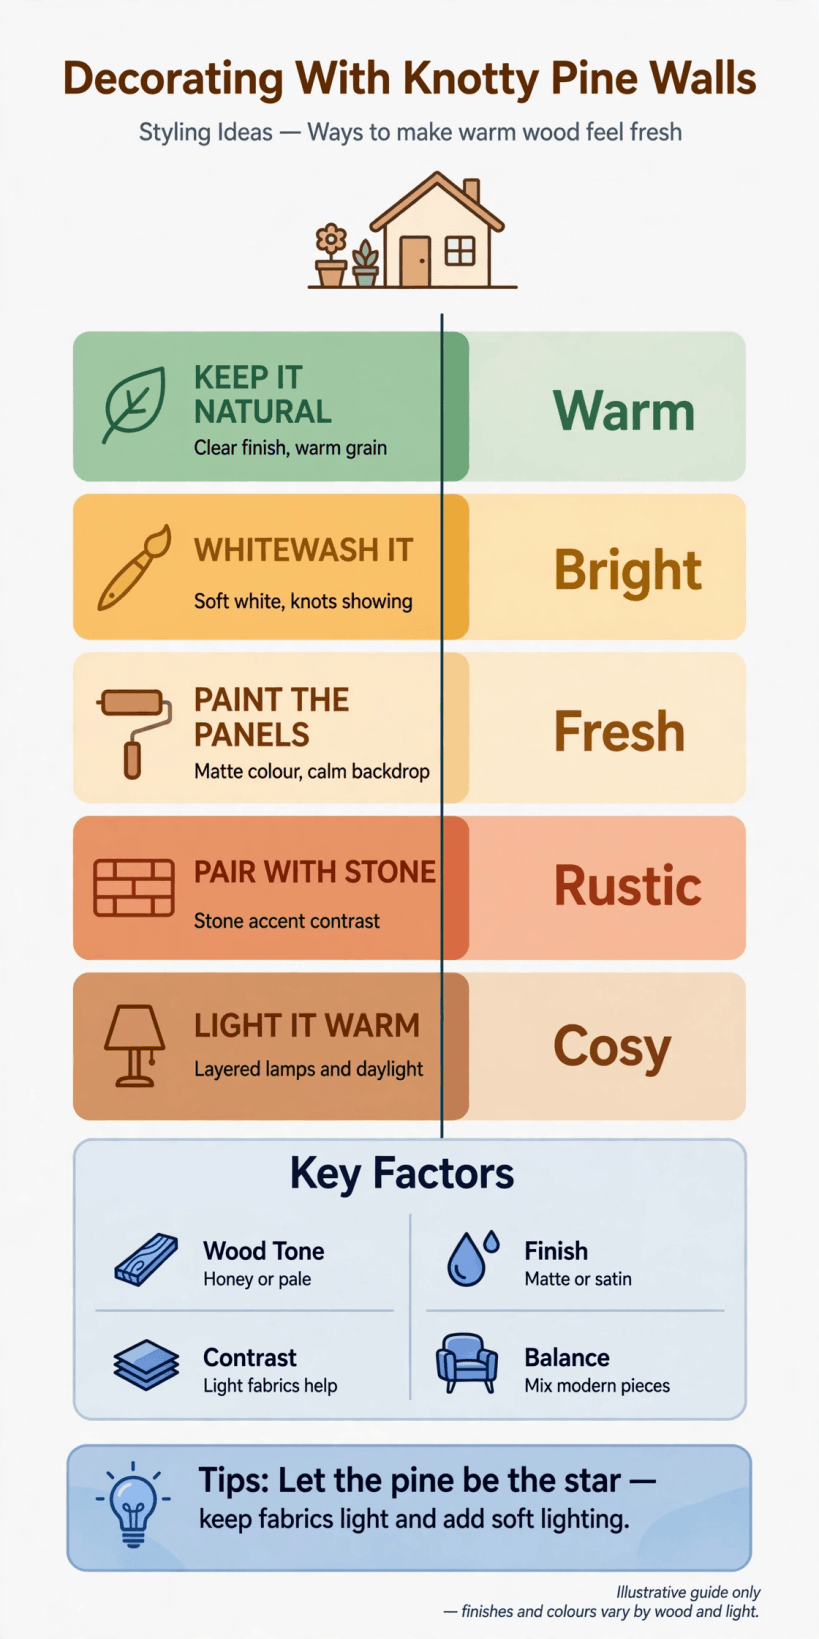
At a glance: choose the layout first, then the finish, then plan fitting and care around both.
A word about character before the list begins. No two boards match, and that variation is either the charm or the problem, depending on your taste. People who love decorating with knotty pine walls tend to embrace the busiest boards in the most visible places, while people who merely tolerate pine hide the wildest knots behind furniture. Decide which camp you are in before you order, because board selection at fitting time — spreading strong patterns evenly rather than clustering them — is what separates a designed wall from an accidental one.
2. Idea 1: Full-Height Vertical Boards for Height
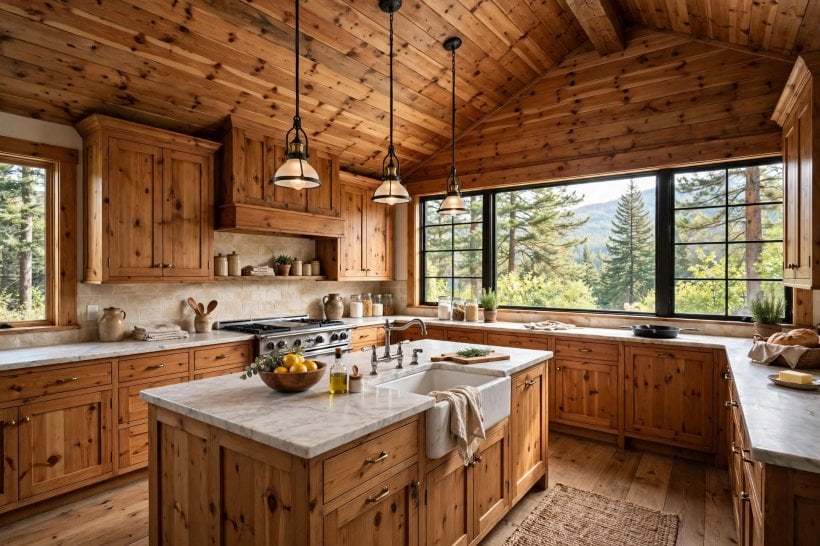
Running boards from floor to ceiling is the classic cabin layout, and it still works beautifully in ordinary houses. Vertical lines draw the eye upward, making low ceilings feel taller and small rooms feel calmer, because the gaze travels rather than stops. Fit the boards tightly, stagger any end joints so they do not line up across the wall, and finish the top with a simple trim where the wall meets the ceiling. This layout suits living rooms and bedrooms where you want the wood to be the main event; keep furniture low and textiles plain so the wall keeps its rhythm. In a compact home, one full-height pine wall behind a sofa or bed often gives more atmosphere than panelling every surface, and it echoes the efficient, one-big-gesture thinking in our tiny houses for sale in Dallas, Texas guide. If the room faces north, choose a warmer clear finish to counter the cool light; south-facing rooms can carry paler washes without turning chilly. Add a rug and soft lighting, and vertical pine reads less like a sauna and more like a Scandinavian snug.
3. Idea 2: Horizontal Layouts for Cosy Width
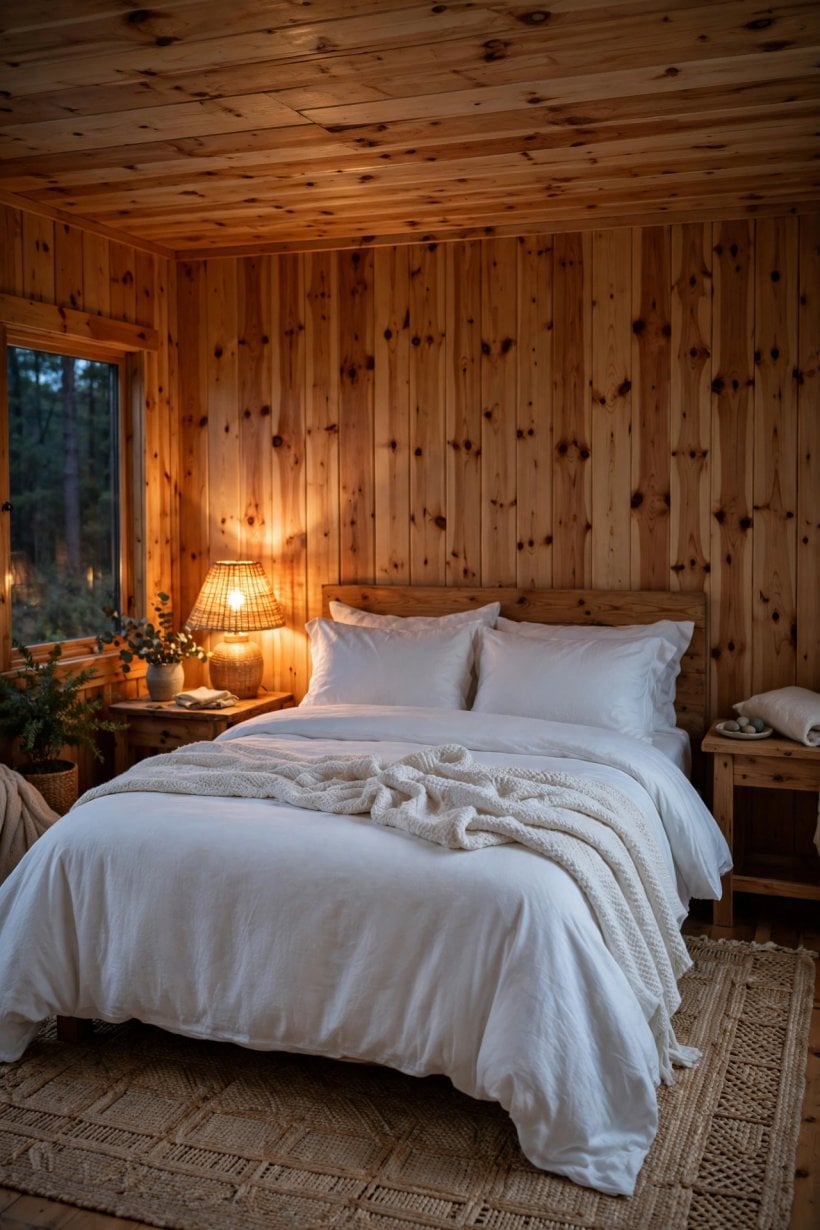
Turn the boards sideways and the mood changes completely. Horizontal panelling makes a room feel wider and lower in the cosiest sense, like the inside of a boat or a mountain lodge, and it photographs as a strong, relaxed backdrop for sofas, bookshelves and fireplaces. It is the natural choice for long, narrow rooms, where vertical boards would exaggerate the tunnel effect, and for hallways that need warmth without artwork. Keep the joints staggered and be extra careful with your level on the first row, because every later board inherits its accuracy and the eye is merciless about drifting horizontal lines. Horizontal boards also hide a multitude of wall sins, since the shadow gaps break up uneven plaster. Pair this layout with pale finishes for a coastal feel or leave it natural and warm for a lodge mood. The generous, layered styling in our gift shop interior design ideas for tiny houses shows how well horizontal textures work as a backdrop for collected objects, plants and woven pieces — the pine provides the rhythm, and everything you place against it borrows its warmth.
4. Idea 3: Half-Wall Wainscot With Painted Upper Walls
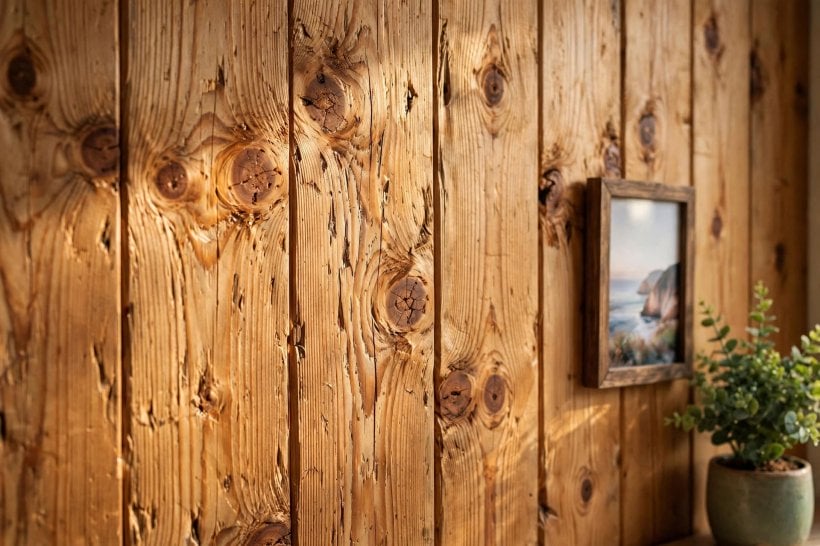
If full panelling feels like too much wood, stop at chair height. A half-wall of knotty pine, capped with a simple ledge trim, protects the part of the wall that actually gets knocked — chair backs, bags, children’s hands, dogs — while the painted wall above keeps the room light and lets you change colour cheaply in future. This is the layout that wins over pine sceptics, because the proportion feels architectural rather than thematic. It works especially well in dining rooms, halls and children’s bedrooms, and it is kinder to budgets since you are buying roughly half the boards. Match the trim and the upper wall in the same soft white for a calm, unified look, or paint the upper wall a gentle colour and let the pine glow beneath it. The ledge itself becomes useful: a display line for small frames and plants. Practical households love this idea for the same reason they love the plans in our tiny houses for sale in Augusta, Georgia guide — every element earns its place twice, once for looks and once for the daily protection it quietly provides.
5. Idea 4: Whitewashed and Pickled Finishes
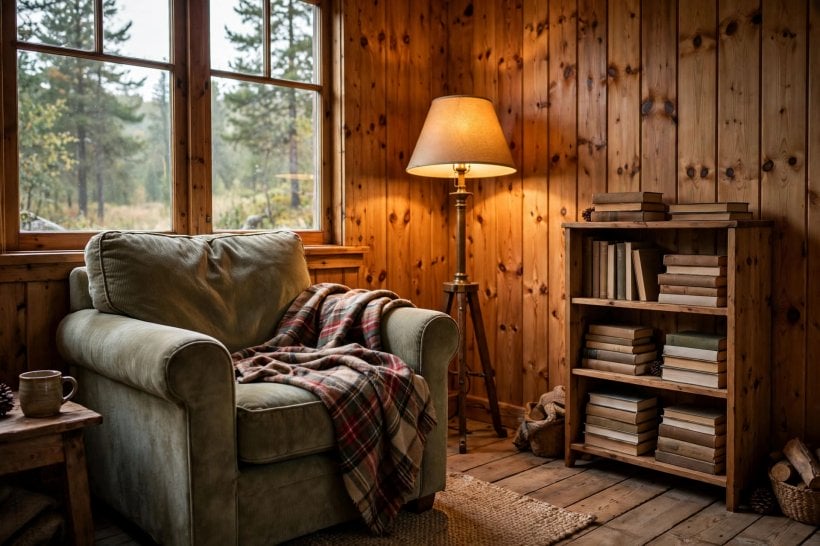
Whitewash is the finish that rescued knotty pine from the 1970s. A diluted white or pale-grey wash, wiped back while wet, leaves the grain and knots visible under a milky veil, so the wall keeps its texture but loses its orange glow. The result suits coastal, Scandinavian and farmhouse schemes and reflects light around small rooms instead of absorbing it. Apply wash in full board lengths to avoid lap marks, work in manageable sections and step back often to check the balance; you can always add a second coat, but removing wash is harder. Pickling finishes do a similar job with a slightly greyer cast. One honest warning: pine darkens and yellows with age under many clear finishes, and knots can bleed through pale paints over time, so ask about knot-sealing primers or shellac-based sealers for the knots before pale finishes, and test your whole system on an offcut first. That testing habit, borrowed from the careful finish work in our modern interior design ideas for tiny houses, is the difference between a finish that ages gracefully and one that surprises you in year two.
6. Idea 5: Painted Knotty Pine, From Cream to Deep Green
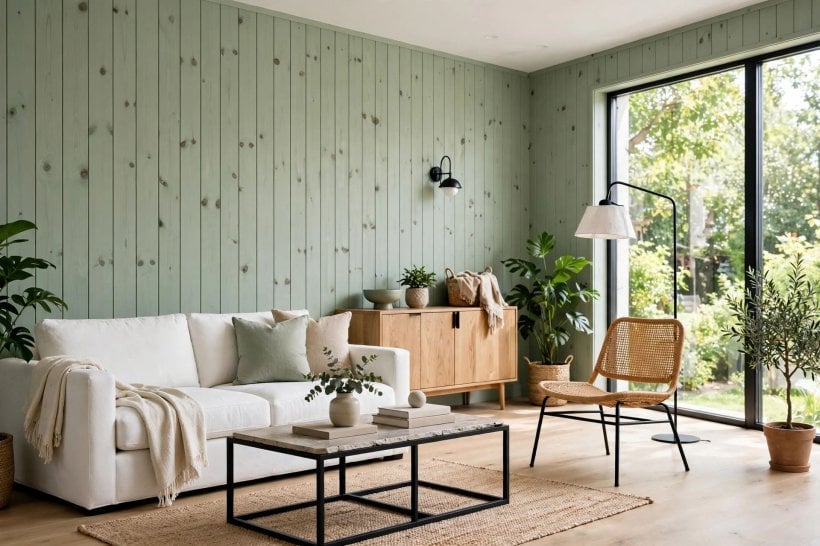
Painting knotty pine is not a betrayal; it is one of the best ways to keep its texture while joining a modern colour scheme. Under paint, the knots and grain still read as gentle relief, especially in raking light, but the wall becomes a colour first and a material second. Soft creams and warm whites make small rooms feel larger while keeping the panelling’s shadow lines. Deep greens, inky blues and charcoal turn pine into a dramatic backdrop for brass, leather and pale upholstery — a favourite treatment for studies, snug bars and bedroom feature walls. Preparation is everything: clean the boards, seal the knots with a suitable knot sealer so resin does not bloom through, prime properly and expect the grain to need a patient second coat. Painted pine also solves the mismatch problem in older homes where a previous owner’s clear finish has yellowed unevenly. Choose washable finishes in halls and family rooms. Done well, painted pine gives you the cottage bones with a tailored surface, a compromise as sensible as the budgets in our guide to solar panel costs for a tiny house: spend effort on preparation, save on replacement.
7. Idea 6: Natural Clear-Coated Pine With Knots on Show
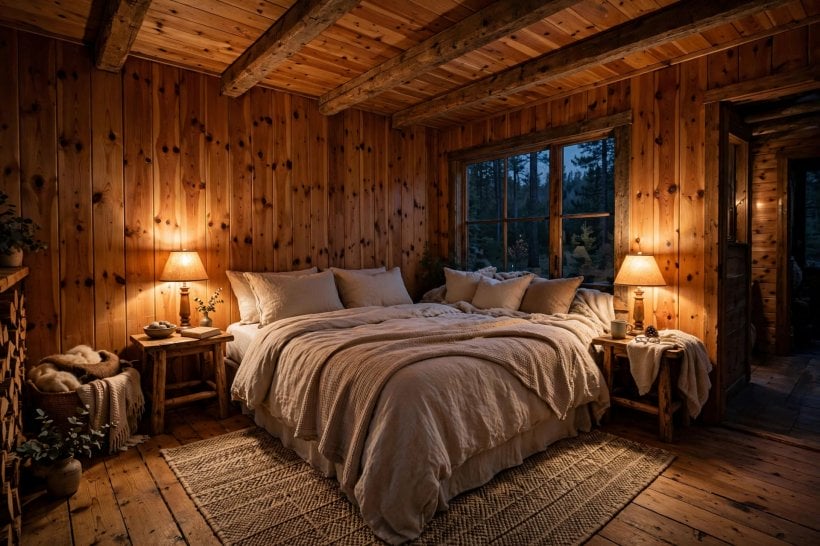
For purists, the finest finish is barely a finish at all. A clear matte or satin protective coat deepens the honey tones slightly, protects against marks and lets every knot tell its story. This is the look for cabins, porches and rooms with stone, wool and leather for company, where the wood’s wildness is the decoration. Board selection matters most here: lay out each wall on the floor first, spread the boldest knots evenly, and move any board with a knot exactly where a picture or socket will land. Expect the colour to mellow over the first years, deepening toward amber; most owners grow to love the change, but if you want the pale, just-fitted look to last, ask about water-based clear finishes, which generally yellow less than oil-based ones. Keep direct, harsh sunlight in mind on feature walls, since uneven fading shows more on natural wood than on painted surfaces. A clear-coated wall asks little in return: dust it, wipe marks with a barely damp cloth and enjoy the fact that small scratches and dings blend into the pattern instead of announcing themselves.
8. Idea 7: Ceilings, Beams and Accent Zones
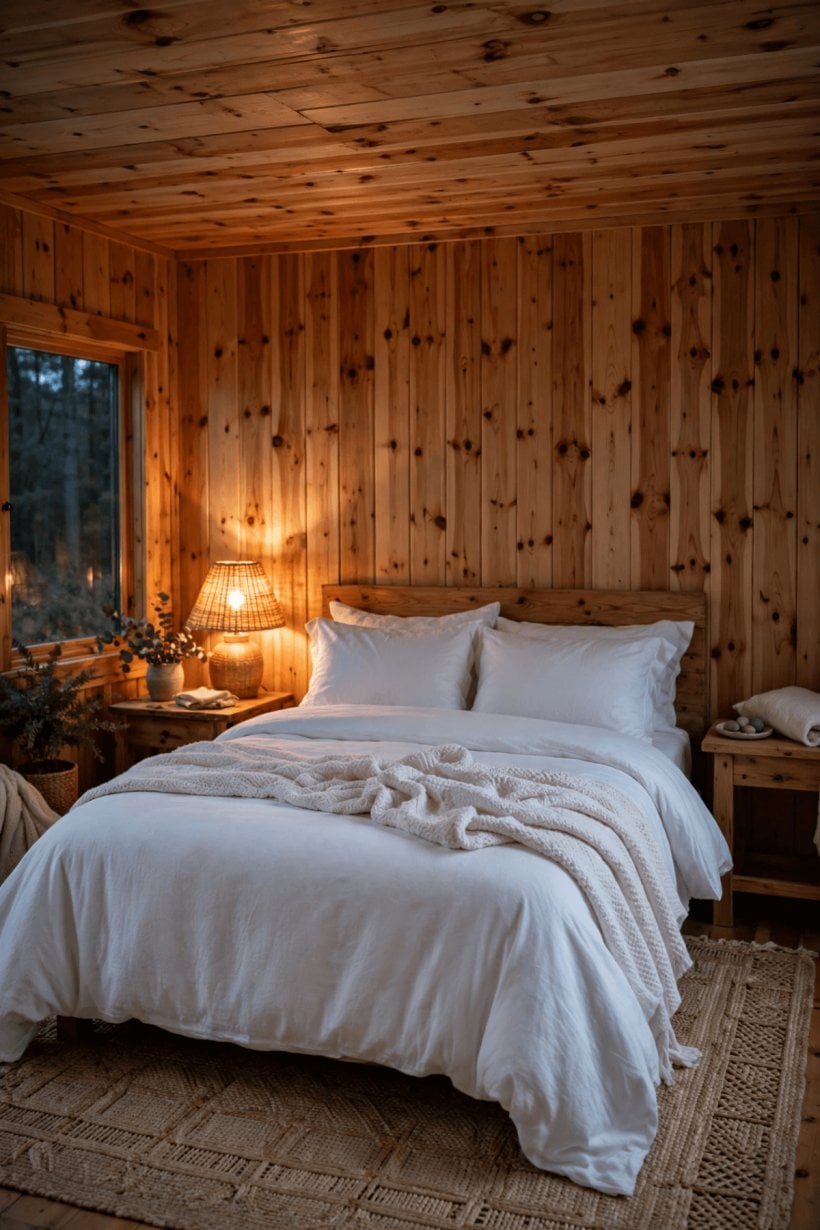
Pine does not have to stop at the walls. A panelled ceiling transforms an ordinary room, especially under a slope or in a porch, drawing warmth overhead and making tall rooms feel sheltered rather than echoing. Boards run toward the light usually look best, and a ceiling in natural or whitewashed pine pairs happily with plain painted walls below. Smaller accent zones deliver the flavour in digestible amounts: the back of a bookcase, a window seat surround, a kitchen island front, the wall behind a wood stove with suitable fire-safe detailing and clearances checked, or the inside of a porch. These accents are ideal first projects because they use few boards and forgive beginner mistakes. Even a single pine-clad chimney breast or entryway wall can set the tone for a whole small home, much as the compact showpieces in our tiny houses for sale in Orange County, California guide use one strong material to carry an entire scheme. Whichever zone you choose, carry the same finish through any connected pine in the room so the accents read as one idea rather than several souvenirs.
9. Costs and Practical Details: Grades, Fitting and Care
Costs for knotty pine sit comfortably at the affordable end of timber wall finishes, which is part of its enduring appeal, but the total depends on choices you control. Board grade and width move the price most: wider, cleaner boards with evenly distributed knots generally cost more than narrow, rustic packs, and longer lengths reduce waste on tall walls. Add trim, fixings and finish to the material list, plus wall preparation if your plaster is uneven, since panelling telegraphs bumps unless battens level it first. Fitting tongue-and-groove boards is a realistic project for a confident DIYer with a saw, level and nailer, which keeps labour costs down; ceilings and stairs are the areas where professional help earns its fee. Let boards acclimatise in the room before fitting, as timber moves with humidity, and leave small expansion gaps at edges hidden by trim. For care, dust with a soft brush or vacuum attachment, wipe with a barely damp cloth, and avoid soaking the joints. Refresh clear finishes when they dull, following the product’s guidance. Sensible, repairable and long-lived — the practical profile that decorating with knotty pine walls has always offered.
10. Mixing Pine With Other Materials
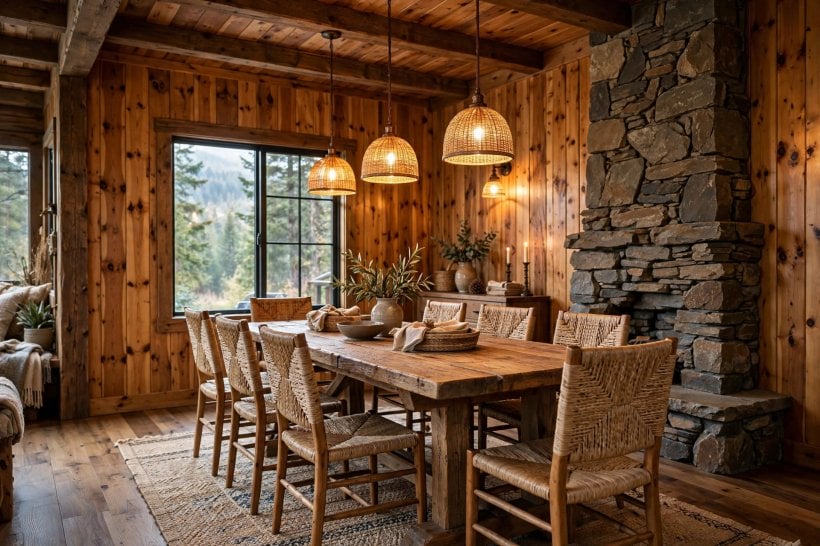
The most current pine rooms are rarely all pine. Pair it with painted plaster in a soft white and the wood becomes one warm note in a balanced chord. Set it beside stone or brick around a fireplace and the textures amplify each other; both are honest, matte and full of variation. Black metal — in light fittings, handles and slim furniture frames — sharpens pine’s softness and stops it drifting toward nostalgia, while woven textiles, wool throws and linen curtains keep the scheme touchable. In kitchens, pine panelling on one wall or an island front warms white or sage cabinetry beautifully; in bathrooms, use it away from direct splash zones and favour well-sealed finishes, or enjoy it in a powder room where moisture is minimal. Flooring choices matter too: a pale floor with pine walls can feel washed out, while a mid-tone floor grounds the room. Test combinations in daylight with real samples before committing. The goal is a room where pine is clearly loved but not lonely — a material among friends, each making the others look better.
Final Considerations
Knotty pine rewards a clear decision. Pick the layout that suits your room’s proportions, choose a finish you have tested on real boards in your own light, seal the knots when painting pale, and fit with patience on a level, prepared wall. Whether you panel a whole cabin room, a half-wall in the hall or just the back of a bookcase, the result should feel warm, sturdy and unmistakably yours. Start with one wall, live with it through a season of changing light, and let its success argue for the next project — that is how pine has been winning rooms, one board at a time, for generations.


0 Comments