

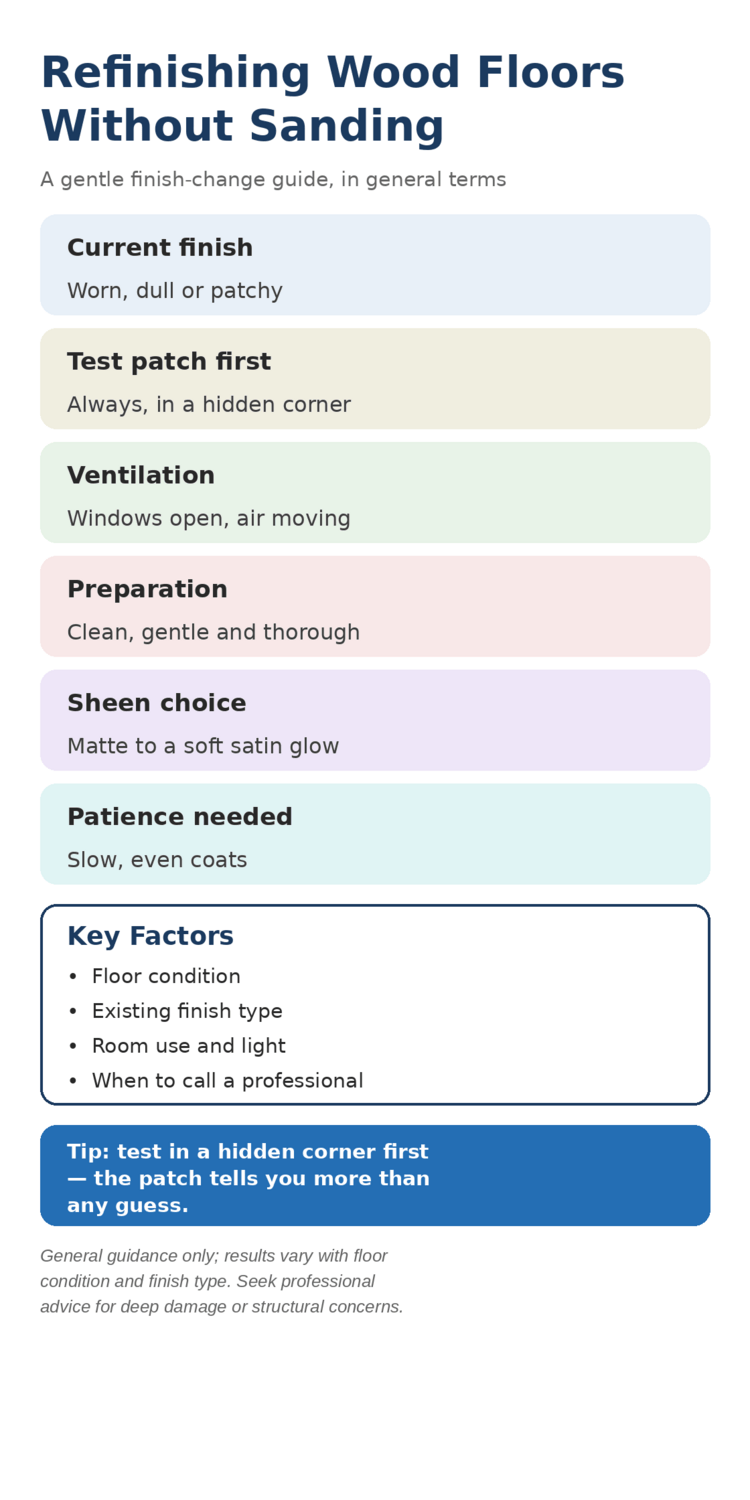
A floor that once glowed can grow dull in the places where life happens most: the path from the door to the kitchen, the stretch in front of the sofa, the boards beside the bed where feet land first thing in the morning. The wood itself may still be sound, yet the finish on top of it looks tired, scratched in patches and uneven in shine. For readers weighing refinishing hardwood floors without sanding, this guide explains the gentler option in general terms: what a finish change without sanding can and cannot do, how preparation and a test patch shape the result, and where professional help is the wiser call. Nothing here promises a like-new floor, and no method is presented as a guaranteed substitute for sanding.
The distinction matters from the start. Sanding strips the surface back to bare wood, which is why it suits floors with deep damage, staining that has soaked in, or a finish that has failed across the whole room. A no-sanding approach works the other way: it leaves the existing surface in place and adds a fresh layer over it, or refreshes what is already there. That makes it a finish change rather than a full restoration, and its success depends on conditions that can be checked before anything is applied. The sections that follow walk through those conditions one at a time, from reading the current finish to living with the refreshed floor afterwards.

1. What a No-Sanding Finish Change Actually Means
In general terms, a no-sanding finish change means working with the floor as it stands rather than cutting it back. The boards are cleaned, any loose or flaking finish is dealt with gently, and a compatible fresh coat is applied over the top, following the guidance of the finish itself. Because the old surface remains underneath, the new layer can only be as even, as clear and as durable as the surface it sits on. A floor with a sound, well-adhered finish underneath tends to accept a fresh coat far more evenly than one where the old finish is peeling, greasy or worn through to bare wood in places.
That dependence on the existing surface is the central idea of the whole approach, and it explains both its appeal and its limits. Where the wear is shallow and mostly in the sheen, a fresh coat can restore a more even glow and make the room feel cared for again. Where boards are gouged, cupped, stained deeply or damaged by water, a coat on top will not repair what lies beneath, and the damage will usually still show through. Readers sometimes hope a quick coat will hide serious wear, but a finish is a surface treatment, not a repair, and treating it as one leads to disappointment.
It also helps to think of the work in two parts: the condition of the floor, and the character of the finish. Condition covers scratches, dull patches, gaps and any places where the wood itself is exposed. Character covers the sheen, the colour depth and the way light moves across the boards. A no-sanding change can shift character noticeably, softening a too-shiny surface or warming a pale one, but it cannot change the underlying condition of the boards. Keeping those two ideas apart makes the decision clearer, and it keeps expectations honest from the outset.
2. Reading the Floor Before Anything Is Applied
The first real step is simply looking, slowly, in good light. Walk the room in daylight and again in the evening, when lamps throw light at a low angle and show up dull patches, fine scratches and uneven sheen that overhead light hides. Notice where the wear sits: is it spread evenly, or gathered in traffic paths? Are the edges of the room in better shape than the middle? Is the finish intact in most places, with only a few worn spots, or is it failing broadly? A floor whose wear is shallow and even is a very different candidate from one whose finish has broken down across the whole surface.
Touch matters too, though gently. Run a hand over the boards and feel for roughness, flaking or places where the surface feels sticky or soft. Look at the joints between boards, where finish often fails first, and at the boards nearest doors and windows, where weather and light have had the most effect. If the wood itself feels soft, spongy or uneven underfoot, or if boards move noticeably, those are signs that go beyond finish altogether, and they point towards professional assessment rather than a coat applied at home. A finish change assumes a stable floor beneath it.
It is also worth considering the history of the floor, as far as it is known. A floor that has been waxed, oiled or treated with a particular kind of finish may not accept every fresh coat in the same way, and older finishes can behave unpredictably under a new layer. This is one reason the test patch, covered later in this guide, carries so much weight: it answers the compatibility question on the actual floor rather than in theory. Where the history is unknown, caution is the right posture, and a small test in a hidden spot is worth far more than a confident guess applied across a whole room.
3. The Test Patch and Why It Comes First
A test patch is a small trial of the intended finish, applied in a place that is normally hidden, such as inside a wardrobe recess, behind a door or beneath a piece of furniture that rarely moves. It is left to dry and cure as the finish guidance directs, and then examined in daylight and lamplight, touched, and compared with the surrounding floor. The patch shows whether the new coat adheres cleanly, whether the colour deepens in a pleasing way or turns cloudy or uneven, and whether the sheen matches the rest of the room or stands out awkwardly.
The value of the patch lies in what it prevents. A whole room coated with an incompatible finish is a large problem to undo, while a small patch that misbehaves is a small lesson learned cheaply. Give the patch proper time rather than judging it while it is still wet, since wet finish always looks darker and glossier than the cured result. If the patch peels, bubbles, stays tacky far beyond the expected time or looks milky once dry, that is the floor telling you the approach needs rethinking, and professional advice is worth seeking before going further.
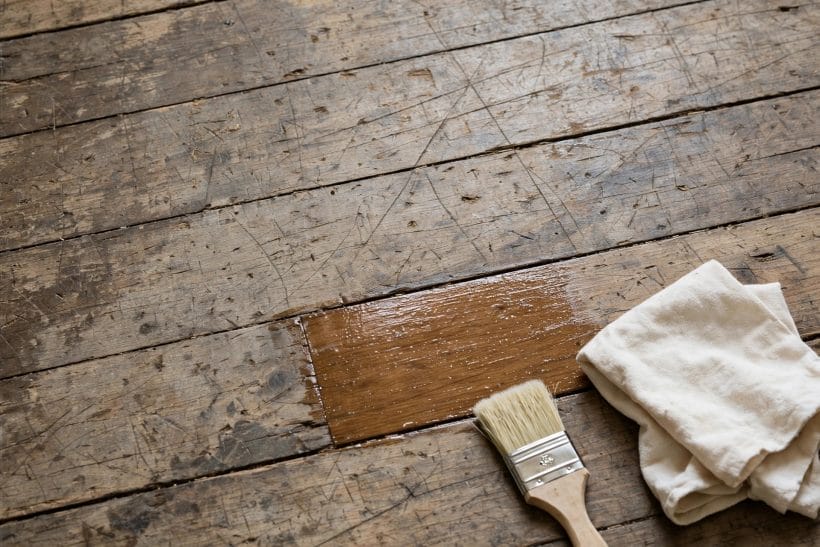
A patch also helps with the most personal question in the project: whether you actually like the result. Sheen and warmth are hard to judge from a description, and a small square of real floor under real light answers the question directly. Some readers find the refreshed patch looks richer and calmer than they expected, while others realise they prefer the floor exactly as it is, or that they would rather save the effort for a fuller restoration later. Either answer is useful, and both are cheaper to reach in a hidden corner than across a living room.
4. Preparation in General Terms
Preparation for a no-sanding finish change is quiet work, and it rewards patience. The floor is cleaned thoroughly first, since dust, grit and residue trapped under a fresh coat will show through it and can weaken its hold. Cleaning here means the gentle, ordinary kind: removing loose dirt, wiping the surface as the finish guidance suggests, and allowing the floor to dry fully before anything is applied. Aggressive scrubbing or harsh treatments can damage the very surface the new coat needs to grip, so restraint matters as much as thoroughness.
Furniture and fittings need thought too. Pieces are moved out where possible, or gathered and protected where they cannot be moved, and edges such as skirting boards are masked so the finish lands on the floor and nowhere else. Rugs are rolled up and kept away until the floor has cured, since a rug laid too soon can mark a soft finish. None of this is dramatic work, but it is the work that separates an even result from a patchy one, and it is worth doing slowly rather than rushing towards the satisfying part of the job.
One more part of preparation is easy to overlook: deciding what not to do. Deep scratches, dents and gaps are not preparation problems, and no amount of cleaning will resolve them. Trying to force a finish to cover damage it cannot cover usually makes the damage more visible, not less, because the fresh sheen draws the eye to every uneven place. Noting such spots honestly during preparation, and accepting that some will remain, is part of the approach rather than a failure of it.
5. Ventilation, Light and Working Conditions
Fresh air matters whenever a finish is applied indoors, in general terms, and a no-sanding coat is no exception. Windows are opened where the weather allows, air is allowed to move through the room, and the space is kept free of dust and draught-borne debris while the coat dries. Good ventilation also helps the finish cure evenly, and it keeps the room comfortable for anyone working in it. Where windows cannot be opened, or where the room has no through-draught, it is worth pausing to consider whether conditions are suitable at all, rather than pressing on regardless.
Light plays a quieter but real role. Applying finish in good, even light helps the eye catch missed patches, drips and uneven edges while they can still be corrected. A room lit only from one side can hide a thin patch until the finish has set, when it is far harder to fix. Working steadily, in sections, and checking each section from more than one angle gives the coat its best chance of looking even once it has cured.
Temperature and humidity, in broad terms, also affect how a finish behaves, and the guidance supplied with any finish will usually describe suitable conditions. A very cold room, a very damp day or a room with strong direct heat can all change drying and curing, so choosing a calm, moderate day for the work is simple good sense. If conditions are against you, waiting for a better day costs nothing and often saves the whole job.
6. Choosing a Sheen and a Look
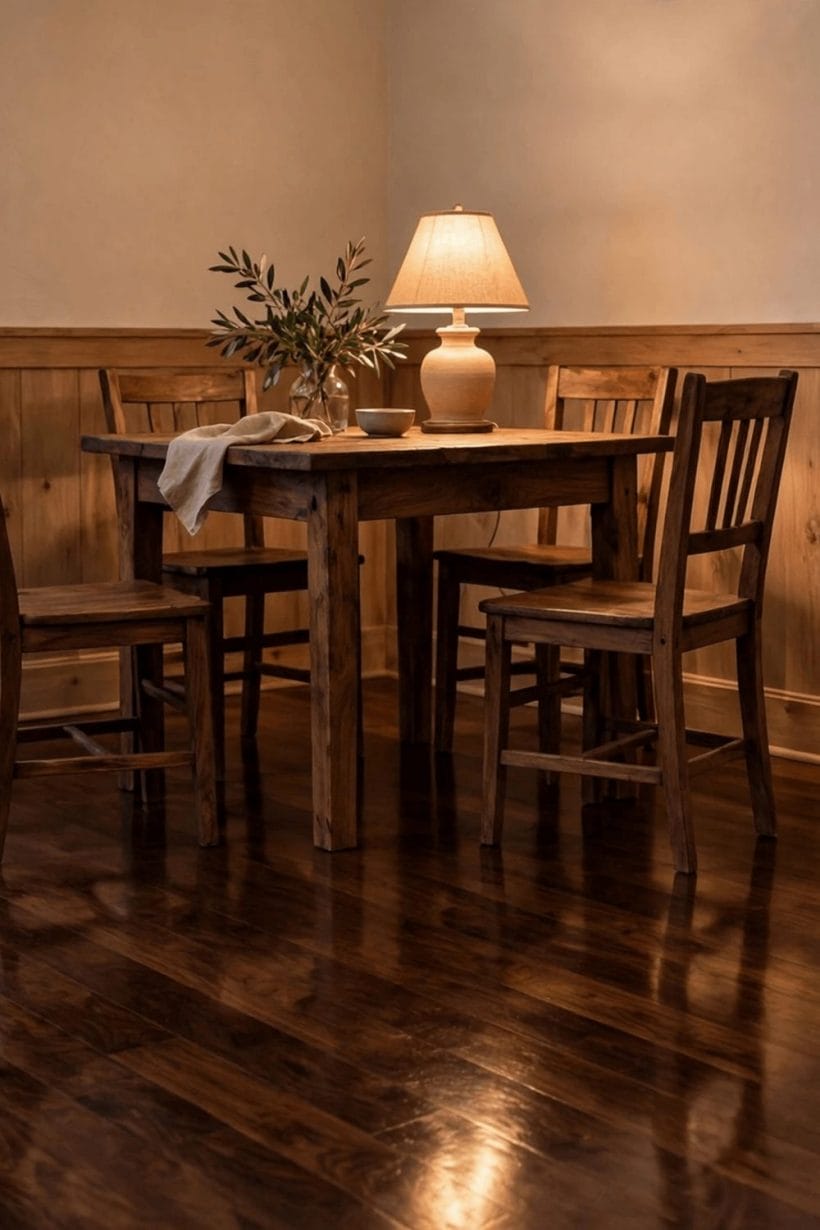
Sheen is the most visible choice in the whole project, and it shapes the room more than many readers expect. A matte finish reads calm and quiet, softening reflections and letting the grain speak without glare, while a satin finish offers a gentle glow that lifts the room without turning the floor into a mirror. Higher gloss, where it is available, brings drama and light but also shows every scratch, dust mark and uneven patch far more readily. For a floor that already carries some wear, a softer sheen is often the kinder choice, since it forgives small imperfections rather than advertising them.
Colour deserves the same care. A clear finish deepens the natural tone of the wood somewhat, warming pale boards and enriching darker ones, and the test patch is the place to see that shift honestly. The change is usually subtle rather than transformative, and expecting a dramatic colour change from a clear coat will lead to disappointment. Where a real colour change is wanted, that is a different project with different considerations, and it is worth recognising it as such rather than hoping a clear coat will do the work of a stain.
The room itself should have a say in the choice. A small, dark room may welcome the lift of a satin glow, while a large, sunlit room may suit a matte surface that keeps glare down. Rooms with flooring ideas for compact homes in mind often favour quieter finishes that do not compete with the limited space, and the same restraint suits busy family rooms, where the floor must live with daily wear rather than be admired from a distance. The finish that suits the room is usually the one that disappears into it, quietly doing its job.
7. Applying the Coat, Steadily and Evenly
Application, in general terms, is a matter of steady, even work rather than speed. The finish is laid down in thin, consistent passes, working in sections and keeping a wet edge so that each new pass blends into the last without visible seams. Thin coats behave better than thick ones: they dry more evenly, show fewer bubbles and drips, and are less likely to trap dust. Two thin coats, where the finish guidance allows, generally serve a floor better than one heavy coat, though the exact approach should always follow the guidance of the finish being used.
Edges and corners deserve attention, since they are where unevenness shows first. Working carefully up to masked skirting, around door frames and into corners, without flooding those areas, keeps the result tidy. It is also worth planning the way out of the room before starting, so that no one has to walk across a wet coat to leave. Small planning details like this sound trivial, yet they prevent the most common accidents of the whole job, including footprints and smudges in an otherwise even coat.
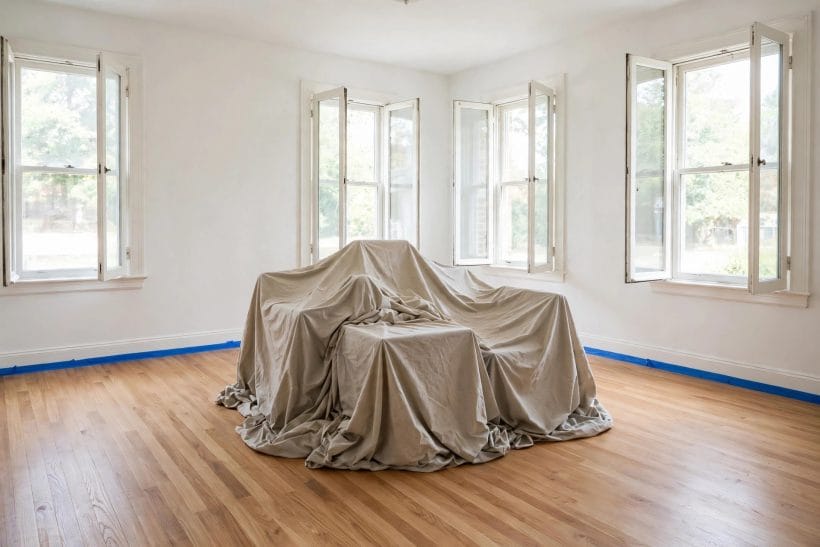
While the coat dries, the room is best left alone. Foot traffic, pets and draught-borne dust are all enemies of a curing finish, and patience during this stage protects all the preparation that came before. Curing takes longer than drying to the touch, and treating the floor gently during that period, keeping rugs off and furniture feet protected, gives the new surface its best start. Rushing back to normal use is the easiest way to undo careful work.
8. Where the Approach Falls Short
Honesty about limits is part of any useful guide, and this approach has clear ones. Floors with deep scratches, water damage, staining that has soaked into the wood, warped or cupped boards, or a finish that is peeling across much of the surface will not be rescued by a coat on top. The new layer may improve the general appearance for a time, but the underlying problems remain, and in some cases the fresh coat can make them more conspicuous by adding sheen around them. Recognising these limits early saves effort and avoids a result that disappoints.
Wear that goes through to bare wood is a particular boundary. Where the old finish has worn away entirely, the exposed wood absorbs a fresh coat differently from the finished boards around it, which can leave patchy colour and uneven sheen. A few small worn spots may blend acceptably, but broad bare areas usually signal that the floor has moved beyond what a no-sanding change can honestly offer. At that point the realistic options are a fuller restoration, professional advice, or living with the floor as it is until a restoration is practical.
It is also worth noting that a no-sanding coat is not a permanent fix. Like any finish, it will wear in traffic paths over time, and it will eventually need refreshing again. That is not a flaw in the method; it is the nature of floor finishes generally. Readers who accept the coat as a way of extending the life of a sound floor, rather than as a once-and-for-all transformation, tend to be the most satisfied with the result, because their expectations match what the method can actually deliver.
9. Living With the Refreshed Floor
Once the finish has cured, daily habits shape how long the refreshed look lasts. Soft pads under furniture feet, mats at entrances to catch grit, and prompt cleaning of spills all protect the surface, and they cost little effort compared with the work of recoating. Grit is the quiet enemy of any floor finish, since tiny particles ground underfoot act like sandpaper over time, so keeping entrances clean matters more than any special cleaning product.
Cleaning itself should stay gentle and in line with the finish guidance: a soft mop or cloth, no soaking, and no harsh treatments that could dull or soften the new coat. Spills are wiped promptly rather than left to sit, and the floor is allowed to dry after cleaning rather than being left damp. These habits suit any wood floor, and they matter all the more after a refresh, when the new surface is still settling into its long-term character.
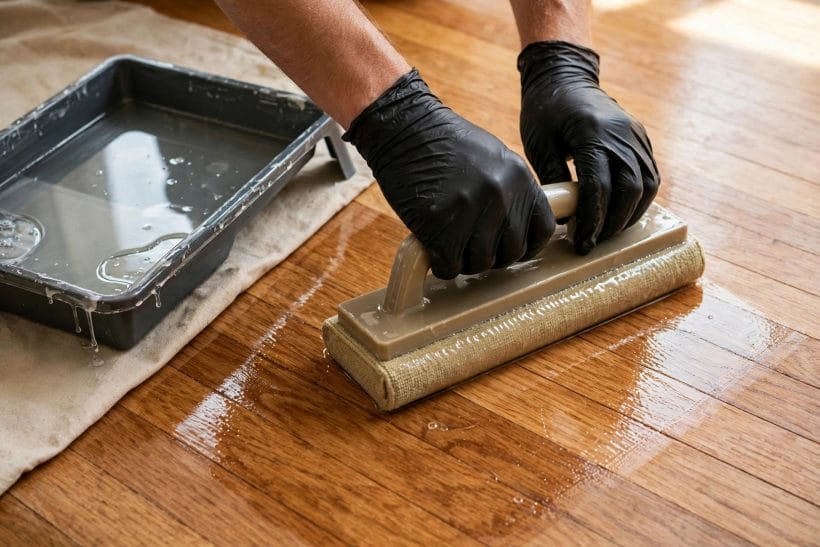
Over time, the refreshed floor will tell its own story. Traffic paths will soften first, and the sheen will mellow, which is normal and not a sign of failure. When the wear becomes noticeable again, the same honest assessment begins afresh: is the finish still sound enough for another gentle refresh, or has the floor reached the point where a fuller restoration makes more sense? That cycle is part of living with wood floors, and it is far less daunting the second time, when the process is already familiar.
10. Rooms, Light and the Wider Home
A refreshed floor does not live in isolation, and its effect depends on the room around it. In a living room, the new sheen changes how light moves across the space, and it can make seating, rugs and wall colours feel more settled, as readers exploring living room ideas for small spaces often discover when a floor is refreshed before anything else is changed. In a bedroom, where the floor is seen mostly at low angles in soft light, a gentle sheen can make the whole room feel calmer, a point that also matters for bedroom ideas in compact homes. The floor is the largest single surface in most rooms, so even a modest improvement in its finish shifts the whole feel of the space.
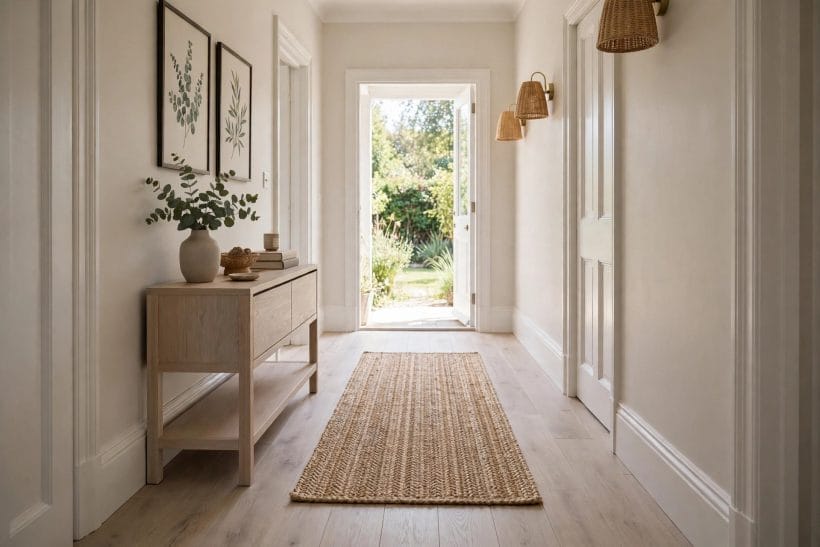
Hallways and entrances deserve special mention, since they carry the heaviest traffic and the most grit. A refreshed hallway floor will usually show wear sooner than a bedroom floor, and that is expected rather than disappointing. Planning for it, with a runner rug and a mat at the door, extends the refreshed look considerably, and it protects the entrance boards that take the hardest daily use. The same thinking applies to dining areas, where chairs move constantly and the floor beneath the table works harder than any other patch in the house.
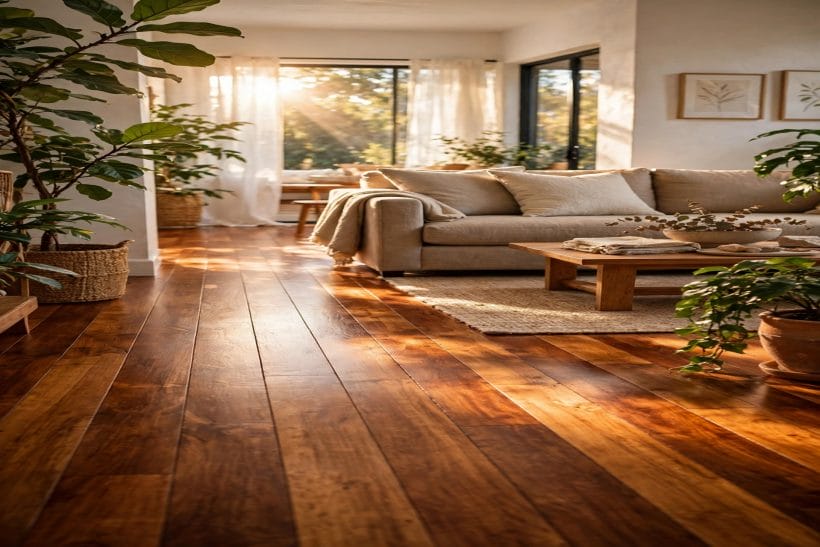
It also helps to see the floor as part of the wider home rather than a project on its own. Readers planning broader changes, from interior design ideas for small homes to the general sweep of home design ideas, often find that refreshing the floor first clarifies every later decision, since wall colours, rugs and furniture all sit against it. A floor that looks cared for gives the rest of the room permission to look cared for too, and that effect is worth more than any single coat in isolation.
Light, finally, is the floor’s constant companion. Morning sun, evening lamps and the soft glow of interior lighting ideas for compact rooms all change how a finish reads, and a sheen that looks perfect at noon can look patchy under a single lamp. Checking the refreshed floor under several kinds of light, and accepting small variations as part of the character of wood, keeps the result in perspective. Wood is a natural material, and its charm lies partly in the fact that it never looks quite the same twice.
Final Considerations
So, is a no-sanding finish change the right move for a given floor? The answer depends on the floor in front of you, not on the idea in the abstract. Where the boards are stable, the existing finish is mostly sound, the wear is shallow and the test patch behaves well, a gentle refresh can restore an even glow and extend the floor’s good years. Where damage runs deep, the finish has failed broadly or bare wood shows across wide areas, the honest answer is usually professional assessment or a fuller restoration, and a coat on top would promise more than it can deliver. For readers still weighing refinishing hardwood floors without sanding, that test patch in a hidden corner remains the single most useful step: it turns a general question into a specific answer about one real floor, in one real room, under real light.
A few parting thoughts are worth carrying into the decision. Work slowly, ventilate well, follow the finish guidance rather than improvising, and keep expectations modest: a refreshed floor, not a new one. Protect the result with simple daily habits, and revisit the assessment honestly when wear returns. Readers gathering small living room ideas alongside this guide will find the same principle applies throughout the home: the quiet, careful option, honestly applied, usually outlasts the dramatic one. And where doubt remains, a professional’s eye on the actual floor is worth more than any general guide, including this one.




0 Comments