
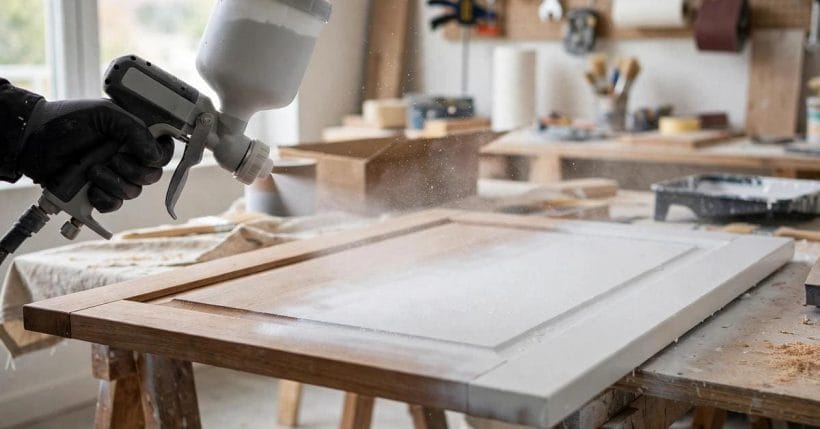
A paint sprayer promises the one thing a brush cannot: a flawless, factory-smooth finish across a whole kitchen of cabinet doors in an afternoon. Sometimes it delivers exactly that. Sometimes it delivers overspray on the floor, a clogged nozzle, and a room that took longer to mask than to paint. The difference is almost never the machine — it is whether the machine matched the job, and whether the work around the spraying was done properly.
This guide is the checklist before you buy: the types and what each one is really for, the finish to expect, the paint preparation, the masking, the ventilation and overspray, the places where brushes still win, and the clean-up that decides whether the sprayer works next time too. No model names, no ratings — just the checks that apply to every machine in the class.
1. Choosing a Paint Sprayer at a Glance
Five checks cover the whole purchase. Run through them before looking at any machine, and the right type usually announces itself — because it is the one that fits the job you actually have, not the biggest job you can imagine.
| The Check | What to Know | At a Glance |
|---|---|---|
| The Type | Airless, turbine or handheld cup | Match |
| The Finish | Smooth, even, factory-like | Smooth |
| The Paint | Thinning and straining matter | Prepared |
| The Prep | Masking takes longer than spraying | Thorough |
| The Clean-Up | Minutes now, or a clogged gun later | Essential |
Buy for the job you actually have — and practise on cardboard before the sprayer ever meets the good wood. Four key factors sit behind the table: overspray, because drift is part of the deal and must be planned for; ventilation, because air has to move and a mask has to be on; practice, because the first spray should never be on the finished piece; and space, because you need room to spray and room for the pieces to dry. The maker’s manual is the authority on all of it — read it before the first trigger pull.

2. What a Sprayer Actually Does
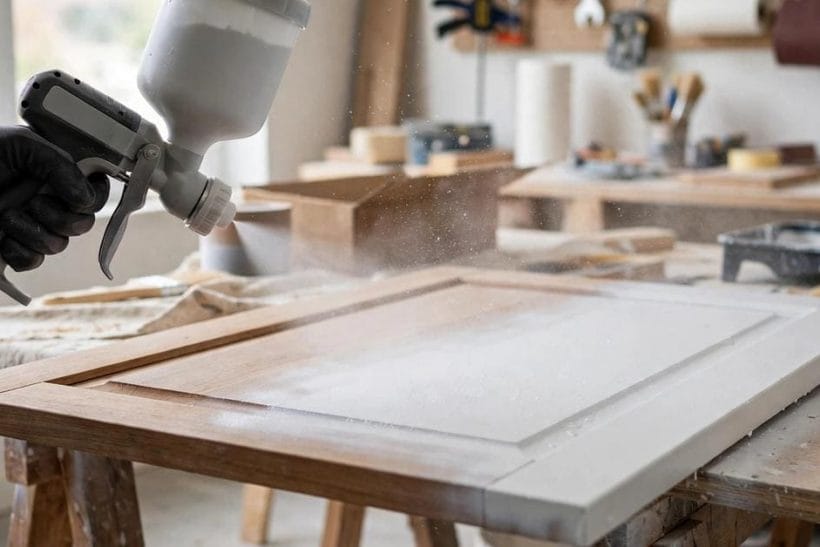
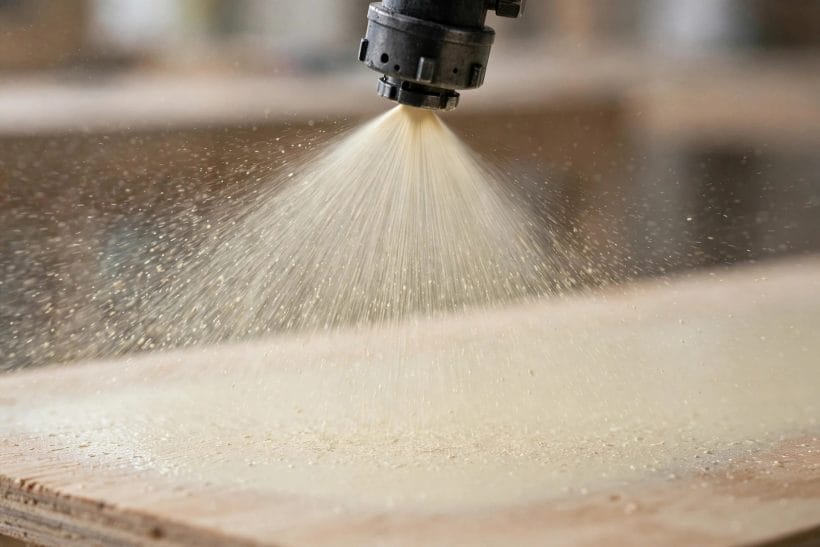
A sprayer atomises paint into fine droplets and lays them in a controlled fan. Done well, the droplets land, level out and dry into a coat with no brush marks, no roller stipple and an even film thickness that is hard to achieve by hand — which is why sprayed cabinets and doors look the way they do. The key word is controlled: the fan’s shape, the flow rate and the distance from the surface decide whether the coat is even or patchy, and those are skills learned in minutes on a practice board.
What a sprayer does not do is remove any other step. Surfaces still need cleaning, sanding and priming where the finish requires it. Edges still need attention. The finish is only as good as the preparation under it — a sprayed coat over a rough, dirty surface is a smooth coat over a rough, dirty surface, and it will look it. Spraying changes the application, not the discipline.
It also changes the mess. A brush keeps paint where the bristles touch; a sprayer puts a cloud of fine droplets in the air, and the finest of them drift. That is not a flaw in the tool — it is the physics of it — and the rest of this guide is largely about managing it.
3. The Three Types, Side by Side
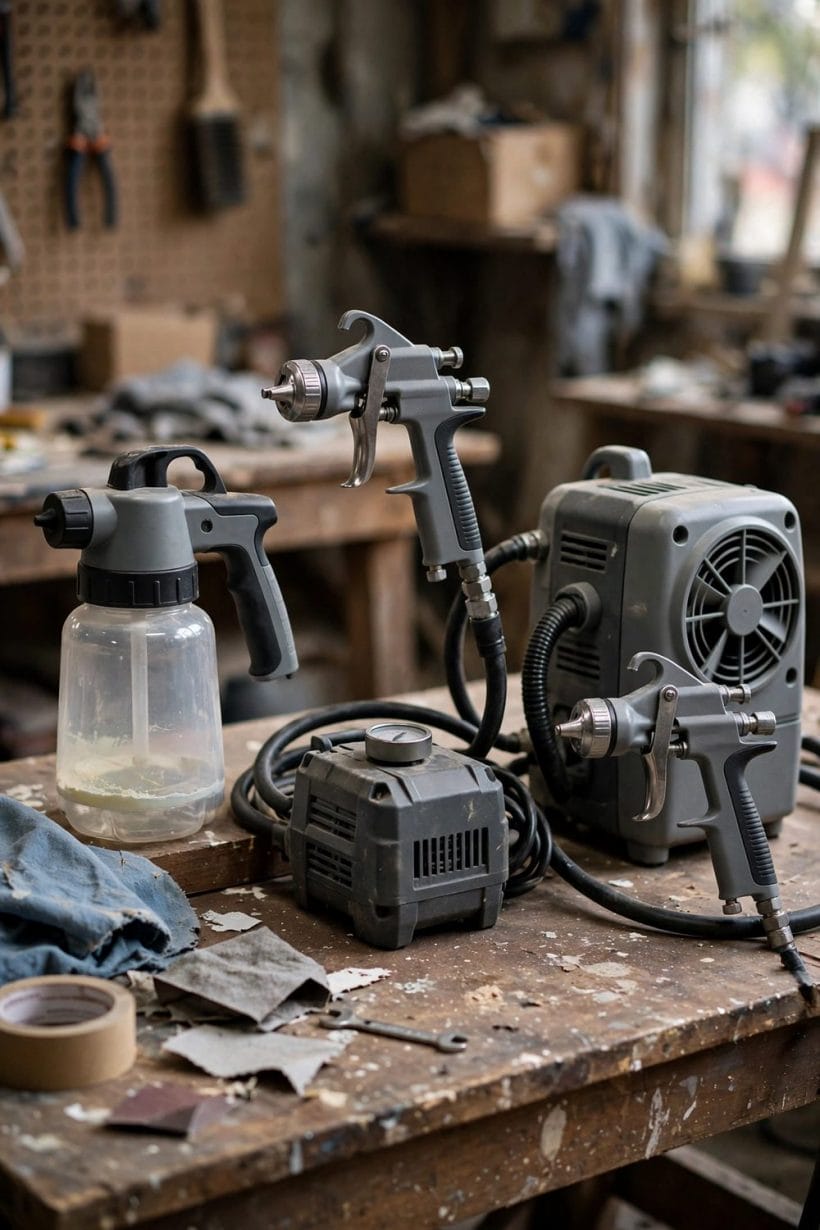
Most machines fall into three families. Airless sprayers pump paint at high pressure through a small tip, producing a wide fan quickly — the choice for large areas, fences, walls and whole rooms, where speed matters and the finish can be good rather than perfect. Turbine systems blow warm air through the gun and atomise more gently, giving finer control for furniture, cabinets and trim, with less overspray than an airless unit.
Handheld cup sprayers — a small gun with a paint cup on top or below — are the compact option for small jobs: a door, a chair, a set of shelves. They are light, easy to clean, and limited by cup size and power, which makes them poor for a whole house but excellent for the job they were built for. The maker’s specification will tell you each type’s rated coverage and the paints it handles; the honest check is to compare those numbers with the size of your actual project.
Choosing between them is the “match” check from the table: a handheld cup for a single room of cabinets is a long day, and an airless unit for one chair is a machine you will resent cleaning. Buy the type whose middle ground is your job, not whose maximum is your fantasy.
4. The Finish: Smooth, Even, Factory-Like
The sprayed finish is the reason to own the tool. On cabinet doors, furniture and smooth trim it produces a level, unmarked coat that a brush reaches only with great patience — and it does it in one or two passes where a brush needs several. The finish is especially convincing on flat panels and simple profiles, where the fan can travel steadily across the surface.
Two things govern the result: the paint and the hand. The paint must be right for spraying — many paints spray as they are, some need thinning to the maker’s guidance, and all benefit from straining through a fine filter before they reach the gun, because a single lump becomes a spot in the coat or a clog in the tip. The hand must move steadily, at a constant distance, overlapping each pass by about half the fan width, and never stopping mid-panel.
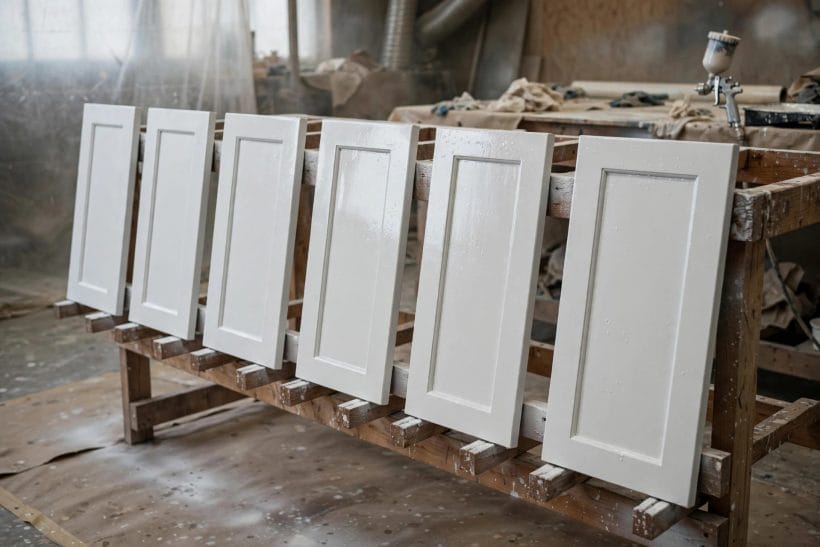
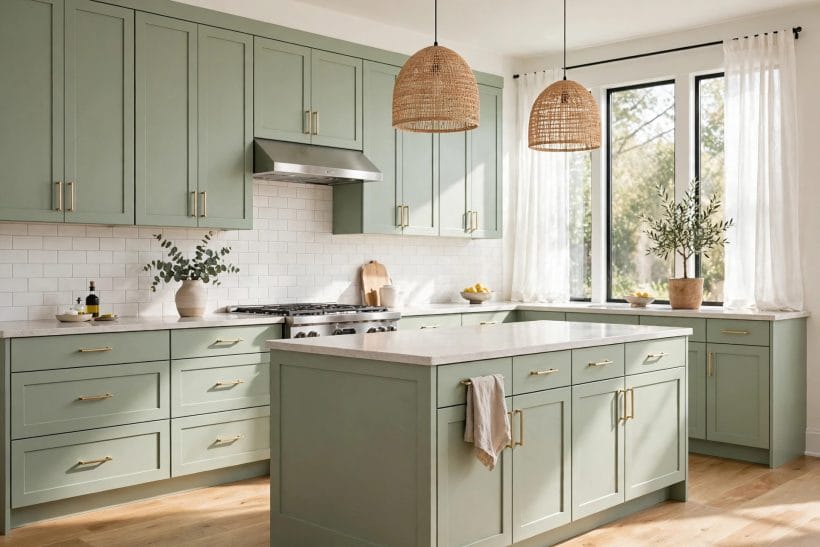
Practice is the shortcut. A sheet of cardboard, a scrap door, a few minutes of passes, and the mistakes — heavy edges, dry patches, runs — show up where they cost nothing. The sprayed cabinets in the kitchen at the end of this guide started exactly that way: practice first, good wood second.
Two thin coats beat one heavy coat every time. A heavy coat runs, sags on vertical faces and takes longer to cure; two thin coats, with the drying time between them that the paint maker specifies, level out smoother and harden better. The temptation to finish in one pass is the single most common beginner error, and the practice board is where it should be unlearned.
5. Masking and Prep: The Long Part
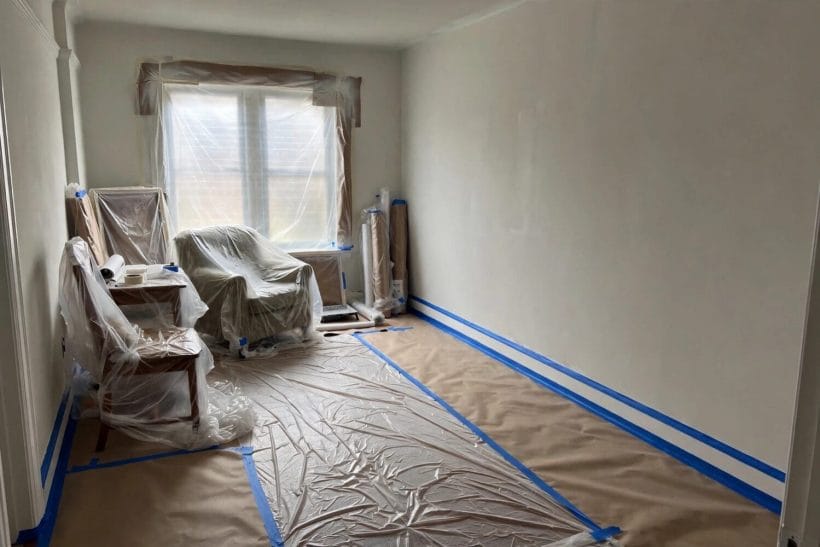
Ask experienced sprayers what the job actually takes and they will all say the same thing: masking takes longer than spraying. Everything that is not to be painted gets covered — floors, furniture, windows, trim, hinges, handles — and the masking must be complete, because overspray finds every gap a brush never would. Paper and plastic sheeting, painter’s tape with crisp edges, and a final walk-around checking for holes are the work; the spraying itself is the reward.
The room’s contents are part of the same decision. Small items leave the room entirely. Large items get sheeted to the floor, taped at the seams, and checked again. Light fittings, switches and sockets are masked or removed, following the maker’s and the room’s safety guidance — and anything electrical is a professional’s call, not a guess.
Budget the time honestly: a room that sprays in an hour may mask in three. Owners who expect that ratio love the tool; owners who expect to spray straight away feel betrayed by it. The tool did not lie — the job was just bigger than the spraying.
6. Ventilation, Overspray and Where to Spray
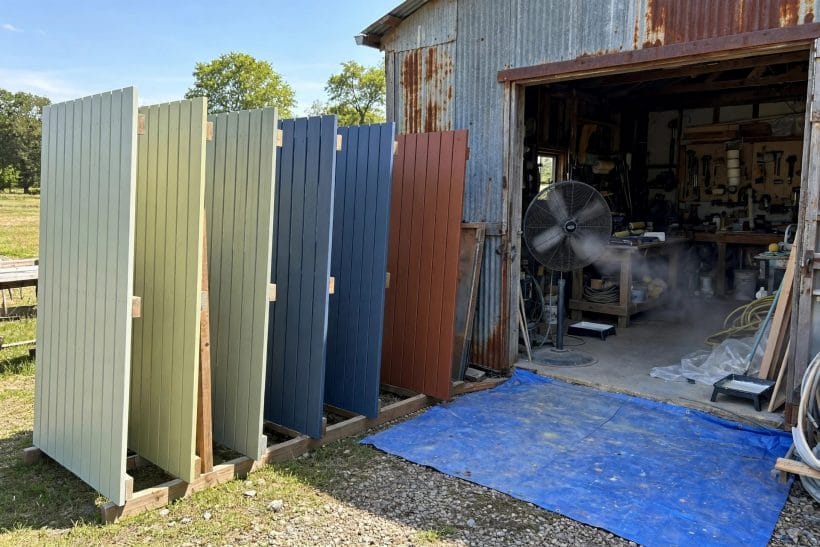
Overspray is not a failure of the tool — it is a property of it — and the plan for it starts with where you spray. Outdoors or in a garage with the doors open and the air moving is the kindest setting for fences, panels and furniture, because the drift has somewhere harmless to go. Indoors, the room gets cross-ventilation if it can, the masking gets more thorough, and the painter wears the protective equipment the manual specifies — a respirator rated for paint spray, eye protection, and gloves.
Wind is the outdoor equivalent of a bad masking job: a breeze carries the fine mist onto cars, plants and neighbours’ washing, so calm air matters as much as ventilation. Fence panels sprayed outside dry in the breeze and the overspray settles on a sheet rather than a lawn — a sheet that was laid for exactly that reason.
Neighbours and pets deserve a word too. Spraying is loud, the mist travels, and a quick note or a closed window prevents the only kind of complaint a sprayer generates. The tool is a good citizen when it is planned like one.
7. Where Brushes and Rollers Still Win
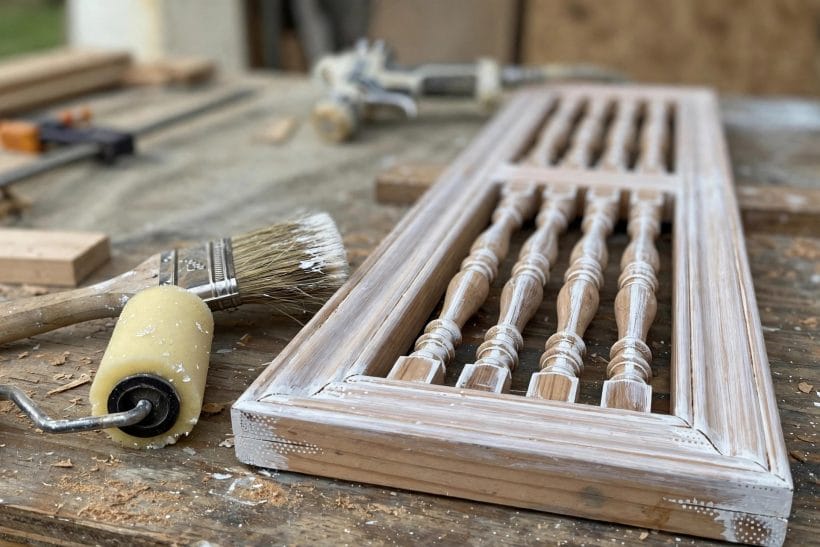
Sprayers do not retire the brush. Fine detail work — spindles, carved trim, narrow mouldings — is often faster and neater by hand, because masking a spindle takes longer than painting it. Small touch-ups, a single board, a corner behind a pipe: the brush is already there, already clean, and leaves nothing to mask.
Rollers hold their ground on large flat walls where the finish does not need to be perfect and the room is already furnished — a roller puts paint on the wall and nowhere else, which is a virtue in a lived-in house. And for very small quantities of paint, the time spent filling, straining and cleaning a sprayer outweighs any saving in application.
The sensible workshop owns all three and reaches for each where it wins. A sprayer for the cabinet doors and fence runs, a brush for the trim and detail, a roller for the walls — that division is how professional finishes are actually produced, and it is how a home workshop should be run too.
8. Clean-Up: The Non-Negotiable Ten Minutes
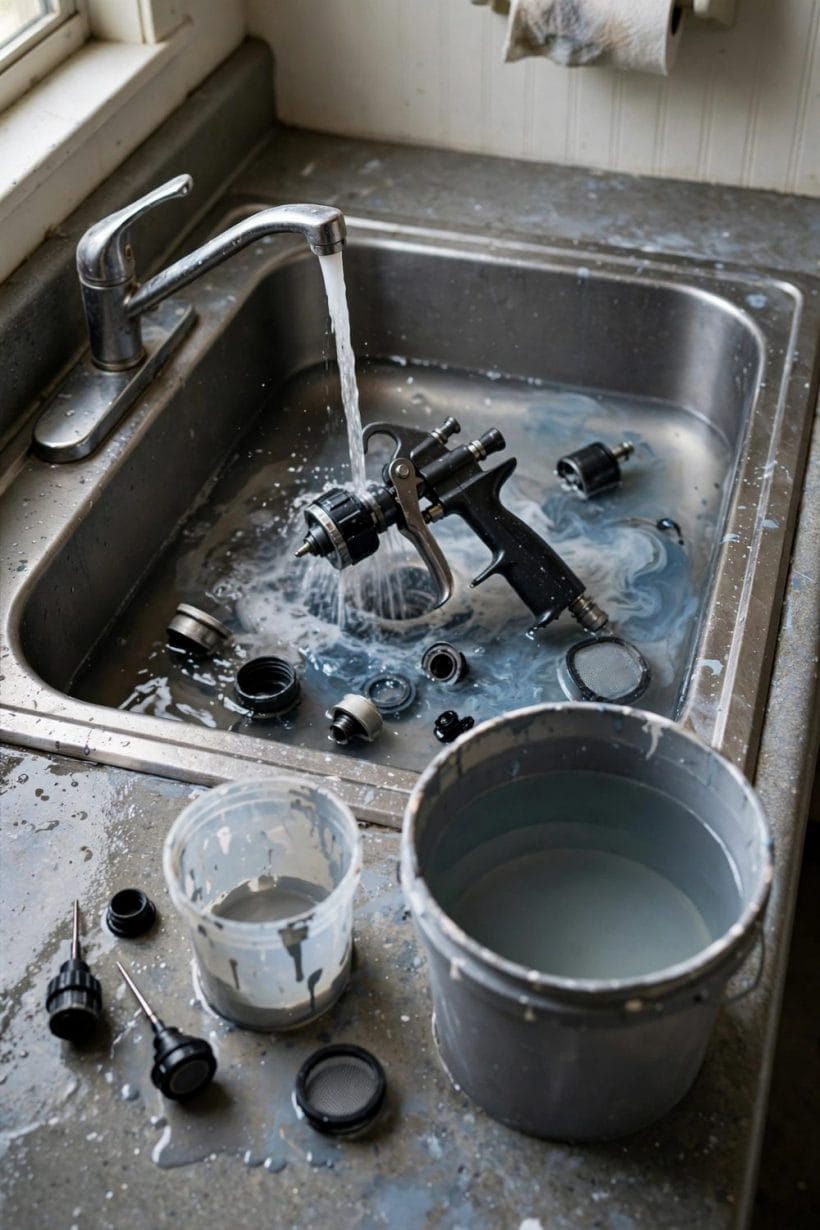
Clean-up is where sprayers are won or lost. Paint left in a gun, a hose or a tip dries into a blockage that costs far more time than the cleaning ever would, and a machine cleaned properly after every session works the same next year. The routine is simple: flush with the maker’s recommended cleaner, run clean water or solvent through until it runs clear, clean the tip and filter, and dry the parts before storage.
Do it while the paint is still wet, immediately after the last pass — not after lunch, not tomorrow. Ten minutes now is the whole price of a working sprayer, and it is also the difference between a tool and a paperweight. Parts that need replacing — tips, filters, seals — are consumables in the maker’s catalogue; keeping a spare set is cheaper than a lost weekend.
Water-based paints make the routine easy, with water as the cleaner and no solvent smell. Solvent-based paints need the right solvent, proper ventilation and safe disposal of the waste — and the maker’s guidance, followed exactly, is the only safe version of that routine.
Leftover paint deserves the same care as the machine. Label the tin with the room, the colour and the date, seal it properly, and store it upright where it will not freeze or bake — a labelled tin is the difference between a five-minute touch-up next year and a colour-matching hunt. The sprayer itself, once clean and dry, stores best with its parts together, its tip protected, and its manual kept with it.
9. The Result on Cabinets and Furniture
This is where the tool earns its keep. A kitchen of cabinet doors, sprayed on racks in a garage or a workshop, comes back with a finish that looks bought rather than painted — smooth, even, with no brush marks on the flat faces and a consistent sheen across every door. The same applies to furniture, shelves and built-ins: flat, simple surfaces are a sprayer’s home ground.
The workflow that produces it is worth copying: doors removed and laid flat, hardware and hinges off, surfaces cleaned and lightly sanded, primer where the finish needs it, two thin coats rather than one heavy one, and drying time between coats on racks where nothing touches the faces. Photographs of the result flatter the tool; the racks and the masking are what made it possible.
For the colour side of a cabinet project, the warm neutrals in the beige paint ideas collection and the cool greys in the light grey paint guide are the two families most sprayed cabinets end up wearing, and the kitchen ideas collection shows the finished rooms they belong to.
10. Buying Checks and Safety, in Order
Before buying, run the checks in this order. First, the job: what will you actually spray, how big, and how often? Second, the type: which family sits in the middle of that job? Third, the paint: does the machine handle the paints you use, and what does the manual say about thinning and straining? Fourth, the space: where will you spray, where will pieces dry, and can you ventilate it?
Fifth, the total cost of the system: the machine, spare tips and filters, masking materials, and the protective equipment — the sprayer is rarely the whole purchase. Sixth, the clean-up commitment: are you the person who will clean it the same day, every time? If not, a simpler tool may be the honest buy.
Safety closes the list and opens the job: read the manual, wear the specified protection, keep the air moving, keep solvents and waste handled as the guidance says, and keep children and pets out of the spraying area. The interior and exterior cost pictures in the interior paint cost and cost to paint the exterior of a house guides help set the budget, and the paint LRV explained guide explains how a colour’s light reflectance changes what the sprayed finish looks like in the room. For the full colour range once the spraying is done, the tiny house interior paint colours collection is the palette bench.
Final Considerations
A paint sprayer is not a shortcut — it is a different trade, with its own discipline: match the type to the job, prepare the paint, mask thoroughly, ventilate properly, and clean the machine the same day, every time. Do those five things and the finish is the smooth, factory-like result the tool promises. Skip any one of them and the tool will happily teach you why it mattered. Buy for the job you have, practise on cardboard, and let the masking take as long as it takes.



0 Comments